Star Wars Jedi: Survivor Beginner's Guide: Stances, Combat Tips, And More
Here are some suggestions to make your journey more manageable in Star Wars Jedi Survivor.
Star Wars Jedi: Survivor takes you on a wild ride throughout a sector of the galaxy. As Cal Kestis, you have to take on threats both new and old. Here's our beginner's guide to help you when you're just starting out in Star Wars Jedi Survivor.
Star Wars Jedi: Survivor beginner's guide - Exploration and combat tips
There are several facets to discuss in our Star Wars Jedi Survivor beginner's guide. We've included tips to help you with survival, exploration/navigation, and combat.
Change the difficulty mode if you want to
Star Wars Jedi Survivor is an open-world action-adventure game, with some Souls-like mechanics thrown in for good measure. The challenge can ramp up considerably, especially once you're facing numerous foes. Thankfully, you can change the difficulty in the Options -> Gameplay tab. You can do this at any point in time as long as you're not in combat.
Meditation Circles act as your bonfires and fast travel points
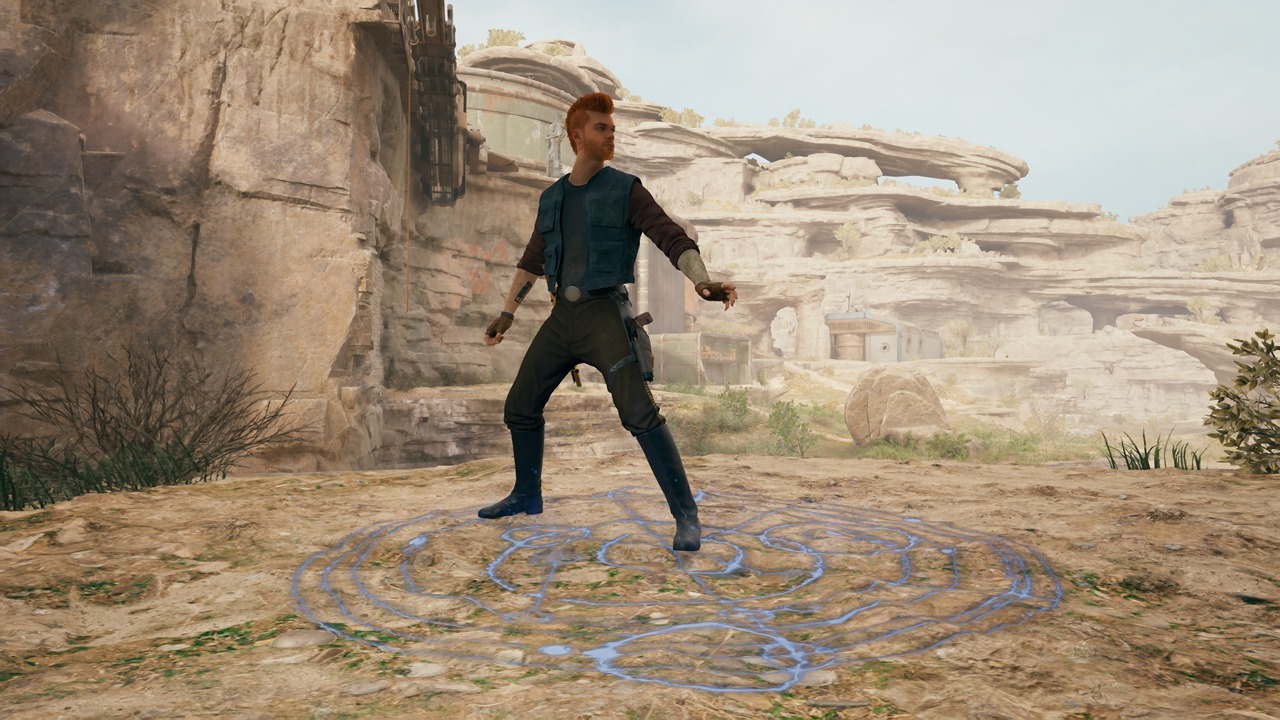
There are numerous Meditation Circles/Meditation Points scattered throughout planets and regions. These allow you to rest up, change Lightsaber stances, allocate skill points, equip perks, undergo training to test your mettle in combat situations, and the all-important fast travel system. Take note of where you've found them so you can return when you need to. Similarly, once you gain access to the Mantis, you'll have a fast travel method between planets by interacting with the Holotable/Galactic Map. And, yes, you can even return to Coruscant, the game's first area, a bit later in the campaign.

Rest and heal up when necessary
Speaking of resting up, Meditation Circles have the rest command. It restores your HP, Force, and Stimpack charges. However, it will also cause enemies to respawn. If you need to heal up as you're out and about exploring or fighting, you need to use the aforementioned Stimpack charges. You start out with two, but you'll eventually find additional items. You can learn more in our Stim upgrade locations guide.
Disable fall damage
Given that you'll be running, jumping, and grappling around a lot, you're likely to fall down to your doom if you're not careful. If you fall from a greater height (i.e., roughly a couple dozen meters or so), the screen will fade to black and you'll reappear at the ledge/cliffside before you started jumping. You'll also notice that Cal has lost a bit of HP.
We suggest disabling fall damage under the Options -> Gameplay -> Exploration tab. The screen will still fade to black and you'll respawn if you drop down to your doom. But, this will prevent Cal's HP loss.
Respawning and retrieving your XP
As for respawning, if Cal completely loses HP and dies, you'll reappear at the closest Meditation Circle that you interacted with (technically acting as a checkpoint of sorts). Similar to Souls-like games, you'll lose all the XP you've amassed until the last skill point that you earned. To get your XP back, you'll need to return to the area where you died. You should find a glowing spot or a glowing enemy. Move to that glowing spot or hit that enemy to recover your lost XP.

Activate shortcuts when you see them
With massive areas to traverse, it's imperative that you find ways to ease the exploration process. Shortcuts will help with that. These can look like zipline points, ropes that you can cut, doors that can be unlocked from the other side, and even elevators. You'll be able to backtrack and revisit areas a lot faster once you've unlocked shortcuts along the path.
Traversal abilities and mounts
You're free to roam around in Star Wars Jedi Survivor, which means it's imperative that you keep a watchful eye on your surroundings. There are areas with obstacles or hazards that might not let you pass initially, but you'll soon acquire the abilities that are necessary for traversal. These include the Grappling Hook, Air Dashes, Electro Darts, and even a charm that lets you pass through green barriers.
Apart from the above, you'll also be able to tame various mounts. These friendly creatures will help you reach your objectives, and even some secret areas. You can learn more in our tameable mounts guide.

Pick your Lightsaber stances and use your Force Powers
There are five Lightsaber stances in Star Wars Jedi Survivor, and these are unlocked as part of the story campaign. However, you can only equip two at a time. Choose the ideal stance depending on the situation. For instance, the Double-Bladed stance is great against crowds, whereas Dual-Wielding offers faster strikes. There's even the Crossguard stance for slower but more powerful attacks.
As for Force Powers, you'll obtain many of these as you go through the campaign. These range from the Force Push and confusing enemies to outright slowing down time. Unlike Lightsaber stances where only a couple can be equipped/used, your powers can be cast as often as necessary as long as you still have enough Force (mana/MP).
Time your parries, dodges, deflects, and counters
You're a Jedi, which means you'll get into the thick of things often. Melee combat is all about watching the moves of your enemies, perfectly parrying or dodging just as an opponent is about to hit you. These will help lower their guard, allowing you to counter efficiently. Do take note that enemy attacks that make them glow red can't be parried at all, and you'll need to dodge them. Likewise, you can deflect most projectiles easily, but you need to pay attention to your block meter. If it's fully depleted, you'll be open to attacks.
Consider your skills, perks, and Essence boosts
Star Wars Jedi Survivor has nine skill trees: five for the Lightsaber stances, three for the Force Powers, and one for plain survivability. The good news is that there's technically no level cap, so you can continue to earn XP and grab the ideal skills that you want. You can learn more in our skill respec guide and best skills guide.
Aside from skills, there are also Essence Crystals. These objects reward you with boosts to your max HP, max Force, and XP (likely filling up the meter so you gain another skill point). Still, other crystals might give you perks, which are passives that can be equipped. You can learn more in our Essence Crystal locations guide and perk locations/best perks guide.

Take down bosses and Legendary Enemies
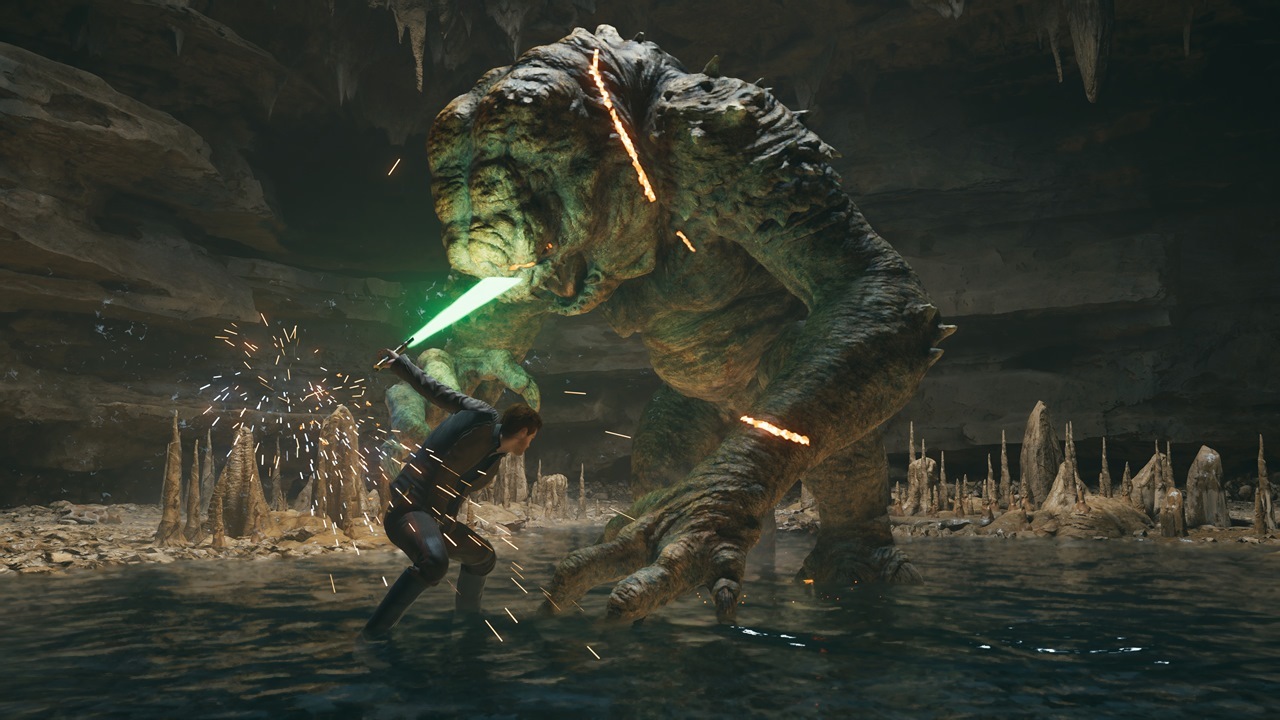
By following the story, you'll face several bosses (with some surprises along the way). Likewise, if you try to go off the beaten path, you might find tougher monstrosities. Known as Legendary Beasts in the previous game, you'll now fight Legendary Enemies ranging from the vicious Rancor to a beefed up Magnaguard called The Massiff. You can learn more in our Legendary Enemies guide.
Jedi Temples and Force Tears
There are countless things that you can do and experience in Star Wars Jedi Survivor. Distant locations hide secrets, and nooks and crannies might have something you can collect. For instance, Jedi Temples are forgotten High Republic Chambers. Each one has its own puzzles and rewards. Force Tears, meanwhile, are dimensional rips leading to quick challenges that provide boons.
Find Saloon Outpost NPCs and gather collectibles
Additionally, you'll get to meet characters who'll eventually head to Pyloon's Saloon in Koboh. Some will tell you about rumors or sidequests, others act as vendor NPCs that exchange the collectibles you gather, and a few add new functions or features. You can learn more in our resource materials and vendors guide.

Star Wars Jedi Survivor is a massive, open-world game, with numerous facets and secrets to discover. You can learn more in our guides hub.
Got a news tip or want to contact us directly? Email news@gamespot.com
Join the conversation