Star Wars Jedi: Survivor - All Stim Upgrade Locations Guide
Obtain additional Stim charges in Star Wars Jedi Survivor.
Star Wars Jedi: Survivor, as the title implies, is all about keeping Cal Kestis alive. Naturally, you'll need to keep healing to do just that. Here's our guide to help you find Stim upgrades in Star Wars Jedi: Survivor. These will give you additional charges that can be used when needed.
All Stim locations Star Wars Jedi: Survivor
The Star Wars Jedi: Survivor Stim system is akin to potions or flasks in Souls-like games. Basically, you just need to press the corresponding button so BD-1 can heal Cal. This will use up a charge, which can only be replenished when you rest at any Meditation Point (i.e., bonfire). However, this will also cause enemies to respawn.
At the start of the campaign, you only have two Stim charges. But, as you progress, you'll acquire more by unlocking special crates or containers (as shown in the featured image).
Coruscant Stim Upgrades
Undercity Meats - Near the fast travel point. It's guarded by a chokeslam-happy Security Droid.
Koboh Stim Upgrades
Rambler's Reach: Pyloon's Saloon - Gather 10 Priorite Shards and buy the Mysterious Keycode from Doma. You'll be able to unlock the door to a storeroom that has this item.
Basalt Forest: Basalt Rift - From the fast travel point, keep left as you make your way up the sloping path. Past this point, you'll battle a Mogu (i.e., Jungle Wampa). Defeat it, then climb up the vines. Loop around the rock formation to find this crate.
Rumor: High Republic Chamber in the Valley - After finishing the Forest Array objective, you'll return to Koboh. Ask Toa and she'll give the Rumor: High Republic Chamber in the Valley sidequest. This will show an objective marker on your map, leading to the Chamber of Clarity. After completing the puzzles and reaching the top of the temple, you'll receive the Fellowship perk. This gives BD-1 an extra Stim that you can use. Sadly, we don't consider this as a viable passive to equip. You can learn more about our picks in our perk locations and best perks guide.
Mountain Observatory: Observatory Understructure - Much later in the campaign, you'll be able to acquire this Star Wars Jedi Survivor Stim upgrade. As you make your way to the top of the Observatory, you'll encounter a miniboss named Urgost, Fist of Rayvis.
After dealing with this foe, you'll reach a corridor with a slightly opened door at one end. There's a device that lets you push floating balloons/grapple points. Do that so the floating balloon is higher up. Then, hold the grapple button and turn around. You should see another ledge, which has a couple of Stormtroopers, as well as the Stim container.


Dredger Gorge: Derelict Dam - As you progress further, you'll receive a rumor from Mosey about the Gorocco Matriarch. However,you do need the Lift and Slam power first. Once you manage to beat this foe, you'll be able to open the canister. You can learn more in our Legendary Beasts/Legendary Enemies guide.
Gorge Crash Site and Viscid Bog - After obtaining the Lift and Slam power, you'll want to hunt down the Mire Terror, another Legendary Enemy. This requires you to lift the metal door in the Gorge Crash Site (right next to the first fast travel point in Koboh). Take the elevator all the way down. Then, to your left, you can raise stone platforms to reach the Mire Terror (basically twin Mogu enemies). You can grab the Stim when you're done.
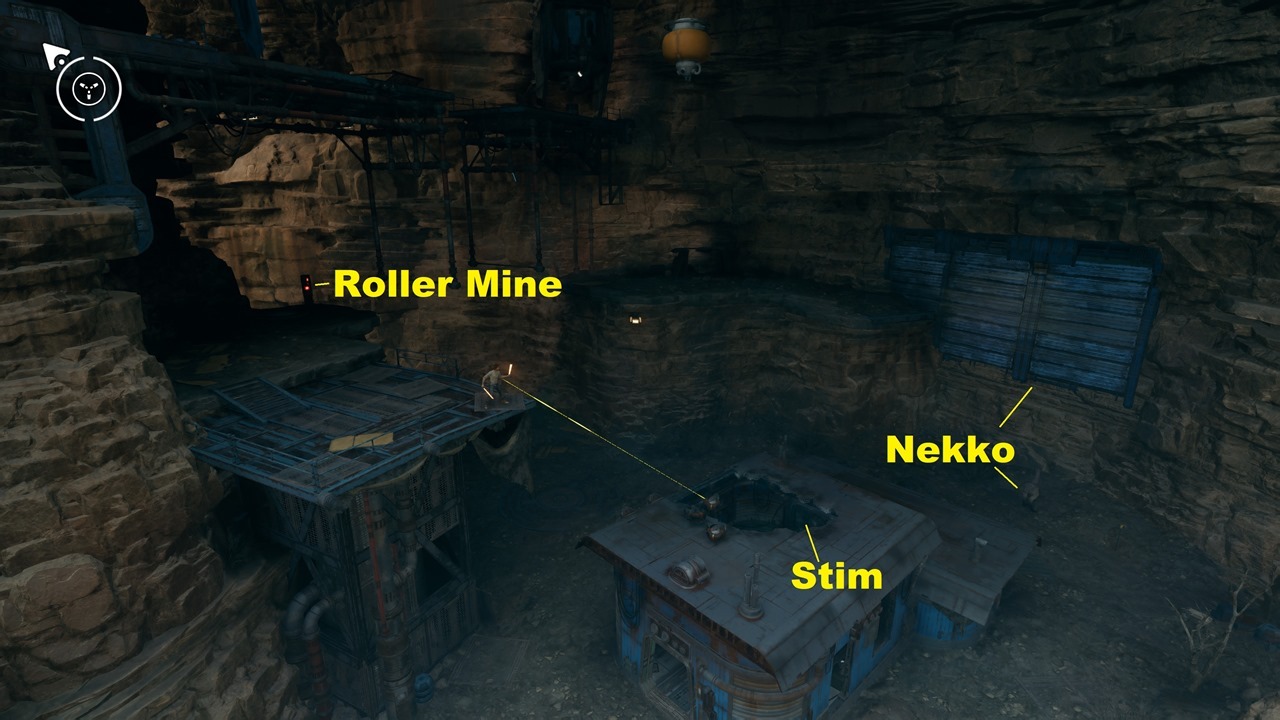
Foothill Falls - You'll reach Foothill Falls from the narrow path through the mountains at the back of Rambler's Reach Outposts. From there, you'll meet Skoova (who collects Aquarium Fish). You'll also see a Relter nearby. Glide to the opposite canyon to spot a shack. Use your Force powers to remove the metal barricades and take out the enemies.
Next, check the path that's sloping downwards to call a Nekko mount. While riding the Nekko, double-jump and wall-run so you can reach the higher ledge. Then, have BD-1 slice the terminal to spawn a Roller Mine. You'll need to walk to the edge of the platform, then use Force Pull on the Roller Mine. Aim at the hole in the shack's roof to blow open the gunk. It might take a few tries, but you should be able to get the Stim canister inside.


Jedha Stim Upgrades
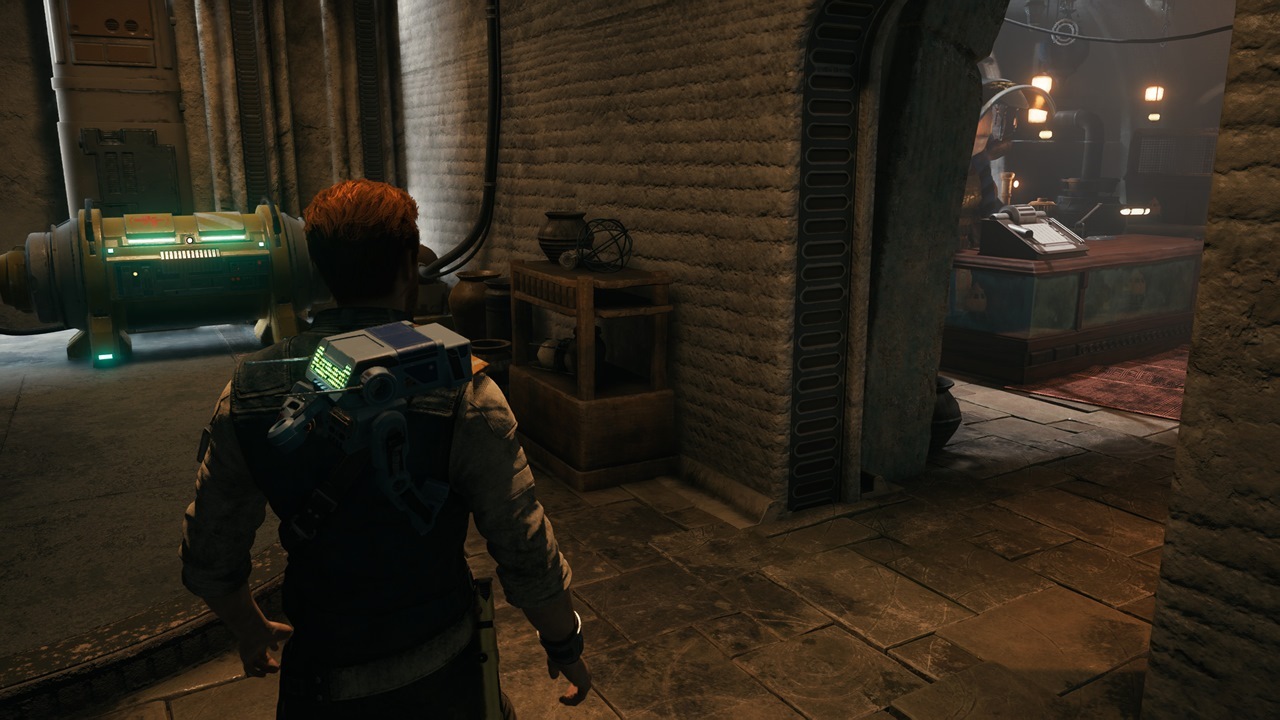
Narkis Desert: Sheltered Hollow - You'll reach this area as part of the campaign. After a cutscene where Cal and Merrin are getting all cozy, you should see the crate in the tunnel.
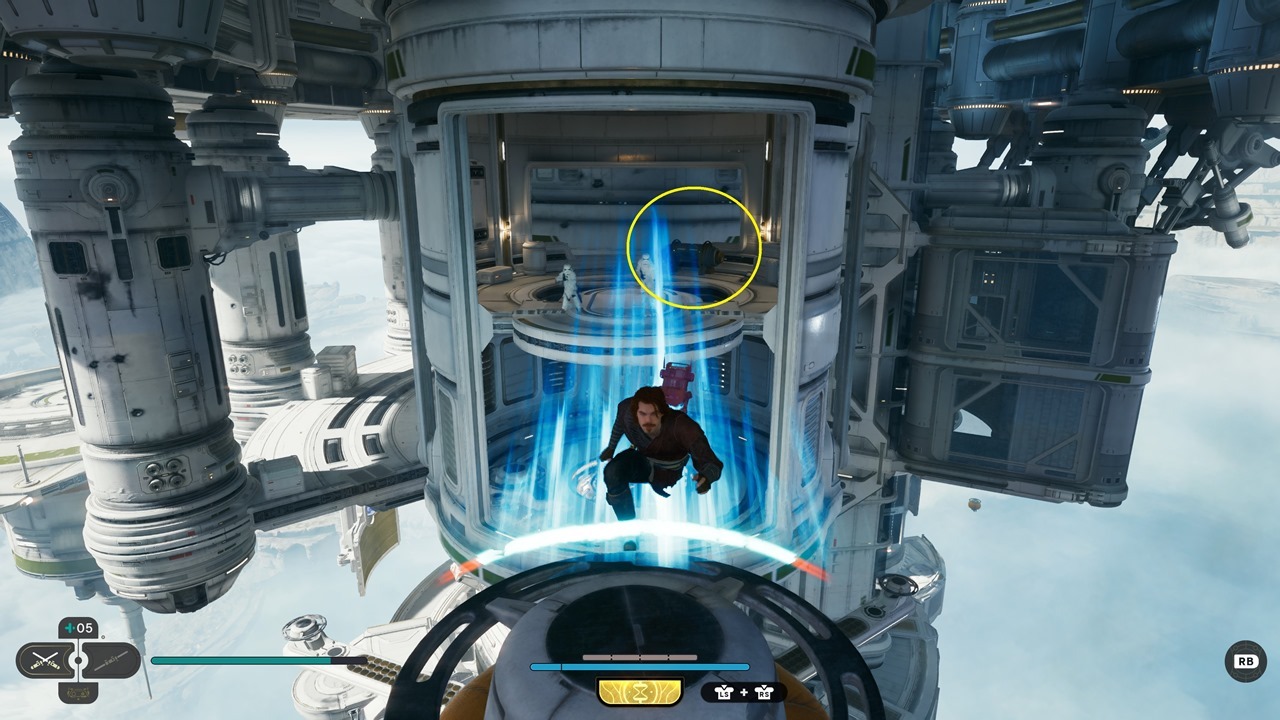
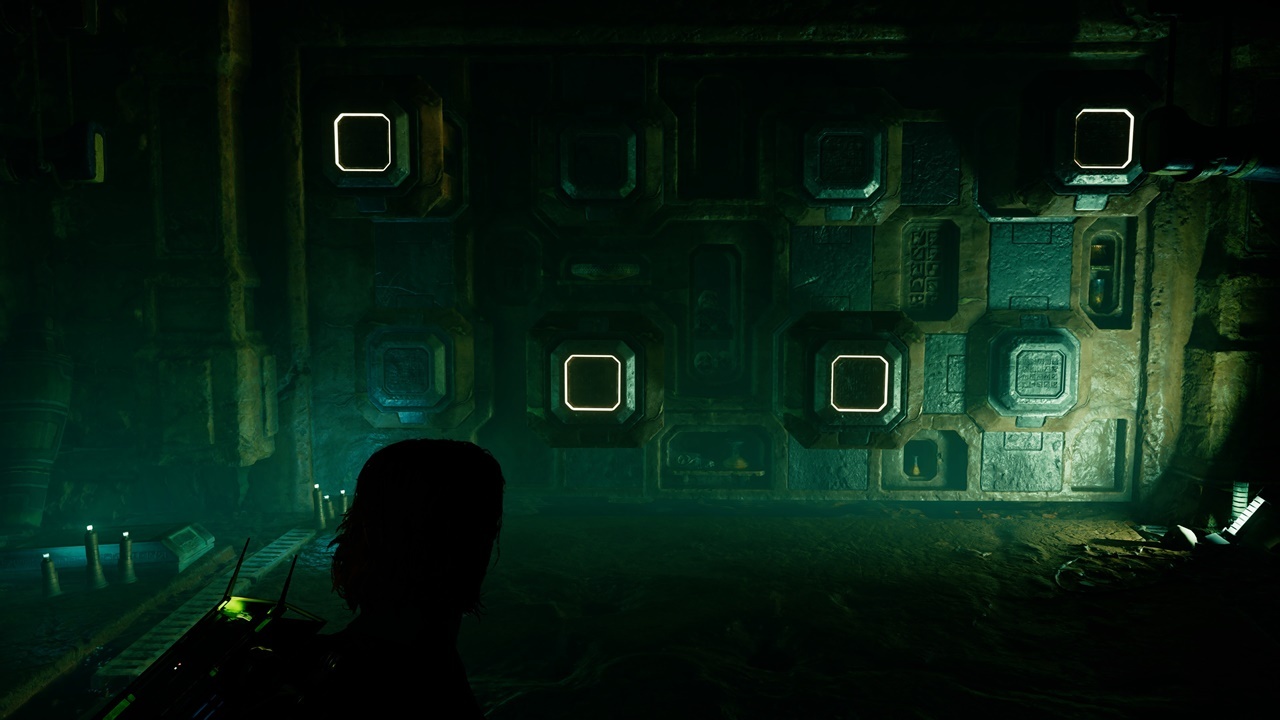
Pilgrim's Path: Crypt of Uhrma - This particular Star Wars Jedi Survivor Stim upgrade is easily missable. While you do reach the Crypt of Uhrma while going through the main story, the puzzle blocks on the wall might leave you stumped. The clue itself is atop a spire where you'll find the elevator heading back down to the crypt.
As for the solution, you'll need to use Force Pull on the highlighted blocks as seen in the image below. You can find more goodies here, such as a Force Echo, an Aquarium Fish, and even a challenging bout against the Sutaban Alpha, one of the game's Legendary Beasts/Legendary Enemies.

Shattered Moon Stim Upgrades
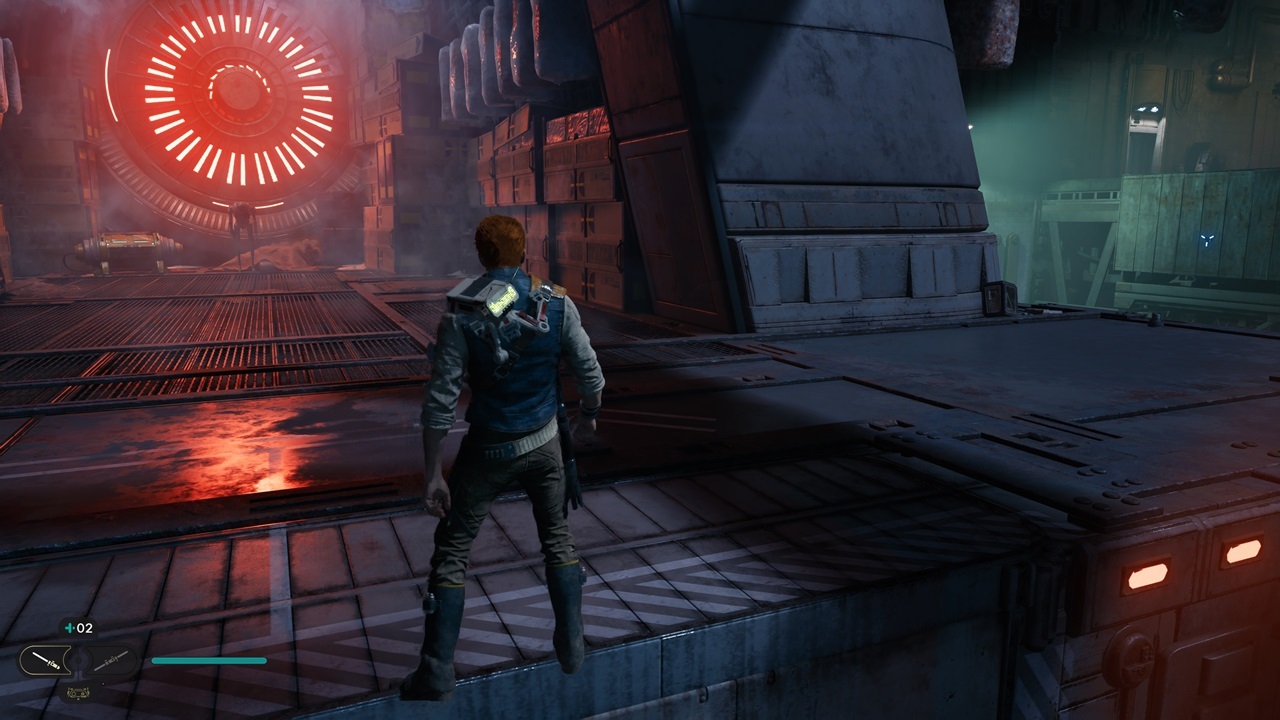
Abandoned Foundry: Automated Forge - From the fast travel point, head to your right (assuming you've already unlocked the shortcut). You should see the gigantic centrifuge with a platform in the middle. To your right, you'll notice electrified metal grates.
Beyond this point, there are some ziplines that you can use to cross, as well as some parts that require a bit of wall running. Once you reach the distant building, you'll notice the chest on a higher ledge. The goal is to climb the opposite ledge, then zipline across. Just double jump when you're about to hit the electrified portion and ride the zipline to the other side.

In any case, these are the Star Wars Jedi: Survivor Stim upgrades that we've found while exploring. There are likely more of these, so we'll update our guide if need be.
Star Wars Jedi Survivor is a massive, open-world game, with numerous facets and secrets to discover. You can learn more in our guides hub.
Got a news tip or want to contact us directly? Email news@gamespot.com
Join the conversation