Star Wars Jedi: Survivor - Legendary Enemies And Legendary Beasts Guide
Take down these ferocious Legendary foes in Star Wars Jedi Survivor.
There are several Legendary Enemies that you can face in Star Wars Jedi: Survivor. Known as Legendary Beasts in the game, these foes now consist of various creatures, and even some droids. They'll test your mettle, as some of them are buffed versions of regular opponents, while others are unique monstrosities. Here's our guide to help you defeat the Legendary Enemies in Star Wars Jedi Survivor.
Where to find Legendary Enemies in Star Wars Jedi: Survivor
The Star Wars Jedi: Survivor Legendary Enemies or Legendary Beasts are usually found in secluded locations. While you'll visit certain areas as part of the story, you might need to go off the beaten path. In most cases, you'll also need to obtain a particular ability that will help you bypass hazards or obstacles.
Mosey, an NPC in Pyloon's Saloon, can help mark their locations depending on how far you've progressed in the campaign. And, once you've defeated your target, you'll earn a reward. You'll either find an Essence Crystal, a new perk, or a Stim container.
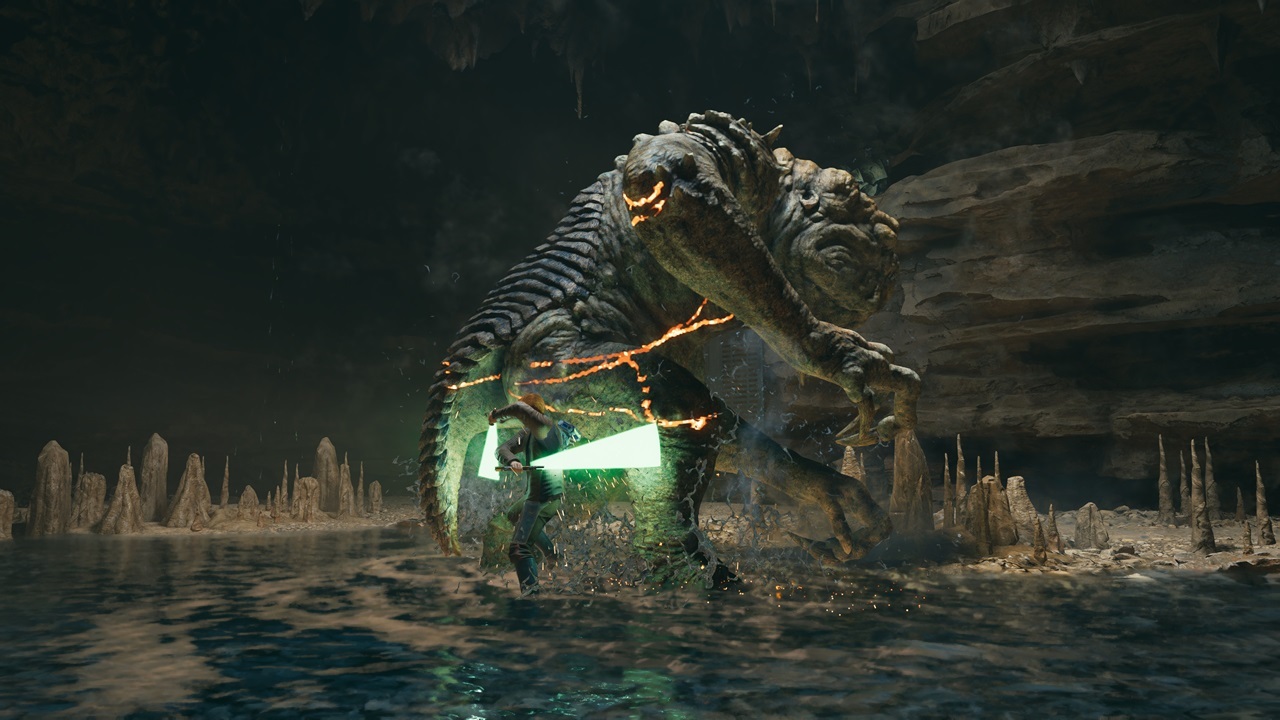
Rancor
- Location: Koboh - Sodden Grotto
- Reward: Shatter perk - Increases the damage of your attacks against enemy guard meters.
As you approach Rambler's Reach, a character will tell you about the miners trapped in a nearby cave. If you head over to that location, you'll enter the Sodden Grotto. At the end of the cave system, you'll see the terrifying Rancor emerge.
The Rancor has brutal swings, able to take out a chunk of your HP in a single blow. Its deadliest ability, however, is its grab attack. If you're unable to dodge this, it's going to be chow time, and Cal will be on the menu.
Also, this isn't the only Rancor that you'll face in Star Wars Jedi: Survivor. You'll battle another one as you delve deeper into Phon'qi Caverns. Likewise, one particular Force Tear challenge has you facing off against two of these behemoths. To get there, just backtrack to the very first room that you dropped in during the Coruscant level, and lift the door open.

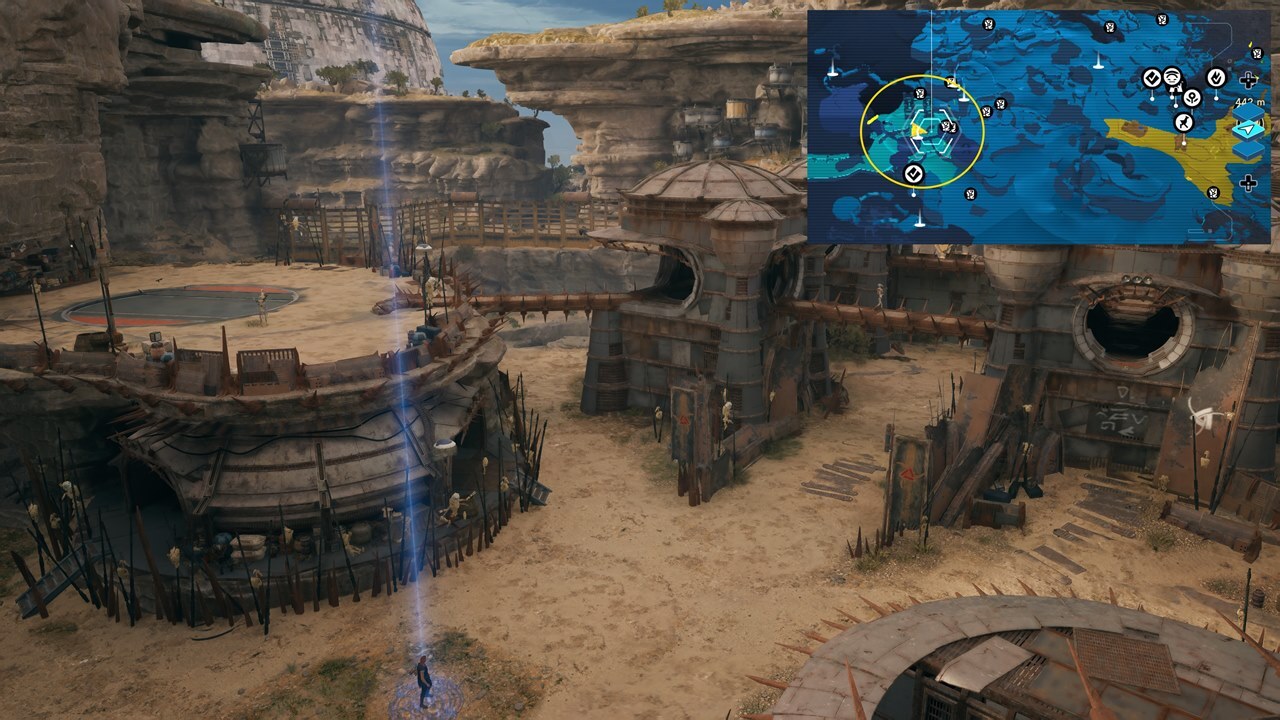
Spawn of Oggdo
- Location: Koboh - Fort Kah'lin
- Reward: Poncho unique outfit and Force Tear (secret)
The name will sound familiar to those who played Fallen Order. Yes, the frog monster is back with a vengeance. You'll find the Spawn of Oggdo in Fort Kah'lin, which is a Bedlam Raider camp. To get there, you'll need to cross Untamed Downs, then head to your right as you approach the Jedi Temple. Once in the camp, grapple up to the towers, then go to the circular arena. You'll fall down, along with some hapless folks. Then, it'll be time to face the boss.
To beat the Spawn of Oggdo Legendary Enemy in Star Wars Jedi: Survivor, you'll need to be mindful of its attacks, such as the Bile Vomit and Leaping Lunge. Its most vicious ability, though, is the Scorpion-esque "Get over here!" Tongue Lash. If you get snared, it'll chew on Cal several times.
After defeating this creature, interact with the frog statue. Then, return to Doma's Shop. Interact with the frog statue there to start a Secret Force Tear challenge where you'll battle Oggdo Bogdo and a Spawn of Oggdo simultaneously.

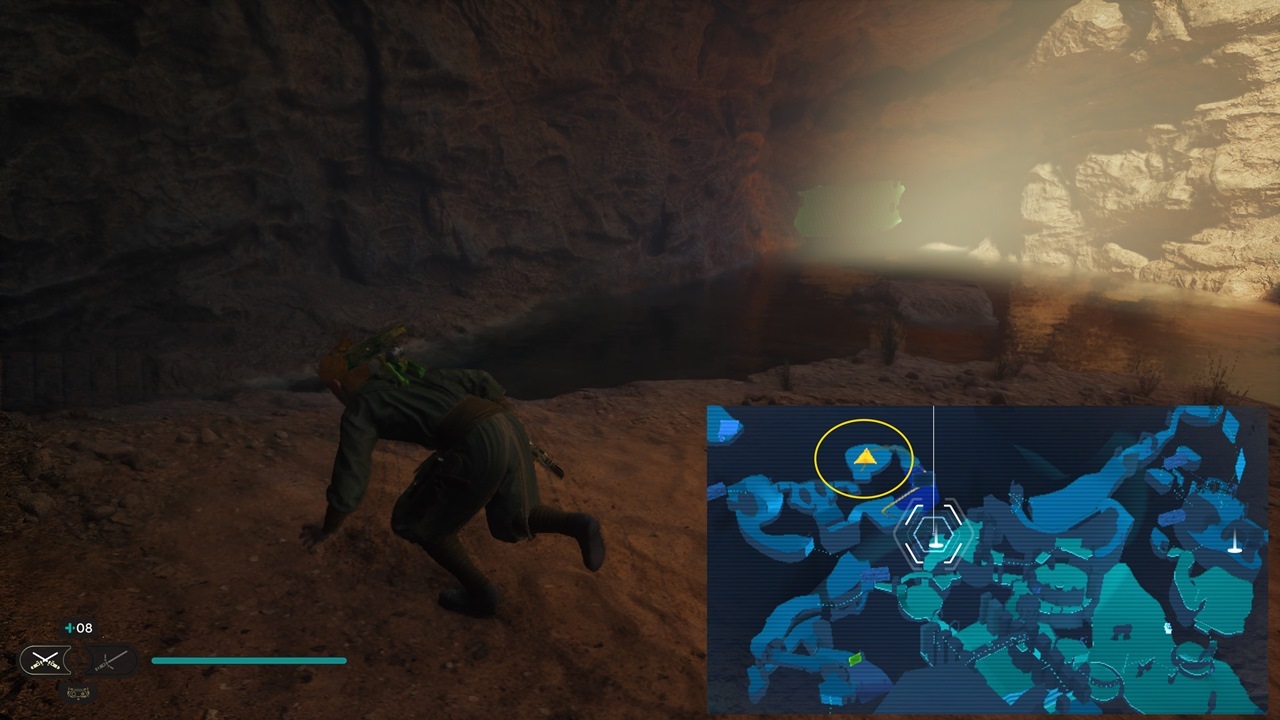
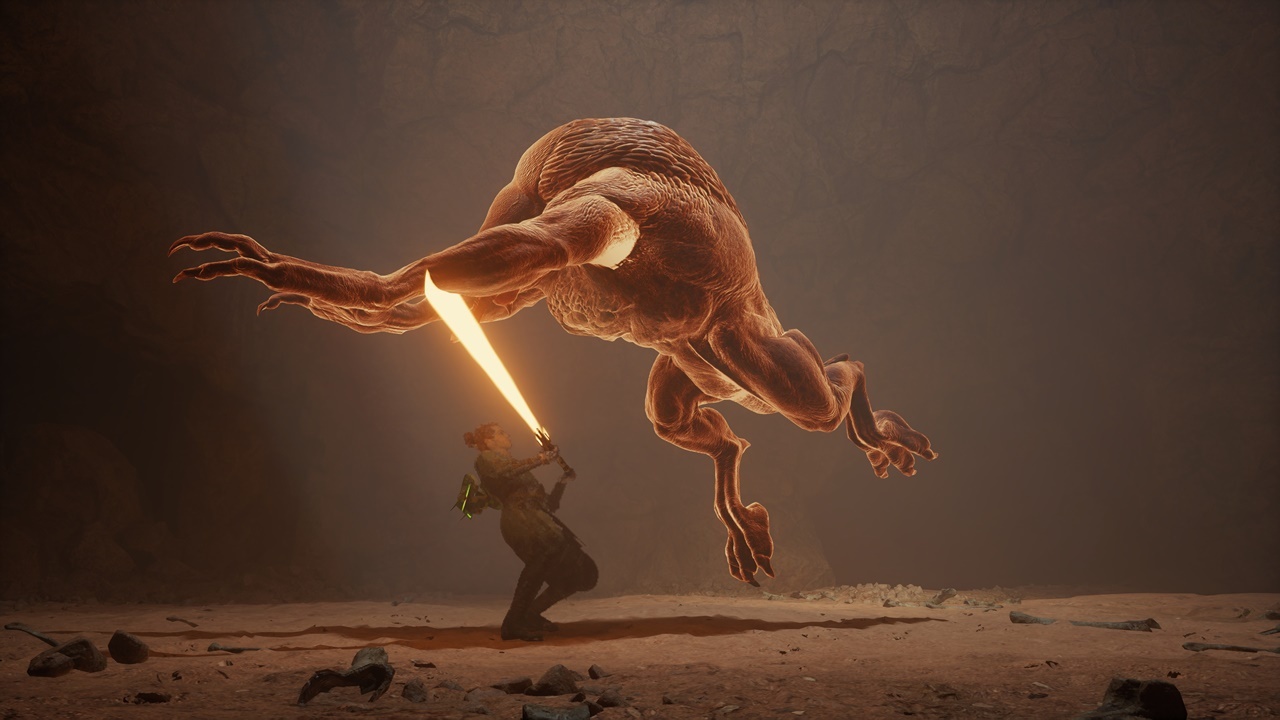
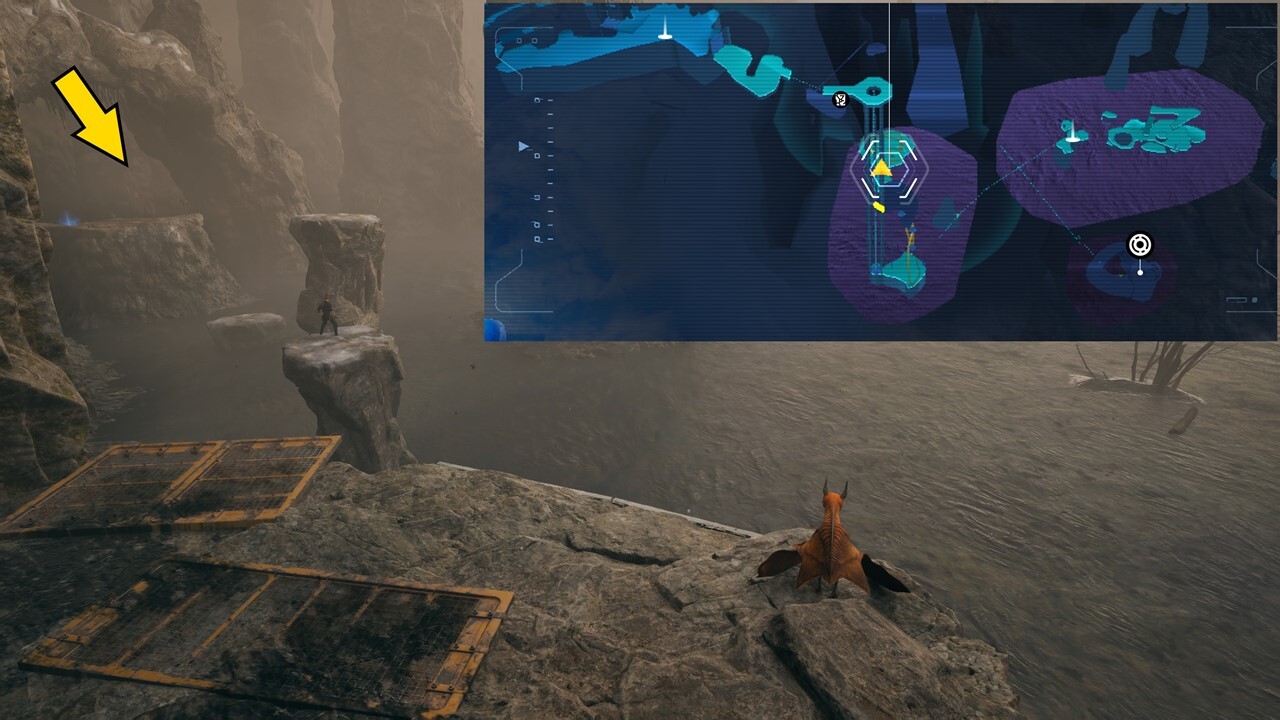
Sutaban Alpha
- Location: Jedha - Crypt of Uhrma
- Reward: Gambler perk - Increases the XP you gain, but you can no longer Restore on death.
It might take a while to reach the Sutaban Alpha Legendary Beast in Star Wars Jedi Survivor. First off, you'll reach the Crypt of Uhrma area while heading to Pilgrim's Sanctuary. There's a puzzle there that you need to solve (you can see the location in the leftmost image below).
If you're still progressing further in the main quest, then you can only pick up a Stimpack and an Aquarium Fish. Don't forget to activate the shortcut back to the fast travel point though.
Eventually, you'll be able to unlock the ability to pass through green barriers. Once you have that, go through the barrier in the pool area. Beyond, you'll fight a beefed-up Sutaban, with ferocious sweeps and leaping attacks.

The Massiff
- Location: Koboh - Lucrehulk Core/Yurt Barracks
- Reward: XP Essence
You'll enter the massive Lucrehulk as part of the campaign. Once inside, traverse the area until you reach the Yurt Barracks. You'll notice a door that can't be opened just yet.
Soon, though, you'll acquire the Lift and Slam power. This will let you unlock the door to face the Massiff. This opponent is a modified Magnaguard, so you know it has blindingly fast attacks, as well as the tendency to dodge/block your strikes. Pay close attention to its moves, and don't be too greedy when you're unleashing your offense.

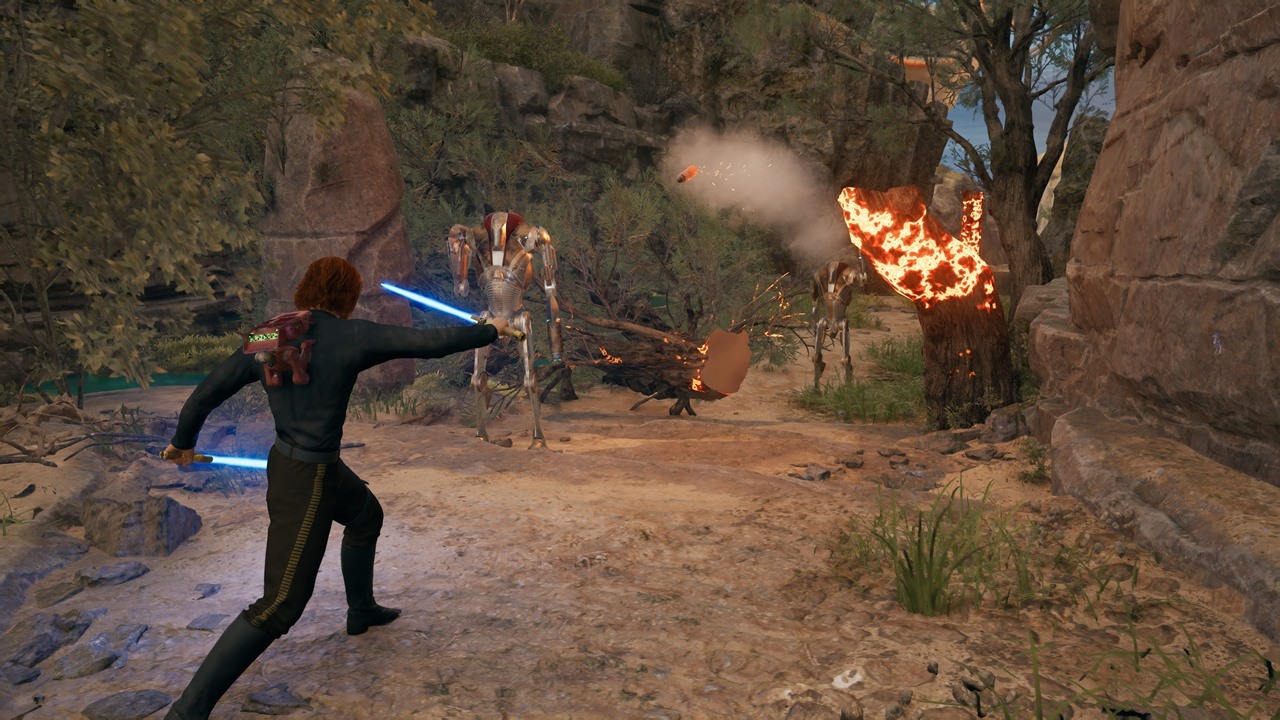
Beetu Deetu
- Location: Koboh - Southern Reach
- Reward: N/A
To be frank, we're uncertain about the requirement to get Beetu Deetu to spawn. What we do know is that we were headed to the Southern Reach just past the Trontoshell dinosaur. Suddenly, these twin B2 Battle Droids were right there along the path. You should be familiar with B2 Battle Droid attacks, such as blaster lasers and rockets. Still, given that you'll fight two beefed up variants simultaneously, you'll want to be careful.
Gorocco Matriarch
- Location: Koboh - Southern Reach
- Reward: Stim container
After your second visit to the Shattered Moon as part of the campaign, you'll learn about the Gorocco Matriarch from Mosey. The path itself can be accessed from the Derelict Dam fast travel point. Head to the tunnel with the Rolling Mine spawner, then run and let it follow you to the right-hand side (where you'll find the workbench and elevator). Once you reach the edge, grab and toss it to the wall. The explosion should allow you to pass through.
Head to the top, battling foes and activating the elevator shortcut along the way. Then, use the Lift and Slam power to open the door. Take out the Gorocco Matriarch to gain another Stim charge.


Mire Terror
- Location: Koboh - Viscid Bog
- Reward: Stim container
The Mire Terror is yet another Legendary Enemy in Star Wars Jedi Survivor, and it's a bit tricky to get to it. The rumor, as usual, comes from Mosey, just after you clear the Lucrehulk. If you check your map, it should say that the target is in the Viscid Swamp.
However, there's no way to reach it normally. Instead, you'll have to go back to the Gorge Crash Site, the first fast travel point in Koboh. Use the Lift and Slam power to open the metal door, allowing you to ride the elevator all the way down. To your left, you'll see stone pillars that you can raise with your Lift power. Beyond that section, you'll fight the Mire Terror.
This encounter is basically you against two Mogu enemies. You know their abilities by now, so just be mindful of their attacks. One more thing of note is that Mogus have a grab attack that requires you to mash a button prompt. This will allow Cal to escape and cut off its limbs.

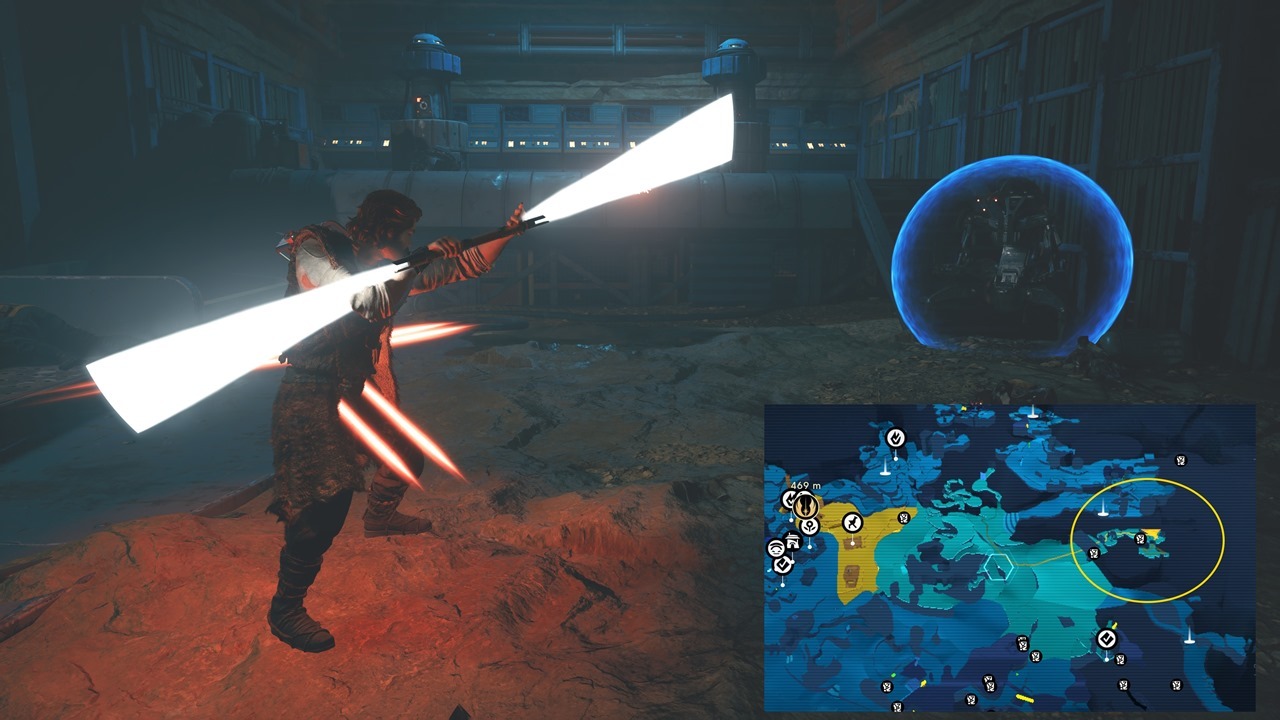
E3-VE3
- Location: Koboh - Untamed Downs
- Reward: XP Essence
This is a buffed Droideka found in the Untamed Downs. Check the large rock formation in the center, and you'll see a base with a green barrier. Pass through it using Merrin's Charm, then use your Lift power to open the door. Be ready since it's also surrounded by several B1 Battle Droids. Thankfully, its main weakness is the staircase. It should get temporarily stuck if it attempts to roll.
Urgost, Fist of Rayvis
- Location: Koboh - Mountain Observatory
- Reward: N/A
This Bedlam Smasher variant waits for you in the Mountain Observatory. You'll battle this foe as part of the campaign.

Vile Bilemaw
- Location: Koboh - Fogged Expanse
- Reward: Fortitude perk - Increases the damage of your Lightsaber, as well as incoming damage from enemies.
Continue navigating this area until you come across a door that you can open, which will reveal a Mogu. Instead of going down that path, look for a cliffside area with several Roller Mines. Off to the side of that, you should see a ledge and drops you down a mudslide. You'll then fight the Vile Bilemaw in its lair. As with other enemies of this type, you'll have to avoid its poison breath and annoying rolls.

Golden Skriton
- Location: Jedha - Desert Ridge
- Reward: Unflinching perk - Absorb one hit while charging the blaster without being interrupted.
The Desert Ridge zone is near the Anchorite Base. Head to the far corner of this area, close to the path that leads to Sheltered Hollow. In the distance, you'll see a crystal. As you approach it, the Golden Skriton will appear. As usual, dodge its claw and tail swipes, and be ready when it attempts to skewer you, as that move will hit multiple times.

Frenzied Jotaz
- Location: Coruscant - Undercity Meats
- Reward: XP Essence
Although you'll be able to return to Coruscant halfway through the campaign, this Star Wars Jedi: Survivor Legendary Enemy can only be fought once you have the Electro Dart ability, which you'll unlock once you're headed to the Mountain Observatory. You'll find this creature in the Undercity Meats area. Proceed to the chamber with the green barrier and electric battery, then use the Electro Dart to open the door.

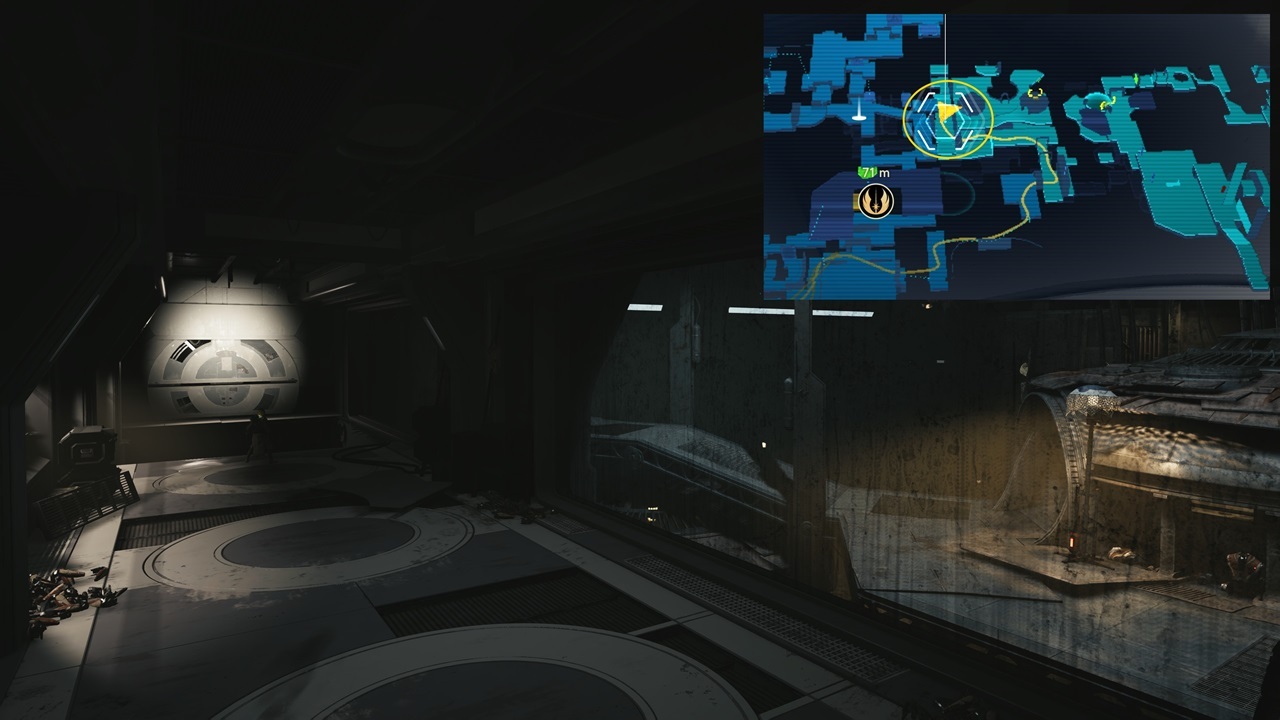
D-L1t
- Location: Coruscant - Hangar 2046-C
- Reward: BD-1 Ability - Slice DT Sentry
Similar to the above, you'll need the Electro Dart for this, too. Use the Hangar 2046-C fast travel point, then ride the elevator back to the top. Shoot the battery with the Electro Dart to make this powerful DT Sentry appear. As with other variants, you'll have to avoid its spinning attacks and annoying stomps. Your reward is a unique ability for BD-1, which allows your friendly droid to hack DT Sentry bots if you're not in combat or once they've got low HP.
In any case, these are the Star Wars Jedi Survivor Legendary Enemies and Legendary Beasts. After defeating all of them, you'll obtain the "I'm a Living Legend" achievement/trophy.
Star Wars Jedi Survivor is a massive, open-world game, with numerous facets and secrets to discover. You can learn more in our guides hub.
Got a news tip or want to contact us directly? Email news@gamespot.com
Join the conversation