Final Fantasy 7 Remake Walkthrough Chapter 7: A Trap Is Sprung (Spoiler-Free)
Blowing up Mako Reactor 5 and defeating the Air Buster.
Cloud and the gang are in for a surprise in Final Fantasy 7 Remake's seventh chapter. Fortunately, what you'll find in this section of the game is much more straightforward than the previous chapter, but don't let your guard down. There's quite a tough challenge ahead and it's name is the Air Buster.
We're here to help guide you through properly sabotaging the Air Buster in our Chapter 7 guide, taking you through every boss fight and helping you find every item, weapon, Materia, and collectible. And if you need more help, check out our FF7 Remake guide roundup for every guide we've got. You can also read our FF7 Remake review.
- Chapter 1
- Chapter 2
- Chapter 3
- Chapter 4
- Chapter 5
- Chapter 6
- Chapter 8
- Chapter 9
- Chapter 10
- Chapter 11
- Chapter 12
- Chapter 13
- Chapter 14
- Chapter 15
- Chapter 16
- Chapter 17
- Chapter 18
Chapter 7 Walkthrough: A Trap Is Sprung
After sliding down the pipe, check the east side of the area to find a chest with three hi-potions inside. Down the ladders to the B5 level (check your map), you'll find another chest with two more echo mists inside. And down when you fight a group of Monodrives and Slug-Rays, check for another chest that includes an ether.
At the bottom of the ladders, you'll fight two Sweepers. Remember to hit them with magic to stagger them, then lay into them with melee attacks. Take the next ladder leading you down to B7, and keep going on the walkway past the next ladder down to find a chest with a Bulletproof Vest inside. You'll set the bomb on the reactor next, then face an Elite Shock Trooper and two regular Shock Troopers. You're then informed of your new objective: sabotage and eliminate the Air Buster, a powerful experimental Shinra robot.
Sabotaging Air Buster
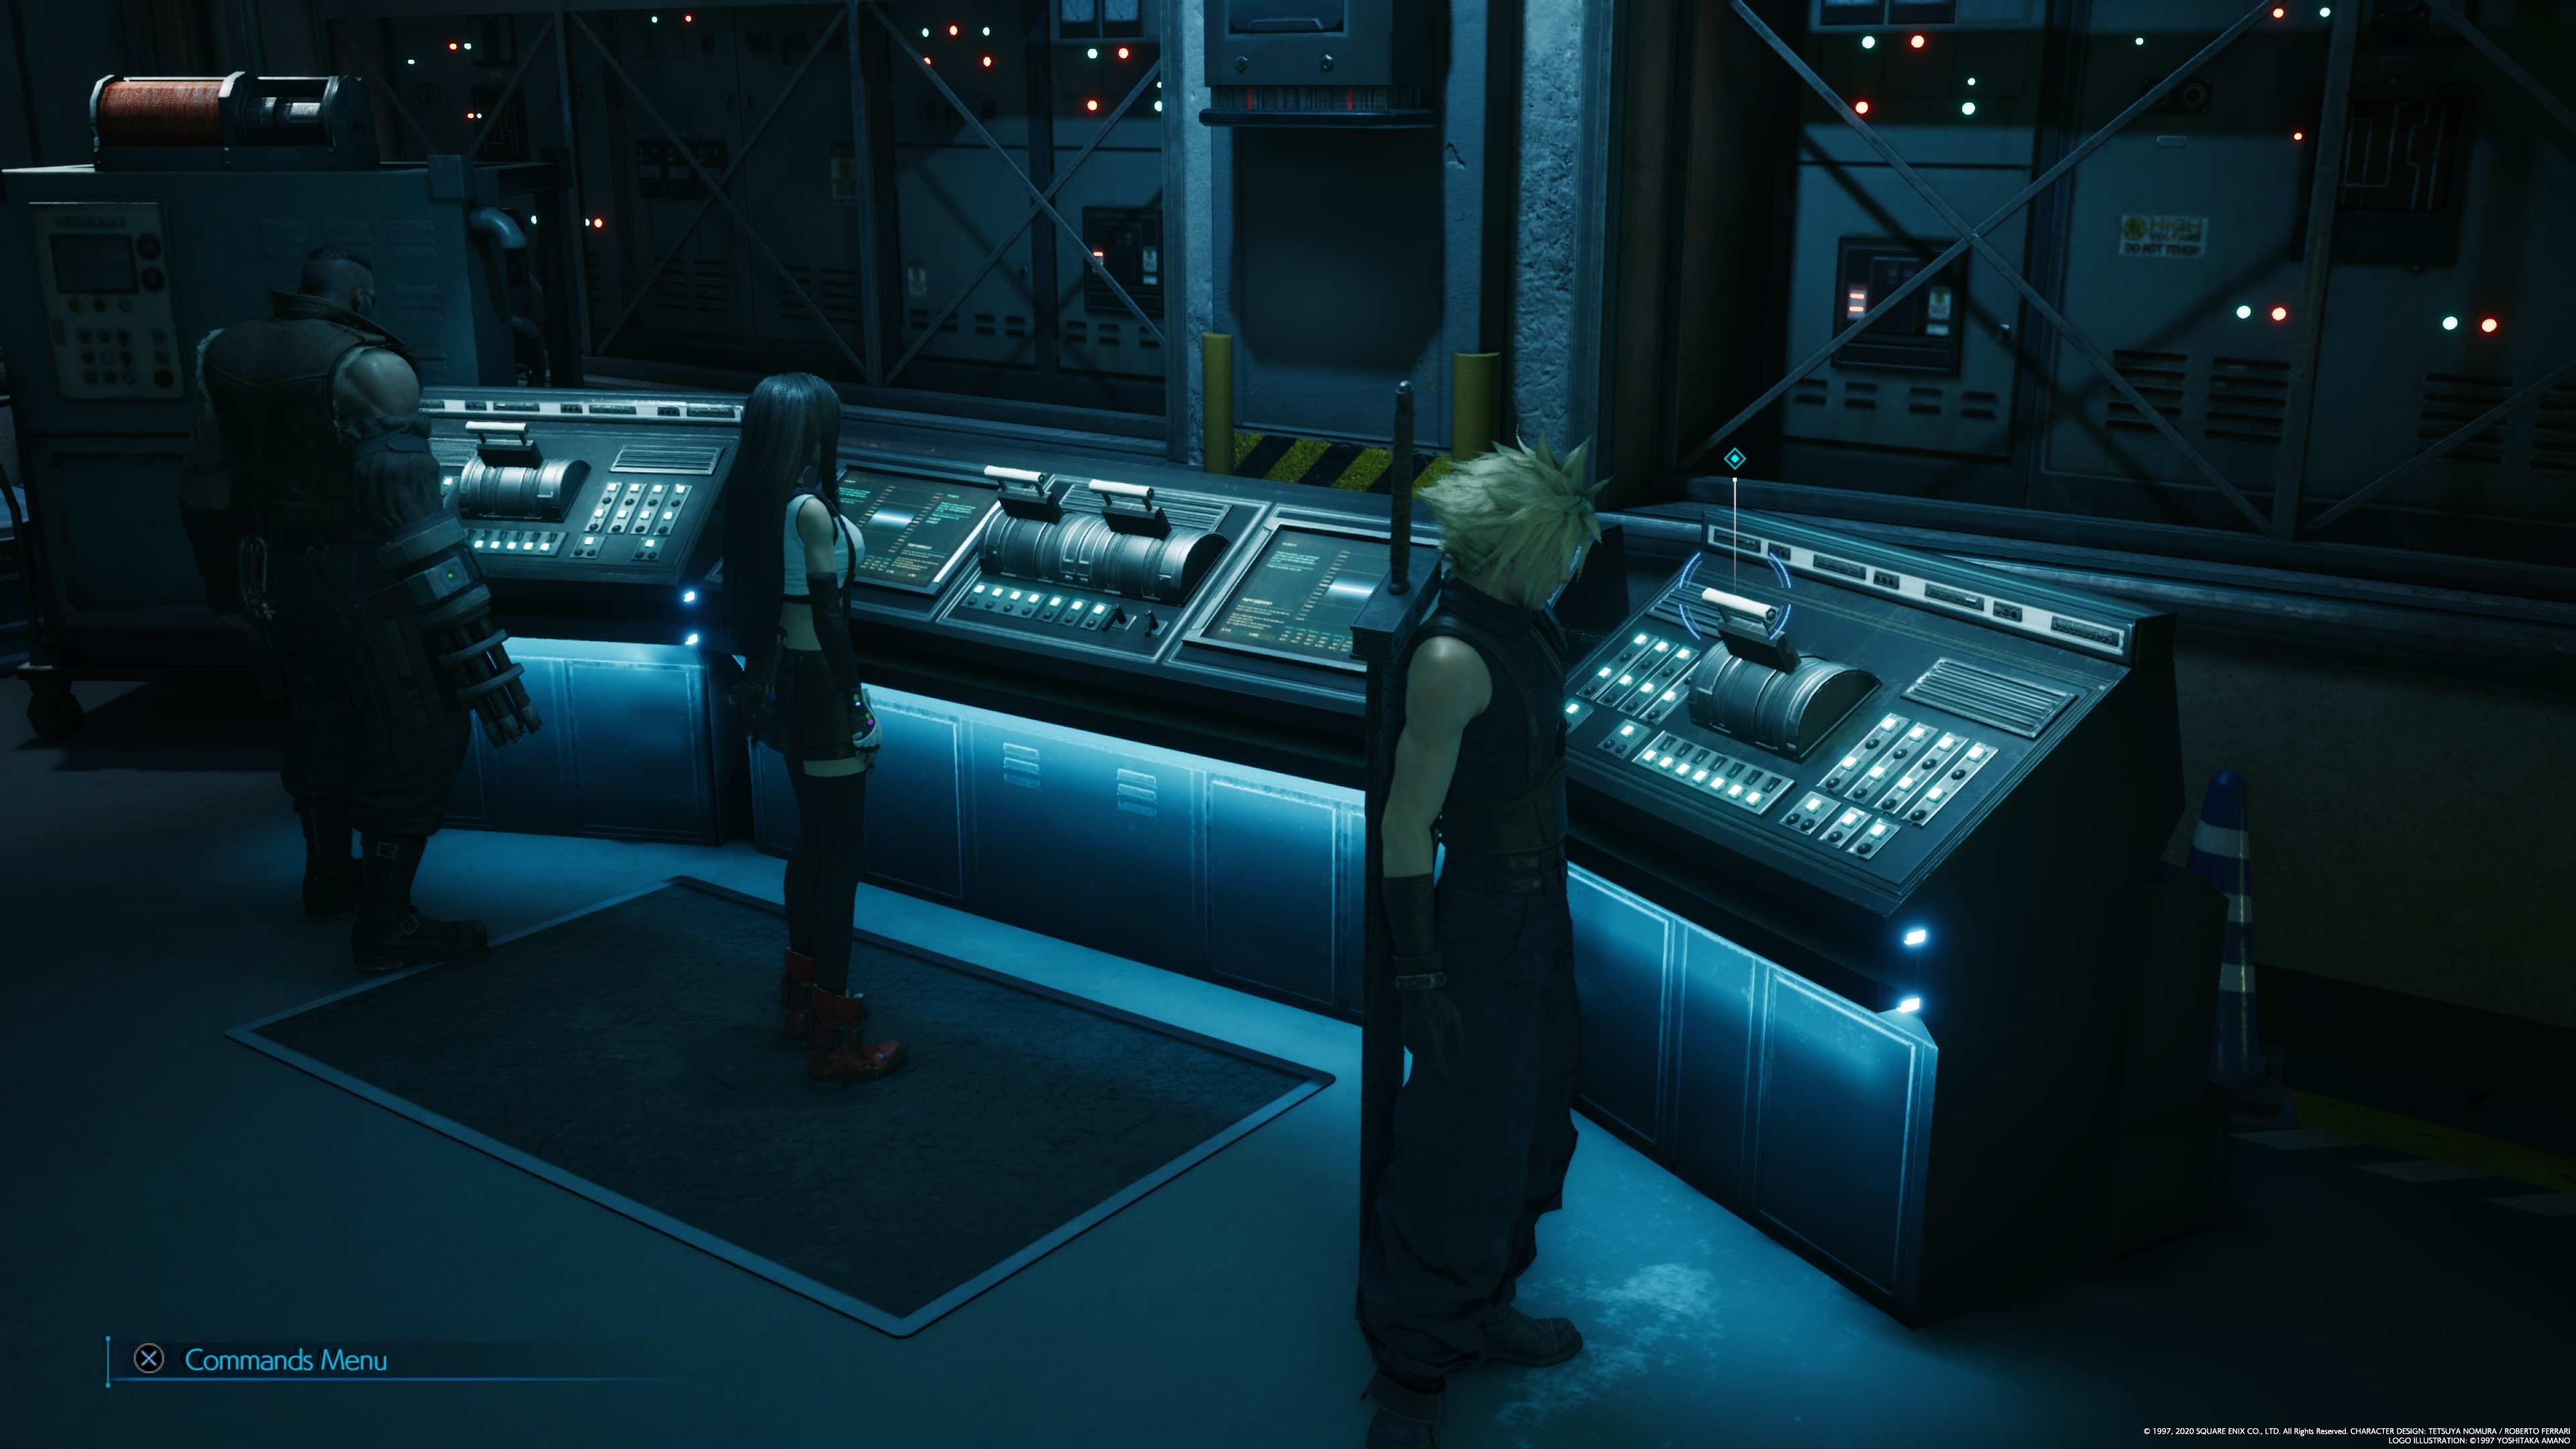
Ahead, enter the B8 Air Buster lab. Kill all the Security Officers, then grab the Reactor 5 Keycard from the west wall. You can use it at a nearby module to reduce the Airbuster's capabilities by sending some of its components to a disposal room up ahead. As you find more keycards, you'll run into new modules that allow you to sabotage different Air Buster parts.
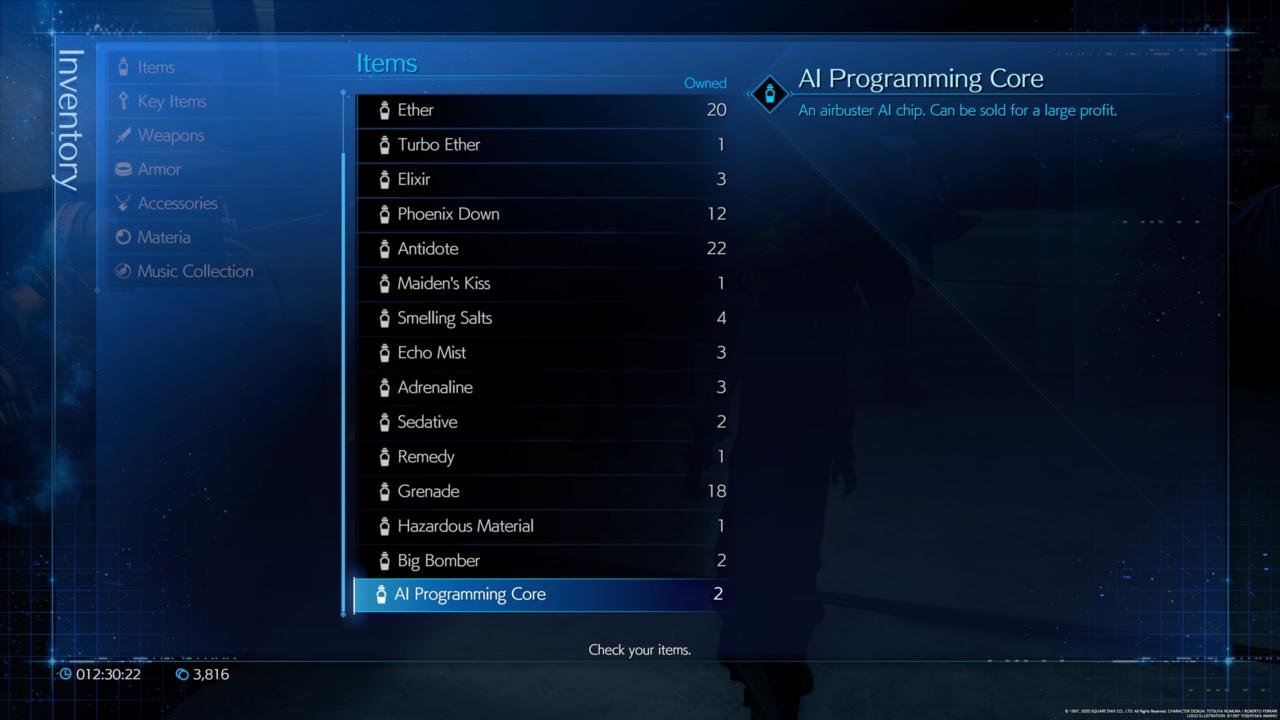
You'll have three choices for sabotaging the Air Buster: removing AI Cores, Big Bomber bombshells, or M Units. Removing AI Cores cuts down on the Air Buster's movement speed and ability to use stun attacks; removing Big Bomber shells takes away the boss's ability to use big, massively damaging explosives; and removing M units gives you random items you can retrieve ahead of the fight--although it doesn't hamper the Air Buster's effectiveness. You can make decisions about what to take from the Airbuster based on your playstyle, but we found removing all its Big Bomber shells is generally pretty helpful.
You'll find a total of six Keycards in total during this section, so check the Air Buster status control consoles in each of the labs to make decisions about how you want to sabotage the boss. Along the way, you can also check the large monitors you encounter to see how much of an effect you've already had on it.
You'll hit another lab on B7. Repeat the process and find another Reactor 5 Keycard on the west wall. Like the previous lab, this one contains two consoles. Before you leave, check the northwest corner of the room, behind some smashable crates, to find a Lightning Materia.
When you enter the next hallway, you'll run into a battle with an Elite Shock Trooper and some Sentry Rays. Clear them out, then check the southwest corner of the area, before continuing to the next hallway. You'll find another Reactor 5 Keycard here.
Clear out the B6 lab the same way as the others and find one more Reactor 5 Keycard to use on another pair of consoles. In the next hallway, head to its far end to find some crates you can destroy and a chest with a new weapon for Tifa: Sonic Strikers.
In the B5 lab, you'll find a Reactor 5 Keycard in the northwest corner of the room, and another one against the east wall. There are four consoles in this room you can use to make the finishing touches on sabotaging Air Buster.
Keep moving up to B4, where you'll fight some Elite Grenadiers, Riot Troopers, and Elite Riot Troopers. As you keep pushing into the room, you'll fight a Cutter mech. You can disable it's two cutting arms to weaken it for extra damage, but generally, you want to hit it with as much magic as you can to stagger it. Stay clear of its sawblades, whatever you do, because they'll do a ton of damage that's hard to avoid.
At the top of the newly opened ramp, check the west wall for some crates, and then open the chest southeast for an ether. Keep climbing up to B1, fighting Monodrives along the way until you reach the security room.
Disposal Room

You'll enter the security room to open the way forward, but when you're prompted to take Cloud's position at the right control, head to the door to the Disposal Room instead. That'll let you activate the security locks to open the door to get inside. You'll need to follow Tifa's instructions to move the levers in the correct directions, all at the same time. Look at the control panel screens to see which way you need to move the right and left thumbsticks on her count.
Inside the Disposal Room, activate the switch to get all the stuff you sent to the room and grab all of Shinra's gear. Before you leave, make sure to grab a Magic Up Materia off the ground.
After opening the security door, you'll reach the last pit-stop before fighting the Air Buster. You'll find a bench to heal up, plus a vending machine with the Bombing Mission Music Disc for sale. Once you're ready, head through the doors leading outside.
Boss Fight: Air Buster

Since Air Buster is a machine, Lightning is its weakness, so you'll want to outfit everyone with Lightning Materia. If you've got the Elemental Materia, this is an excellent time to use it--set it with a Lightning Materia for Barret so that he fires Lightning-infused bullets, allowing him to do more damage while quickly increasing the Air Buster's Stagger meter.
In the fight itself, you'll start with Cloud separated from Barret and Tifa, and the Air Buster facing him. Take a defensive posture; block with your guard stance all incoming gunfire and laser beams from the Air Buster, and dodge the EM Mines it kicks out periodically. Close the gap and perform melee attacks if you can manage them, but note that the Air Buster will use a blast of static electricity to knock you back if you linger too close. Fire off magic spells instead when you're not defending. Hit the Air Buster with enough Lightning, and it'll be stunned for a few seconds, allowing you to get in close and hit it with ATB abilities.
If Cloud is taking too much damage, Barret's "Lifesaver" ability from his Light Machine Gun can help, allowing him to tank damage from the other characters. Use it to spread around the hurt.
After a time, the Air Buster will turn and face Barret and Tifa. As Cloud, you now have a chance to get close for some damage, but watch out for the Air Buster's jets, which will fire periodically and knock you to the ground.
When the Air Buster's second phase hits, you'll need to worry about its massive Tankbuster laser. It'll shoot it down the center catwalk, making it pretty easy to dodge, but make sure you avoid it, or your characters will take a ton of damage. From here on out, the Air Buster will periodically fire the laser; when it does, drop everything and get clear.
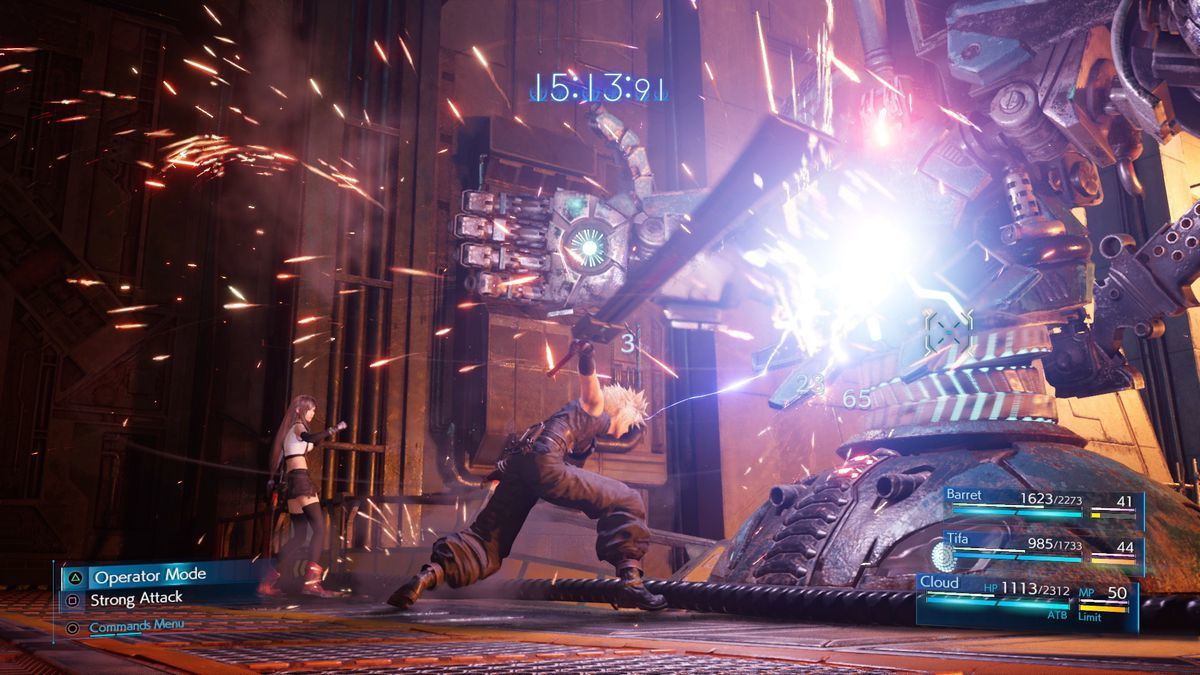
You can now close the cap on the Air Buster and hit it at close range while continuing to smash it with as much Lightning as possible. After a short time, the Air Buster's arms will split off, firing arcs of electricity between them. When that happens, focus your fire on one of them to stagger and destroy it quickly, using Barret's ranged abilities and magic. The arms will move to the other catwalk and try to punch you before long, so try to stay clear of them.
You should also get the opportunity to use a summon during this phase of the battle, which will help take the pressure off fighting the arms. After you hit them hard enough, the Air Buster will pull the arms back to its main body. Keep hitting it as hard as you can with Lightning to Stagger the Air Buster, and then lay into it for some considerable damage.
When the Air Buster gets down to about half-health, it'll hover off the side of the catwalk, beyond the range of your melee team's attacks. Switch to Barret and open up with his guns, while continuing to support him with as many Lightning spells as you can manage. When Air Buster floats back to the catwalk, send the melee fighters in to wail on it as much as they can.
Watch out for when the Air Buster rises to either crush you with a big punch from one of its fists, lay into you with its machine guns, or fire flamethrowers from its palms. When you see it preparing any of those attacks, dodge clear. It'll also fire its Tankbuster laser while rotating, covering more ground, so when you see it readying that attack, run for it.
As the Air Buster's health drops, just keep pounding away with Lightning spells to pressure it. Getting it close to death will trigger some significant, last-ditch attacks, like the Big Bomber, which will shoot a giant grenade at one of your teammates. But at this point, you should be able to overpower the Tankbuster and finish it off by unloading damage on it relentlessly.
Continue with our spoiler-free walkthrough in Chapter 8: Budding Bodyguard.
Got a news tip or want to contact us directly? Email news@gamespot.com
Join the conversation