Final Fantasy 7 Remake Chapter 10 Walkthrough: Rough Waters (Spoiler-Free)
Don't miss anything in the sewers of Chapter 10 with our Final Fantasy 7 Remake walkthrough.
Chapter 10 of Final Fantasy 7 Remake takes you even lower than the Midgar Undercity, into the sewers below. Though the section is fairly straightforward, this is an area where FF7 Remake likes to hide a few key items, including new weapons and Materia.
That's okay, though: We've mapped the sewer system to find everything worth getting in Chapter 10. Read on for all the details you need to defeat the sewers denizens and claim their treasures.
Check out the rest of our Final Fantasy 7 Remake guides so you don't miss a single secret or collectible. You can also read our FF7 Remake review.
- Chapter 1
- Chapter 2
- Chapter 3
- Chapter 4
- Chapter 5
- Chapter 6
- Chapter 7
- Chapter 8
- Chapter 9
- Chapter 11
- Chapter 12
- Chapter 13
- Chapter 14
- Chapter 15
- Chapter 16
- Chapter 17
- Chapter 18
Chapter 10 Walkthrough: Rough Waters
Boss Fight: Abzu

Abzu is a big foe with a long reach, but the biggest danger in this fight is poison from all the sewage. Getting hit by certain attacks from Abzu will poison your characters, and you'll want to deal with that quickly with Antidotes or Cleanse magic, because you might not realize how much damage you're taking from it until too late.
Abzu is weak to Fire spells, so a pumped up Fire Materia or two is key here. Fire massively drives up his stagger meter while also taking him out of the fight briefly, allowing you to inflict big damage. You'll want Aerith wielding the Fire Materia if you only have one, but if you've got more, it can't hurt to get more magic into this fight, especially to stop some of Abzu's big attacks. Primarily, you want to focus your attacks of Abzu's horns whenever you can. Crippling the horn knocks out some of its biggest water-based attacks, so the quicker you can do that, the better off you'll be.
Early on, Abzu will use its Backwash attack, which is deadlier than it first appears. It makes bursts of sewage fly out of the brown puddles scattered arond the arena, which hurt and inflict poison. If your characters get hit, deal with the poison so that the damage doesn't pile up. Other than that, be careful of its Ground Slam attack, which you can dodge when you see it coming, and its big melee swings, which you can block and counterattack with Punisher mode. When Abzu jumps up onto the pipes alongside the arena, it means he's about to come back down with a big Pounce attack and pin one of your team. This is a great time to nail him with Fire, which will interrupt his mauling of your teammate and leave him vulnerable to more damage. After a few seconds, he'll flee into the water.
You can't raise Abzu's stagger meter with magic attacks, so reserve those for damage--instead, lay into him with melee strikes, particularly with Tifa, to try to push his stagger meter up. More important, though, is trying to cripple Abzu's horn, which will also open up to sustained attacks.
In the next phase of the fight, Abzu will get Enraged and become more aggressive. It'll jump on the pipes again and use its Backwash Blast attack, which will spray a bunch of sewage out of one of the big pipes on the sides of the arena; when that happens, run alongside the pipe to avoid the flood. You'll also want to watch out for Backwash Spout, which creates water tornadoes out of the puddles on the battlefield, which will come at you fast.
Crippling Abzu's horn will knock him out of Enrage and open him up to attacks again, so keep up with hitting him as much as you can and lay down big damage with Fire magic. Keep clear of him when he readies his Triple Charge and Bash and Smash moves, although if you're quick with a powerful spell, you'll be able to interrupt both. Keep your party healthy and keep setting the boss on fire until you're victorious.
Final Fantasy 7 Remake News
- Final Fantasy 7 Remake Intergrade Review - Materia Improvements
- Final Fantasy 7 Remake Dress Guide: How To Get Every Dress In Wall Market
- What Would Suit Tifa Choices: Final Fantasy 7 Remake Dress Guide
- + Show More Final Fantasy 7 Remake News Links (2)
- Final Fantasy 7 Remake Guide: Corneo's Secret Stash Locations
- Final Fantasy 7 Remake Materia Guide: Essential Materia You Might've Missed
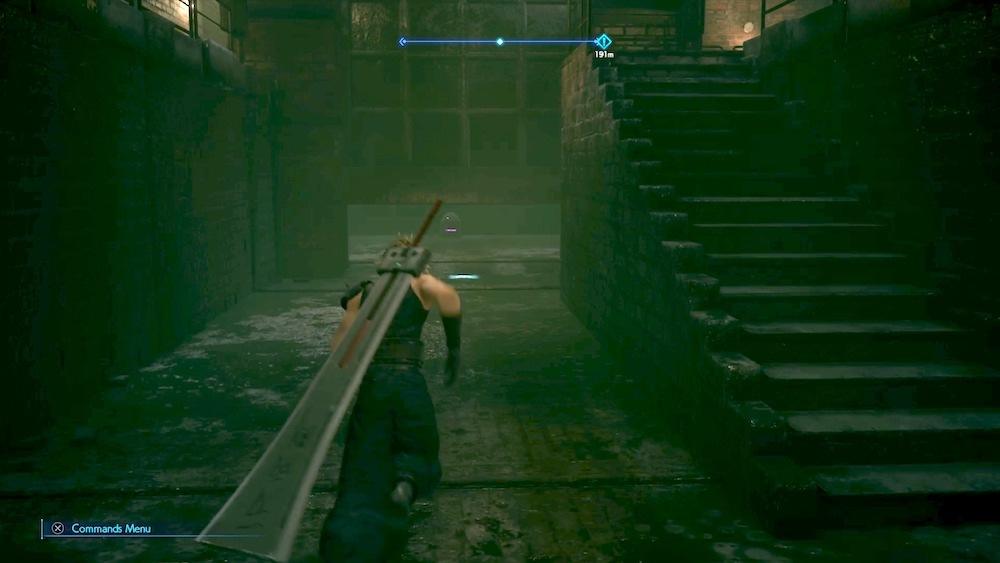
The Sewers
After the fight with Abzu, turn right down the next tunnel, heading south. You'll find a chest with ether in the corner at the end. You'll next run into a Sahagin enemy; both Fire and Ice spells will quickly fill its stagger gauge, but beware its Harpoon Haul move, which will transform anyone caught by it into a toad. You can clear the effect with a Maiden's Kiss item. Once the Sahagin is dead, open the chest at the end of the walkway at the top of the ladder to find two hi-potions.
In the next section of sewers, you'll use a switch to raise a sluice gate to lower the water. Go down the stairs and duck under the gate to find a chest that contains Feathered Gloves for Tifa.
Continue into the small break room up ahead to find a bench and a vending machine, where you can buy a The Oppressed Music Disc.
You'll soon come to a darkened tunnel. Keep moving through it until you hit a locked door on the other side, then enter the door on the other side of the room to find a switch to turn on the lights. In the east waterway room, drain the water with the switch on the wall and you'll find the sewer key. In the west waterway room, you'll discover a chest with 800 gil and Shinra crates.
The next area has you draining the water from the waterway so you can cross it. After entering the waterway, you'll come back up a ladder and lower a gate that'll get stuck on some debris. Make sure you head through the wrought iron gate here to find a Poison Materia on the ground before continuing across the sluice gate itself.
You'll leave the waterway soon after. Follow the path all the way south (ignoring the ladder up to the west) to find a treasure chest that contains two orbs of gravity.
The path will fork to the north and south in the next area. Head south first, through a round room with a smattering of enemies. At the bottom of the next ladder, turn right and take the pathway north to its end to find a Warding Materia. Back to the south, you'll find a ladder that leads to another fight, and then a pathway to some crates and a chest with a Revive Earrings accessory. Take the north path to reach Primary Treatment.

You'll complete a quick pump mini-game here, which is pretty self-explanatory. Once the water is drained, you'll contend with a running fight against Sahagins to the exit. Your primary goal here is to avoid being turned into a toad by the Sahagins' harpoons, so try to keep an eye out for that attack and use items to counteract it if you get into trouble.
Got a news tip or want to contact us directly? Email news@gamespot.com
Join the conversation