Final Fantasy 7 Remake Walkthrough Chapter 5: Dogged Pursuit (Spoiler-Free)
Here's a walkthrough detailing how to beat the fifth chapter of Final Fantasy VII Remake for PS4, as well as find all the weapons, armor, and collectibles along the way.
Keep working your way through Final Fantasy 7 Remake with our spoiler-free walkthrough, taking you back up to the plate with Jessie, Biggs, and Wedge to execute a new mission. Chapter 4 puts Cloud on a motorcycle, recalling one of the more intense minigames of the original, and includes a couple of tough boss fights that will test both your driving skills and your swordplay. We've got everything you need to know to get through the mission below.
- Chapter 1
- Chapter 2
- Chapter 3
- Chapter 4
- Chapter 6
- Chapter 7
- Chapter 8
- Chapter 9
- Chapter 10
- Chapter 11
- Chapter 12
- Chapter 13
- Chapter 14
- Chapter 15
- Chapter 16
- Chapter 17
- Chapter 18
Chapter 5 Walkthrough: Dogged Pursuit
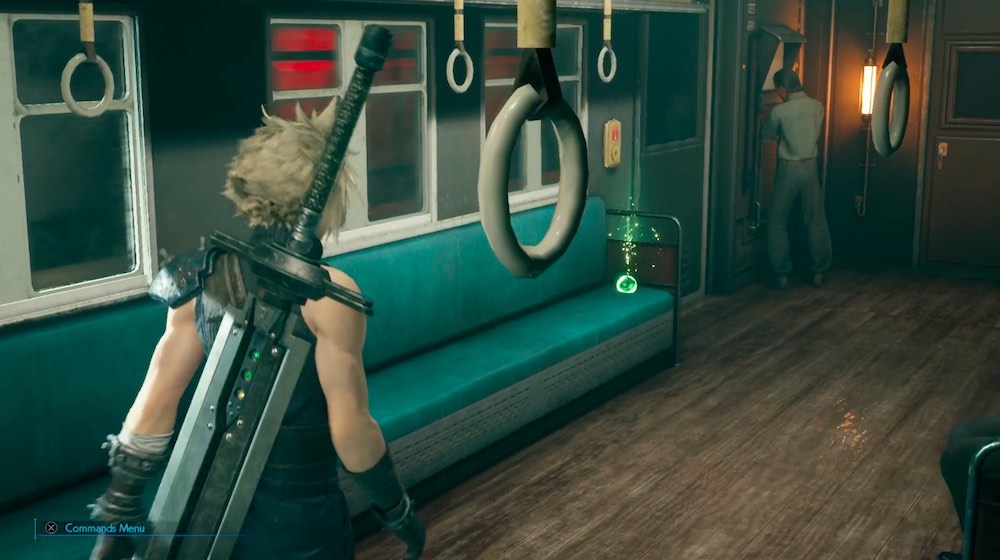
You'll start the chapter aboard the train. Check in with Tifa and then head to Barret's train car. Look for a Healing Materia in the car after the scene.
Of course, battle isn't far off. Shinra drones called Slug Bots will accost you next. They're weak against Thunder magic, and Tifa's combos are good at staggering them.
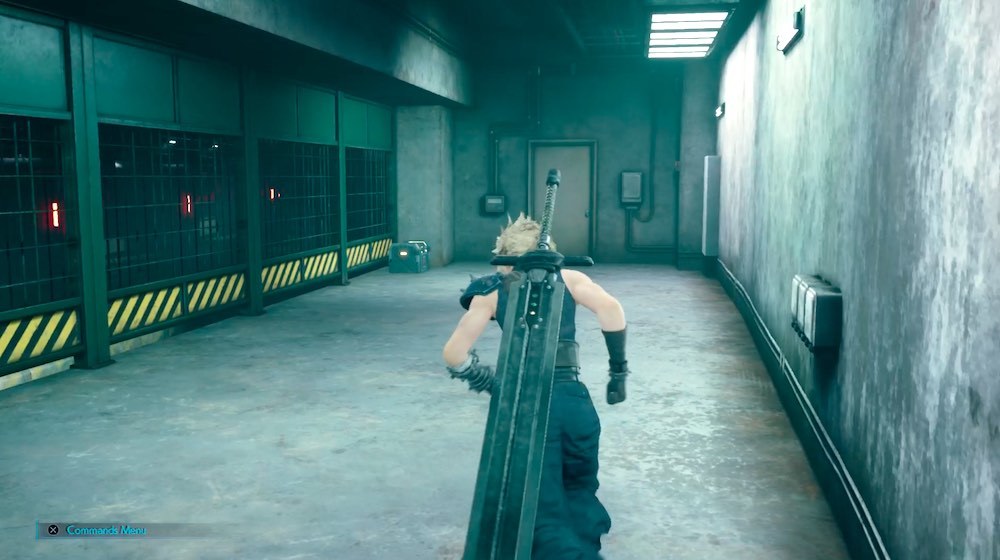
After you jump from the train, use the bench and vending machine on the platform on the left side to get any gear you might need and to heal up. Further in, check the right side of the tunnel for a platform where you can smash some Shinra crates, and open a chest that contains two hi-potions.
After you get back to Barret, make a right before heading towards the objective into a storage room containing a chest with an elixir.
Follow the tracks until your first group of Slug Bots. Kill them, then look to the south side of the tracks for a staircase up to an elevated area. Follow the stairs to the back of the area, where you'll fight some Wererats and find a chest that contains a Star Pendant.
Keep going until you fight a group of Slug bots and Guard Dogs, with an Elite Grenadier. Look for nearby Shinra crates between the tracks; smash them for a Moogle Medal.
Before you leave this spot, check the door on the north side of the tracks. You'll find a locker room inside with a treasure chest; open it to get a bottle of ether.
Grab two antidotes out of the chest at the end of the walkway after climbing the stairs by the Stamp graffiti.
Ahead, you'll enter a Grashtrike nest. These guys are vicious melee fighters that use a Barrier on themselves when their health gets low. They'll also poison you with their tail attacks, so try to watch them for indications that the attack is coming so you can get clear. Use Ice magic to stagger them, and be sure to guard to reduce the damage you take and give yourself some room to breathe.
After your first fight with a Grashtrike, look in the corner on the right, beneath the stairs, for a chest with two hi-potions. Another two Grashtrikes are ahead.
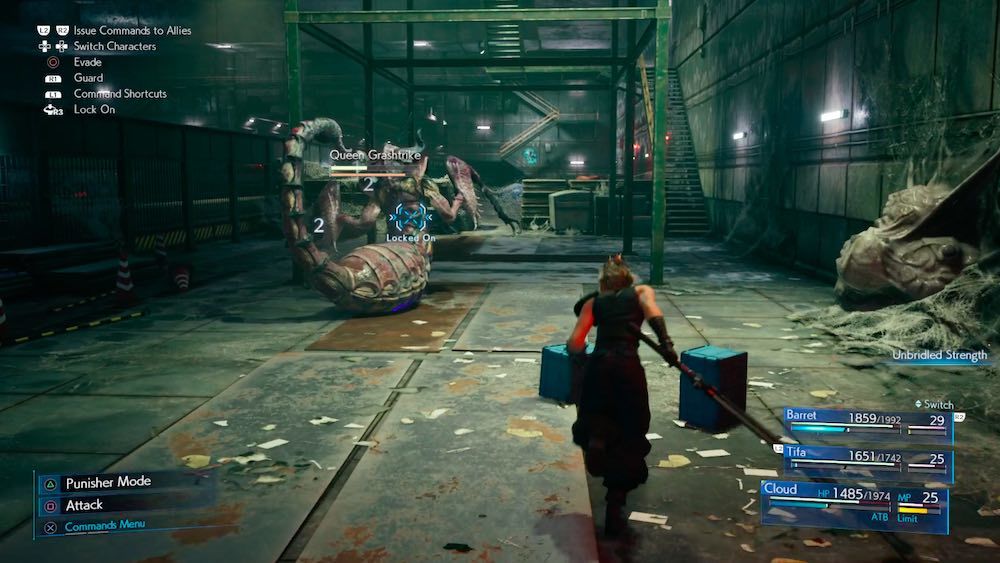
Down the stairs, you'll fight more Grashtrikes and a Queen Grashtrike. Deal with the smaller ones first, then focus on the queen. Use Barret's ranged attacks and magic, especially Ice, for big damage. When you've got her pressured, get in with Cloud and Tifa and pummel the queen to stagger it. Watch out for the Royal Webbing attack, which will slow you down and make it easier for the queen to attack you, but if you're hitting it hard with sustained attacks, you should take it out easily.
As you leave, smash the crates on the left side of the path ahead then use the bench in the right corner to heal up. There's also a chest here that has three phoenix downs. You can also buy Poison Materia from the vending machine.
Take the stairs up at the next Stamp painting. When you come back down, you'll face a new Flametrooper enemy. These guys are weak to Fire spells, and if you hit them in the back, you can make their flamethrower tanks explode. In general, stay away from them, as their flamethrowers inflict major damage. Try to get a Fire or Fira spell charged up and use that to knock the Flametrooper out quickly.
The train tunnel splits up ahead after a cutscene. You need the southern fork to advance, but check on the north side for another side locker room. The treasure chest contains a Leather Bracer.
At the gate to the railyard, you'll face two Sentry Guns and two Flametroopers. The guns are tough to damage with anything other than Thunder magic, so keep your distance from the flamethrowers and try to knock them out quickly. Thunder will stagger the guns, allowing you to knock them out before they can hit you with multiple volleys of missiles. Mop up the Flametroopers with Fire magic after that.
You'll bypass the gate by taking the stairs to the left, which will take you into some hallways that lead to the railyard. When you come to a set of stairs, pass them to go through a door at the end of the hallway to find a locker. Inside is a vending machine where you can buy the Stamp Music Disc. You can also grab a Lightning Materia on the ground between the lockers, and use the bench to heal up.
The next room contains two Elite Security Officers. Block their melee attacks to interrupt them more easily; they're weak to Fire magic as well. Smash the crates on the west side of the room before you leave. You'll take a ladder down to train tracks next.
Boss Fight: Crab Warden
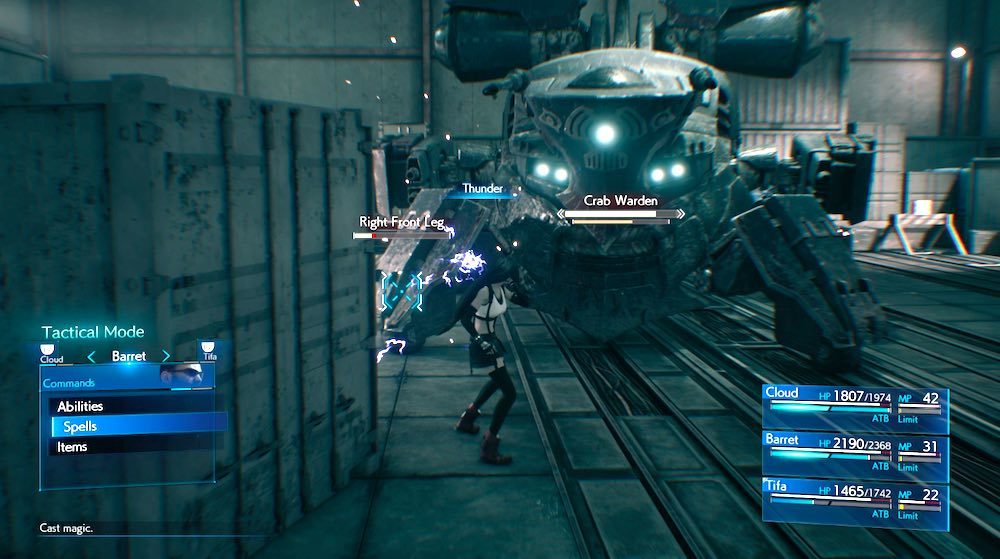
The Crab Warden has a bunch of different targets on its body, and to put it down for good, you need to cripple each of its legs in turn. It's weak to Lightning magic, so make sure you have some Lightning Materia equipped ahead of time--the more, the better, but definitely give an orb to Barret, since he can stand back from the battle and support the melee fighters with spells.
The Crab Warden likes to electrify the train tracks, so make sure your party isn't standing on them when it starts to kick out arcs. It'll do this every once in a while, so keep an eye out for Crab Warden readying the attack, and get yourself clear. Once the electricity dissipates, have Cloud and Tifa focus melee attacks on the Crab Warden's legs, while commanding whoever you've assigned Lightning Materia to bolster their attacks with Lightning spells. Attacking the Crab Warden's legs from the side and back from the back can be very useful since most of its guns are in the front, but be careful of its EMP blast area attack, which will hit you for big damage if you're standing too close. Repeat this cycle of attacks and defense until you destroy a leg to Stagger the crab; use that opportunity to deal massive damage with your ATB abilities.
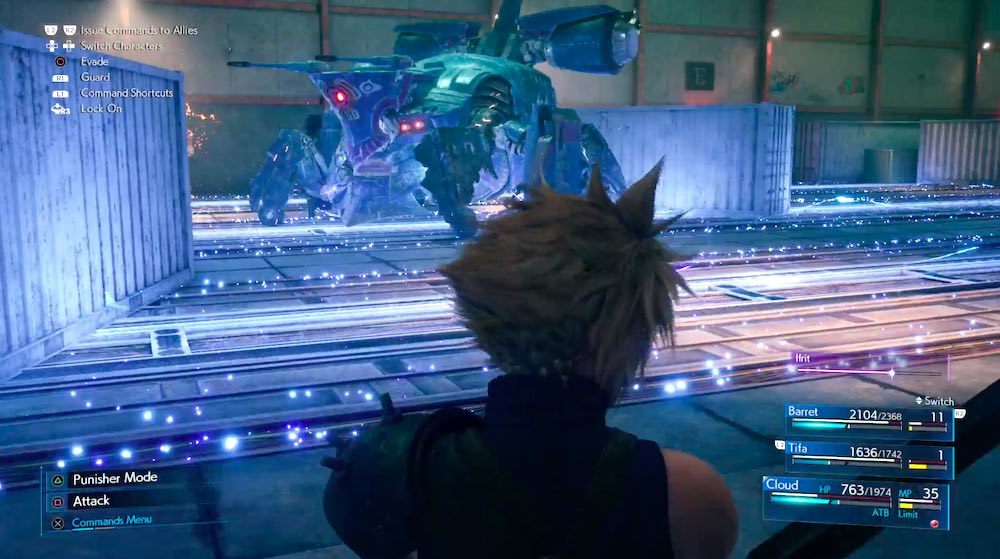
The Crab Warden will add additional attacks as it takes more and more damage, eventually opening two big missile launchers on its sides. These are tough to dodge, so get ready to guard to mitigate the damage, and keep pouring out the Lightning in the meantime. The missiles are a significant threat, so focus on the launchers to destroy them, while also forcing the Crab Warden to expose its pilot generator. At that point, you should be free to lay into the exposed weak point with everything you've got to finish the boss off in short order.
Follow the path to the elevator to end the chapter.
Continue with our spoiler-free walkthrough in Chapter 6: Light The Way.
Got a news tip or want to contact us directly? Email news@gamespot.com
Join the conversation