Final Fantasy 7 Remake Chapter 13 Walkthrough: A Broken World (Spoiler-Free)
Find all the secrets and defeat yet another tough boss in our spoiler-free walkthrough for Chapter 13 of Final Fantasy 7 Remake.
Final Fantasy 7 Remake's Chapter 13 shakes up your team once again, putting you through your combat paces with a different group of fighters than you're probably used to. We've got all the information you need to make it through, while also claiming all the Materia, collectibles, weapons, and secrets along the way. Check out our full walkthrough below.
Check out the rest of our Final Fantasy 7 Remake guides so you don't miss a single secret or collectible. You can also read our FF7 Remake review.
- Chapter 1
- Chapter 2
- Chapter 3
- Chapter 4
- Chapter 5
- Chapter 6
- Chapter 7
- Chapter 8
- Chapter 9
- Chapter 10
- Chapter 11
- Chapter 12
- Chapter 14
- Chapter 15
- Chapter 16
- Chapter 17
- Chapter 18
Chapter 13 Walkthrough: A Broken World
You'll start by navigating through wreckage near Evergreen Park. Keep moving until you reach Wall Market. Follow Barret up to the north. You can enter the narrow alley just north and east of the Item Shop to open a chest with a Moogle Medal that was previously blocked.
As you head north toward Sector 5, the road will fork. Cut over to the left into the concrete building to find a Star Pendant accessory inside a chest.
When you reach Aerith's house, before leaving, check upstairs in Aerith's room to find a chest that contains a Mythical Amulet accessory.
Head back south toward Sector 6 and take Aerith's shortcut into the Collapsed Expressway. When you're diverted through a narrow passageway by a blockage in the tunnel, look for a chest that contains a mega-potion. Keep going until you hit a defunct subway tunnel with graffiti on the walls; look in the doorway right when you enter the passage to find a chest with a Heavy-Duty Bracer armor.
Keep moving down the tunnel, fighting through some bandits, until you can cross onto the other tracks on the north side. Head up north and east to find a chest with an ether inside.

After fighting Beck's crew one more time, check the left side of the tunnel ahead for a chest with an orb of gravity inside. You'll soon come to Evergreen Park; talk to the Item Store owner beside the bridge to buy the On Our Way Music Disc. You can also get the Big Bertha weapon for Barret from the Weapon Store owner.
Things are pretty straightforward as you head through Sector 7.
Shinra Underground Test Site
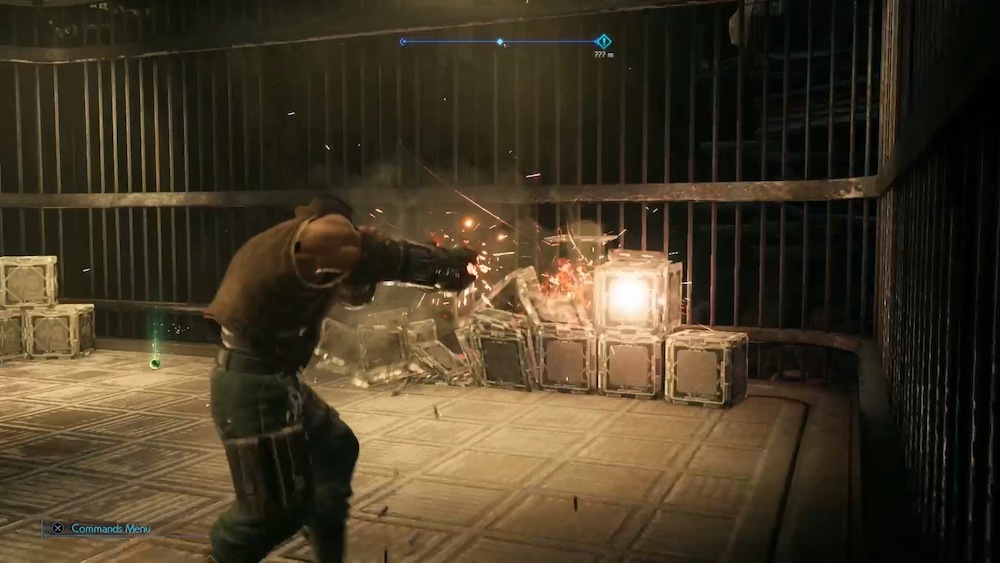
Follow the hallway forward through some battles. You can hold down the Square button to unload on the Shinra crates up on the shelves above Barret, allowing you to snag a bunch of items. At the end of the hall, you'll find a blocked door. Keep going down the hall, past the fallen rubble, to find a chest with 2,000 gil inside.
At the top of the stairs, turn left and shoot the crane to drop the pathway ahead. You'll be able to cross to a chest with two hi-potions inside.
Keep moving up to the Researcher's Access area, you'll enter a tunnel that loops down to the south. Instead, turn and head north, blasting through a barrier to access a chest. Inside is a Healing Carcanet accessory.
Ahead, you'll reunite with Tifa, then run up against three giant ventilation fans blocking the way. Go through the one on the right to find some crates to smash and the one on the left to get to a chest with an ether inside. The middle fan is the path forward. Once you're through, shoot the door on the cage on the right to get to an Ice Materia; inside the one on the left is a chest with a turbo-ether. Right up the stairs, blow open the door of another cage on the right to find a Warding Materia.
Keep ascending to Underground Test Site - B1, where you'll hit a breakroom. At the vending machine you can purchase the Main Theme of FFVII Music Disc.
Final Fantasy 7 Remake News
- Final Fantasy 7 Remake Intergrade Review - Materia Improvements
- Final Fantasy 7 Remake Dress Guide: How To Get Every Dress In Wall Market
- What Would Suit Tifa Choices: Final Fantasy 7 Remake Dress Guide
- + Show More Final Fantasy 7 Remake News Links (2)
- Final Fantasy 7 Remake Guide: Corneo's Secret Stash Locations
- Final Fantasy 7 Remake Materia Guide: Essential Materia You Might've Missed
Boss Fight: Failed Experiment

The first portion of the fight sees you flooded by enemies called Unknown Entities. These guys are pretty weak generally, but can be a problem if they come after you in big numbers. Use attacks that take down lots of guys quickly: Barret's Maximum Fury is great because he'll blast an enemy until it's dead, then pick a new target and keep going, until his ATB is expended. Use the attack with two full charges and you can shoot down lots of Unknown Entities in one go. They're also weak to Ice spells in particular, so bring Ice Materia and Shiva to help you diversify your attacks. It's good practice to equip Barret with an Elemental Materia and Ice on his weapon, so he can more quickly take down Unknown Entities.
Keep fighting off the Unknown Entities until Barret yells for Tifa to go close the vent. When that happens, take control and head to the staircase as quickly as possible to advance the fight to its next phase, when the Failed Experiment appears. With Tifa on the upper level, use Chi Traps and Starshower attacks to quickly clear out the smaller enemies. Run toward the wall, because the Failed Experiment will start wrecking the walkway while you're on it.
You'll now have your team separated, with Tifa dealing with small enemies and Barret stuck closer to the big guy. You want to use Tifa to kill the smaller enemies and try to get the Failed Experiment's attention, while Barret focuses his fire on the "Appendage" target on the Failed Experiment's back. Maximum Fury, Focused Shot, and Overcharge are good for dealing a lot of damage to the weak point. At the same time, keep Barret on the move to avoid the Toxic Volley attack, which will afflict you with Poison.
Once you rip through the Appendage, the fight will progress with the walkway where Tifa is positioned getting destroyed, bringing her back down with Barret. Now the Failed Experiment will get serious, using the Claim ability to pick up the smaller minion enemies, and the Fling attack to literally throw them at you. Use the cargo containers and other debris around the room as cover to avoid getting walloped, and keep knocking out the little guys as much as you can.
You also need to keep an eye out for one of the Unknown Entity enemies starting to cast Thundaga. When that happens, immediately prioritize that target and kill the enemy before it can cast the spell. Otherwise, the Failed Experiment will get charged up with lightning, giving it the ability to throw electrified enemies at you, or to use a Plasma attack that sends blasts of energy coursing through the entire battlefield that can seriously mess up your day.
Keep hitting the Appendage as much as you can with Barret's gunfire and with Ice spells with one character while the other mops up other enemies as much as possible to keep the battlefield manageable. Once you do enough damage, you'll expose the Failed Experiment's weak point; pour on the damage even more with Focused Shots and Focused Strikes to stagger it. Take full advantage of your best abilities and Ice spells to put the hurt on it. Repeat the process from there, being sure to keep your team healthy and to keep eliminating Unknown Entities (they'll probably have barriers up now that make them immune to magic, so gun them down quick) until the boss falls.
Your reward for winning the fight is a new set of gloves for Tifa: the Mythril Claws weapon.
Continue in our Final Fantasy 7 Remake Walkthrough Chapter 14: In Search Of Hope.
Got a news tip or want to contact us directly? Email news@gamespot.com
Join the conversation