CoD: Black Ops Cold War Zombies Outbreak: How To Complete Operation Excision Storyline Quest
Outbreak's Operation Excision quest serves as the narrative prologue for the upcoming Mauer der Toten round-based map, and here's our guide to help you complete this mission with ease.
Call of Duty's Season 4 arrived on June 17, which continues the "Dark Aether" narrative for Black Ops Cold War's Zombies with a new Outbreak storyline quest. Along with the new Zoo Outbreak map, additional features were added for players to complete the "Operation Excision" quest.
Operation Excision's storyline serves as the "narrative prologue" for the new Mauer der Toten round-based map coming later in Season 4. This new quest is one of the more simplistic storyline challenges we've seen in Zombies, so this is a great time for new or casual players to try their hand at completing a main quest, and our guide for Operation Excision is here to make the challenge as painless as possible.
Read More: How to Turn on the Power in Mauer der Toten
Because of the simplistic nature of Operation Excision, you won't need a specific loadout in order to complete the quest. You'll want to spend the first two rounds just doing all the world events of the first two maps to build up points, but feel free to tackle this with the field upgrade and guns of your choosing. You don't even need a full squad to survive, as Operation Excision is also solo and duo friendly.
If you've already fought Orda in Outbreak Round 4 or higher, then you should already be pretty comfortable with this, as Orda is part of the final fight for Operation Excision.
If you're new to Outbreak, here's our guide for taking down Orda. You won't need a special Wonder Weapon to take down this boss, but it can make your fights much easier. Here's our guide for obtaining and upgrading the D.I.E Shockwave Wonder Weapon. We also have a guide for getting the powerful Aether Tool item, which helps you level up your gun rarity much faster. Equipping a Chopper Gunner killstreak can also help you in your fight against Orda.
So, again, build up points and gear up in the first two rounds of Outbreak. Fully Pack-A-Punch your weapons, and grab all the perks. The first step for the Operation Excision questline begins when you warp to Round 3.
Step 1: Red Rifts
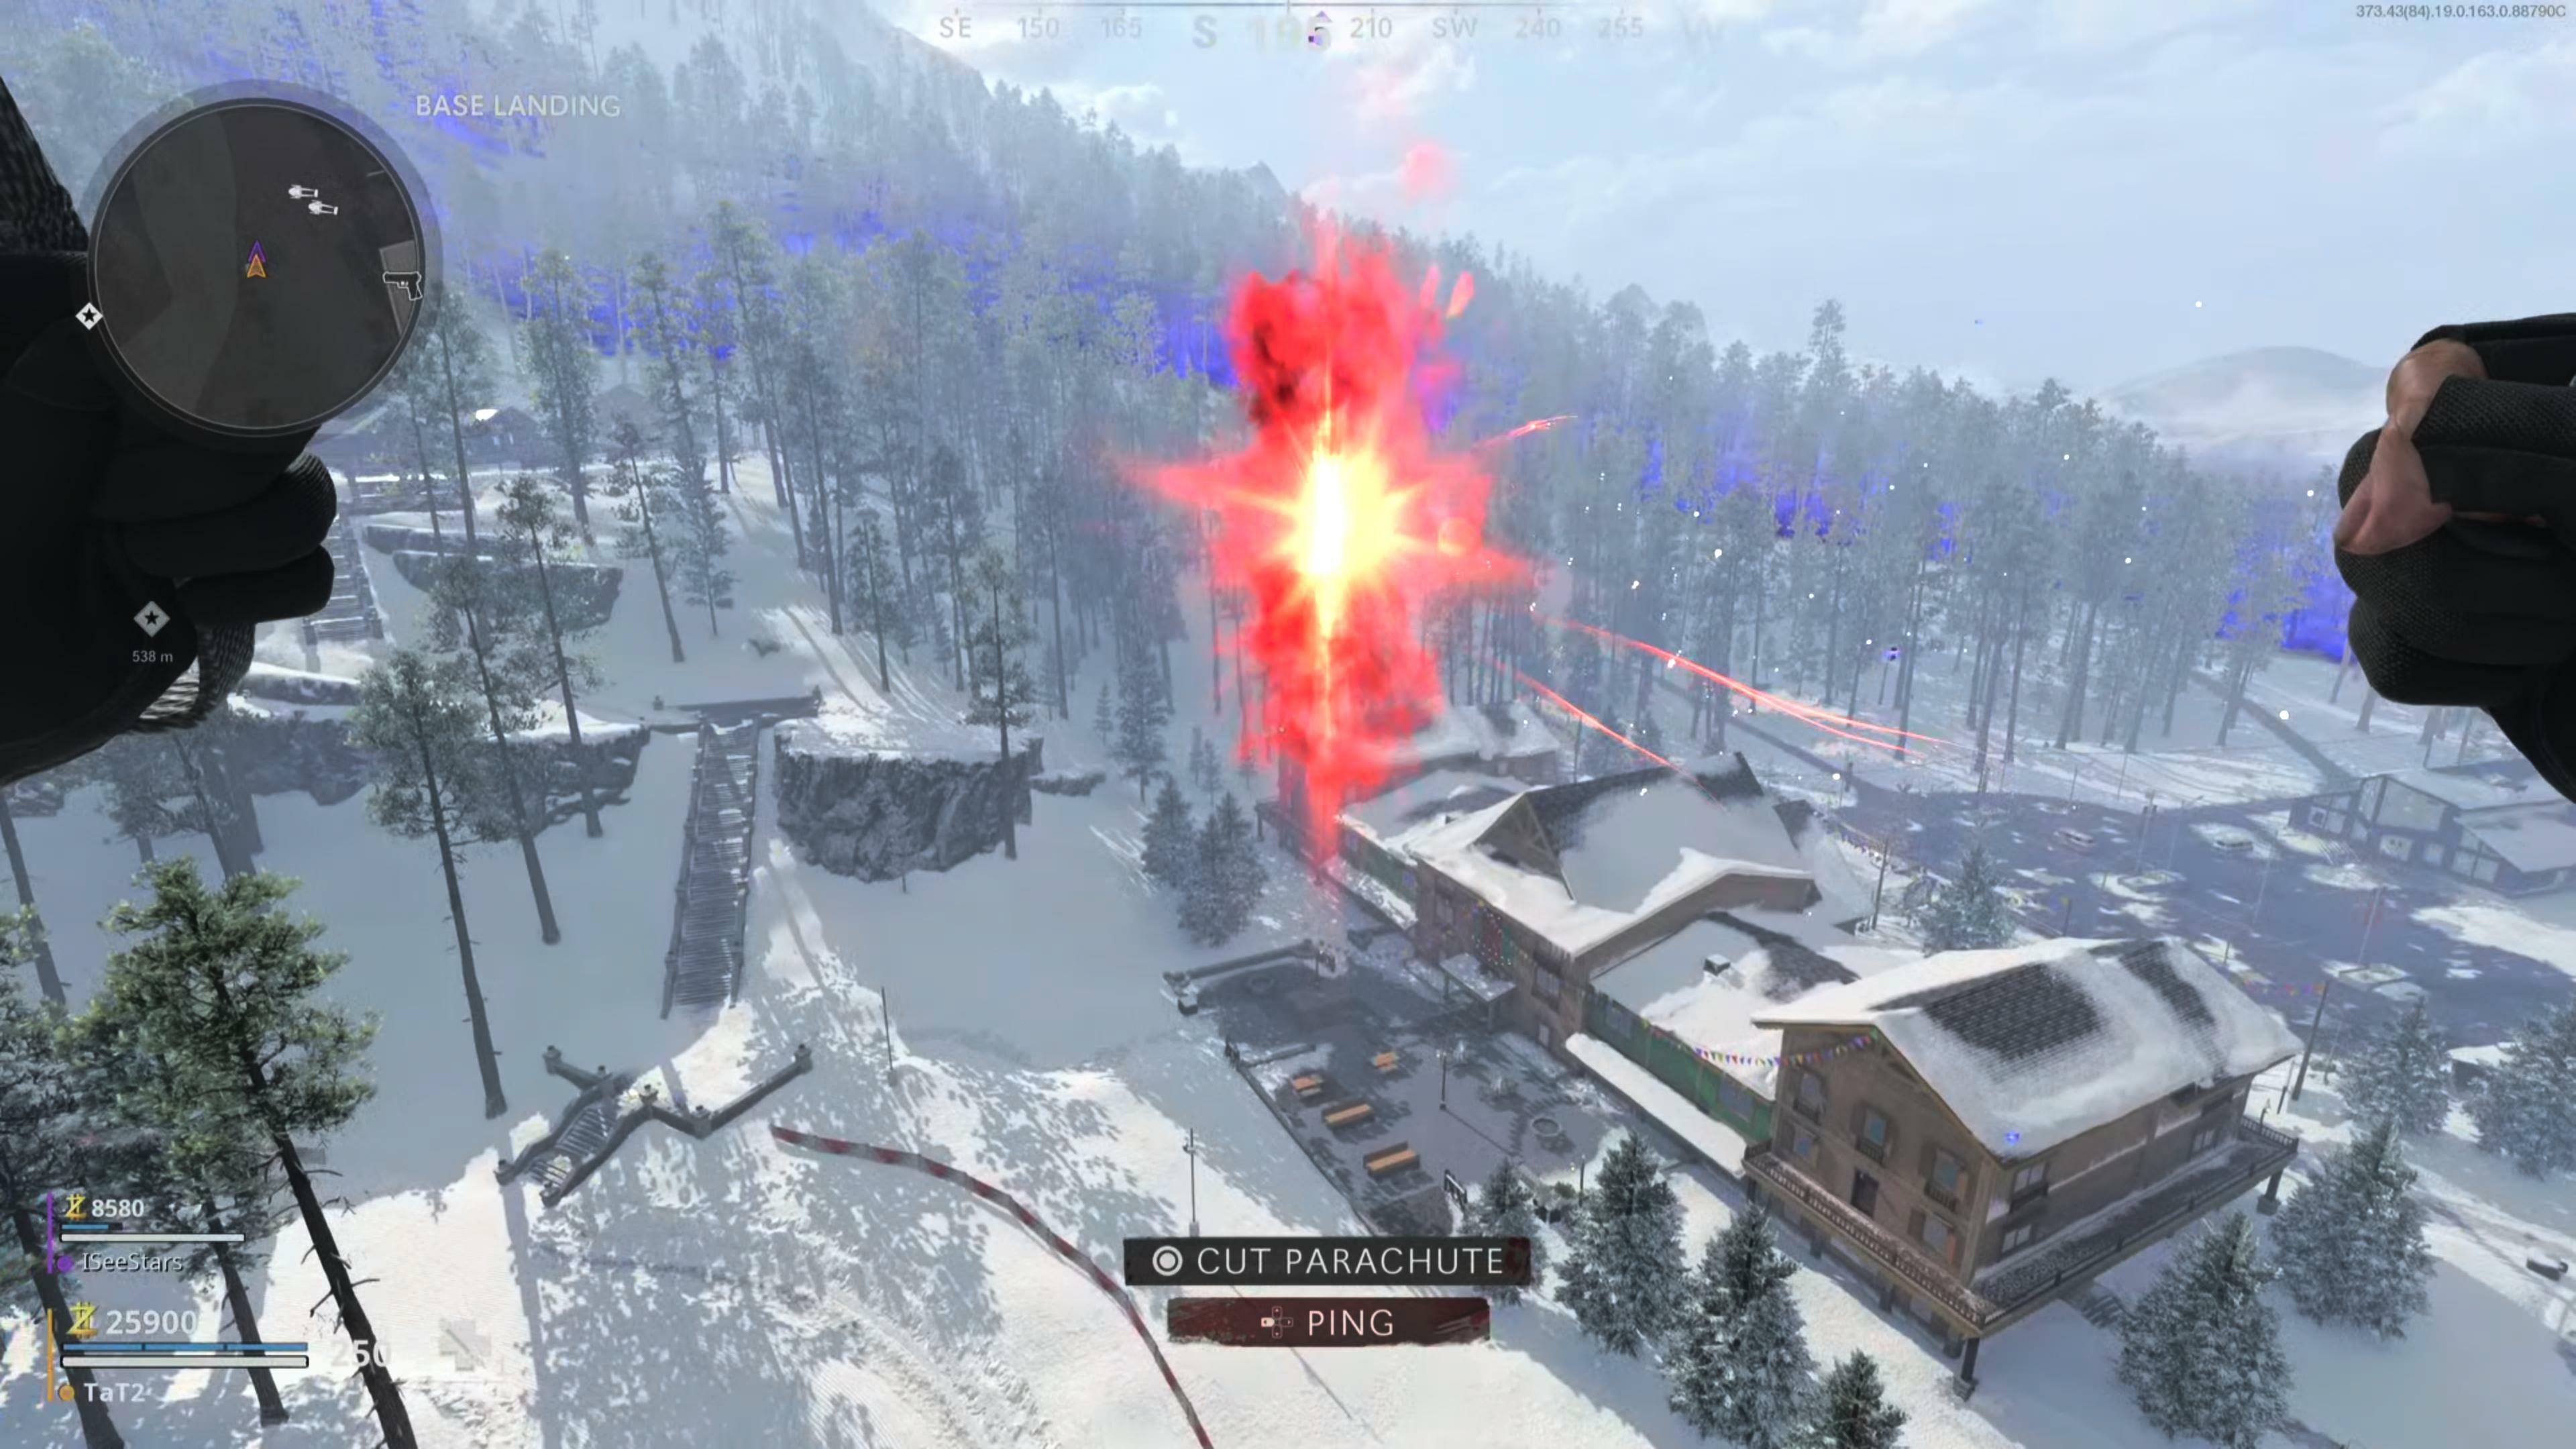
On Round 3 you'll want to find a red rift on the map. It looks just like a red version of the purple rifts found on all the Outbreak maps, and it gives off a pretty loud humming noise. Stepping into the red rift will teleport you into the air, and you'll want to quickly look for another red portal. You'll want to use your parachute to carefully glide into the second red rift. This will teleport you back up into the air again, and you'll look for a third rift. Once you've successfully chained together these three rift jumps, you'll then see an object dropping from the sky as you're parachuting down. The object leaves behind a glowing trail as it falls, so it's pretty easy to find. Go to where it lands and grab it. This is the Beacon Listening Device needed to get to the next step.

This rift step isn't too difficult, and only one person in your squad needs to successfully complete it, but it's probably worth having everyone attempt it together.
The rifts can be found in the following locations:
- Alpine: On the cliff edge of Dead Man's Cliff
- Duga: Inside the underground bunker at Bunker Hill
- Golova: Inside the top of the Church
- Ruka: In a small shack at the Old Farm
- Zoo: Inside the tunnel in the Wolf Exhibit
If you're as unlucky as I was for my playthrough and your third map is Sanatorium, you'll need to warp to Round 4 to complete this first step. Sanatorium does not have a red rift. Just complete any world events you might need to continue gearing up, and then warp to the next map to find your rift.
Step 2: Beacon Listening Device
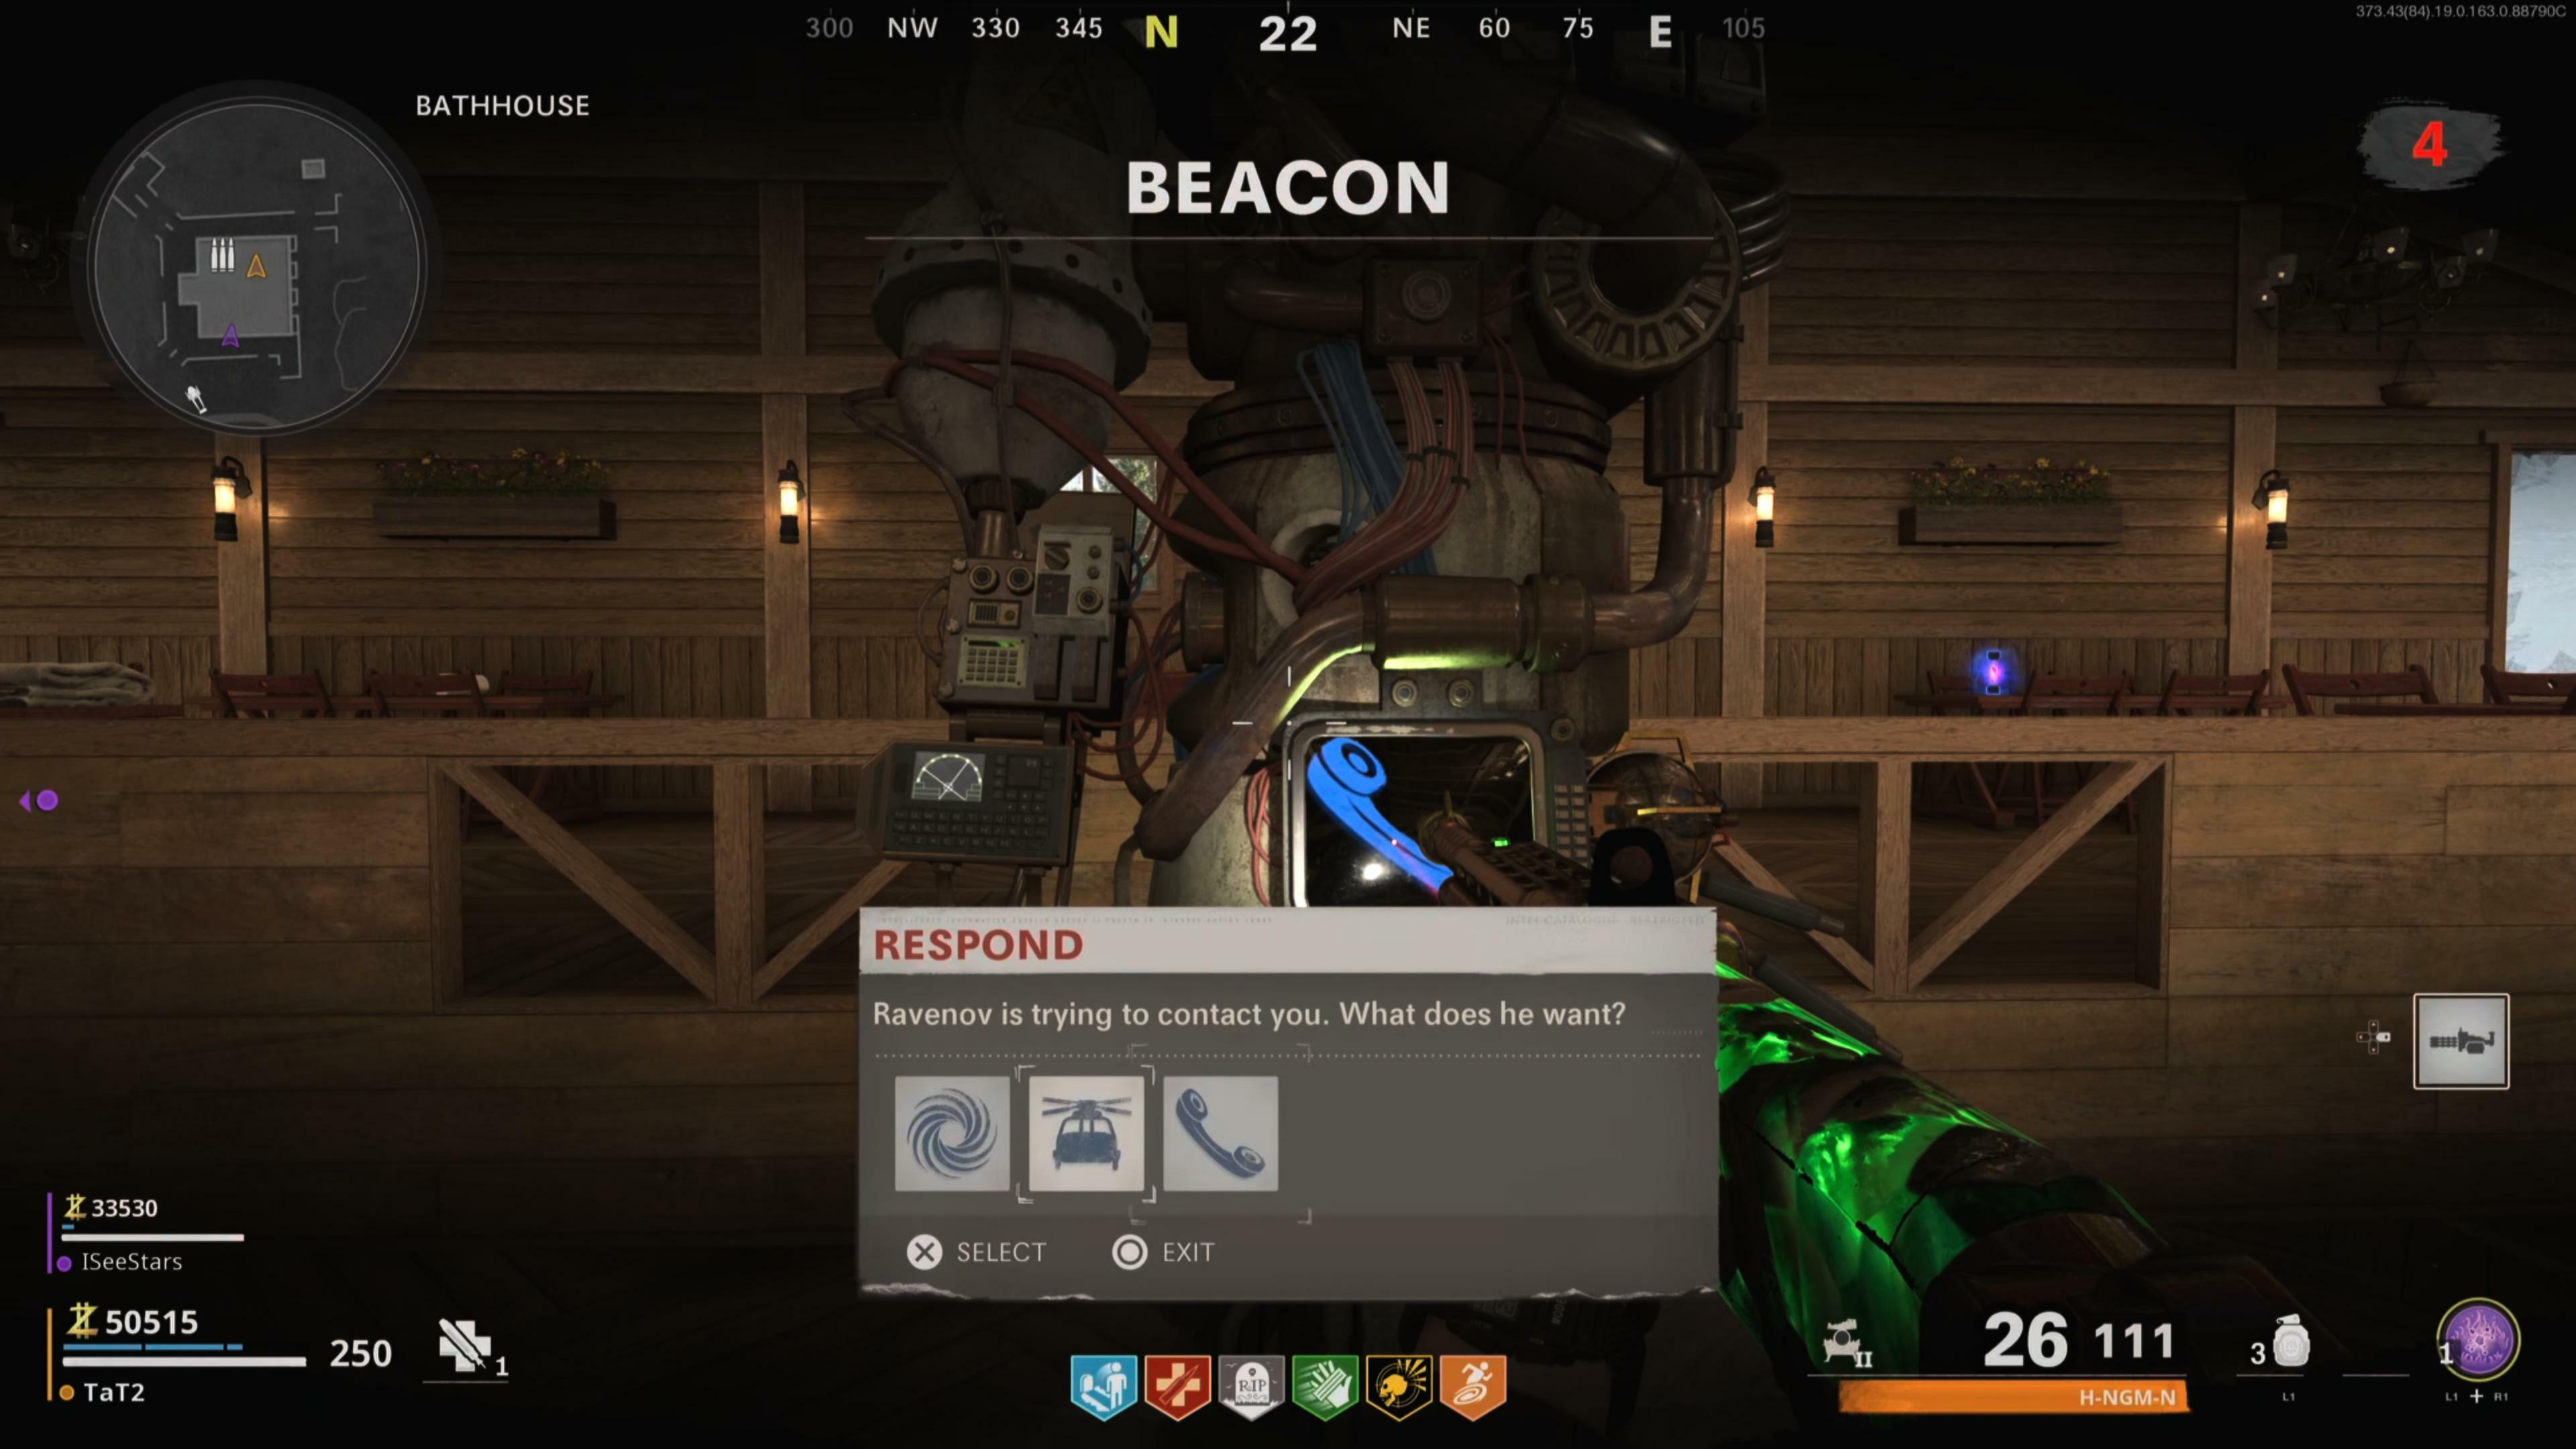
Once you have the Beacon Listening Device from completing the red rifts, take the device to the Beacon. Instead of selecting to warp to the next round, you'll have a new option to "Respond," which will give you a radio message from Ravenov. The message from Ravenov tells you to go to Sanatorium. Choose to warp to the next round when you're ready, and you will automatically be sent to the Sanatorium map.
Step 3: Locate The Crash Site

You're looking for a crashed helicopter in the Carved Hills area at the southwest portion of the Sanatorium map, which is made pretty noticeable by a cloud of smoke. Zombies will spawn when you reach the crash site. You'll need to clear out all zombies first, and then you'll be able to interact with the radio at the crash site. The radio is noticeably hanging from the hand of a dead passenger in the crash. The radio plays a bit of dialogue, and this will unlock step four.
Step 4: Red Aethereal Orb
You want to locate the red Aethereal Orb on the map. This looks just like Outbreak's world event with the purple Aethereal Orb that you can shoot and follow around the map, except this one is glowing red.
Possible red orb locations:
- On the roof of the Bathhouse building
- On the Maintenance building rooftop on the northern portion of the map
- Inside the center of the Sanatorium pool, where Pack-A-Punch is located

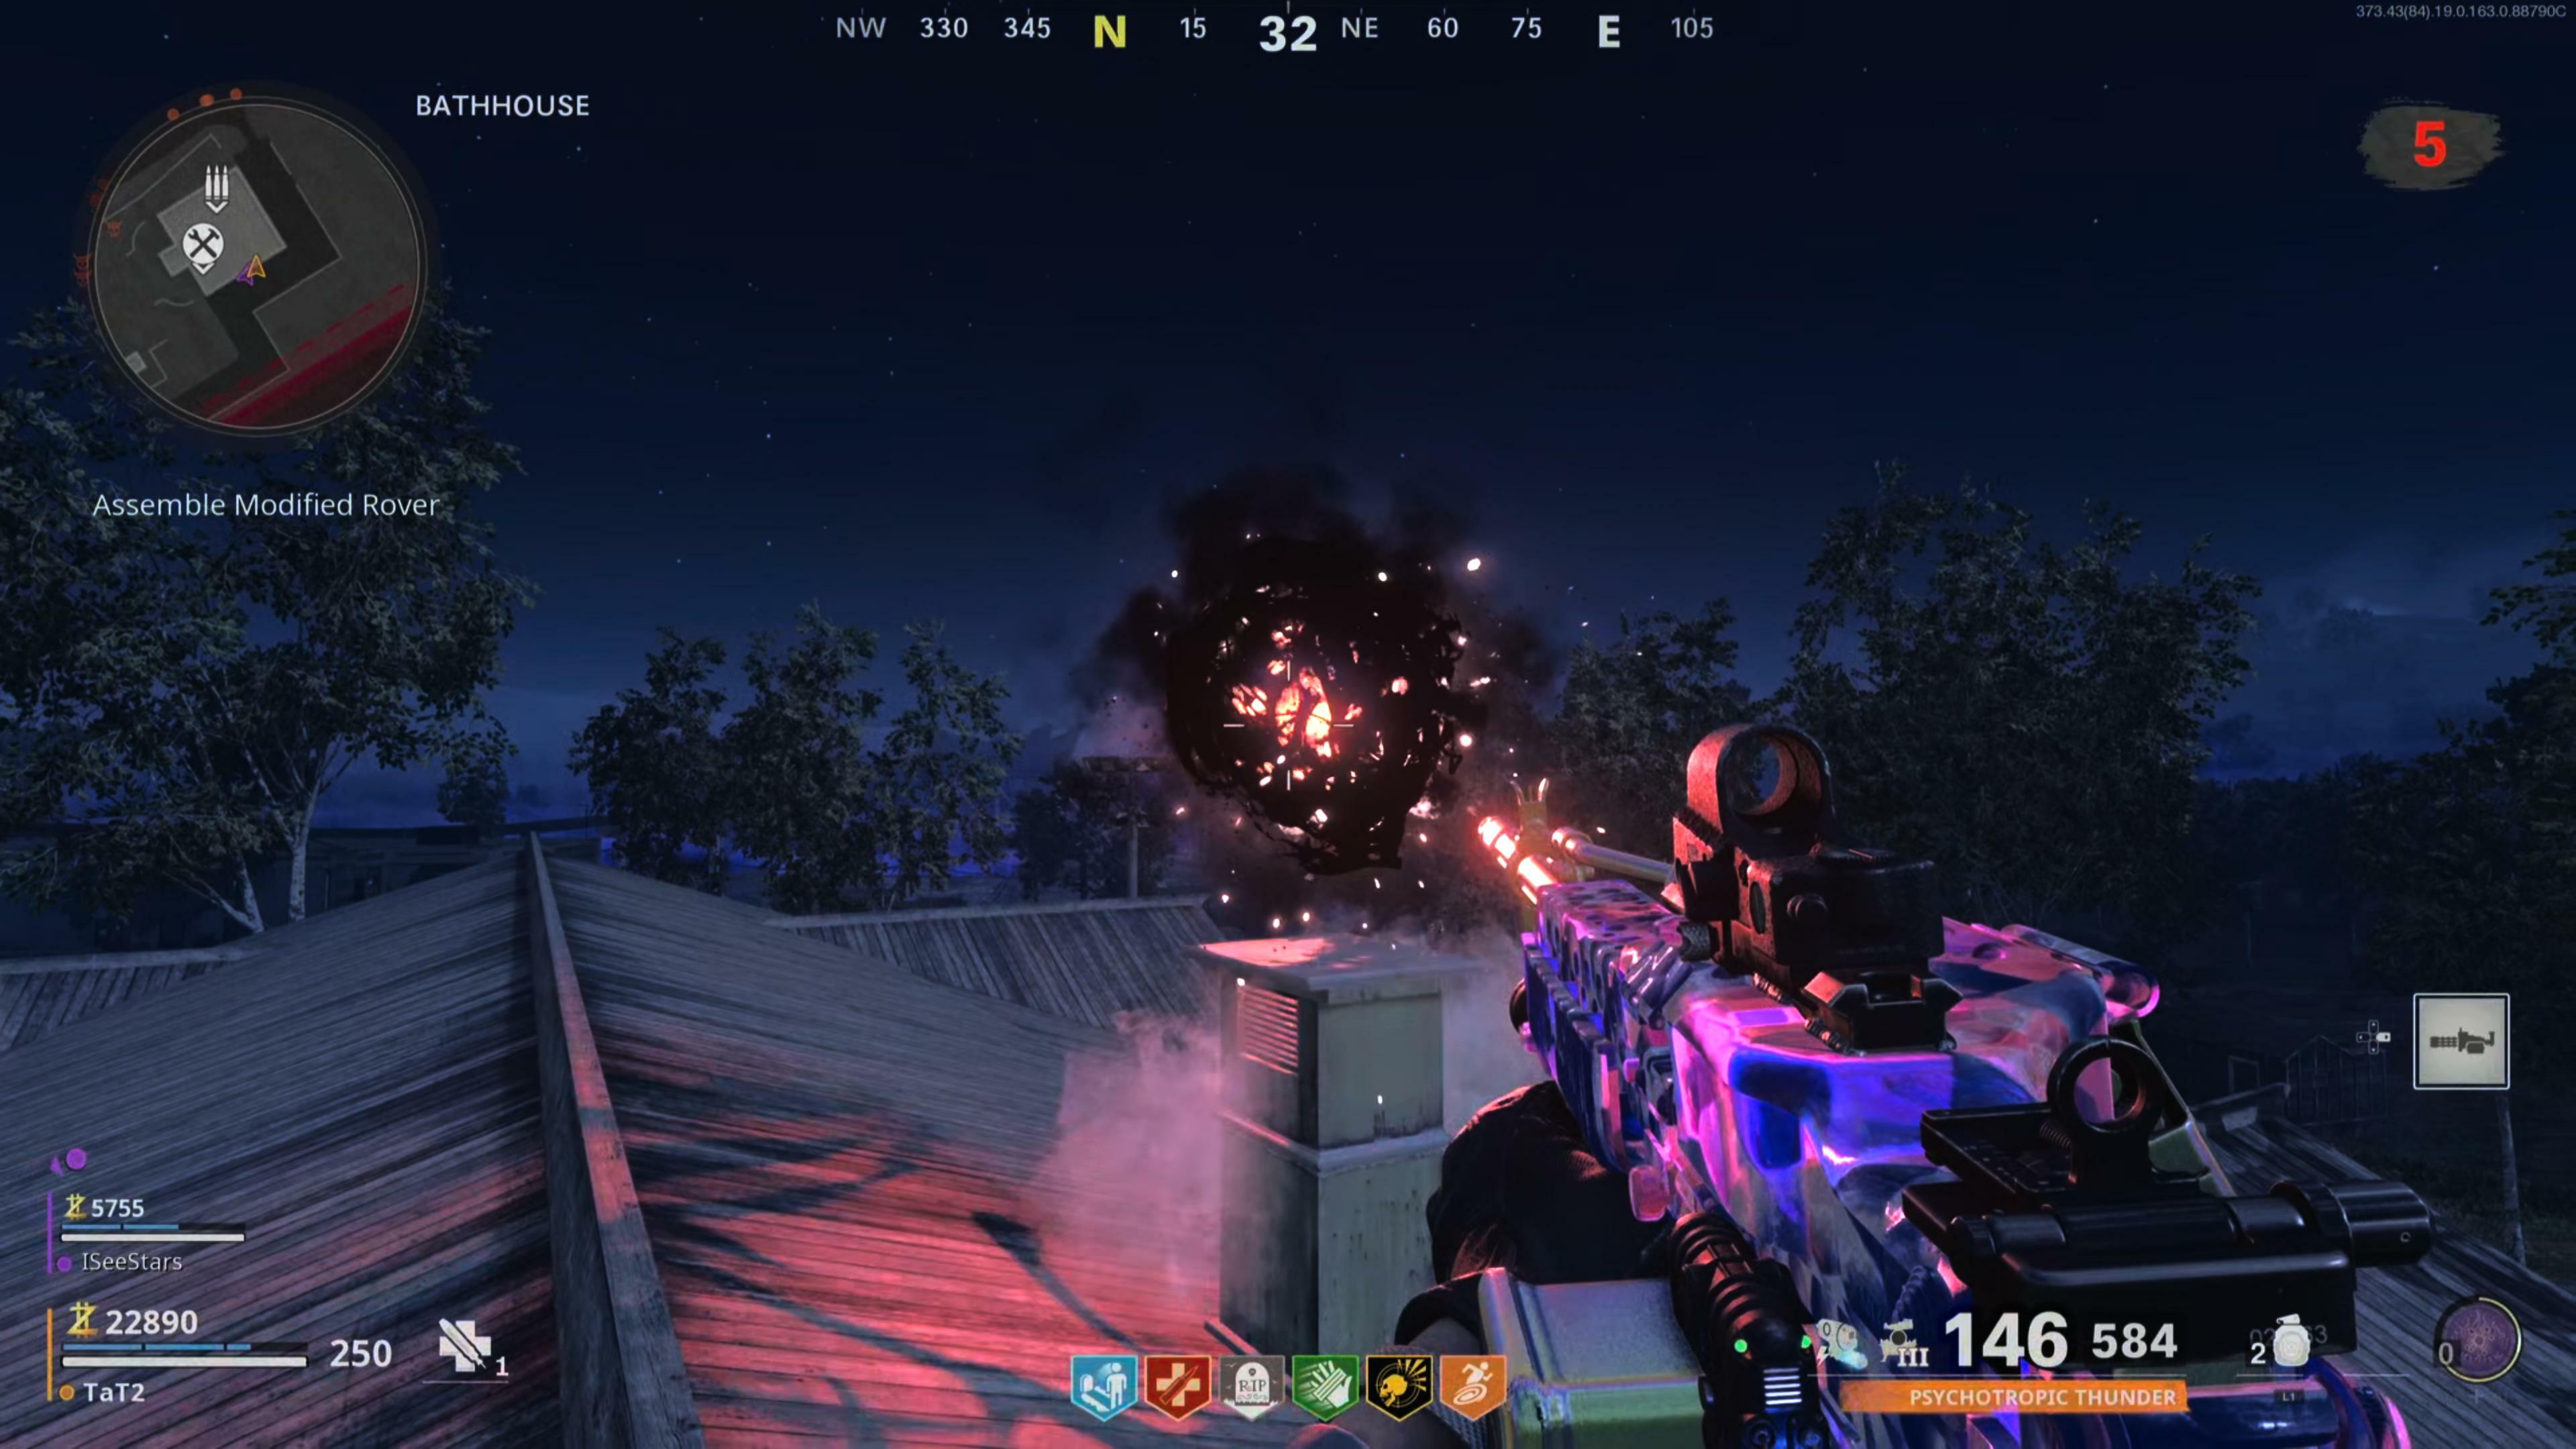
You want to guide this red orb by specifically facing the direction of Sanatorium's bridge as you shoot it. You'll need to follow its path and shoot it about five times, always facing the bridge to guide it. Eventually it will reach a rover transport vehicle on the bridge. Then you'll get audio dialogue that explains that the orb is like a child, and you need to find a toy.
Step 5: Mystery Box Bunny

You'll want to head to one of the inactive mystery box spawns on the map. This is pretty easy to find because there are only three mystery box locations on Sanatorium, and one of them is going to be active. Head to one of the inactive mystery box locations. You're looking for the one with a busted up box.
Mystery box locations:
- At the Market Square location
- On the roof of Sanatorium's large circular building
- At the Groundskeeping area
Once you find the broken box, interact with the bunny sitting on top of it. This will cause zombies to spawn around you. Clear out all of the undead, and then you'll be able to pick up the toy bunny. You want to take this toy back to the rover on the bridge, and interacting with the rover will place the bunny inside. This causes an audio device to drop beside the rover. Interact and listen to the recording.
Read More: How To Active Klaus in Mauer der Toten
Please note: the next step will be the point of no return. Make sure you make any final preparations before interacting with the rover again. You'll likely want to refill your ammo or replenish your armor, and get any last minute perks or gear here. Monkey bombs are great equipment to have here, and chopper gunners are nice scorestreaks to hold until the final fight.
Once you interact with the rover, you'll initiate step 6.
Step 6: Rover Escort

You must escort this rover as it crosses the bridge and moves towards a giant monument. Zombies will be spawning all around you, and there is little room to move around here, as there is a glowing bubble that encases you and the rover. Stepping outside the bubble will cause you to take damage, so carefully take out the zombies within this tight space. Keep killing zombies and following the rover until it explodes near the steps of the monument. A new objective will be marked at the top of the monument.
Before climbing the stairs up to the monument, there's an ammo cache waiting for you at the bottom. You're almost at the big fight, so refill if you're running low.
Step 7: Find The Scientists
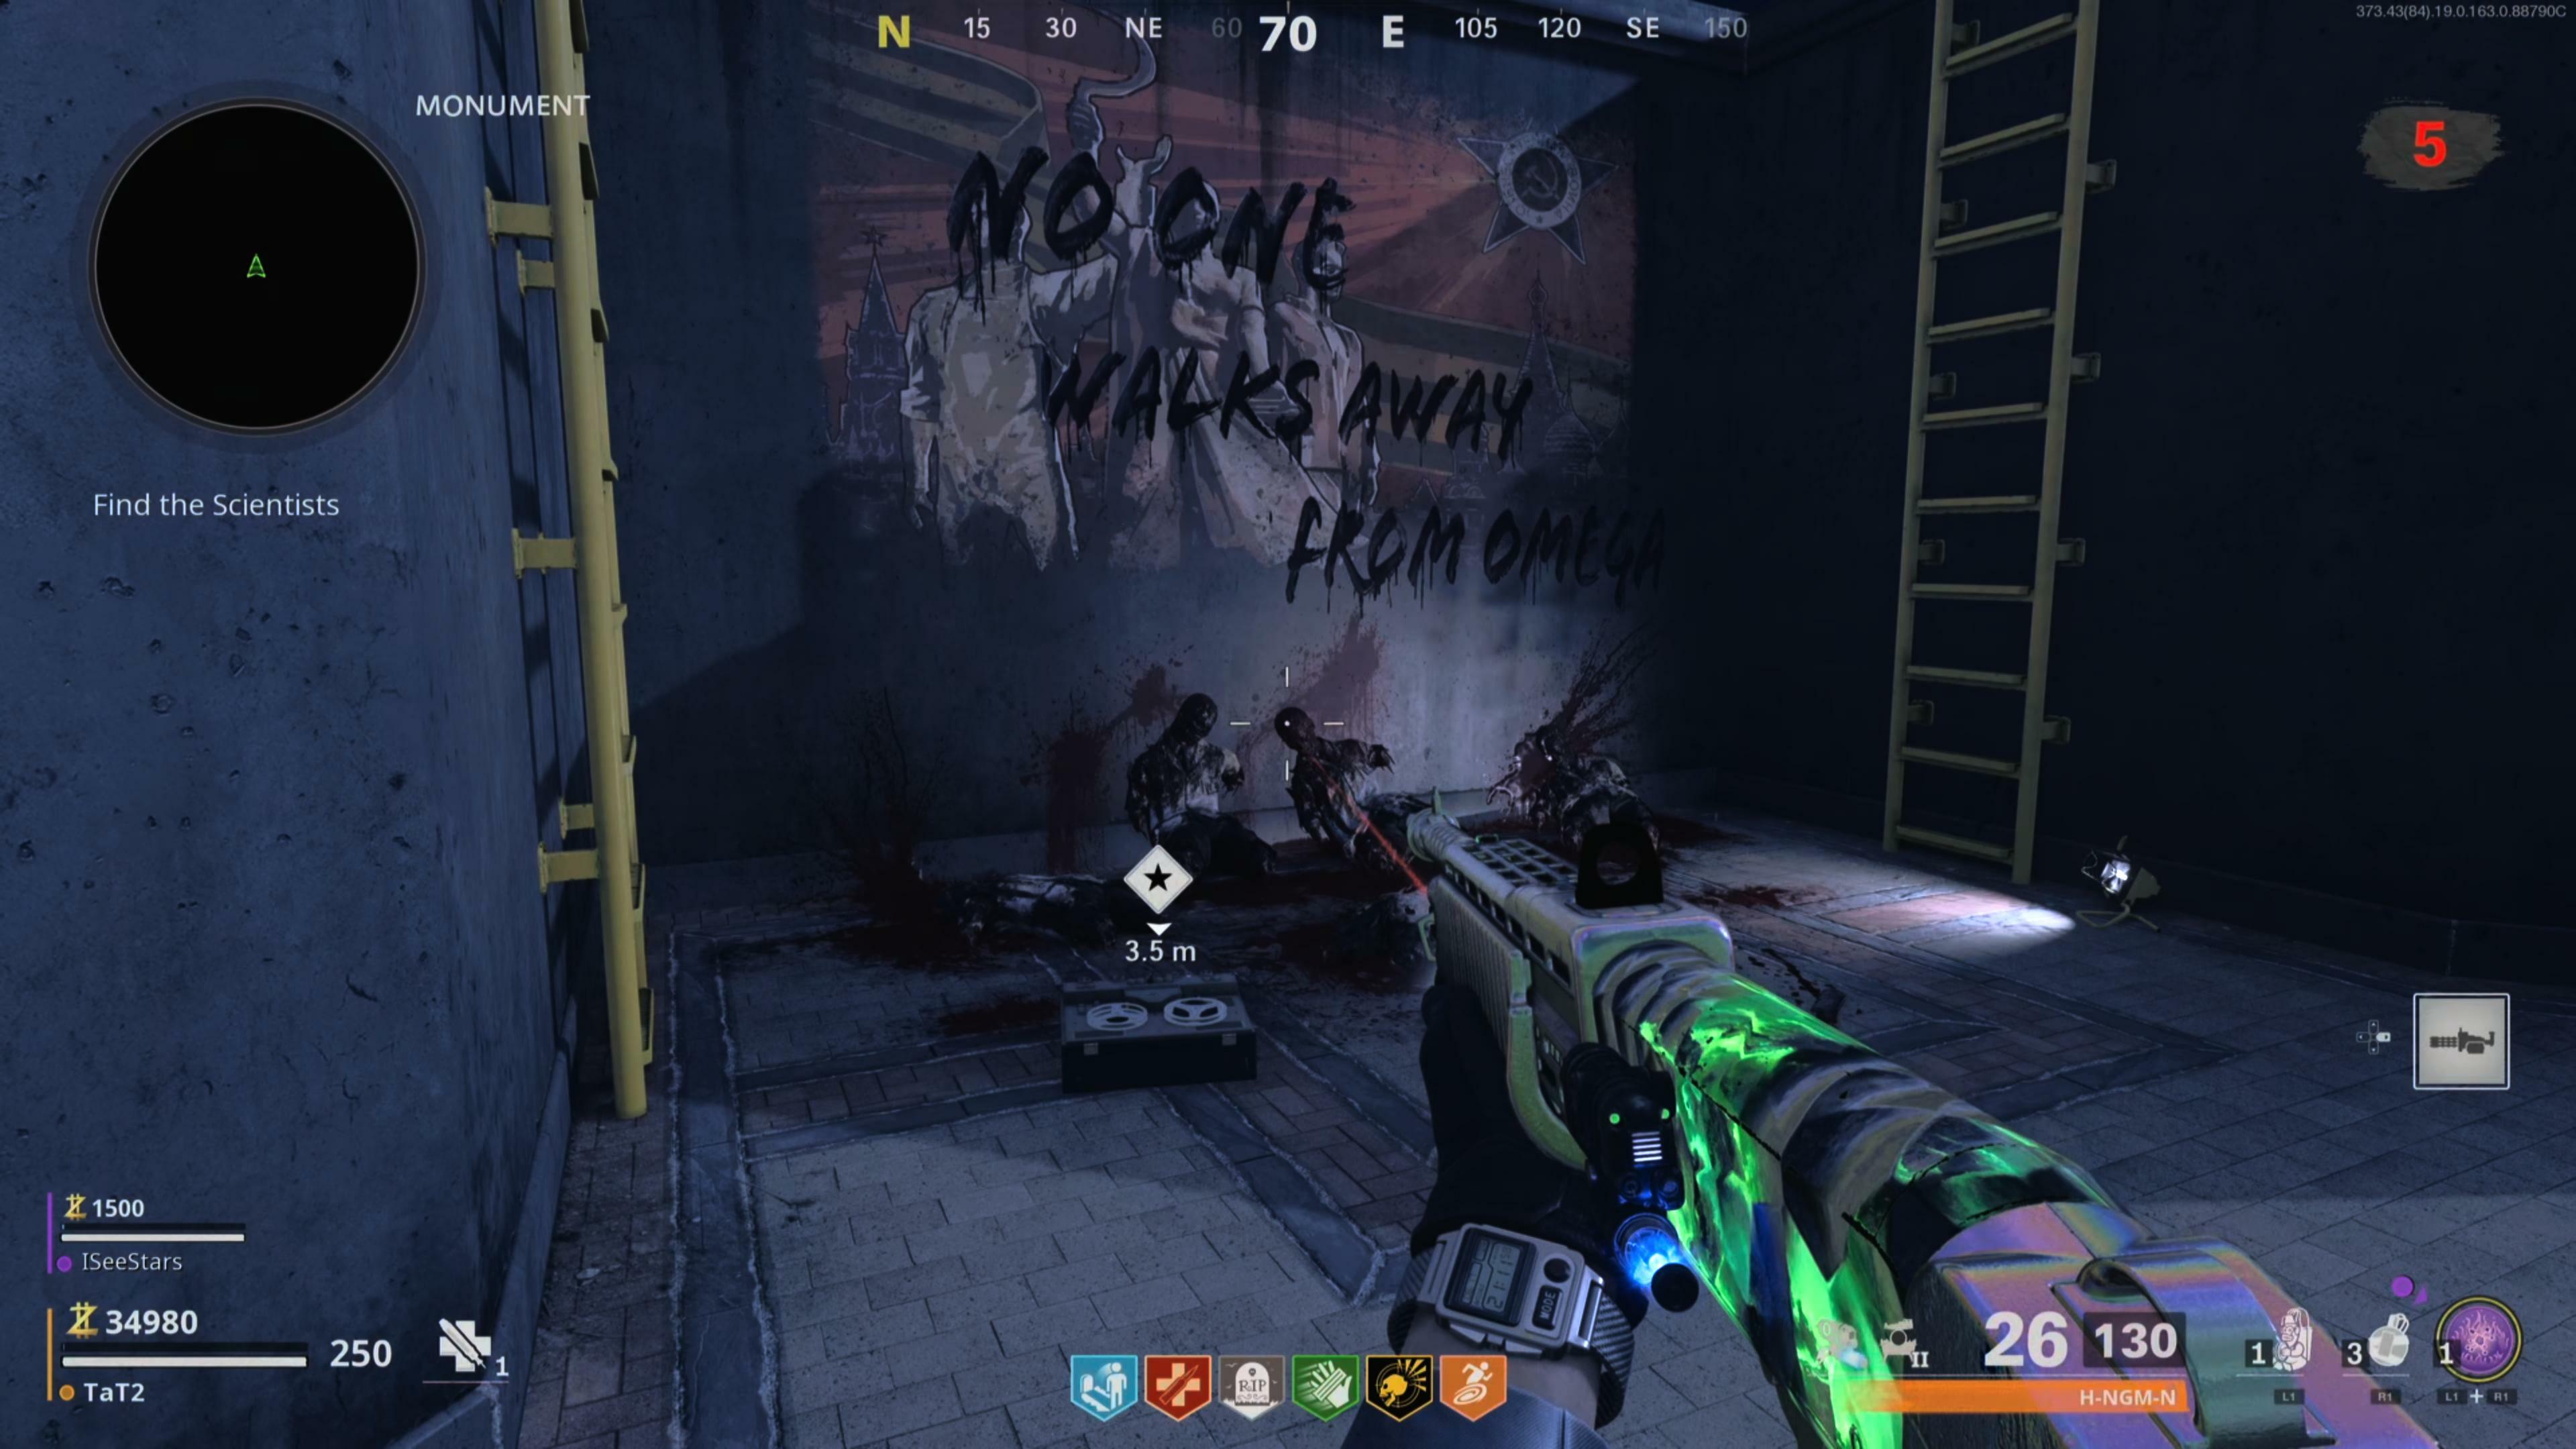
This part is pretty straightforward. Go up the stairs and find a zipline to rappel up to the top of the monument. You'll find some bodies on the ground with an audio device. Play the recording to get some story dialogue, and then an alarm will sound. Zombies will spawn fast, and the final fight is timed, so make sure you act quickly here.
Step 8: Defeat Orda To Exfil
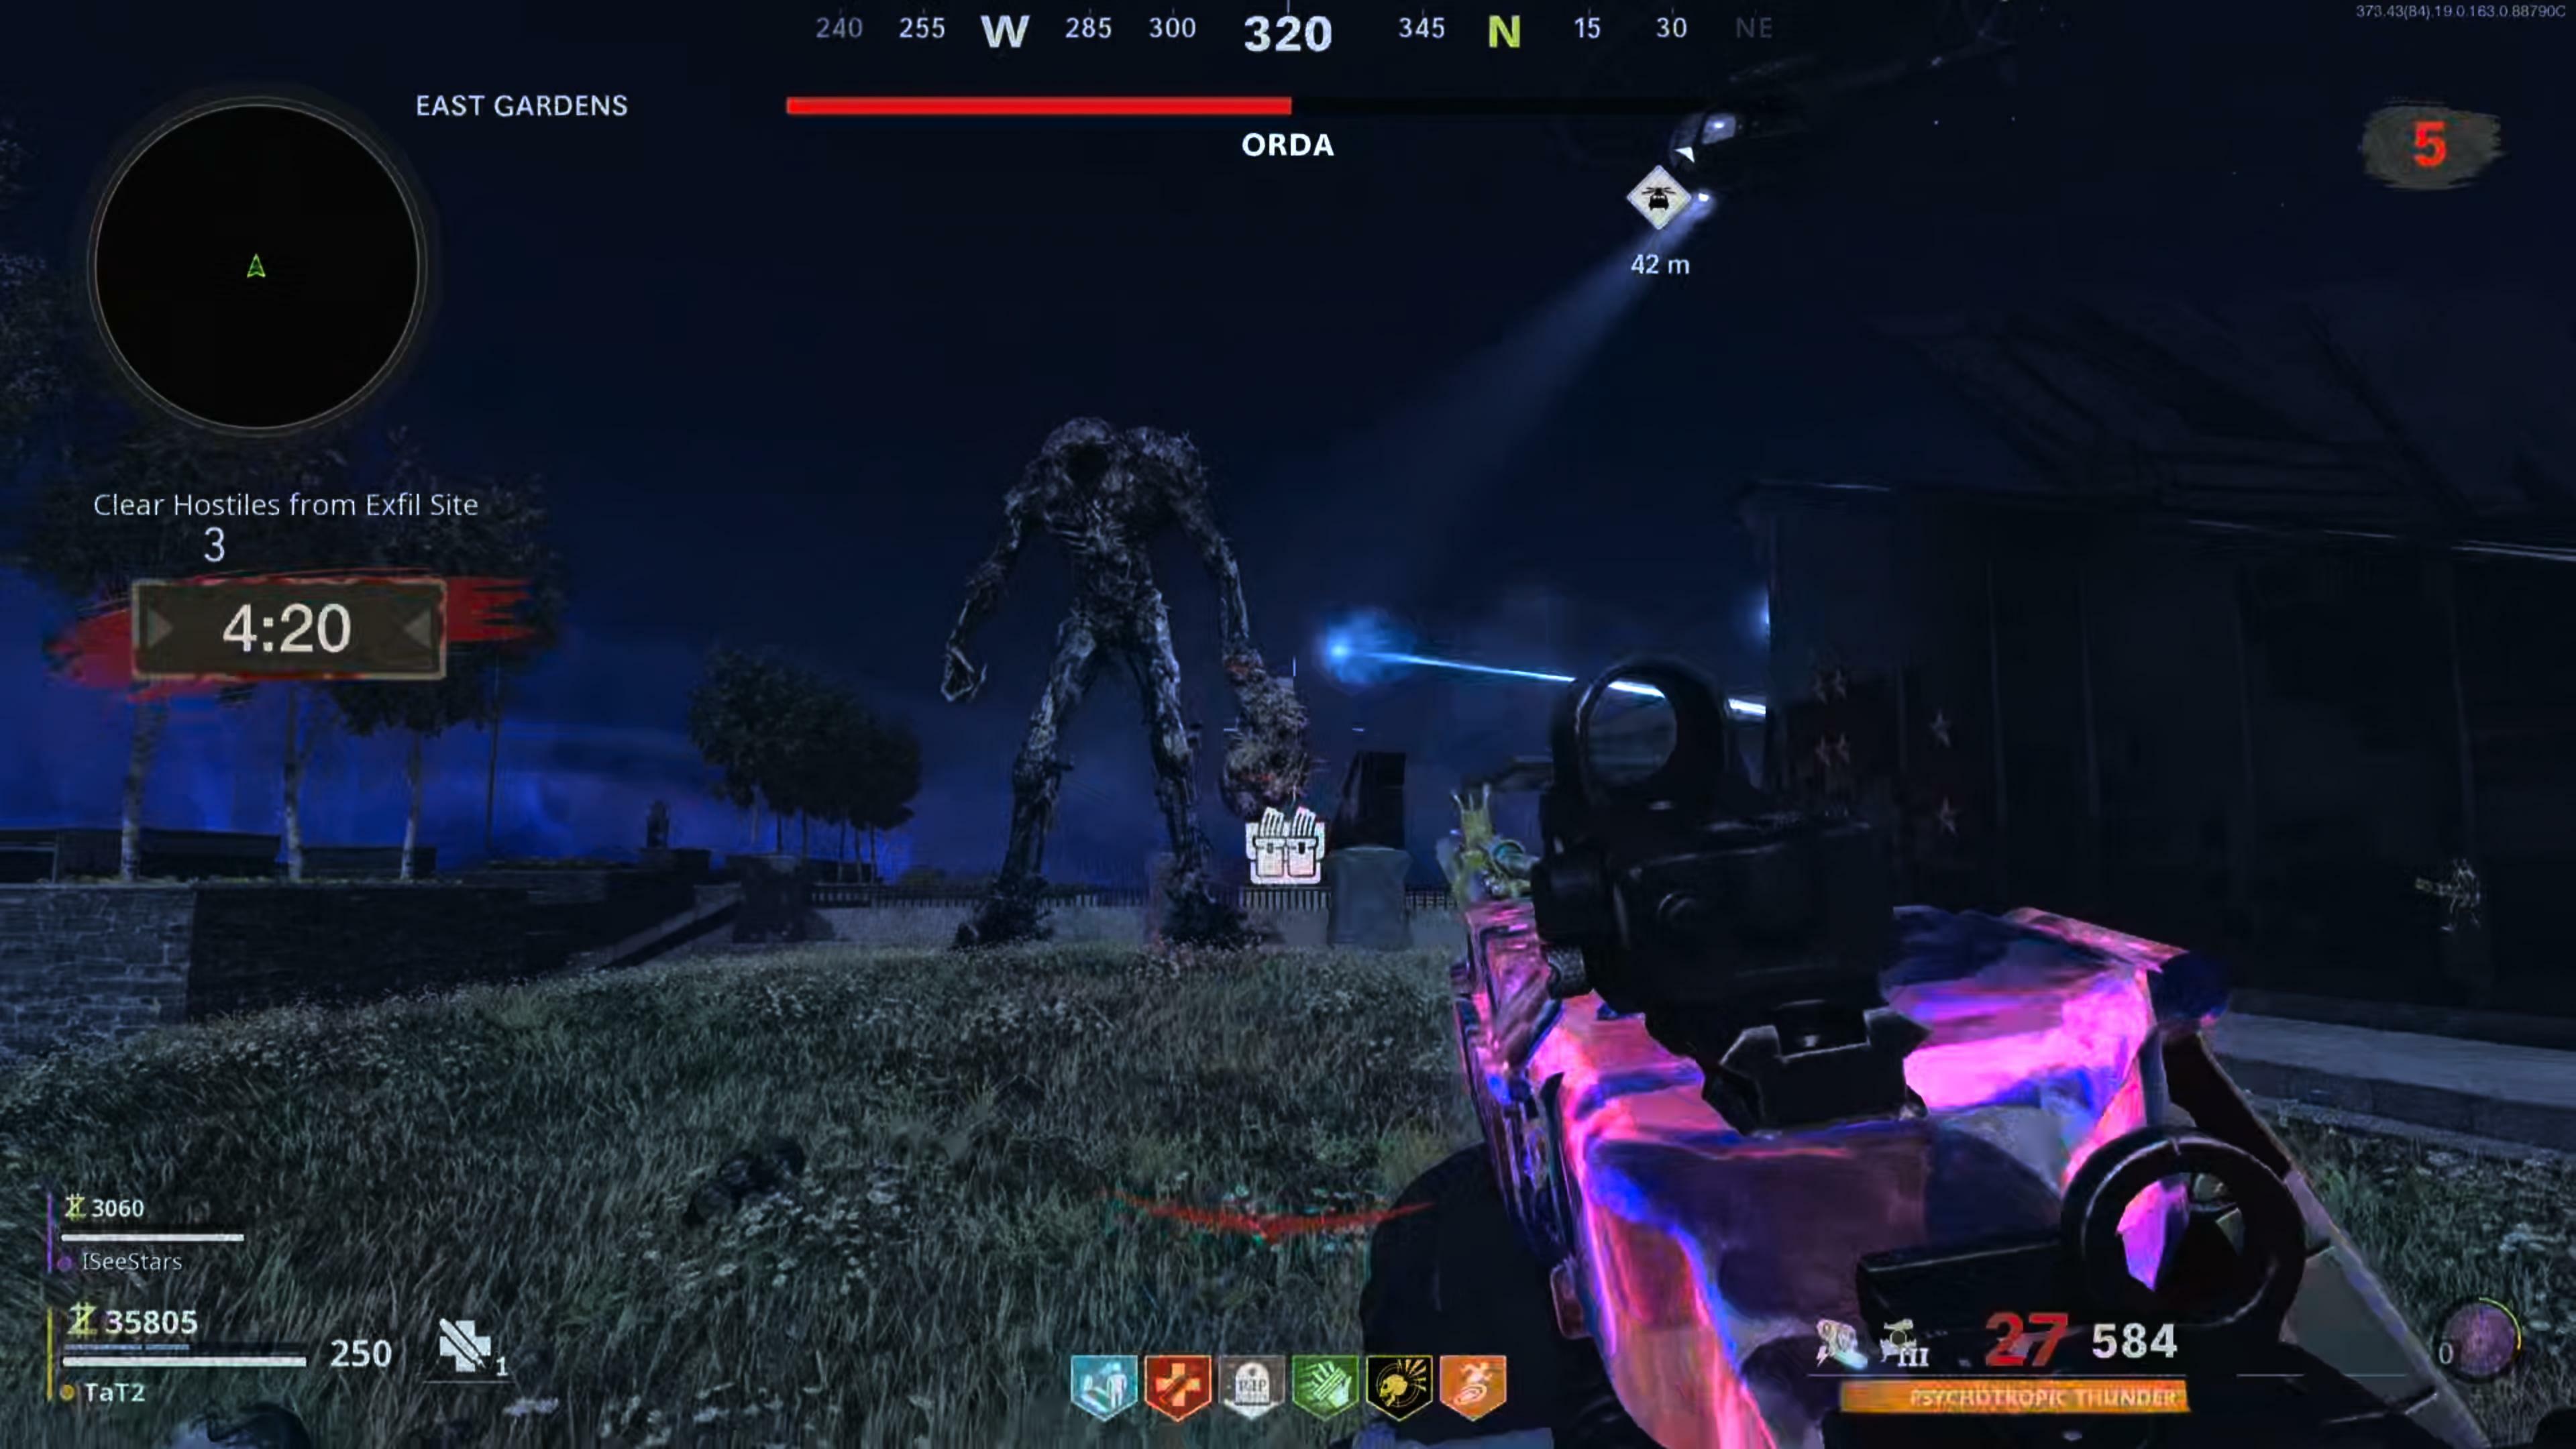
You're immediately met with a less than 6-minute timer. Parachute down from the top of the monument to the marked exfil site. Zombies and elites will spawn all around you and Orda, but it's crucial to make Orda your focus here. Even if you clear all the zombies, they'll eventually respawn until you kill Orda. Take out the zombie giant, and the mission will complete. This completes your storyline quest, and you'll end the match with one final cutscene.
Got a news tip or want to contact us directly? Email news@gamespot.com
Join the conversation