Resident Evil 3 Remake Walkthrough - Police Department Guide
Find all the collectibles and deal with the Nemesis with our full guide to Resident Evil 3 Remake, with a return to the RPD.
Continue making your way out of Raccoon City with our complete Resident Evil 3 Remake walkthrough. In the third installment, Carlos ventures into the Raccoon City Police Department, returning fans to the familiar locations of Resident Evil 2 Remake. We've logged every ammo pickup, health item, upgrade, and collectible to help you make your way through.
If you need more Resident Evil 3 content, we've got you covered. Check out our full Resident Evil 3 Remake walkthrough for help on everything. We've also got a complete list of Resident Evil 3 lockpick locks, as well as safe locations and codes, a guide to finding every Hip Pouch, a guide to finding the jewels for the Kite Road Railway Monument puzzle, and an explanation of when you should fight the Nemesis for big rewards.
Note: This walkthrough covers Resident Evil 3 Remake for the Assisted, Standard, and Hardcore difficulties; on Nightmare and Inferno difficulty, enemy encounters and item locations are remixed.
- Part 1: Racoon City Downtown
- Part 2: Sewers, Demolition Site, Gun Shop
- Part 4: Hospital
- Part 5: Underground Storage And NEST 2
Resident Evil 3 Remake Walkthrough Part 3: RPD And Clocktower Plaza
Raccoon City Police Station
You'll encounter Brad Vickers as you approach the police station. He takes a lot of ammo to kill, but it's worth it to bring him down--it'll get you the S.T.A.R.S. ID Card. After you're done, turn around and go back toward the cemetery, then turn right and take the stair down to find a door you can enter. Inside is the Email Outbox file. Up the stairs on the far side you'll find handgun ammo in a wooden crate and a red herb. If you played Resident Evil 2 Remake, you'll recognize the RPD main hall and remember there's a typewriter and Item Box right up front. Up the small stairs and in the center of the room is a green herb you can grab. If you go up to the second floor, hang a right and head down to the end of the walkway to find handgun ammo. Look at the wall on the left to see a Charlie Doll just hanging out.
In Reception, check the couch on the left for the ID Card Security Protocols file. Use the S.T.A.R.S. ID Card to open the locked storage box and get some assault rifle ammo. Leave through the door ahead and follow the hallway around to the Operations Room. Watch out for zombies; one will round a corner ahead of you, another will break in a window, and a third will come through the door of Operations as you approach. Dodge them or knock them down to get by.
Grab the flash grenade from beside the podium and the Assault Rifle Ammo on the table in the next room. Outside in the room with the vending machine, you'll face more zombies, and they'll easily overwhelm you if you're not careful, so be prepared to retreat to put some doors between you and them. Check down the north hallway on your left to find a box you can destroy, which holds a first aid spray. Press forward into the West Office.
West Office
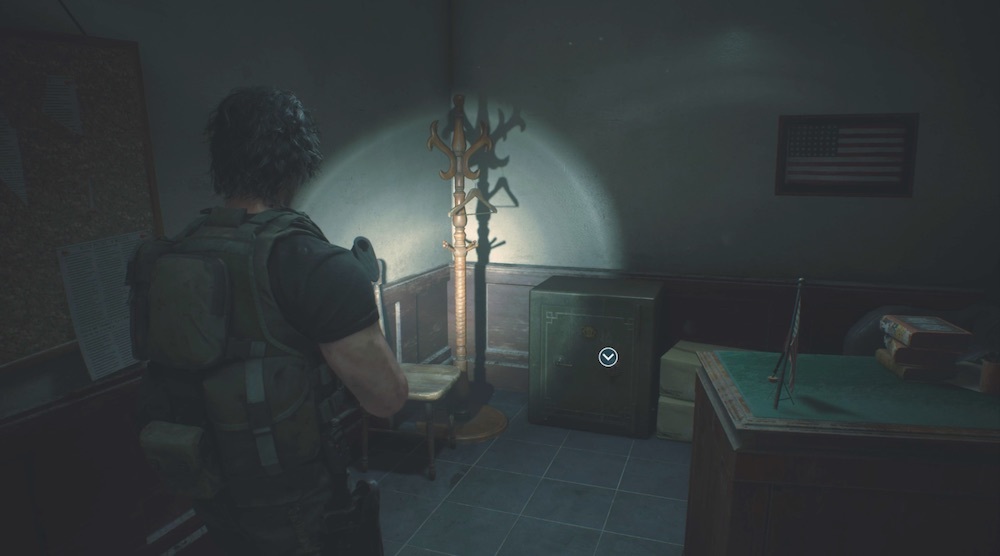
Inside the West Office, there's another ID Storage Box, which houses the Assault Rifle Scope upgrade. There's also a red herb in this room, some handgun bullets, some assault rifle bullets in one of the lockers, and the Sept. 20 Arrest Report file on a desk. In the small office on one side, find some more handgun bullets and a safe. The code here is the same as in Resident Evil 2 Remake--if you want the code, hover over to see it: left 9, right 15, left 7. Open it to find a Hip Pouch.
Continue to the Dark Room, which is a safe room in this game as well as in Resident Evil 2 Remake. You'll need to get past a zombie to get there. Inside, find a typewriter and Item Box, as well as the Internal Memo file (which includes the safe combination for the West Office). Check the lockers for assault rifle ammo and a red herb.
Take the stairs up, but continue to the third floor. Beside the zombie body you'll find a key; examine it to reveal it's the Safety Deposit Key. There's also a locker with a dial lock here; open it with the code DCM (again, from Resident Evil 2 Remake) for some more assault rifle ammo. Note that a new zombie will be waiting for you on the way to the second floor, though.
Shower Room
Duck into the Shower Room as you head toward the S.T.A.R.S. Office. You'll find another locker with a dial lock, this one using the code CAP, which you might have seen on a whiteboard as you went through Operations. It has another flash grenade inside. On the bench you'll find the Note to a Friend file.
Go back downstairs to the Safety Deposit Room. You'll face the licker that's been stalking you--it's fast and aggressive, and likes to leap toward you with its attacks. Keep your distance as best you can and dump assault rifle ammo into it. A flash grenade will also knock out its ability to hear, so you can reposition or lay down some damage without it tracking you as easily.
In the Safety Deposit Room, use the panel to open up lockers 104, 106, and 109. Retrieve the Battery, some assault rifle ammo, and a grenade from the lockers; there's also a green herb in the back corner of the room. Check the back left corner of the room, up on the shelf, to discover a Charlie Doll.

Return to the Shower Room and pick up the Electronic Device from the wall. Combine it with the Battery to make a Detonator that'll allow you to blow a hole in the Shower Room wall and advance. Be sure you've collected everything from the lower floors of the RPD, because once you blow up the wall, you can't return.
As soon as you blow the wall, you'll face a flood of zombies. Gun them down as best you can or use a grenade, but note that you can't back up too far because of the damaged hot water heater billowing steam behind you. Make your way out to the hallway again, where you'll face another licker. Use the same strategy--flash grenades and lots of bullets. A destroyable crate to the left of the Shower Room door contains more assault rifle ammo, and there's another box of assault rifle ammo on the windowsill at the end of the hall, past the S.T.A.R.S. Office.
S.T.A.R.S. Office
Check the desks for a flash grenade, and go into the smaller office to find the Report on the Mansion Incident file. There's also a first aid kit on the wall, which contains a first aid spray. Finally, open the ID Storage Box to find assault rifle ammo. Make sure you have everything before you try to exit the S.T.A.R.S. Office, because doing so will advance the story.
Resident Evil Guides & News
Subway Tunnels
Go through the first door to find a mess of ammo. Grab the UBCS New Weaponry Notice file, then pick up the first aid spray and two sets of mine rounds. You can try one out on the batch of three zombies zombies in the next hallway, but don't go nuts--you'll need them. Dispatch them and check the second bunk bed alcove on the right to find a Charlie Doll on the ground, beneath a bench.

Clocktower Plaza
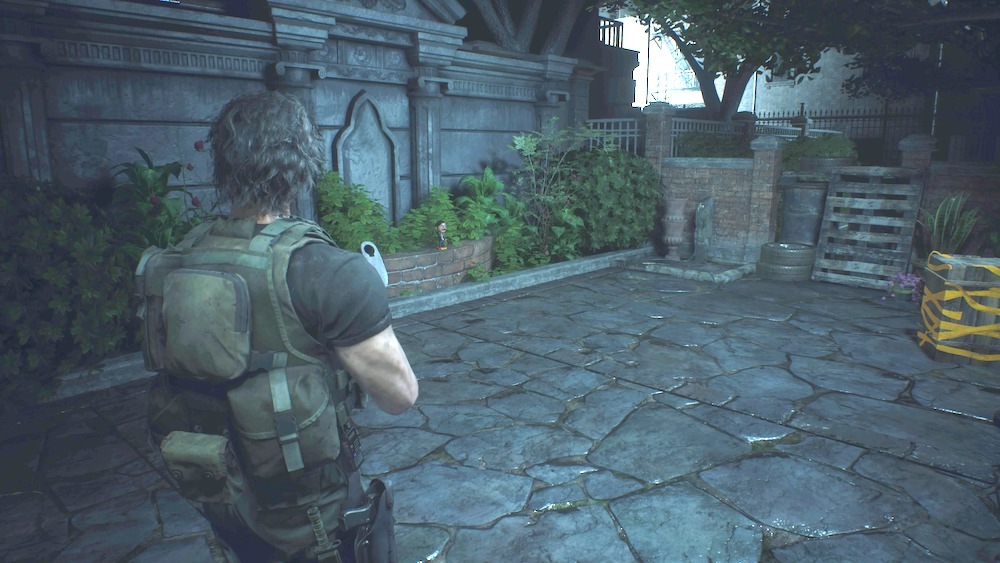
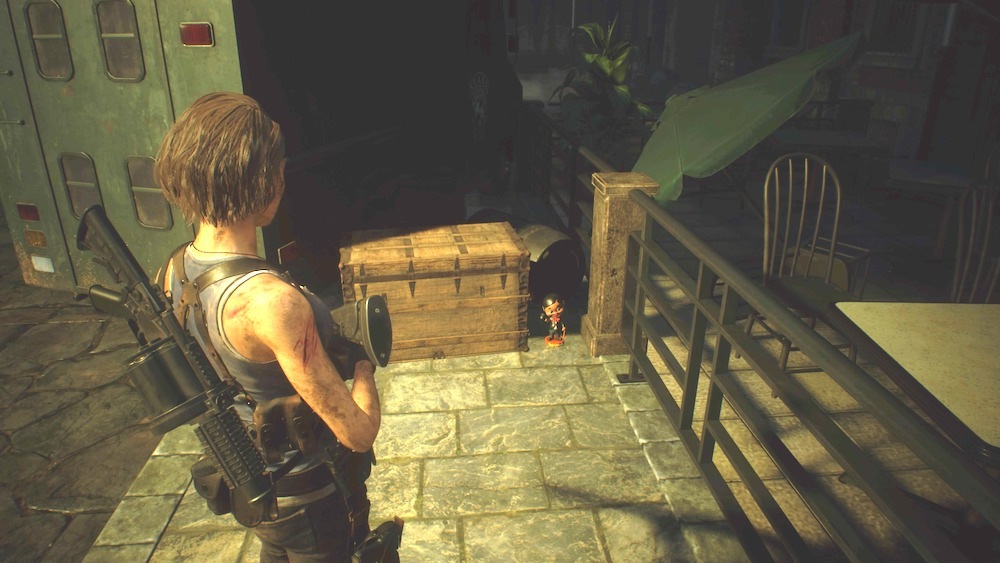
Find some handgun bullets on the first bench to your right, and the Clock Tower Brochure file on the next bench up. Ahead and on the left, you'll see a green delivery truck; check around the side of the back bumper for a Charlie Doll to destroy. There's also a green herb beside the lion statues at the west end of the park, and a red herb in a breakable box past the delivery truck.
Across the bridge, you'll face the Nemesis again. This fight takes a lot of ammo, but it's actually not too difficult if you keep moving, because the Nemesis is fairly easy to dodge. Continually move away from it around the central fountain, hitting it with grenades and shotgun blasts whenever you can. Save your mine rounds, though, because you'll need them later. If you run out of ammo, there's plenty scattered around the edge of the area, and the Nemesis will crash through stuff to reveal more ammo and healing items throughout the fight.
The Nemesis will like to dart forward to take a swing at you, but if you're constantly moving away from it, you shouldn't have a problem using quick dodge to get away. Watch out for its scream attack, which will momentarily stun Jill--again, it's best to be as far from the Nemesis as possible, at all times, to avoid dangerous situations like that. When the Nemesis starts to run around the outside of the arena, he'll eventually stop on top of a building, then leap back into the plaza and come crashing down, creating a shockwave, so stay as far from him as you can before he leaps. Fast as he is, he's not terribly accurate with any of his attacks in this fight and spends a lot of time telegraphing them to give you time to make an escape. As long as you keep away from him and keep dishing out punishment, you shouldn't have a problem staying alive.
Hit the Nemesis periodically until it starts darting around the walls of the plaza, then switch to mine rounds. You want to drop a mine in the Nemesis's path, which will blast it off the wall and send it flying. You're then free to lay into it with whatever you've got to really hurt it, focusing on the red, beating heart that pops out of its chest. Keep repeating that pattern and stay on the move until the battle ends.
Continue helping Jill and Carlos escape the Umbrella Corp.'s carnage with our Resident Evil 3 Remake Walkthrough: Part 4.
Got a news tip or want to contact us directly? Email news@gamespot.com
Join the conversation