Resident Evil 3 Remake Walkthrough - Hospital Guide
Find all the collectibles and deal with the Nemesis with our full guide to Resident Evil 3 Remake, as we fight through Spencer Memorial Hospital.
The fight to survive Raccoon City and the relentless Nemesis requires a lot of work--but our complete walkthrough for Resident Evil 3 Remake is here to help you keep from winding up a shambling corpse. Part 4 continues at the Spencer Memorial Hospital, and you'll need to explore every inch of the dense and cluttered medical center if you want to leave with some of the game's best weapons and upgrades, and find all the collectibles.
If you need more Resident Evil 3 content, we've got you covered. Check out our full Resident Evil 3 Remake walkthrough for help on everything. We've also got a complete list of Resident Evil 3 lockpick locks, as well as safe locations and codes, a guide to finding every Hip Pouch, a guide to finding the jewels for the Kite Road Railway Monument puzzle, and an explanation of when you should fight the Nemesis for big rewards.
Note: This walkthrough covers Resident Evil 3 Remake for the Assisted, Standard, and Hardcore difficulties; on Nightmare and Inferno difficulty, enemy encounters and item locations are remixed.
- Part 1: Racoon City Downtown
- Part 2: Sewers, Demolition Site, Gun Shop
- Part 3: Raccoon City Police Department, Clocktower Plaza
- Part 5: Underground Storage And NEST 2
Resident Evil 3 Remake Walkthrough Part 4: Hospital
Spencer Memorial Hospital
Grab assault rifle bullets as you leave Jill's room, then pick up another box of assault rifle ammo on the lobby's front desk, along with a first aid spray. Through the door, you'll deal with several zombies in the Reception area. You'll see a door that requires the lockpick to open, with the Spencer Memorial Pamphlet file beside it. There's also a red herb on the reception desk.
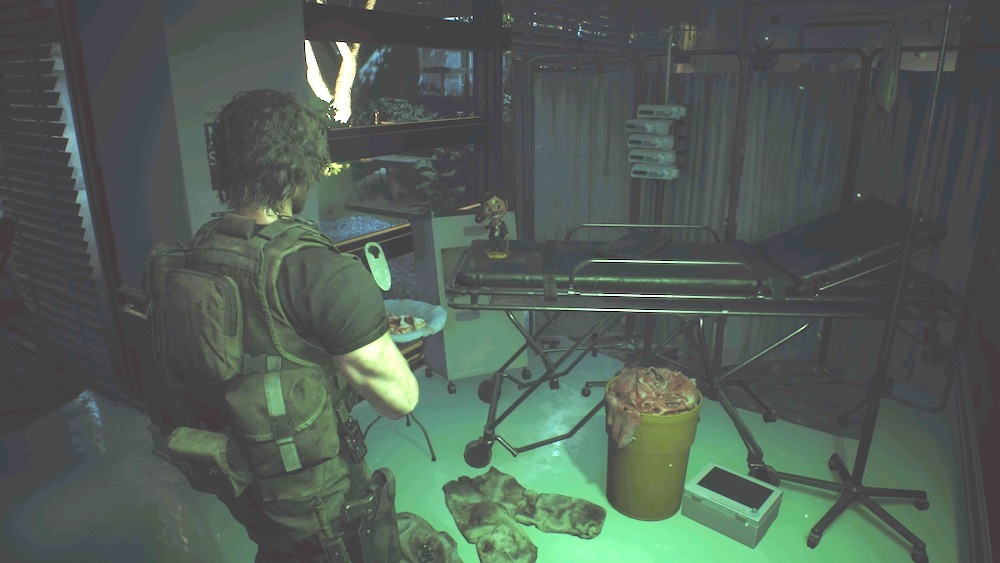
In the next hallway, the way to the left is blocked, but note the locked crate that's opened with the lockpick waiting there for later. At the end of the hall near the exit door, check to the left for a gurney with a Charlie Doll on it.
Grab the Tape Recorder and the Nurse's Journal: Sept. 25 file off the reception desk in Lab Reception. As you head down the hall, grab the green herb. Enter the Emergency Entrance and get ready for a fight--there's a whole mess of zombies here to give you trouble. Power through, then check for assault rifle bullets on the table beside the glass door. One door here is locked with a keycard, so take the hallway to the left, heading south. You can climb the stairs up to the second floor here, then follow the hallway east to the end and take the Hospital Map off the wall.
Turn left from the map to find a safe room. Inside is assault rifle ammo on a shelf on the left, a green herb beside the typewriter, and the Nurse's Journal: Sept. 27 file on a shelf on the right. You'll also find handgun bullets in the right corner, on top of a step ladder.
Back in the hallway, go back west and take the middle hall toward the green door. Hang a right until you see emergency tape on the railing beside you. Head past it around the corner to find some assault rifle ammo and another spot with yellow tape. Return to the first spot and interact with it and you can jump down to the Courtyard below.
Courtyard
Turn to your right to find a crate with the Assault Rifle Tactical Grip upgrade inside. Jump over the hedge and check the ground for a key--examining it will reveal it's the Locker Room Key. There's also a green herb in the left corner of the area near the key. Back inside, grab assault rifle ammo off the gurney.
You're back where you started at the Emergency Entrance, so head back upstairs. This time, go down the hall and toward the safe room in the northeast corner of the area. Go around the corner and through the door on the east side of the map to the Staff Room. Check the desks for some assault rifle ammo and note the locker that requires the lockpick to open. You'll also find the Nurse's Journal: Sept. 29 file on a desk to the left, and the Memos from Administration file on the wall next to the door at the far end of the room. Use the Locker Room Key you found to open the door, then check the lockers inside for a flash grenade, more ammo, and a Hospital ID Card.
When you leave, you'll face off against a Hunter Beta. Blast away at it to break the armor on its head, then focus your fire on the vulnerable brain underneath, and stay back to avoid its attacks. Grenades are also highly effective in taking these guys out. Be careful when the Hunter starts to rear up with one arm drawn back--it's about to launch a slash attack that'll open your throat and kill you in one hit. Use Carlos's punch (it's in the place of Jill's quick dodge) to stun the creature, or hit it with a grenade, to stop that attack from happening. Once the Hunter is down, you're ready to go on to the south side of the second floor and the Nurses' Station. First, though, head back downstairs and gear up.
Jump down into the Courtyard again and exit the hallway into the Emergency Entrance. Use the ID Card to open the Operating Room. You'll find a green herb, some assault rifle ammo, and a pile of grenades here--all stuff that'll help you in a few minutes. Also check the equipment just behind the operating table to find the RE: Lost Items file, which gives you the code to a safe in the Nurses' Station.
Now return to the second floor and head back toward the middle hallway that goes south, to the green-lit Nurses' Station.
Nurses' Station
You'll hear the zombies before you see them, trying to bust through two of this room's doors. There's also a zombie on the ground behind the nurse's desk. This is a good place to use a grenade to clear out lots of enemies quickly to conserve ammo, although you might want to save it for later.
Once they're clear, grab the Note About a Tape Recording file from the desk, which will tell you where to find the Tape of Dr. Bard you need. There's also a safe in this room; the combination is in the RE: Lost Items file, but if you want it, hover over to read: left 9, right 3. You'll get the Assault Rifle Dual Magazine upgrade for the trouble.

Check the Sick Room once you've cleared this one to find a green herb and assault rifle ammo, but be careful of the zombie playing dead on the ground.
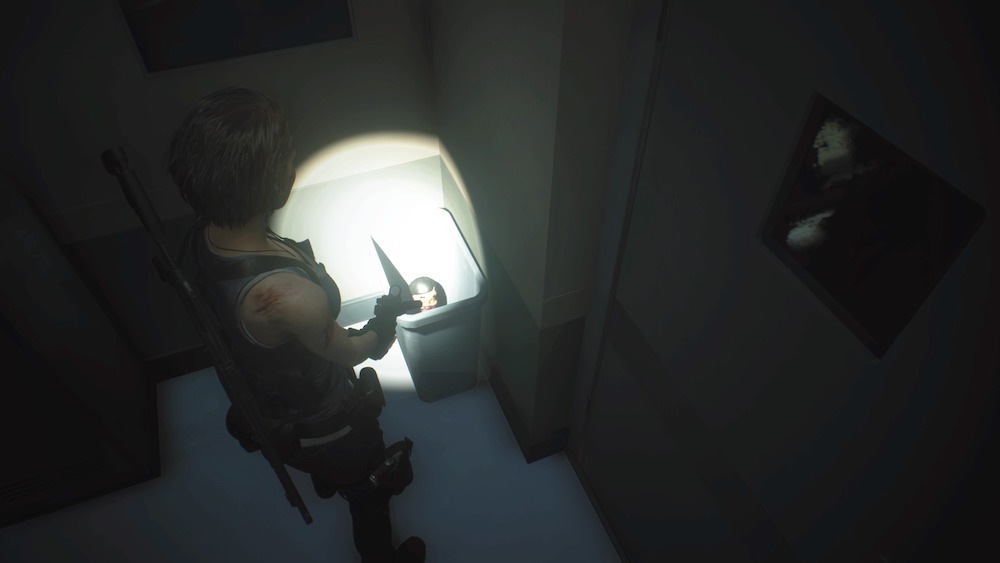
Before you leave the Sick Room, look in the garbage can beside the smaller door to find a Charlie Doll.
Use the ID Card to exit the Nurses' Station into the hallway and follow it around to the Linen Room. Check the corners here for assault rifle ammo and a locker you can open with the lockpick later. Unlatch the door in the corner so you can get back here easily later as well.
Resident Evil Guides & News
Treatment Room
You'll be glad you had those extra bullets and grenades as you enter the Treatment Room, which has two Hunters inside. A hand grenade up close can them quickly, but be careful to try to conserve resources, whatever you do. It's best to avoid going too deep into the Treatment Room and getting stuck there if you can avoid it, but a flash grenade can help you stun the Hunters and retreat if you get into trouble.
When they're dead, grab the Audio Cassette Tape from the table and combine it with the Tape Player. There's also assault rifle ammo on one of the tables beside the sick beds.
Head back downstairs to Lab Reception. As you pass through the Emergency Entrance, those zombies banging on the glass will finally break in--hit them in the knees to slow their approaches and give you time to dispatch them. Check the breakable crate for a green herb.
Bard's Lab
Use the Tape Recorder to open the door to Bard's lab, then hang a left to grab assault rifle ammo and handgun ammo from the tables. You'll find Bard in his chair, with the Banquet Invitation file beside him.
Around the corner from Bard is a green herb. Use the computer to get the Email from Nathanial Bard file.
Head back through Lab Reception and you'll face another Hunter. Take it out and make your way back to the Makeshift Sick Room where you started.
The Lobby

Now your job is to hold off a horde of zombies until Tyrell can manage to get the security shutters closed. You'll probably be low on ammo at this point, so run around the room stocking up as best you can. You should also pick up the Detonator in front of where you start. Save your assault rifle ammo for as long as you can, because you'll need it later in the fight. Use the generators in the room to stall the zombies, especially as they get close to the barricade Carlos made for the sick room. If they break it down, you're done.
It's a bit frantic, but the fight is pretty straightforward at first. Kill zombies as quickly as you can manage, but try to do so efficiently. Eventually, the lights go out and a Hunter breaks through from the door behind the reception desk. Pull out a grenade if you have one or your assault rifle and go to work on it, focusing on its head, but be careful not to get overrun by zombies. Again, the generator is key here, because it can give you breathing room from other enemies to waste the Hunter.
When you've killed the Hunter, clear out room as best you can and then go through the door the Hunter busted open to activate the breaker on the left side of the room. There's a Hip Pouch here, plus a bunch of ammo and health items here, as well as grenades, so grab everything--but be aware you'll soon be facing mutated zombies, starting in the breaker room. Kill them and get back out to the main room as quick as you can.
Tyrell will prompt you to set the Detonator on the column in the center of the room, so do that quickly. You'll need to hold out for a few seconds more, but don't worry about conservation at this point--do whatever you need to do in order to survive.

When the next Hunter shows up and the room gets too full, use a generator and then a grenade to clear out a lot of enemies at once. Just make sure you get the Hunter with the explosion. When the timer runs out, the battle will end.
Jill's Sick Room
When Jill awakens, it's time to search the hospital again. Grab the handgun ammo and the G18 (Burst Model) handgun from the counter beside the Item Box before you leave.
After talking to Tyrell, break the crate beside the reception desk for some handgun ammo. There's another breakable crate with more handgun ammo in the next hallway, as well.
Continue through Reception, but bypass the padlocked door for now; there are additional pickups scattered through the hospital you can grab, and you'll want the gear later. Continue into the hall outside the courtyard and go left to find a case you can open with the lockpick. Inside is MAG ammo.
Follow the hall the other way, go through Lab Reception, and enter Dr. Bard's lab to find Explosive B on the table beside his body. If you've got additional Explosive B, use it to craft acid rounds for your grenade launcher. From here, head to Emergency Entrance, where you'll encounter a Hunter. If you have acid rounds, you can deal with it easily. Use your lockpick on the locker to find handgun rounds. Keep moving up to the stairs and the second floor.
Hospital Second Floor
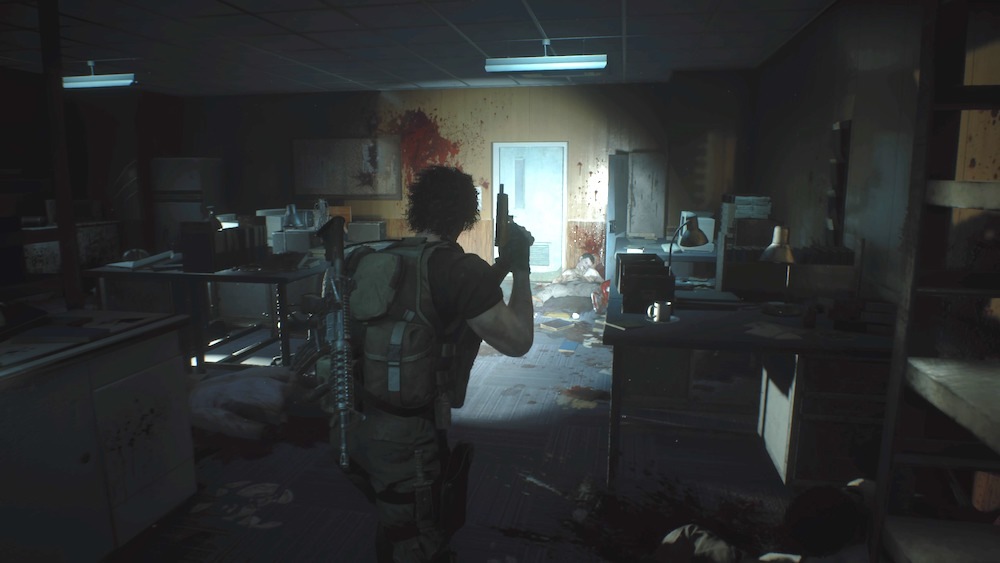
Enter the roof and immediately turn to your right before advancing--there's a Charlie Doll in the corner right next to the door here. Pass through the roof, then head left around the corner to the Staff Room. This room was previously full of bodies, but three have been converted to zombies, so be careful where you step. In the corner is a locker you can open with the lockpick; inside is shotgun ammo.

As you make your way down the middle hallway toward the Nurses' Station, a Hunter will barrel at you from around the corner, so be ready. In the Linen Room is a locker you can open with the lockpick containing MAG ammo, and there's Explosive A just inside the Treatment Room door, to the left. Head through the Nurses' Station into the Sickroom to grab high-grade gunpowder off a table beside a sickbed.
That leaves only the Courtyard. From the Nurses' Station, turn right toward the pile of junk barricading the hallway. Jill can crawl under the barricade to reach another spot where you can jump over the rail down to the Courtyard below. Open the case to the left of where you land to find the .44 AE Lightning Hawk magnum. That's the last thing you need, so return to the Reception Room--but be careful of the Hunter now waiting for you there.
Open the padlocked door and you should be free to discard your lockpick, having opened every lock in the game. Descend through a boiler room and check near the exit door for a crate you can break to grab gunpowder. Keep moving until you see Umbrella trucks; descend the short staircase and turn right to find an Explosive A bottle on a crate in front of the first one. Ahead on the left is a forklift; check the front of it to discover a Charlie Doll. You're now clear to ride the big elevator at the far end of the room.

The fight for survival is coming to an end. Finish up with our Resident Evil Remake Walkthrough: Part 5.
Got a news tip or want to contact us directly? Email news@gamespot.com
Join the conversation