How To Upgrade Your PS4 Hard Drive
You can replace your PS4's internal hard drive or use an external hard drive to expand your storage.
Finding extra space on your PS4 hard drive is almost as difficult as finding a PS5. But, if you do have one, you may notice the memory filling up quickly. Once you install Red Dead Redemption 2, Call of Duty: Black Ops Cold War, and a few more of the best PS4 games, your PS4 will likely be running low on available space. As a result, you may find a 1TB hard drive filling up surprisingly quickly, especially if you play live-service games with frequent updates. Thankfully, you can upgrade your PS4 hard drive by either swapping for a higher capacity internal drive or using an external portable drive.
Adding an external drive is the easiest and most convenient option, but you'll also want to consider upgrading the internal drive. The benefit with an internal drive, specifically an SSD, is that it improves boot times and make your PS4's operating system run a bit quicker and more smoothly. You can, however, get the benefits of faster load times with internal or external SSDs. You could even swap out the internal drive and add an external SSD to really maximize both key points: speed and capacity. The PS4 supports up to 8TB of internal storage and 8TB of external storage. We've outlined the steps for upgrading your PS4's hard drive below.
Finding PS4 model number
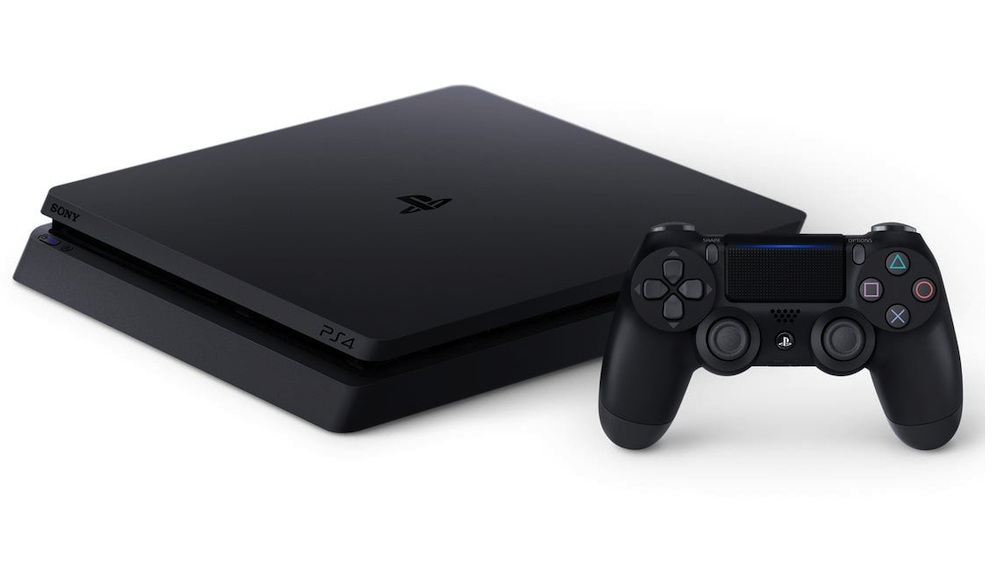
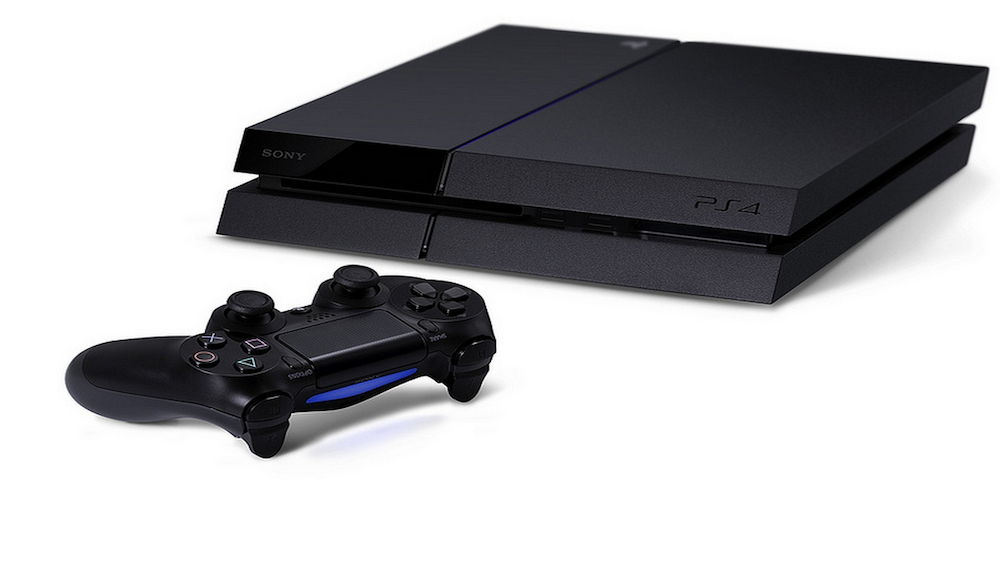
Before you attempt to install a new internal hard drive, you first need to identify your PS4 model. It could be an original PS4, a PS4 Slim, or a PS4 Pro, and if you don't already know which version you have, you can identify it by finding the model number on the console. The model number for an original PS4 will begin with CUH-10xx, CUH-11xx, or CUH-12xx and is located on the bottom of the console, toward the back. The PS4 Slim model number is situated at the back of the console, to the right of the power port and will begin with CUH-20xx. Meanwhile, the PS4 Pro model number begins with CUH-70?? and can be found above the ports on the back of the system. On your console, the "xx" will be replaced with actual digits.
Backing up saves and the tools you need
Before you can start replacing your internal hard drive, you need to make sure you have a few items. First, you need a Phillips-head screwdriver (and for the PS4 Pro, a fairly long one). You also need a USB stick in order to install an up-to-date PS4 firmware after the drive is installed. Once you install your new hard drive, you can visit PlayStation's website to download the necessary files.
You'll also want to back up your saves. You have two options here: If you're a PS Plus subscriber, you can back up your saves to the cyuloud and retrieve them once you've installed the drive. If you're not a PS Plus subscriber, you will need to plug a USB stick or external hard drive into your PS4 and transfer over all the data you would like to keep.


Of course, you also need a new internal hard drive, and we've highlighted a few recommendations above. How much storage space do you actually need, though? It really depends on your PS4's current capacity (500GB, 1TB, or 2TB) and your gaming habits, so you'll have to make the right decision for you. All 2.5-inch internal drives will work with the PS4. You may want a modest capacity SSD to pair with an external drive, but it's up to you. Just know that internal SSDs with more than 2TB of storage are extremely pricey.
How to upgrade hard drive for PS4 Pro

- Turn off and unplug your PS4 Pro and place it, upside down, on a table or other flat surface.
- In order to access the hard drive, you first need to use your finger to remove the plastic covering all the way to the right on the back of the console.
- Once the plastic covering is removed, you should be able to see the hard drive mounting bracket, which is held in place by a screw.
- Use the screwdriver to remove the screw and pull the mounting bracket out. You should see four screws holding the hard drive in its mounting bracket.
- Remove all four with the screwdriver and pull the hard drive out of its mounting bracket. Then, insert the new hard drive.
- From here, you will go back through the steps in reverse. Replace the four screws to secure the hard drive into the mounting bracket. Reinsert the mounting bracket into the PS4 Pro, and replace the screw to secure it in place. Finally, put the plastic covering back in place.
How to upgrade hard drive for PS4 Slim
- To begin, turn off your PS4 Slim, unplug it, and place it, facing away from you, on a table or other flat surface.
- On the right side, you should see an L-shaped plastic piece that covers the PS4's back right corner.
- Slide it to the right to remove it, revealing the hard disc drive. Pull on it to remove it.
- The hard drive is held in the mounting bracket by four screws which you will need to remove with the screwdriver.
- Take out the old hard drive and replace it with the new one, and replace the screws.
- Put the hard drive back in the console and replace the L-shaped plastic piece.
How to upgrade hard drive for PS4
- Turn off and unplug your PS4 and place it, facing you, on a flat surface, so that the PlayStation logo is on the right.
- Move the panel on the left until you hear a click and move it less than a centimeter to the left.
- Now, you can remove the panel, revealing the hard drive in its mounting bracket. Use the screwdriver to remove the screw holding the bracket in place, then remove the bracketed hard drive.
- The mounting bracket is held in place by four screws, which you need to remove.
- Once the screws are out, remove the old hard drive and replace it with the new one, then replace the screws.
- Place the hard drive back in the console and replace the screw that held it in place; then put the panel back on the console.
Using an external drive for PS4
If you want something more convenient (and aren't swayed by an internal SSD's operating system improvements), an external drive requires significantly less work, and you can still get faster load times with an external SSD. There are two kinds of external drives: portable (which is small, lightweight, and simply plugs into your device of choice) and desktop (which requires an accessible power outlet). Virtually all portable hard drives work with all PS4 models, and if you want the added storage that comes with a desktop drive, many are compatible with PS4 as well. We've included a few recommendations here from popular brands like Seagate and Western Digital.


In order to use an external drive with your PS4, you will first need to format it after connecting it to the system.
- To do so, go to Settings, then scroll down until you see the Devices tab.
- Click this and then scroll until you see the USB Storage Device option and select your external hard drive.
- From there, click Next and Format. The hard drive will begin the process of formatting to the PS4 and any games installed from that point on will be stored to the hard drive.
More Tech Picks From GameSpot
- Best Computer Speakers For Gaming
- Best 4K TVs For Gaming
- Best Monitor For PS5, Xbox Series X
- + Show More More Tech Picks From GameSpot Links (6)
- Best Gaming Chairs In 2023
- Best Cheap Gaming Monitors In 2022
- Best PC Headsets In 2023
- The Best Nintendo Switch Controllers You Can Buy
- The Best VR Headsets In 2020
- The Best Webcam For 2021: Top Picks For Streaming On Twitch And YouTube
Got a news tip or want to contact us directly? Email news@gamespot.com
Join the conversation