Super Mario RPG - All Hidden Treasure Locations Guide
Acquire a bunch of goodies from Hidden Treasures in Super Mario RPG.
There are dozens of Super Mario RPG Hidden Treasures for you to discover. As you progress further in the campaign, you'll visit numerous locations, some of which have goodies in invisible containers. Here's our guide to help you find all Hidden Treasures in Super Mario RPG.
- All Hidden Treasure locations in Super Mario RPG
- How to get the Signal Ring
- How to keep track of all Hidden Treasures you've found
- Hidden Treasure locations in the Mushroom Kingdom region
- Hidden Treasure locations in the Tadpole Pond region
- Hidden Treasure locations in the Yo'ster Isle and Moleville regions
- Hidden Treasure locations in the Star Hill and Land's End regions
- Hidden Treasure locations in the Nimbus Land and Bowser's Keep regions
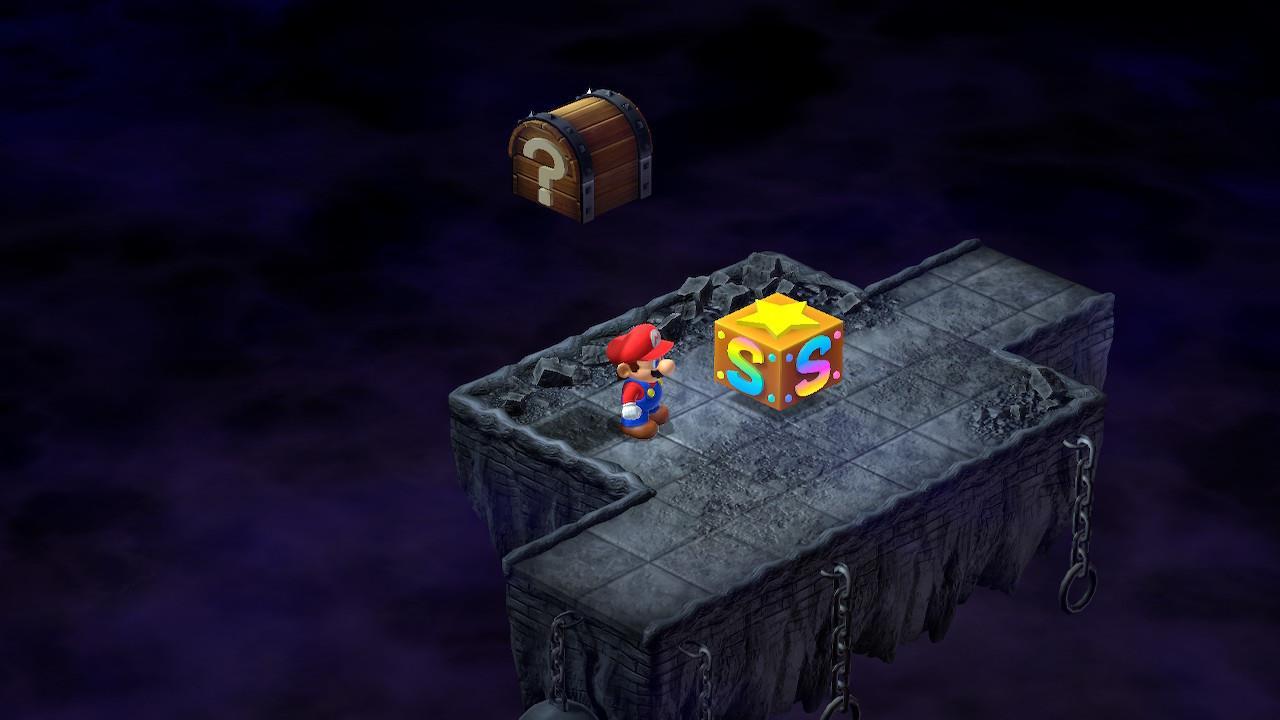
All Hidden Treasure locations in Super Mario RPG
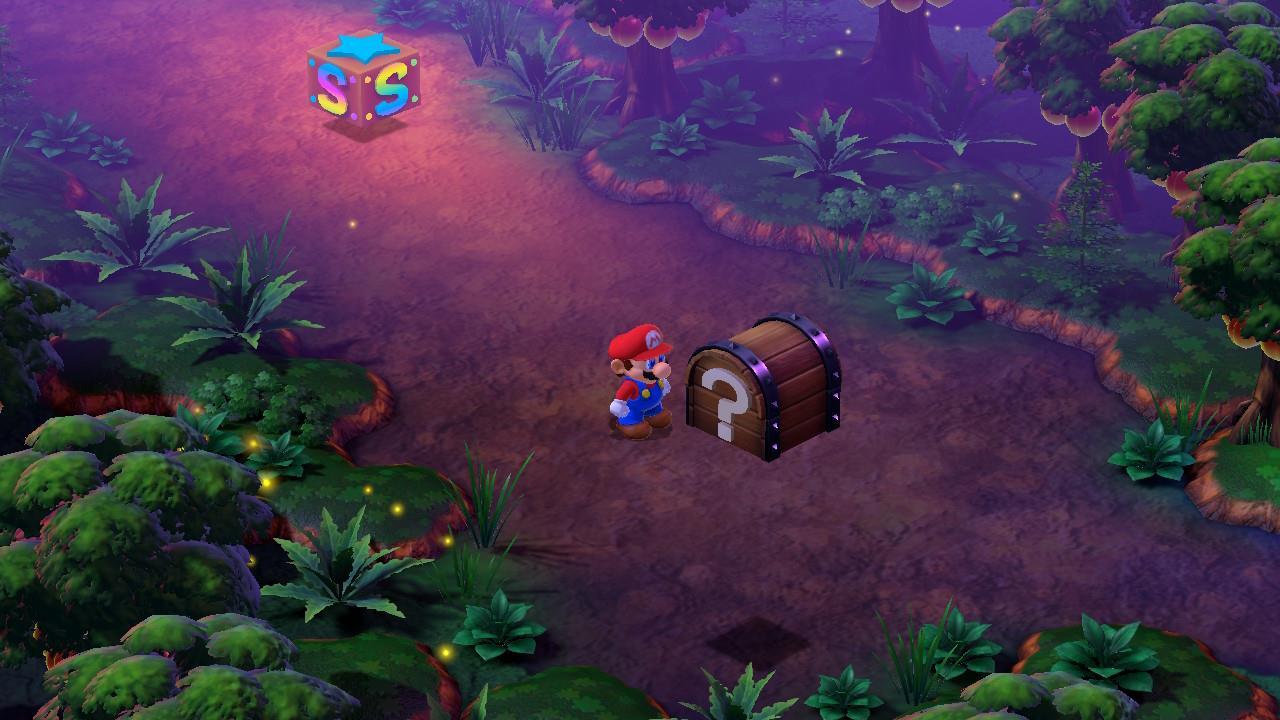
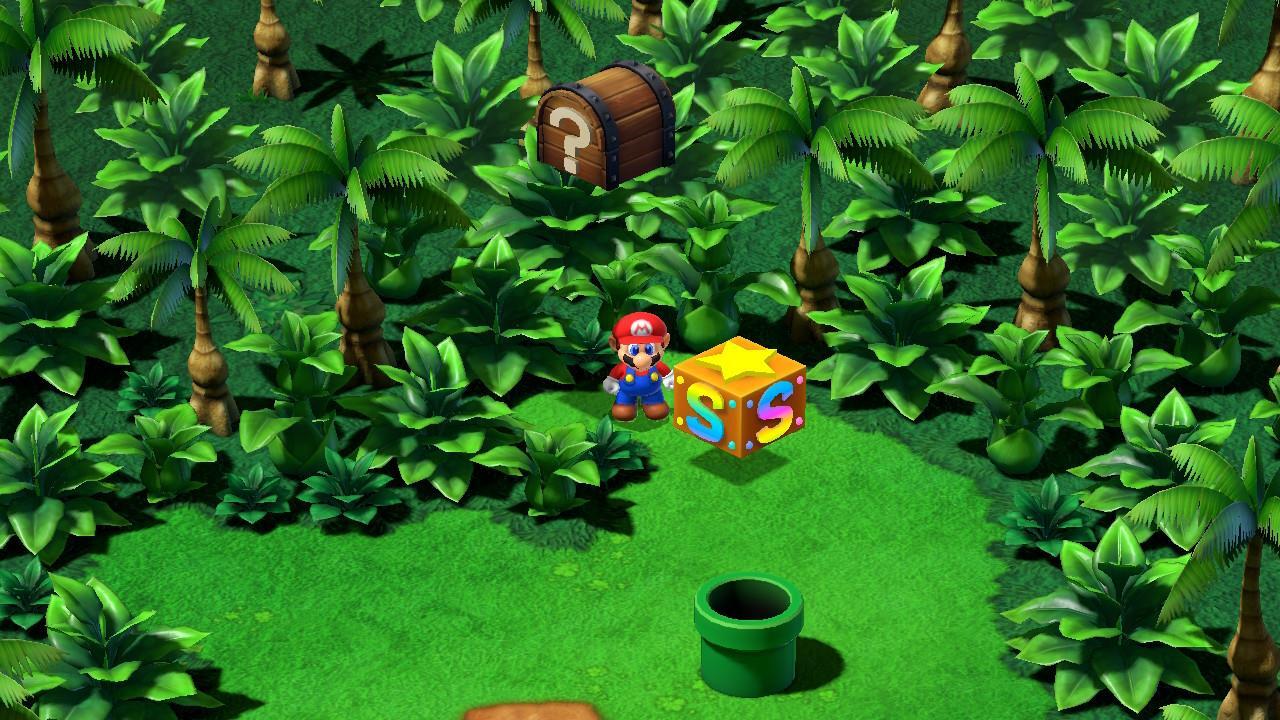
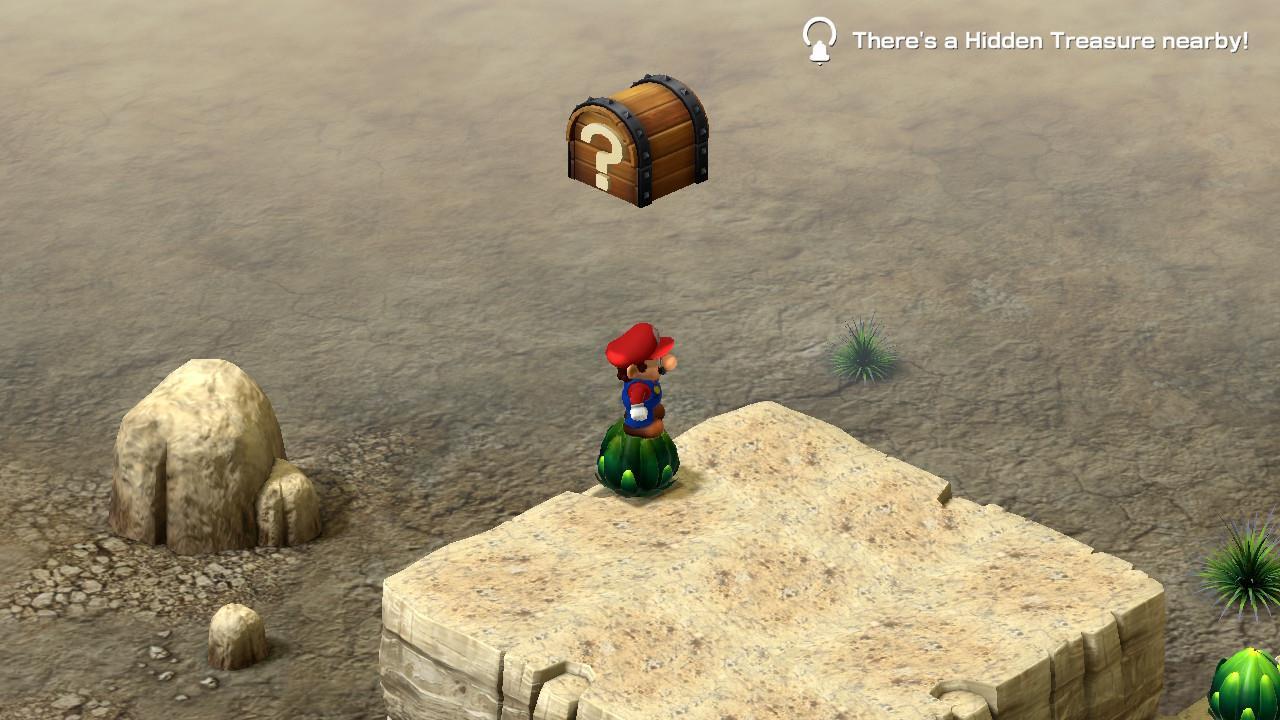
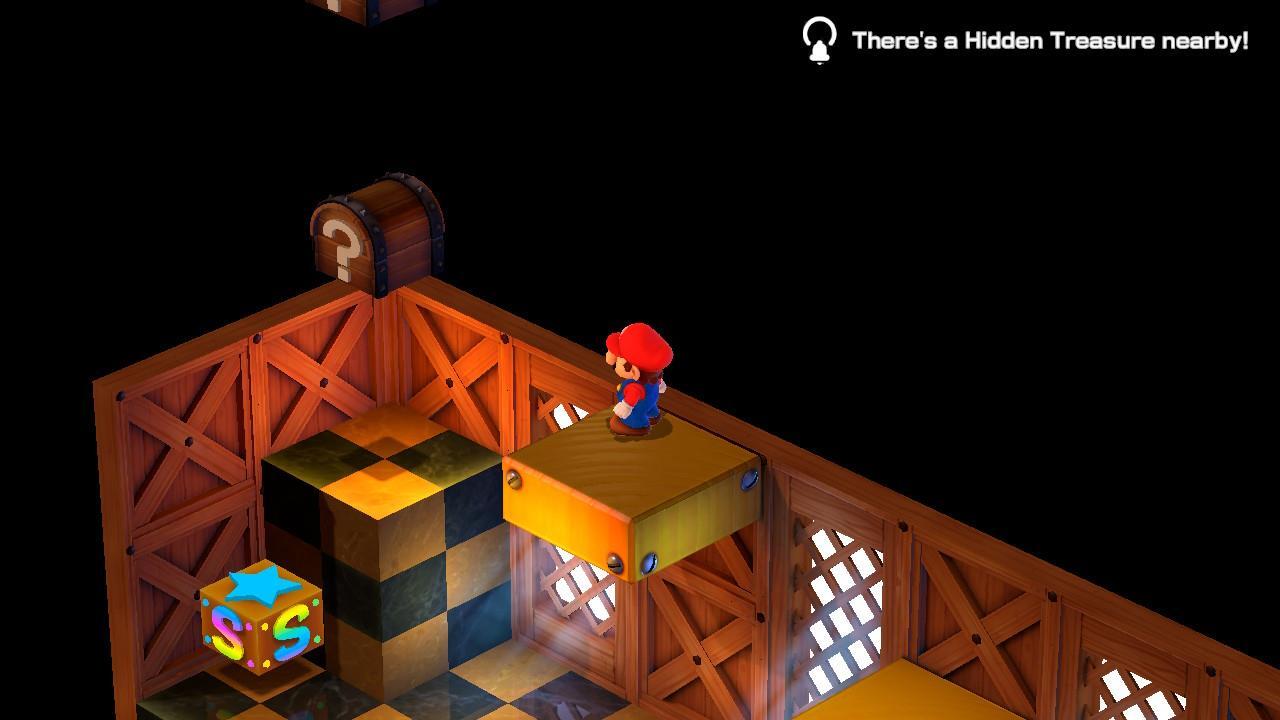
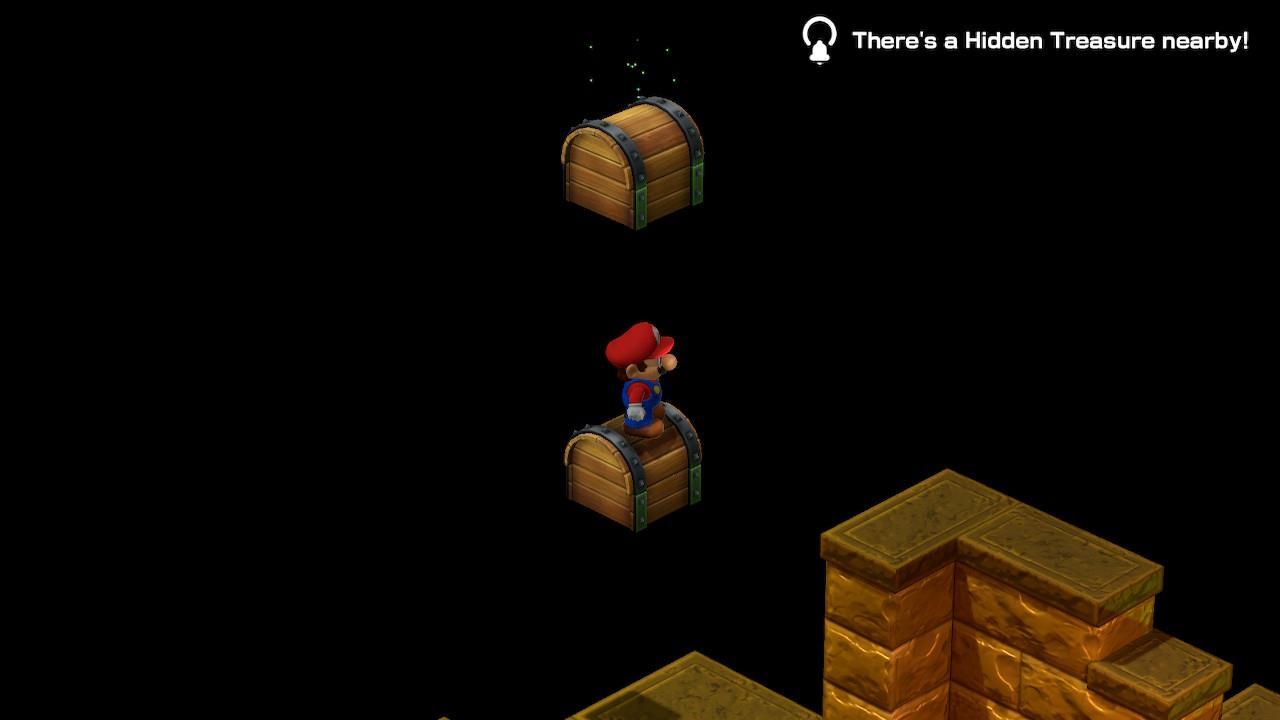
The Super Mario RPG Hidden Treasures will only appear if you jump and hit them. The easiest way to know of their locations is with the use of the Signal Ring. If the Signal Ring is equipped on any character, even someone who's not in your active party, a notification will appear in the top-right corner of your screen informing you that a Hidden Treasure is nearby. Moreover, there's a certain NPC that counts just how many Hidden Treasures you've found throughout the course of your adventure.
How to get the Signal Ring
The Signal Ring is found in the Mushroom Kingdom, specifically in the basement of the item shop. Chat with the NPC there, who'll ask you to jump. Doing so causes an invisible block to appear. The NPC will hand over the Signal Ring, too.

How to keep track of all Hidden Treasures you've found
As for keeping track of all the Super Mario RPG Hidden Treasures that you've discovered, your best bet is to progress further in the campaign until you reach Monstro Town. Make your way to the elder's house (i.e. the first one to the right once you arrive in the village), then go to the room on the second floor. The treasure mimic NPC here will let you know how many you've found so far. Also, this particular room has a starfish that lets you play the third tune in Melody Bay.

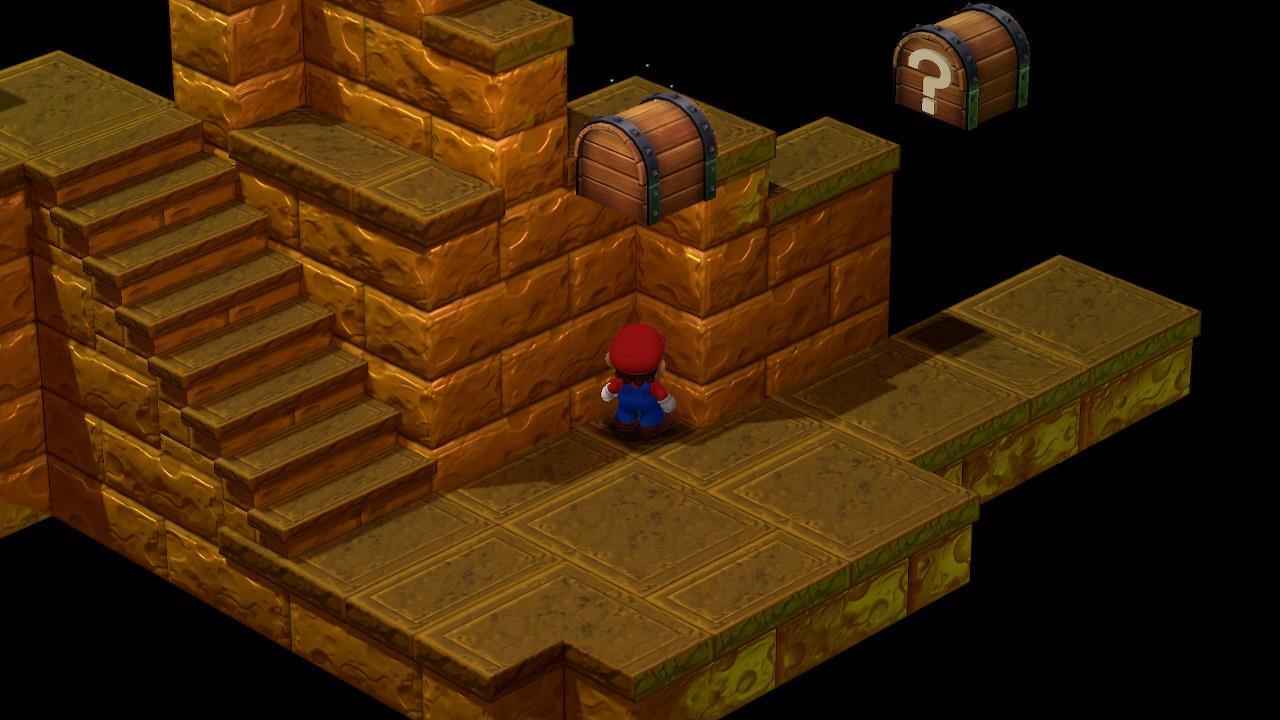
Hidden Treasure locations in the Mushroom Kingdom region
We've organized our Super Mario RPG Hidden Treasures guide into several categories based on each region. We're kicking things off with those in the Mushroom Kingdom and Bandit's Way.
Mushroom Kingdom Hidden Treasures
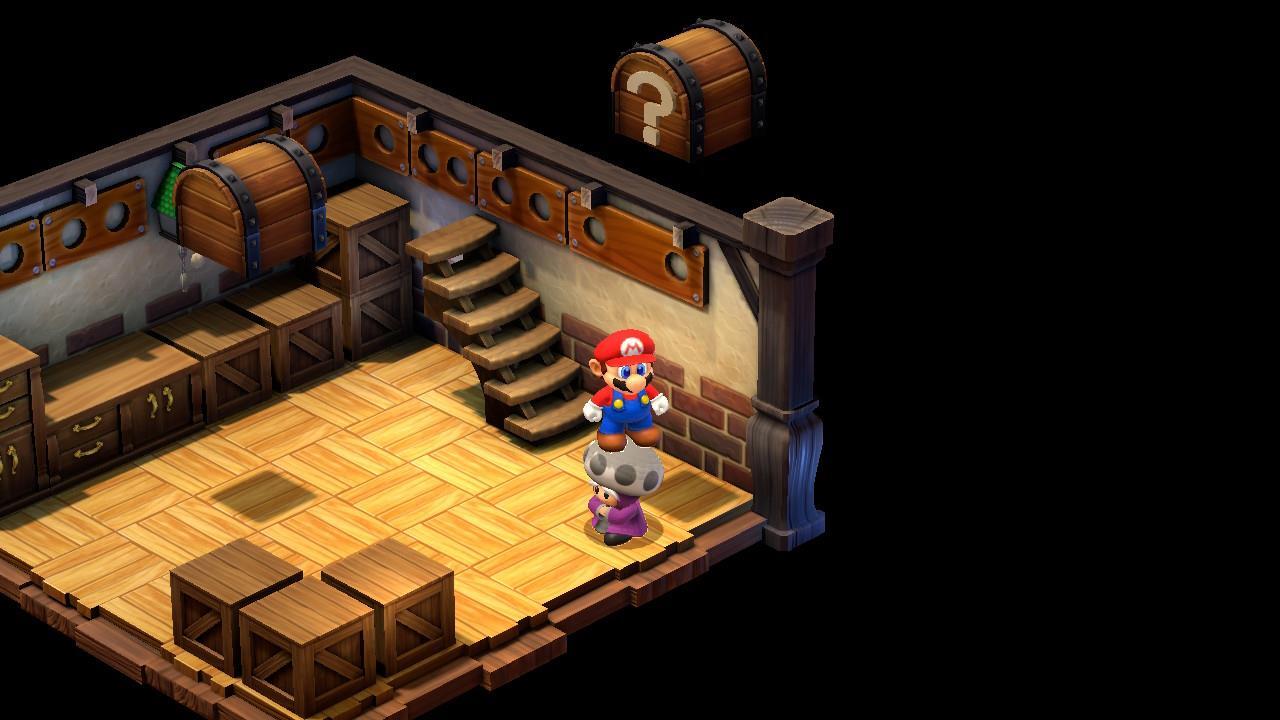
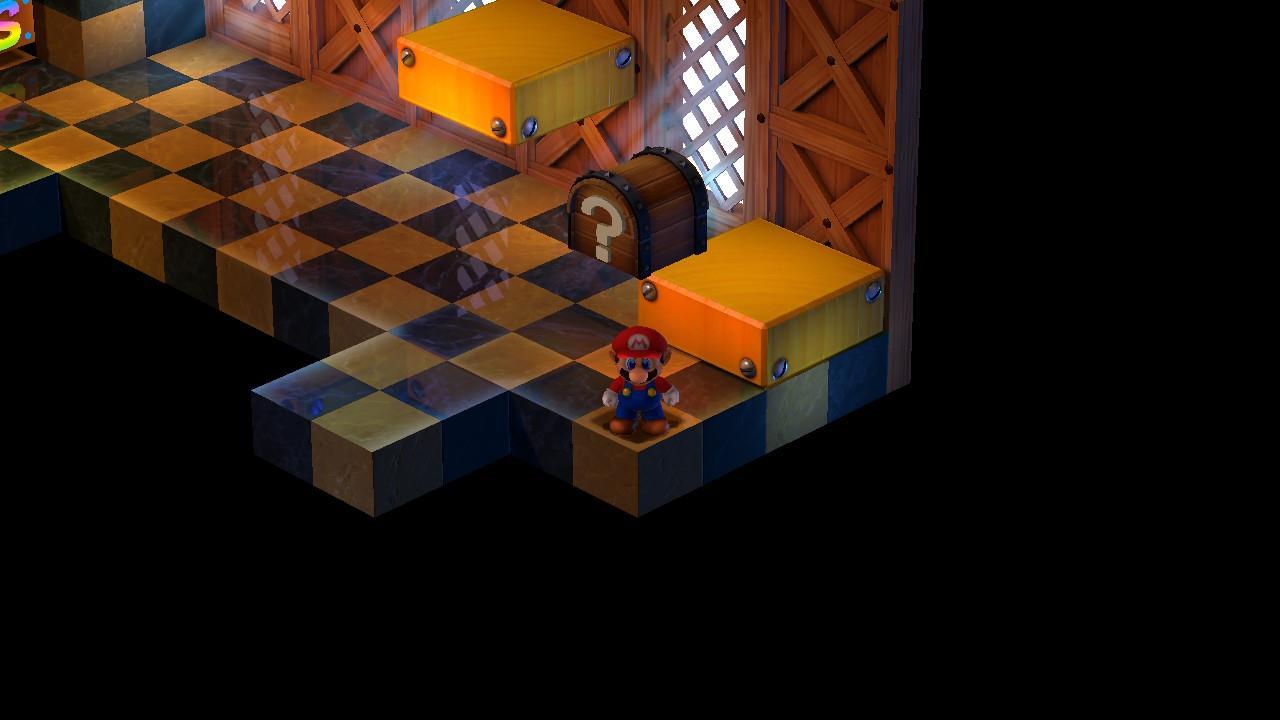
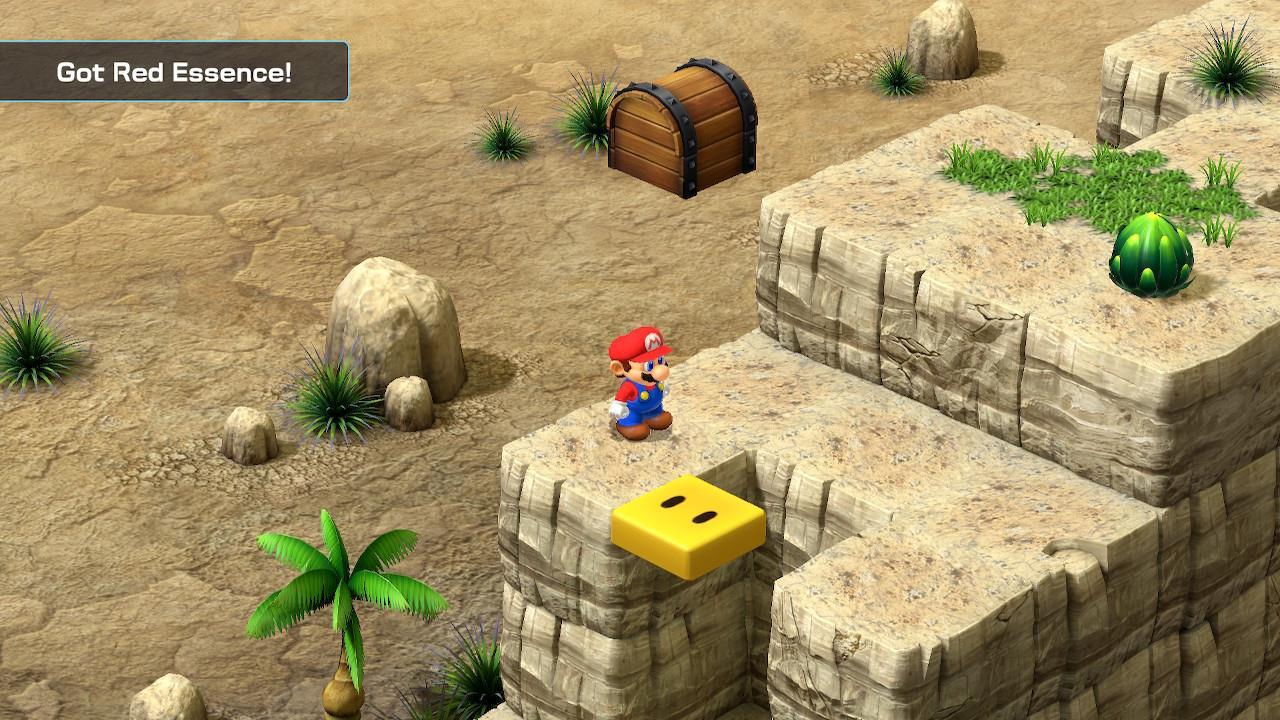
- Hidden Treasure #1: The first Hidden Treasure in the game is in the basement of the item shop. It's part of the task from the NPC that gives you the Signal Ring.
- Hidden Treasure #2: The second Hidden Treasure is also in the same room. Wait until the NPC moves to the corner, then jump on his head so you can hit the block.
- Hidden Treasure #3: This one requires you to chat with the chancellor inside the castle and meet up with Mallow outside. Once Mallow joins you, go back to the castle corridor and hop on the guard that's on patrol. This lets you reach the ledge with an invisible block above it.

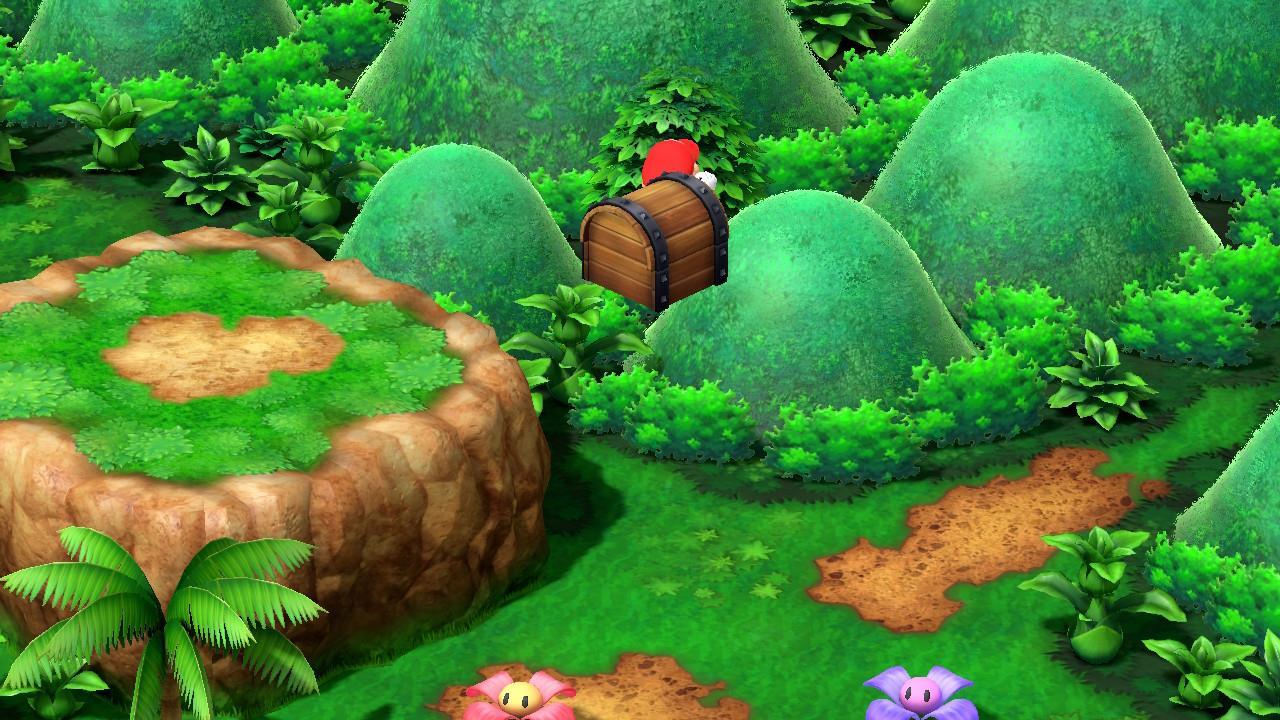
Bandit's Way Hidden Treasure
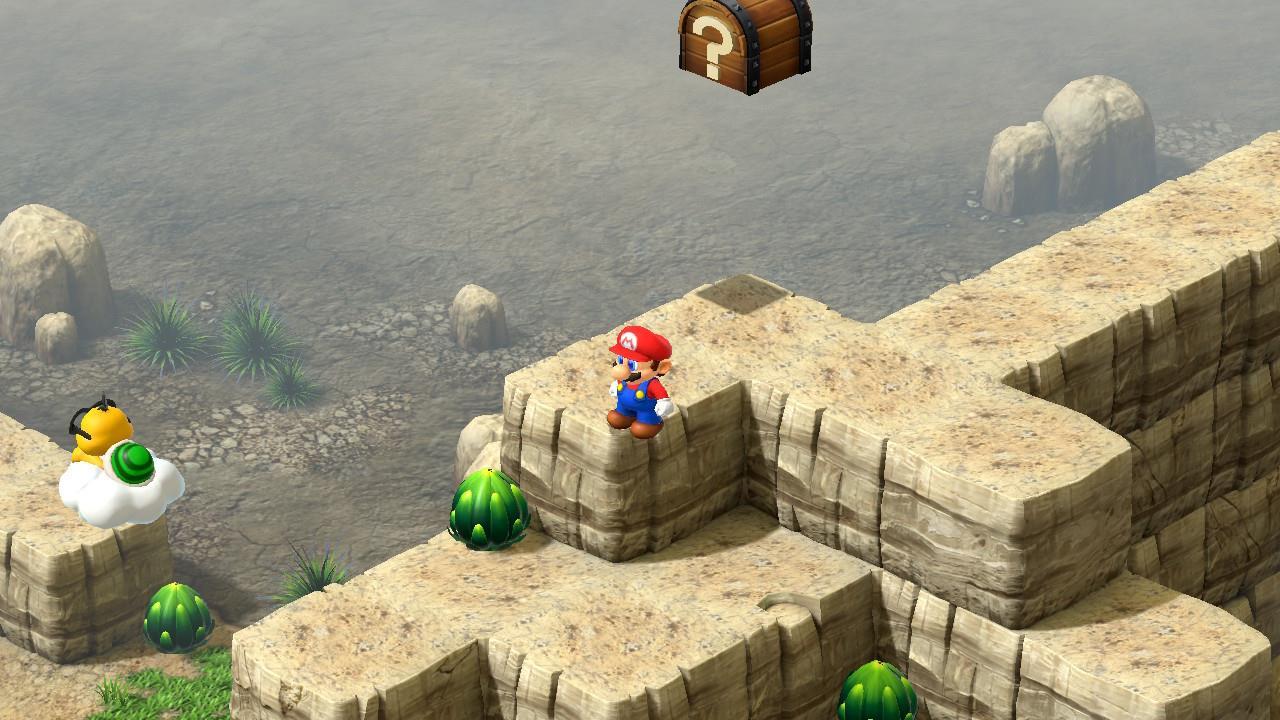
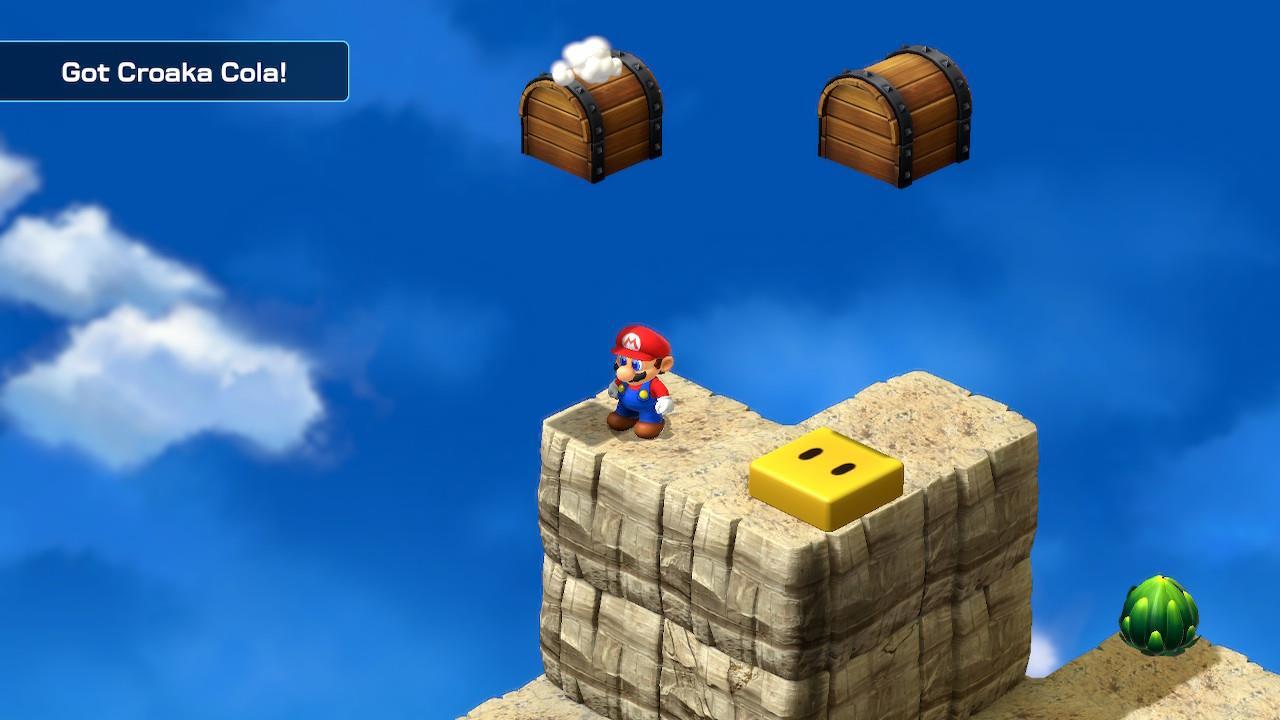
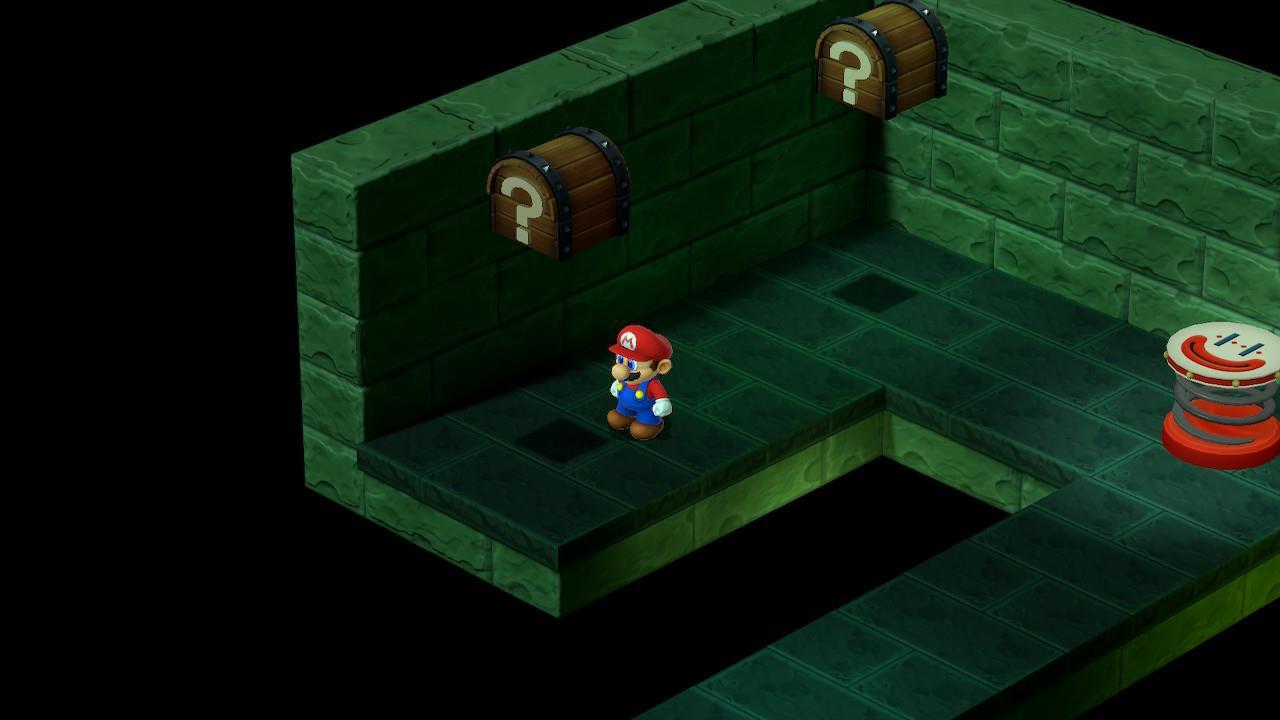
- Hidden Treasure #4: There's only one Hidden Treasure in Bandit's Way. Simply continue through the level until you see a red flower next to a purple flower. Hop on the red flower and jump when Mario is facing diagonally to the right. This allows you to hit the block that's floating in mid-air.
Hidden Treasure locations in the Tadpole Pond region
We're going to look for the Super Mario RPG Hidden Treasure blocks in the Tadpole Pond region, specifically in the Rose Town, Forest Maze, and Pipe Vault areas.
Rose Town Hidden Treasures
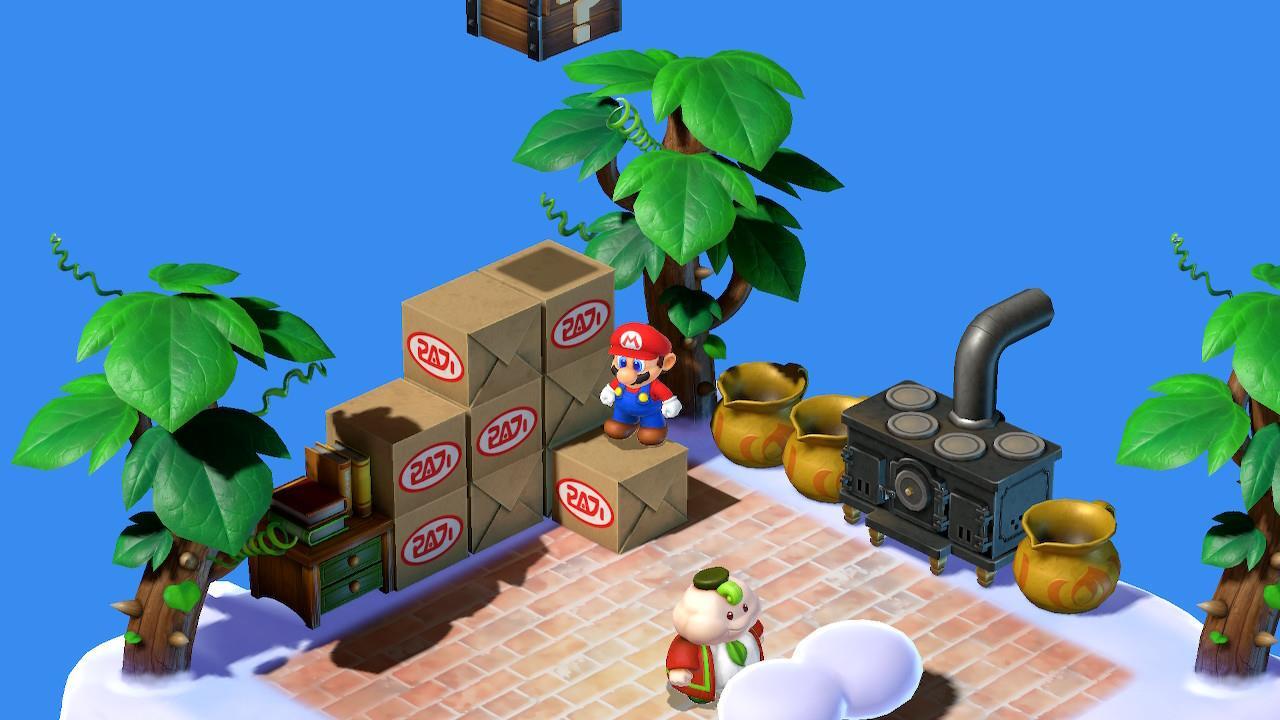
- Hidden Treasure #5: Enter the item shop and jump on the shelf behind the vendors. Note that there's another block in this room. You'll have to climb on the boxes outside so you can enter via the chimney.
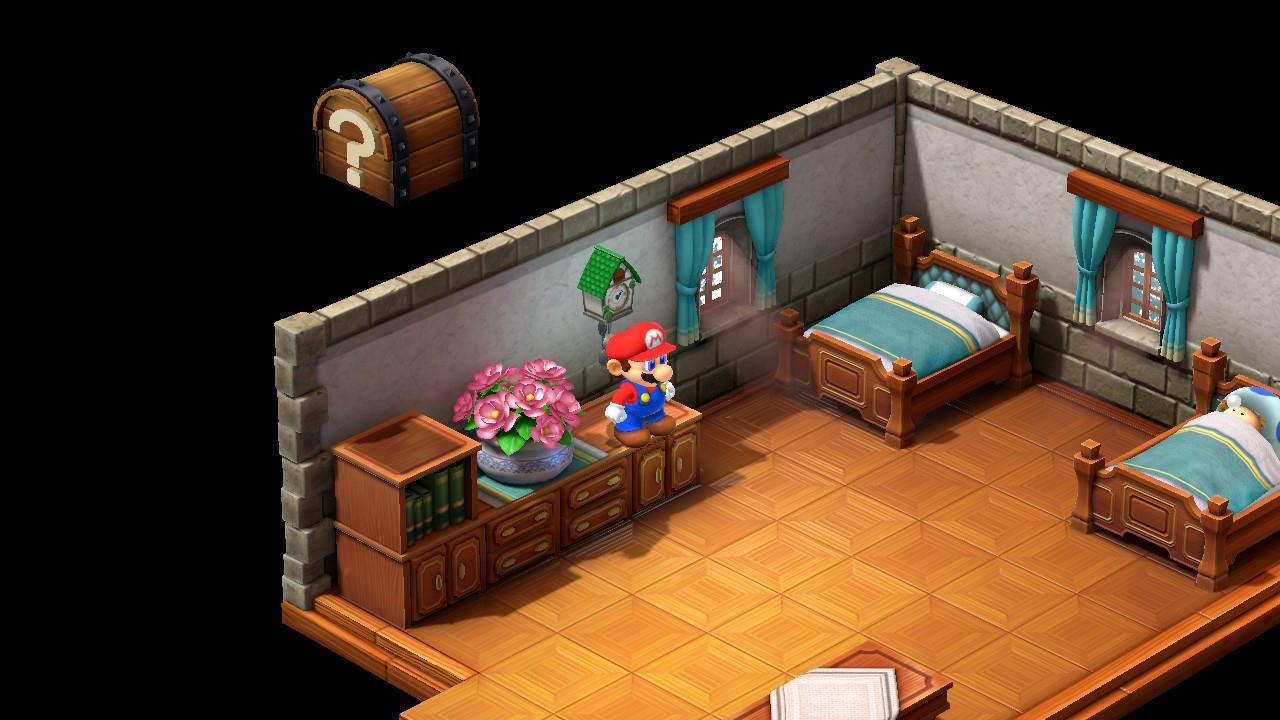
- Hidden Treasure #6: Head to the lone house on a hill and wait for the Toad NPC to move near it. Then, jump on its head so you can clamber on the edge. Enter the house and jump while on the bed in the second-floor bedroom to spot this chest.

Forest Maze Hidden Treasures
- Hidden Treasure #7: There are six Hidden Treasures in the Forest Maze, so be on the lookout for all of them. The first is actually at the left side of a clearing at the entrance.
- Hidden Treasure #8: Pass through the underground area and you'll emerge out of a tree trunk. Check the corner along the left-hand side for this invisible block.

Shortly thereafter, you'll arrive at a section that has several Wiggler mobs moving in and out of tree trunks. You'll find three Hidden Treasures in the underground areas if you go down specific stumps.
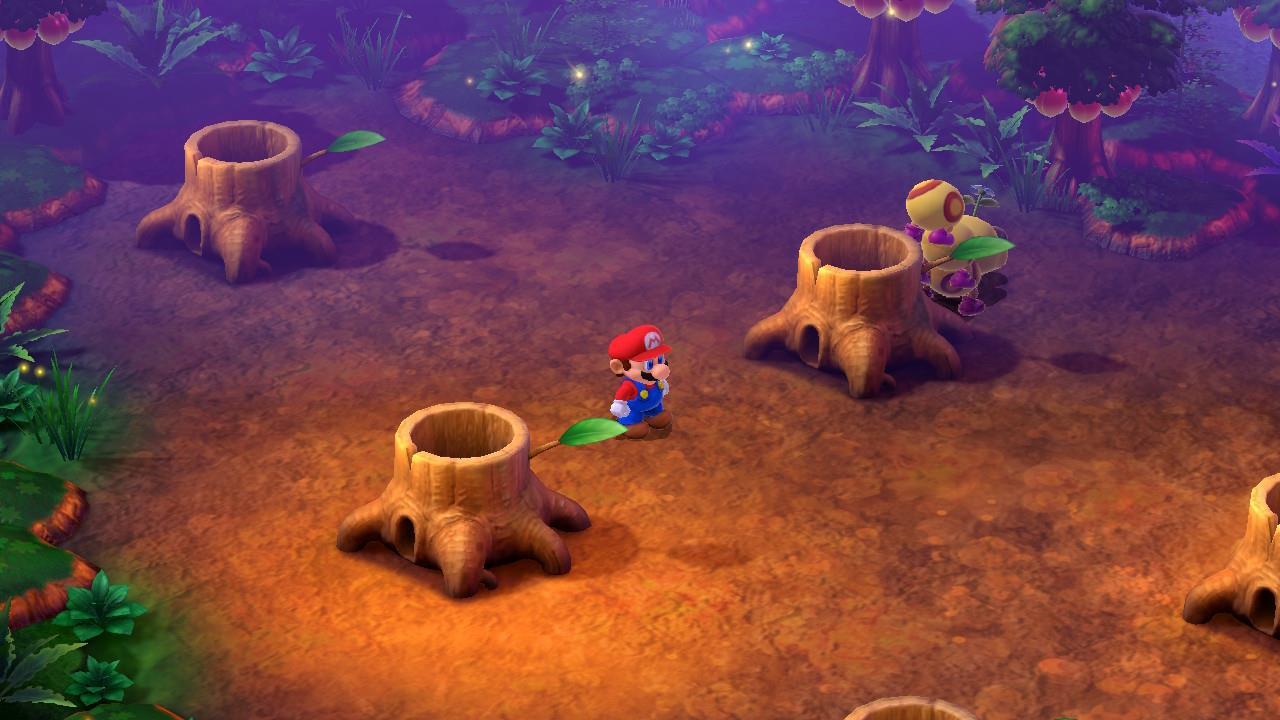
- Hidden Treasure #9: Go down the tree trunk to the right (i.e. the one closest to the entrance pathway). The block is near the spring that takes you back outside.
- Hidden Treasure #10: Go down the tree trunk to the left in the second row. The block is slightly north of the spring in the underground section, though it doesn't yield any reward.
- Hidden Treasure #11: Continue to the very end of the Wiggler area where you'll spot a lone tree trunk. Go down and make your way to the end of the tunnel where you'll spot a sleeping Wiggler. Go behind it and jump to tag this chest.
- Hidden Treasure #12: The last Hidden Treasure in this zone requires you to hop on the Wiggler, who'll then toss you to another above-ground area. This is where you need to complete the Forest Maze objective by taking the passageways that Geno uses as an exit. Once you see the save point, go to the clearing to the south (not to the next screen) to find this block.
Pipe Vault Hidden Treasures
- Hidden Treasures #13 and 14: There are two Hidden Treasures in the Pipe Vault area, and they're in the same room. Simply advance further until you see a section with several gold coins, a Frog Coin, and a spring at the end. Jump up on one end of this section to reveal a platform that lets you reach the upper ledge.
- There's an existing item block at the very end.
- The first invisible block is close to the yellow platform that you just revealed.
- The second invisible block is between the first treasure and the one on the far end.
Hidden Treasure locations in the Yo'ster Isle and Moleville regions
These Hidden Treasures in Super Mario RPG can be found in the Yo'ster Isle and Moleville regions. Specifically, we look at the Booster Pass, Booster Tower, and Marrymore areas.
Yo'ster Isle Hidden Treasure
- Hidden Treasure #15: Continue deeper into the Pipe Vault to reach Yo'ster Isle. Once there, position yourself so that you're fairly close to the save point and jump up.
Booster Pass Hidden Treasures
- Hidden Treasure #16: Near where you enter the Booster Pass area, you'll see a plateau with a single bush plant. Hop on top of the plant and jump up again.
- Hidden Treasure #17: In the same area, go to the next rock formation with several segmented ledges (i.e. it's just past the Lakitu). Stand on the upper-left corner and jump up.
Booster Tower Hidden Treasures
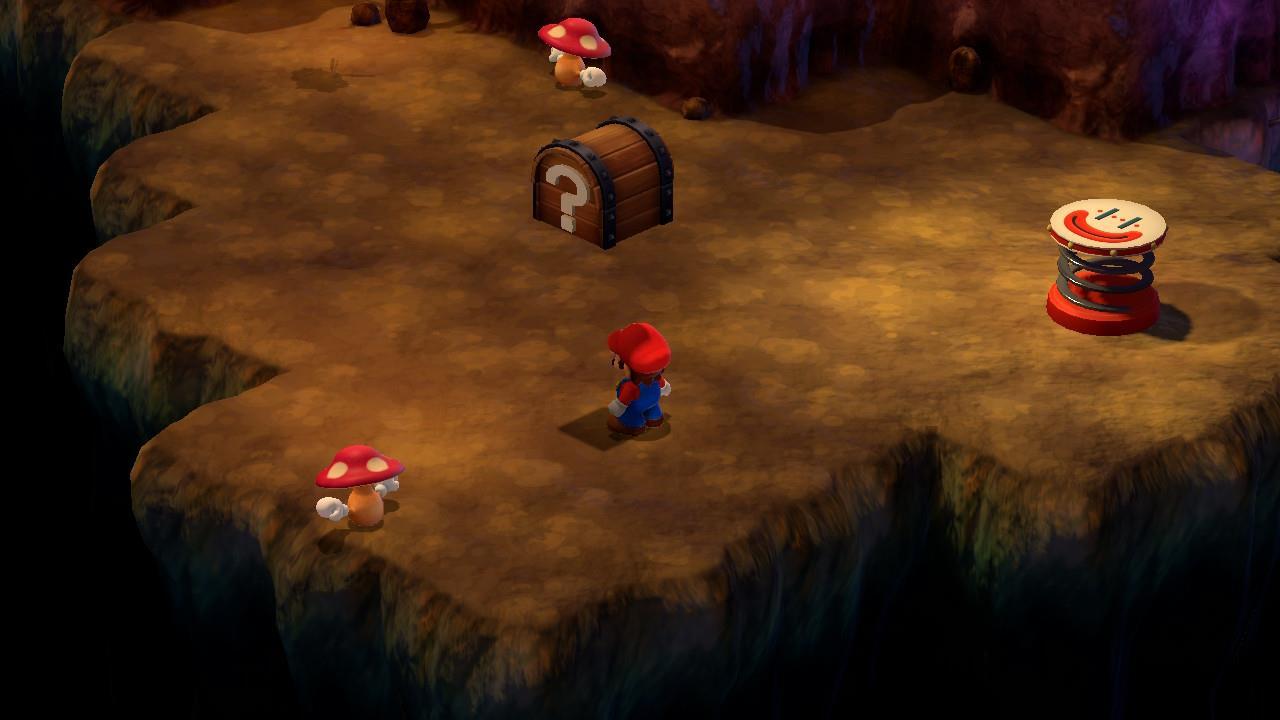
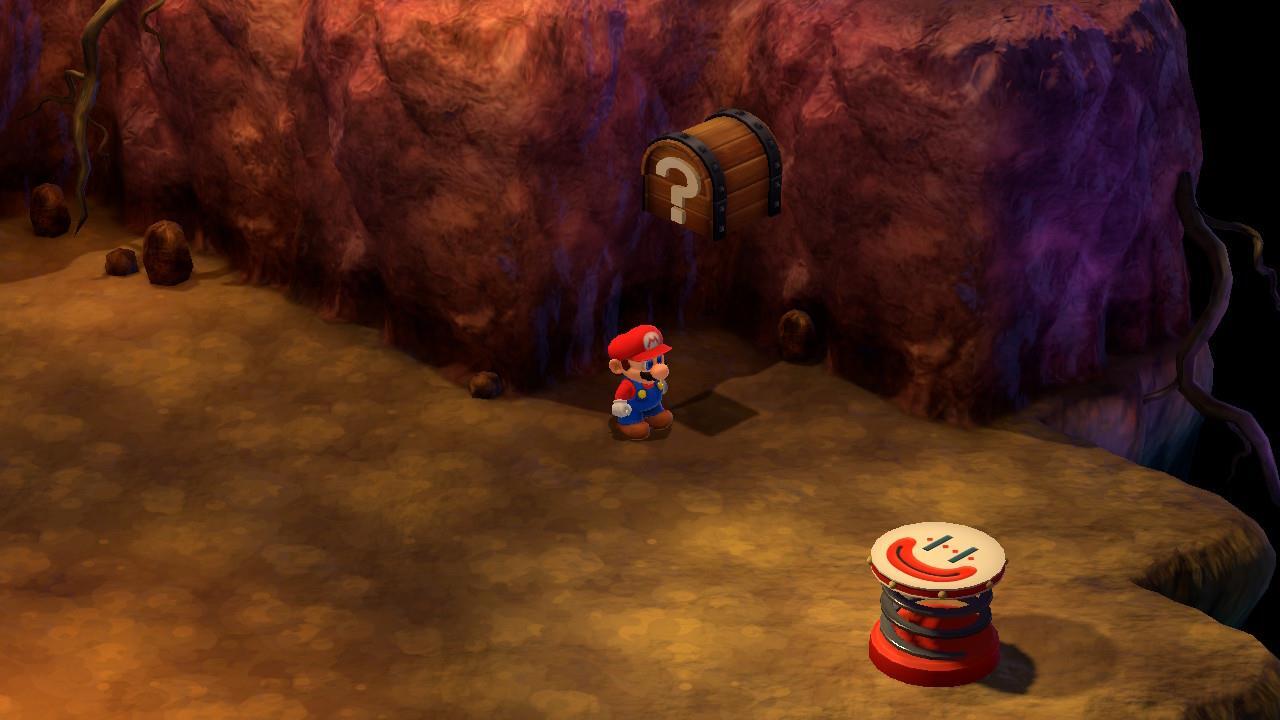
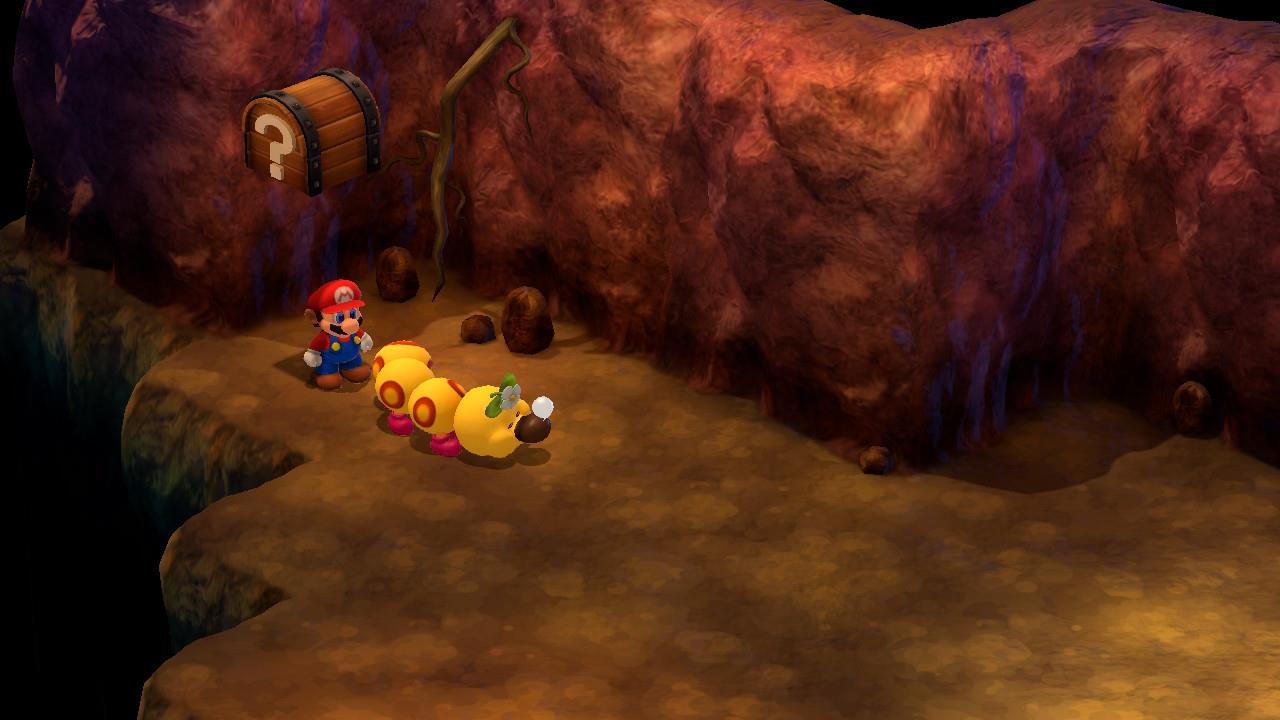
- Hidden Treasure #18: Progress further until you reach a small room where you have to climb on ledges, all while Snifits continuously spawn. The block is in the upper corner.
- Hidden Treasure #19: Eventually, you'll get to use a Thwomp to reach a section with multiple ledges, Snifits, and other enemies. One of the invisible blocks can be found in the lower-left corner.
- Hidden Treasure #20: At the halfway point of the same section, there's a narrow gap. Head inside and jump up to receive a Frog Coin reward.
- Hidden Treasure #21: The last two Hidden Treasures are in the same room, which also happens to have a save point. First, make your way to the opposite side of the hallway. Stand in the corner where the lower ledge is and jump up.
- Hidden Treasure #22: Next, use the yellow ledges and jump to reach the top of the existing block (i.e. the one above the save point). Once you're on the item block, jump up once more to reveal this Hidden Treasure.
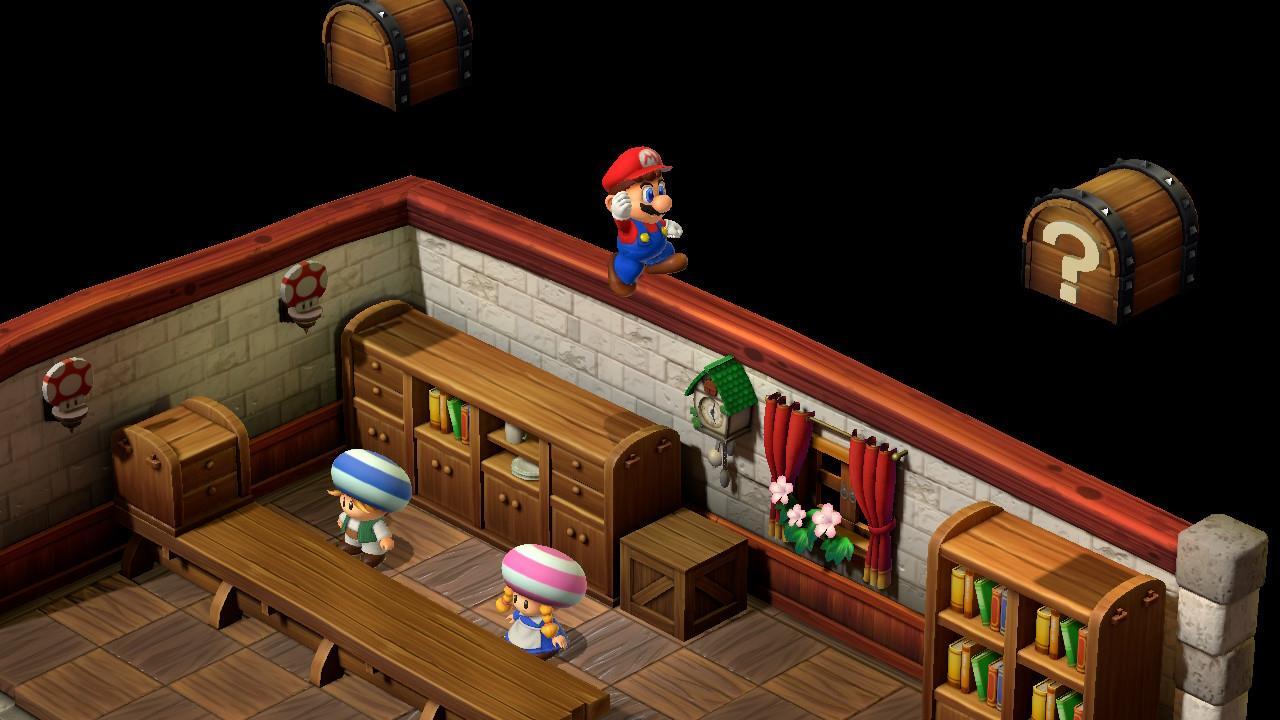
Marrymore Hidden Treasure
- Hidden Treasure #23: Make your way to the Marrymore inn and go to the second-floor bedroom. Jump on the taller bookshelf to tag this container.
Hidden Treasure locations in the Star Hill and Land's End regions
Next up, we're going to look for the Super Mario RPG Hidden Treasure blocks in the Star Hill and Land's End regions. Apart from Land's End, we also tackle those in the Sunken Ship, Belome's Temple, Monstro Town, and Bean Valley.
Sunken Ship Hidden Treasure
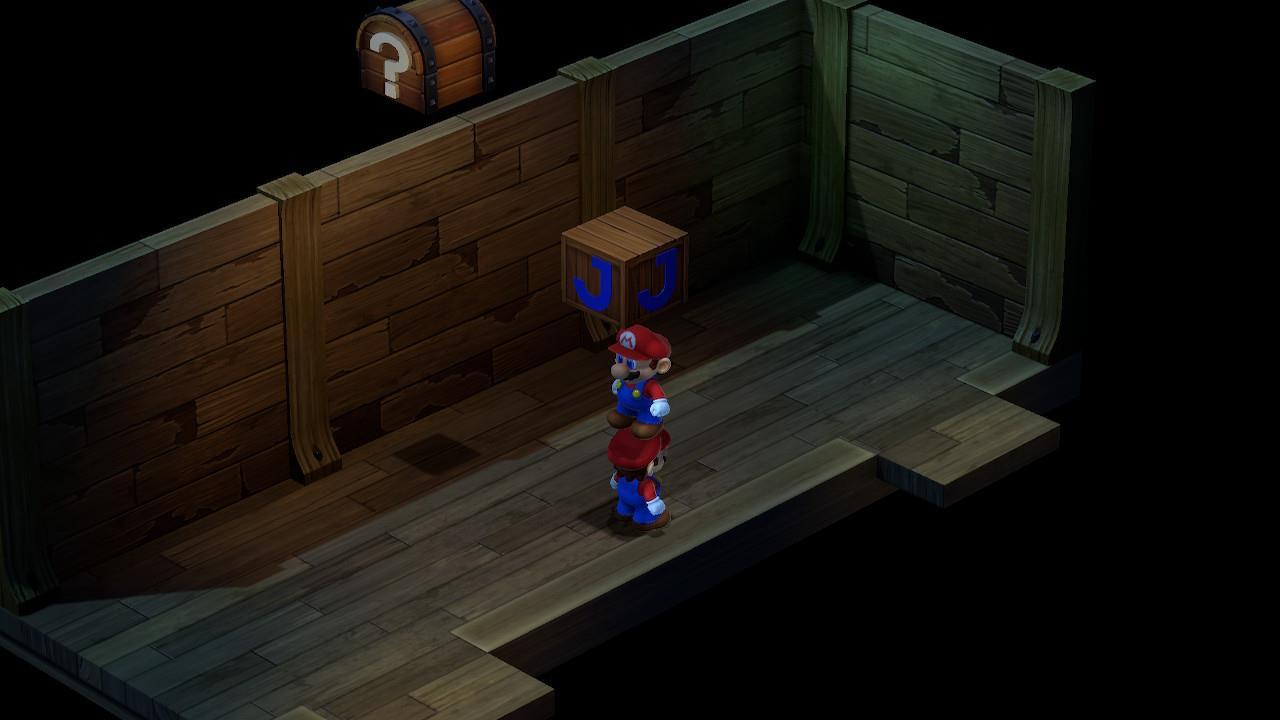
- Hidden Treasure #24: This requires you to complete the Sunken Ship puzzles and beat the King Calamari boss so you can reach the next area. While exploring, you'll come across a room with a Mario clone. Don't interact with it, as that leads to a battle. Instead, watch as the clone mirrors your movements. The goal is to jump on the clone's head so you can hit the invisible "J" block, which also makes the Hidden Treasure appear. From there, get the clone to reposition so you can grab the treasure.
Land's End Hidden Treasures
- Hidden Treasure #25: In the first screen in Land's End, use the cannon to reach a yellow platform. Wait for it to move higher, then jump up.
- Hidden Treasure #26: In the second Land's End screen, fire yourself out of a cannon to fall down a pit on the next hill. Take out the kobold enemies, then jump up when you're at the edge of the pit. This will reveal another yellow platform. Go back to the cannon so you can reach the aforementioned platform. This lets you climb to the top of the rock formation. The Hidden Treasure is in the left corner.
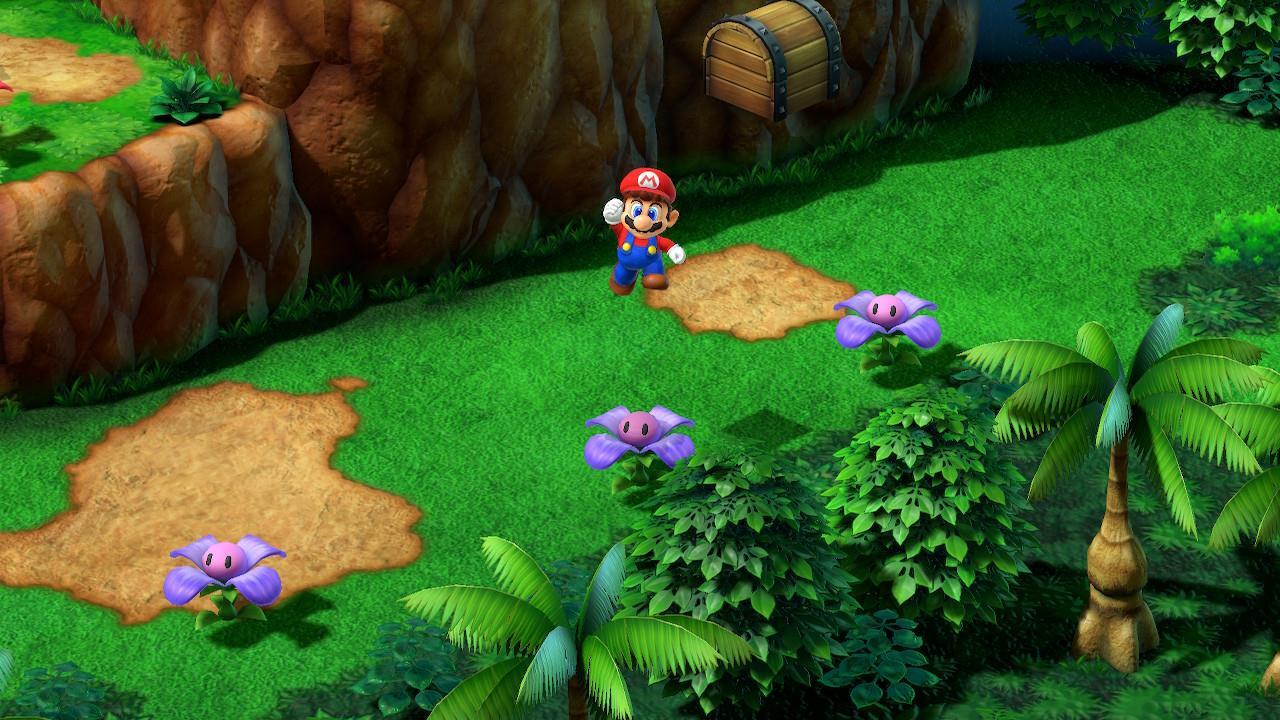
- Hidden Treasure #27: Next up, you'll find yourself in a grassy area with several red and purple flowers. Jump between the second and third purple flower to tag this block.
- Hidden Treasure #28: Continue past the purple flowers to spot a rock pillar with a hole. Stand next to it and jump when you see smoke coming out. This will cause Mario to get pulled into an underground area. Continue all the way to the back where a kobold mob is waiting to tag this container.
Belome's Temple Hidden Treasures
- Hidden Treasures #29 and 30:Both of these Hidden Treasures in Belome's Temple are found in the same area. Proceed further until you get past the part where you have to hit statues to learn of your fortune. The next chamber has two chests:
- Climb the ledges and jump on top the floating block (you may need to rotate as you jump to land properly).
- Head down the steps and face the indented corner of the wall, then jump up.
Monstro Town Hidden Treasure
- Hidden Treasure #31: Enter the last room in the lower section of Monstro Town, then jump up while standing in the left-hand corner (i.e. next to the bush with flowers).

Bean Valley Hidden Treasures
- Hidden Treasure #32: Upon entering Bean Valley, take the pipe to the right, then go to the corner in the screen with the two bees.
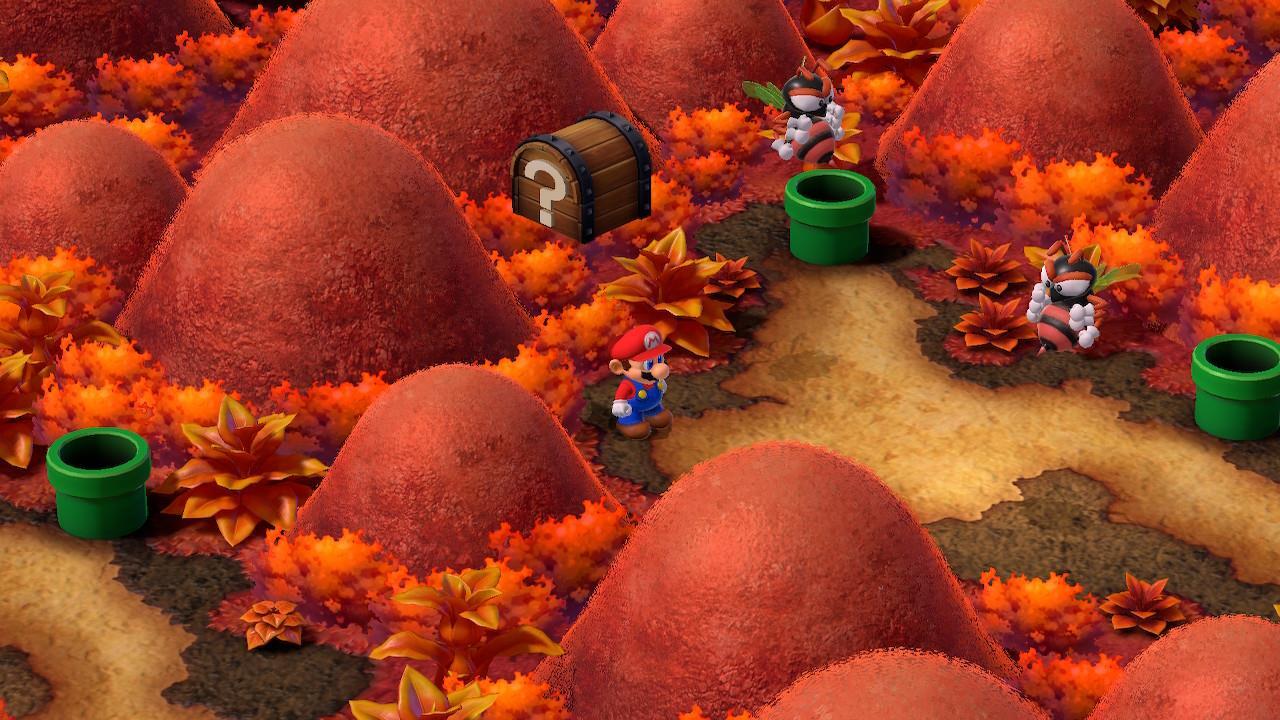
Past this section, you'll see an area that has five pipes with baby Piranha Plants. The Shy Guy is flies around randomly while watering them. The goal is to wait for the Shy Guy to water the Piranha Plants in the bottom-right and right-hand sides. Once the Piranha Plants are fully grown, defeat them in battle so you can go down the pipes.
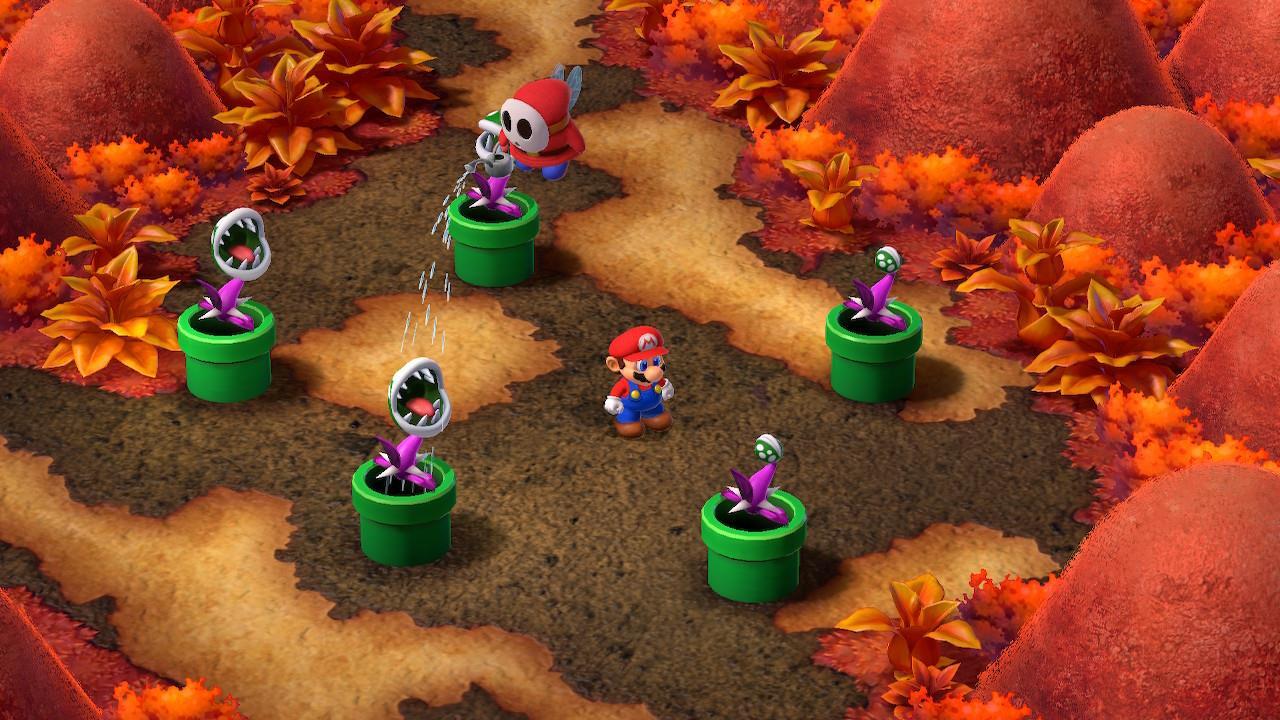
- Hidden Treasure #33: Use the bottom-right pipe and jump a bit to the left of the existing block and the spring.
- Hidden Treasure #34: Use the right-hand pipe and jump near the edge of the room to the right of the spring.

Hidden Treasure locations in the Nimbus Land and Bowser's Keep regions
The last few Hidden Treasures in Super Mario RPG are in the Nimbus Land and Bowser's Keep regions. The former has several, and the latter only has one.
Nimbus Land Hidden Treasures
- Hidden Treasure #35: Enter the item shop in Nimbus Land and use the brown boxes behind the vendor.
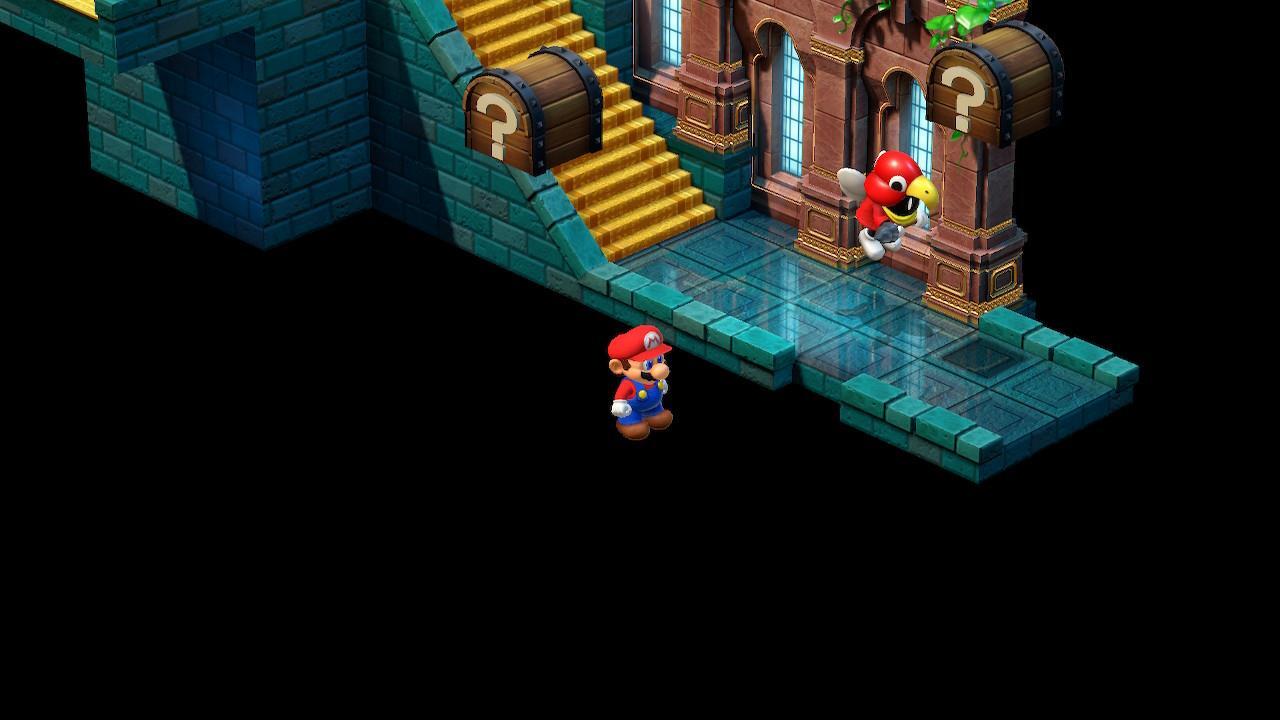
- Hidden Treasure #36 and #37: Once you gain entry to the castle, continue further until you reach the left wing, which has steps that lead down. There's a bird enemy here, as well as a Jawful:
- The first chest is directly above where the Jawful is standing, which means you have to take it out.
- The second chest is in the small gap in the darkened portion of the room. It looks like the edge of the screen already, though you should be able to pass through.
- Hidden Treasure #38: Grab the Castle Key 1 from the villagers in the room just past the Jawful, then use it to enter the room in the main corridor. Defeat Birdo to reach the upper portion of the wing. Once you're there, hop on top of the existing item block.
- Hidden Treasure #39: This Hidden Treasure only appears after you've defeated Valentina and Dodo, thereby freeing the royal family. Return to the main corridor (i.e. the one with three doors, one of which led to the Birdo boss fight earlier). Stand in the far-left corner and jump to tag this container.

Bowser's Keep/Weapon World Hidden Treasure
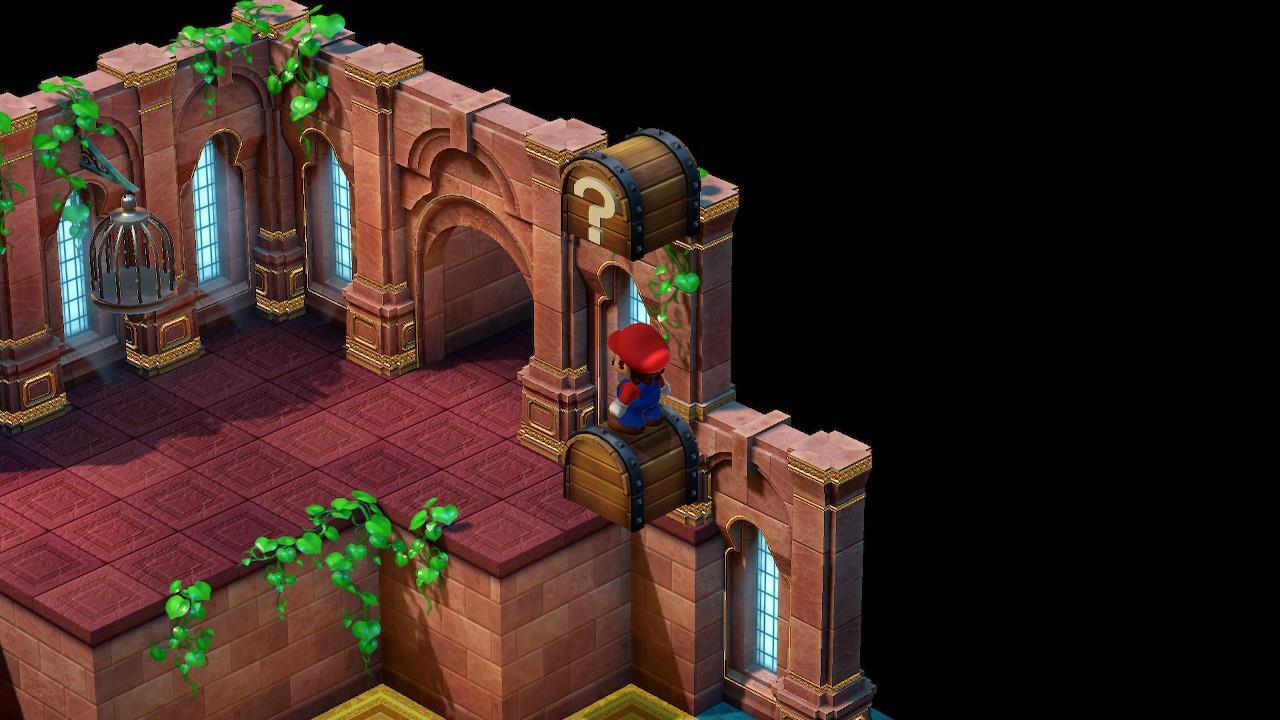
- Hidden Treasure #40: The last Hidden Treasure in the game can be found in Weapon World, well after you've completed all the Bowser's Keep puzzles. Continue deeper into the zone until you reach a save point in a small room. The invisible container is right next to the save point.
Well, that about does it for all the Hidden Treasures in Super Mario RPG. Don't forget to talk to the treasure mimic NPC in Monstro Town in case you need to check if you missed out on anything. Speaking of stuff you might miss out on, you should definitely complete other activities, such as the Melody Bay tadpole puzzles and the flags of the 3 Musty Fears.
Got a news tip or want to contact us directly? Email news@gamespot.com
Join the conversation