Resident Evil 4 - Shooting Gallery And Charms Guide
Discover the Shooting Galleries and earn Charms in Resident Evil 4.
Resident Evil 4 has the Shooting Gallery activities. These minigames can be found in several areas that you'll visit during the campaign, often right next to one of the Merchant's hubs. Each particular area has its own challenges where you get to use specific weapons and, if you meet the target scores, you'll earn tokens that can be exchanged for rewards. Here's our Resident Evil 4 Shooting Gallery, Charms, and Gold Tokens guide to help you with these minigames.
Resident Evil 4 Shooting Gallery, Charms, and Gold Tokens guide
The Resident Evil 4 Shooting Gallery minigames are found in specific sections in major zones. These are denoted by an elevator next to the Merchant and, when you ride it, it'll take you to the activity area. Here's what you need to know about the mechanics:
- Each Shooting Gallery has three challenges, with specific weapons that need to be used. In some cases, two or more weapons are provided. For instance, you'd have to rapidly shoot a line of hostiles with the TMP, then switch to the shotgun if enemies are bunched up next to each other.
- Weapons have unlimited ammo, and they won't affect your normal ammo count while you're normally exploring.
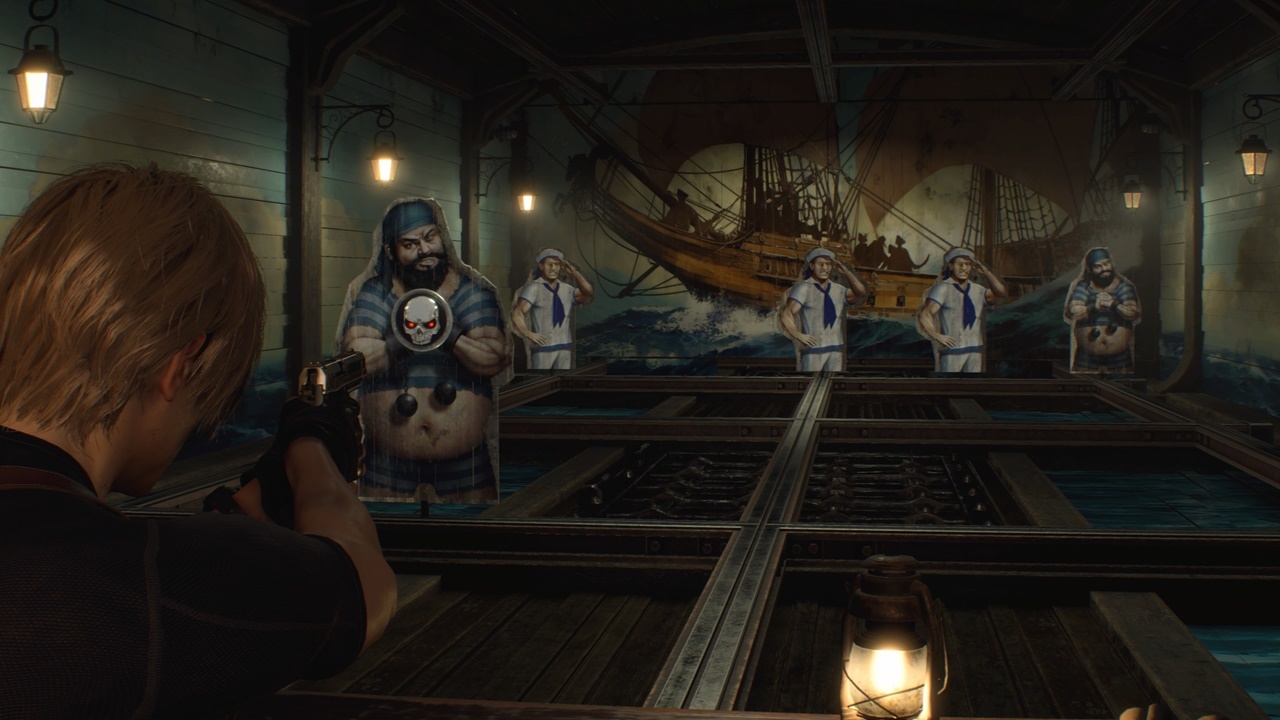
- The goal is to shoot the cutouts of enemies that appear (i.e., pirates, dogs, and the like) within the time limit. You'll also earn bonus points if you shoot any skulls attached to targets.
- If a cutout has a stick of dynamite, you can shoot that to instantly destroy all targets.
- From time to time, civilians will also appear, which are meant to trick you. Avoid shooting them or you'll be penalized (-500 points).
- When you reach a new Shooting Gallery, the previous challenges will still be selectable.
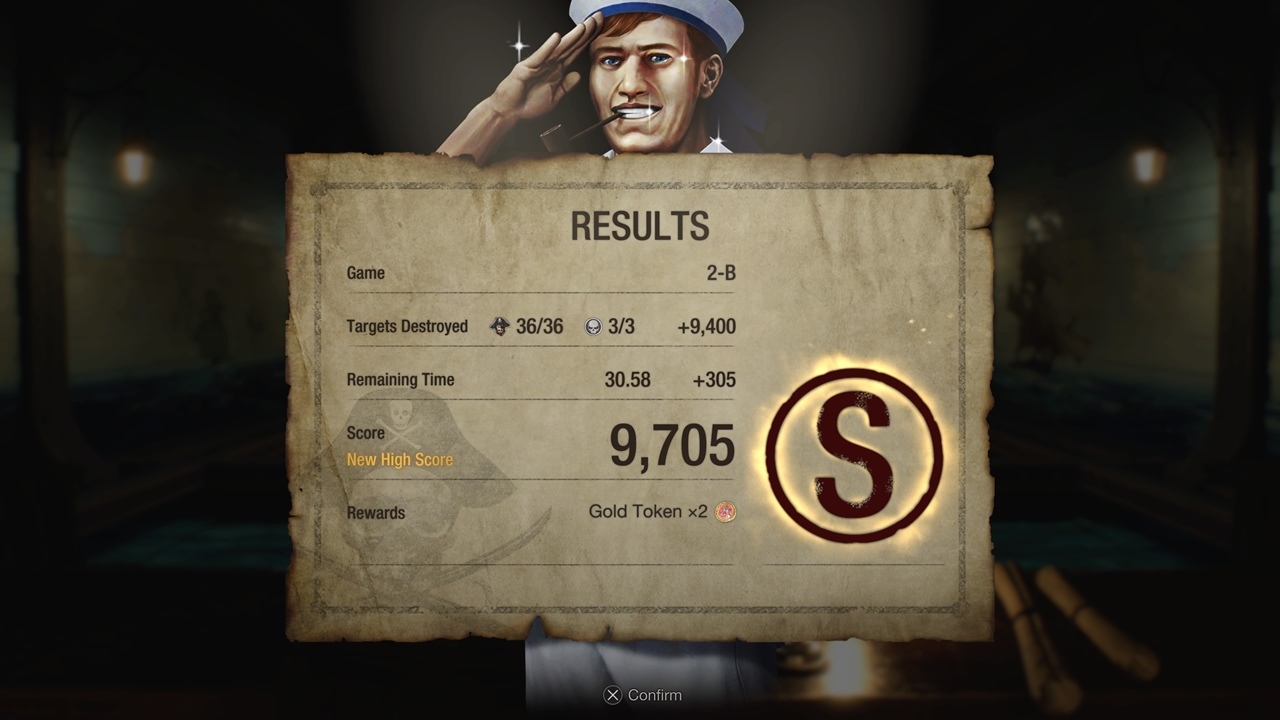
Scoring system, tokens, and bonus rounds
The following factors affect your overall score in the Resident Evil 4 Shooting Gallery minigames:
- Number of enemies killed.
- Bonus points for each skull that's hit point-blank.
- Remaining time when the challenge ended.
- Penalized if you shoot a civilian.
- Silver Tokens are awarded for the lower score thresholds depending on the challenge (i.e., at least 3,000, and at least 6,000). You're also given a Silver Token for every 1,000 points you earn past the nominal high score.
- Gold Tokens are awarded for reaching the nominal high score depending on the challenge.
- Another Gold Token is also rewarded if you destroy all skulls in that challenge.
- Finally, once you reach the Shooting Gallery in The Depths/Underground Laboratory, you'll be able to buy Gold Tokens from the Merchant (each costs 3x Spinel). You can amass as many as you'd like if you have the Spinels to spare.
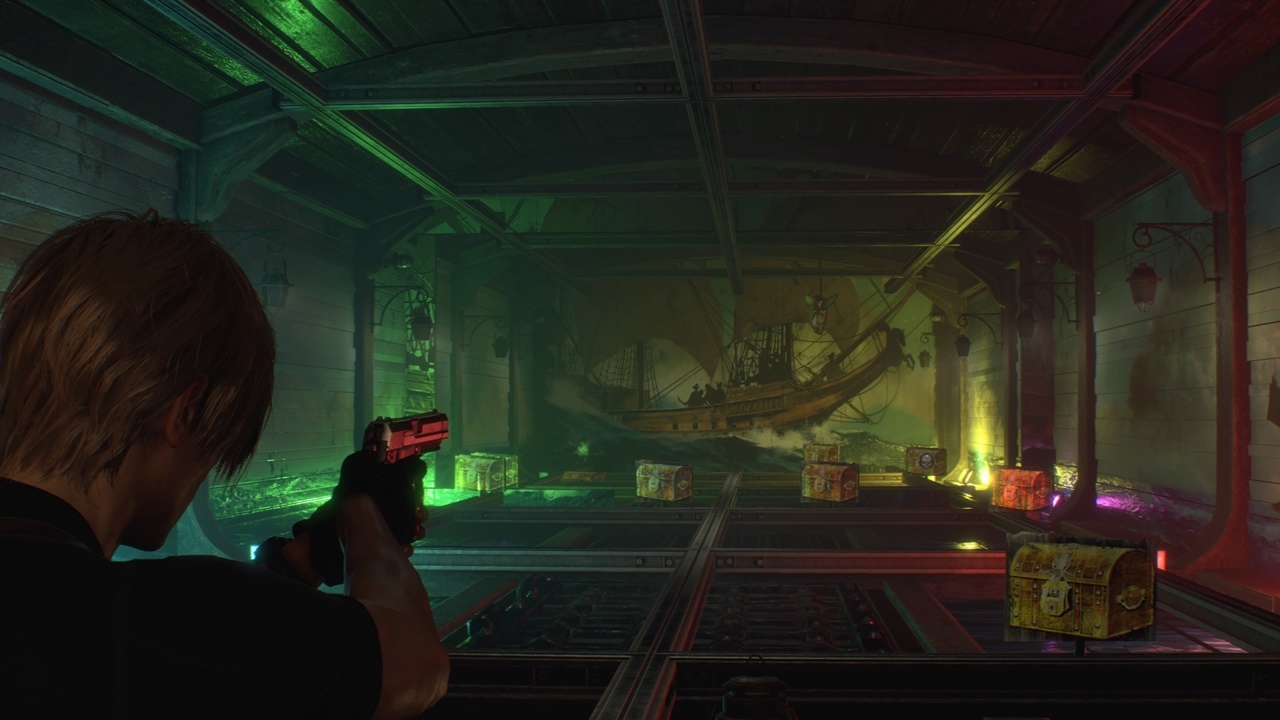
Apart from the above, you can also unlock a bonus round by meeting particular requirements. The bonus rounds are similar depending on the zone and, once unlocked, you'll have some extra time to shoot as many treasure targets as possible. This will increase your score further to receive more tokens.
Village - Quarry/Lake Shooting Gallery
- Location - In the Merchant area just past the Quarry pit.
- Challenge 1A - SG-09R (i.e., default handgun)
- Challenge 1B - SR M1903 Rifle
- Challenge 1C - Both these aforementioned weapons
- Bonus round condition - Destroy all pirates.
Castle - Grand Hall Shooting Gallery
- Location - Just after you get past the Courtyard Maze, you'll reach the Grand Hall. The elevator is in the Merchant hub in this area.
- Challenge 2A - TMP
- Challenge 2B - Riot Gun
- Challenge 2C - TMP and Riot Gun
- Bonus round conditions - Destroy all pirates; must have 20/30 seconds remaining.
Castle - The Depths/Underground Laboratory
- Location - You'll reach this area after the Verdugo encounter. Salazar's right-hand and assassin will stalk you in the tunnels, and you'll have to wait for the elevator so you can ride back to the top. Once the next chapter begins, you'll see the Merchant and this Shooting Gallery.
- Challenge 3A - Red9
- Challenge 3B - Punisher
- Challenge 3C - Punisher
- Bonus round conditions - Destroy all pirates in 10 shots or less. Due to the nature of these rounds, you'll have to be more selective when firing your weapon. Take note of dynamite for AoE kills, and the Punisher's penetration capabilities.
Island - Cargo Depot
- Location - After the chapter where you have to complete the Keycard Access Terminal Puzzles, Leon and Ashley will be reunited (again). Pass through the gate to reach the Merchant's spot with this elevator.
- Challenge 4A - Punisher and Riot Gun
- Challenge 4B - Bolt Thrower
- Challenge 4C - Blacktail, Stingray, Striker, and TMP
- Bonus round conditions - Destroy all pirates (all three challenges); fire less than 20 shots (only 4A).
Island - Specimen Storage
- Location - The Specimen Storage building is a point of no return in Chapter 15.
- This is the last Resident Evil 4 Shooting Gallery. There are no new challenges, but the previous ones are still available.
Charms and spending your tokens
The Resident Evil 4 Charms are obtained when you spend your tokens on the device near the Shooting Gallery elevator. Here are some tidbits:
- You place a combination of three tokens, receiving a Charm depending on the combination. The rarer the tokens you use, the better (i.e., three Gold Tokens as opposed to three Silver Tokens).
- Upon testing, it seems that each combination will provide rewards in a specific order if you reload your save. We tested this by purchasing several tokens, exchanging them, then reloading our save to try other combinations.
Here are some examples of Resident Evil 4 Charms from the Shooting Gallery minigames based on token combinations:
3x Gold Tokens
- Ashley Graham - +50% health recovery when using Green Herbs.
- Don Esteban - +15% bonus shotgun ammo crafting frequency.
- Luis Sera - +20% weapon resale value.
- Leon with Rocket Launcher - 20% off the rocket launcher purchase cost.
- Don Manuel - +20% bonus SMG ammo crafting frequency.
- Merchant - 5% off weapon upgrade costs.
2x Gold Tokens and 1x Silver Token
- Striker - +8% running speed.
- Maria - +15% bonus magnum ammo crafting frequency.
- Leon with Handgun - 30% off Knife repair costs.
- Leon with Handgun - 30% off Knife repair costs.
- Chicken - +100% recovery for all Egg types.
- Rhinoceros Beetle - +100% rescale value for all recovery/healing items.
- Don Esteban - +15% bonus shotgun ammo crafting frequency.
- Luis Sera - +20% weapon resale value.
- Soldier with Stun Rod - +15% bonus bolt crafting frequency.
- Illuminados Emblem - +20% melee crit rate.
- Isabel - +30% health recovery when eating Vipers.
1x Gold Token and 2x Silver Tokens
- Isabel - +30% health recovery when eating Vipers.
- Don Pedro - +40% health recovery when eating Vipers.
- Don Diego - +15% bonus rifle ammo crafting frequency
- Soldier with Hammer - +20% bonus handgun ammo crafting frequency.
- Don Esteban - +15% bonus shotgun ammo crafting frequency.
- Soldier with Dynamite - +30% bonus attachable mines crafting frequency.
- Don Pedro - +40% health recovery when eating Vipers.
3x Silver Tokens
- Bella Sisters - +20% bonus magnum ammo crafting frequency.
- Soldier with Stun Rod - +15% bonus bolt crafting frequency.
- Soldier with Stun Rod - +15% bonus bolt crafting frequency.
- Doctor Salvador - +20% bonus rifle ammo crafting frequency.
- Doctor Salvador - +20% bonus rifle ammo crafting frequency.
In any case, Resident Evil 4 Charms can be equipped by interacting with a Typewriter save point and clicking on Customize Case. You can equip up to three of them at any given time.

Resident Evil 4 has more mechanics and secrets for you to discover. You can learn more in our guides hub.
Got a news tip or want to contact us directly? Email news@gamespot.com
Join the conversation