Resident Evil 4 - Ashley Treasure Keys And Puzzles Guide
Play as Ashley to help out Leon, and maybe get a few goodies along the way, in Resident Evil 4.
You do get to control Ashley in Resident Evil 4. This occurs in the Castle, while Leon is trapped in a cage. Around this time, you'll be able to pick up some valuable loot. Here's our Resident Evil 4 Ashley Treasure Keys and Puzzles guide to help you with this section of the campaign. Likewise, you can learn more in our Treasures and Gemstones hub.
Resident Evil 4 Ashley Treasure Keys and Puzzles guide
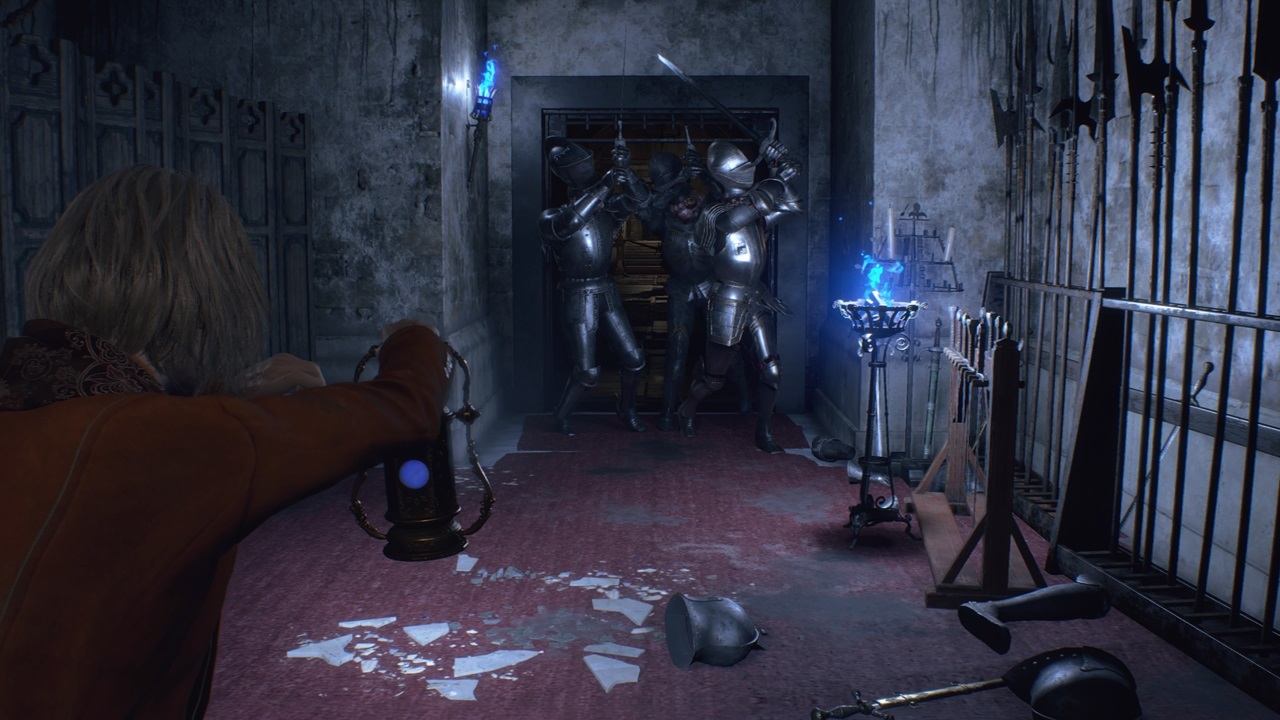
The Resident Evil 4 Ashley Treasure Keys and Puzzles portion occurs immediately after you complete the Chimera Heads Statue. A cutscene will play where Leon gets trapped and Ashley has to run away. She'll then be able to pick up a Blue Lantern, technically her only weapon at this point. The contraption doesn't just light the way in darkened rooms, but it can also freeze Living Armor (i.e. infected knights) in place.
We've summarized the objectives in this particular segment:
- Grandfather Clock Puzzles - You'll have to rotate the dial to the correct time, which is dependent on the difficulty mode. If you're playing on Assisted or Standard, the solution is 11:04. But, if you're playing on Hardcore or Professional, it's 7:00. This will reveal a hidden passageway that leads down to the Mausoleum. Do not go down this path yet.
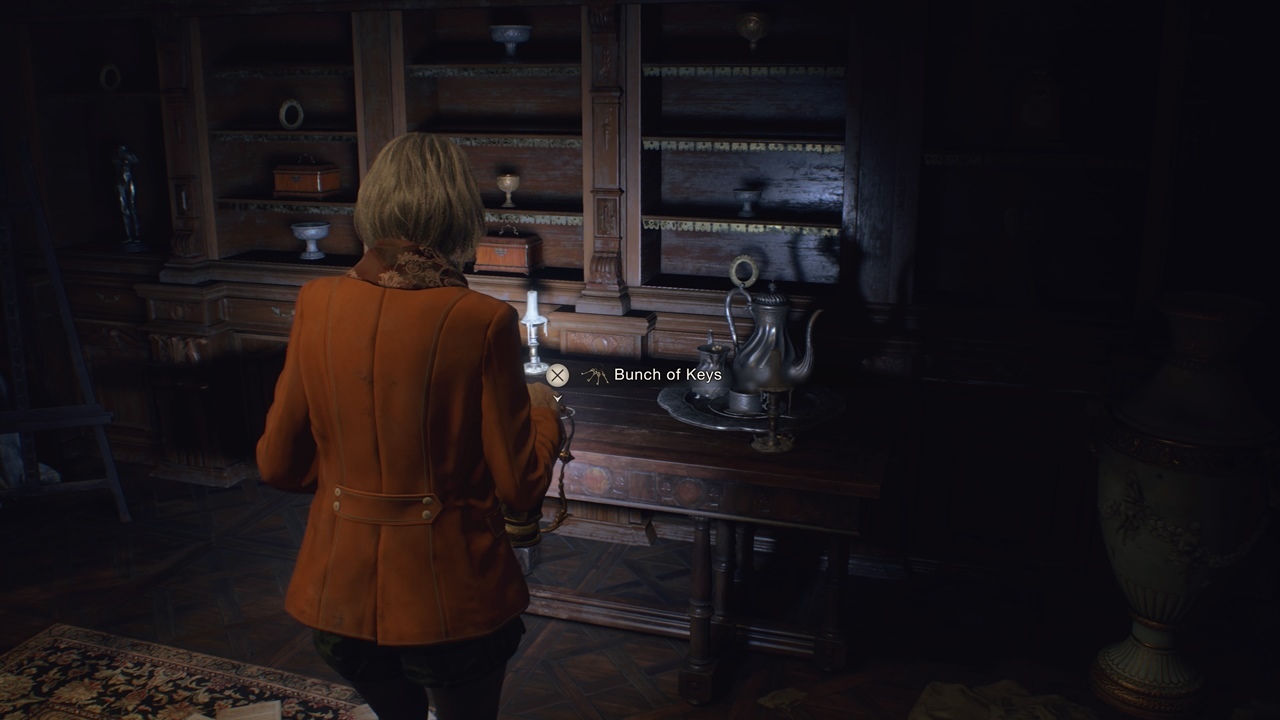
- Bunch of Keys - Instead, enter the Library proper and go to the opposite end. Place the Blue Lantern on the pedestal to reveal a nook, then rotate the lever to bring down the staircase.
- Climb to the second-floor landing to find a Bunch of Keys. This item is important as it lets you open most of the chests here.
- There's also a square niche on the wall which Ashley can't open. Leon can do this later to get the CQBR Assault Rifle.
- The Library has two Living Armor mobs. Just shine the lantern on them to freeze them in place. They're also fairly slow, so you can easily sprint around them.

Using Ashley's Bunch of Keys
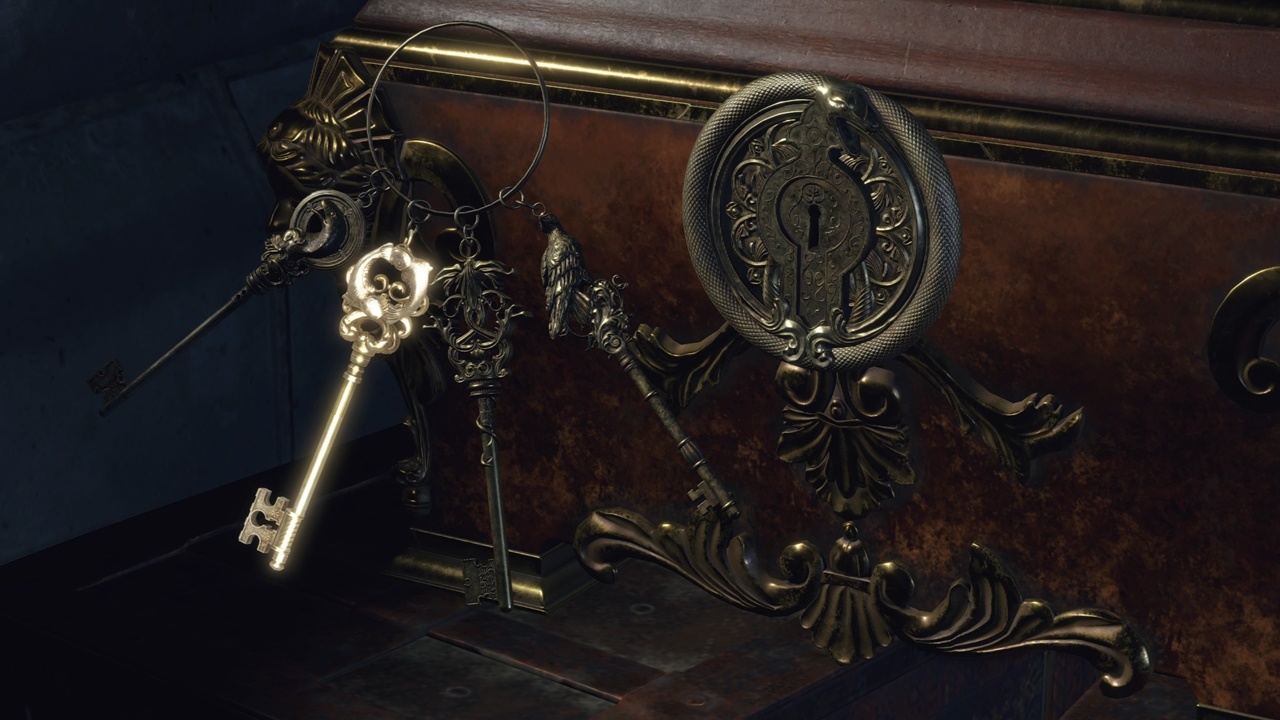
For the Resident Evil 4 Ashley Treasure Keys and Puzzles portion, the Bunch of Keys will show four symbols. From left to right, these are the Serpent, Fish, Flower, and Bird. Each locked container or panel here will require one of these symbols:
- Chest #1 - Go through the crawlspace behind the bookshelves close to the entrance. Use the Fish Key here to get the Elegant Perfume Bottle.
- Elevator - The elevator gate in the opposite side of the Library can be opened using the Flower Key. Press the switch to go to the second floor.
- Chest #2 - Once you've reached the second floor, you'll see a save point, an indentation for the Salazar Family Insignia (more on this later), a Cubic Device Box (for Leon), and another chest (use the Bird Key to get a Sapphire). Likewise, a note will tell you to input 11:04 on the clock here. This will cause the wall to move, and you'll be able to go back downstairs.
- Chest #3 - The last chest is in the Mausoleum. Go past the door that you opened by solving the Clock Puzzle in the initial room, head down the steps, and ride the elevator down. The chest can be found once you get past all the knights by funneling them through a passage with blue flames. Check behind the boards for the chest, and use the Snake Key to get an Emerald.
The Mausoleum Lantern Puzzle and Salazar Family Insignia
In any case, when you're in the Mausoleum area, run past the Living Armors until they get frozen by the blue flame (don't forget to open the Snake Key chest once you're past them). At the very end of this hallway, you'll see a shrine with three pedestals. There are two lanterns there, and Ashley is already holding one. The idea is to look at the small blue symbols on each lantern. Then, you'll want to swap and place the correct ones on each pedestal, matching the drawing on that side (i.e., star, crescent moon, and empty circle).
Once you're done, you can pick up the Salazar Family Insignia. However, this will cause more Living Armors to spawn. Without a lantern, you'll have no choice but to run. Use your faster speed to dodge the slower enemies until you make it back to the second floor of the Library. Place the insignia on the indentation and open the door.

Another short cutscene will play. Ashley will free Leon, but she'll get kidnapped (again), and you won't be able to save her until several chapters later. As for all the Resident Evil 4 Ashley Treasures you've discovered, don't worry since Leon will be able to pick them up at the start of next chapter. Also, if you return to the Mausoleum as Leon, you can fight the Merciless Knight.
Resident Evil 4 has more mechanics and secrets for you to discover. You can learn more in our guides hub.
Got a news tip or want to contact us directly? Email news@gamespot.com
Join the conversation