Pacific Drive - How To Reach The Mid-Zone
Head to the inhospitable Mid-Zone in Pacific Drive.
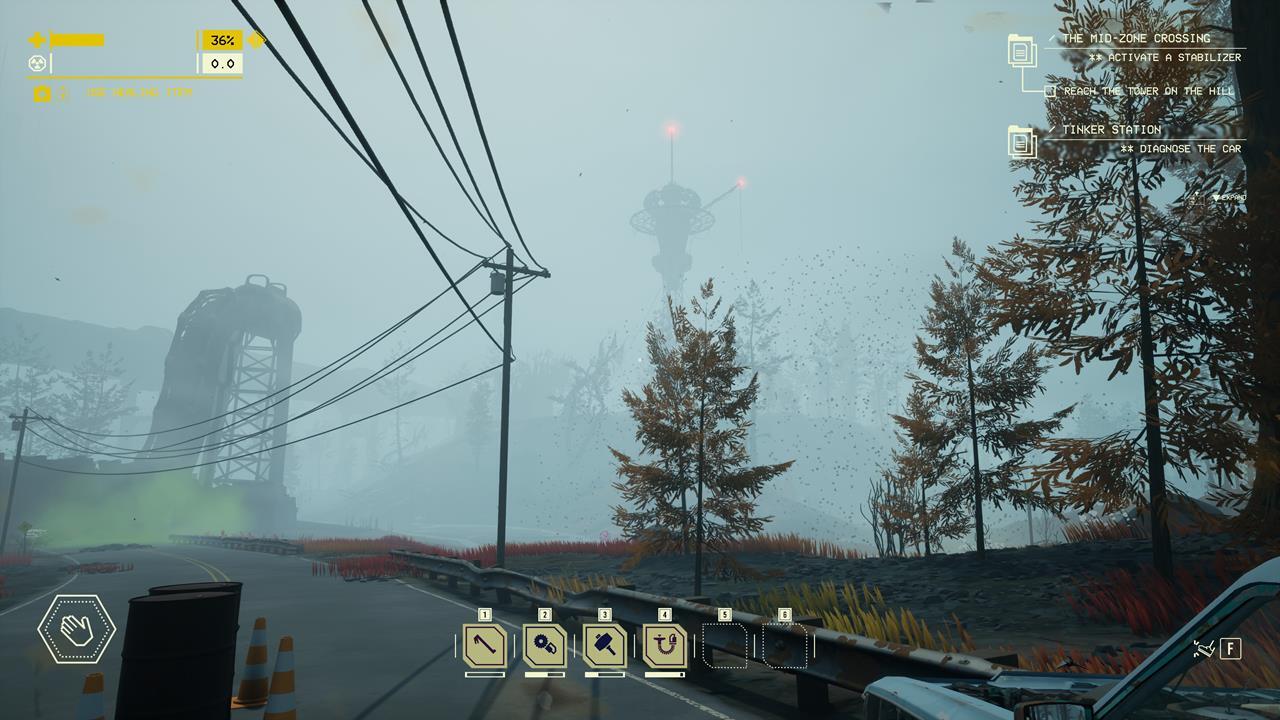
Things are about to get even more dangerous in Pacific Drive, especially once you move further into unstable areas. New dangers await from pitch-black darkness to a hazy and irradiated marshland. Here's our guide on how to reach the Mid-Zone in Pacific Drive.
How to reach the Mid-Zone in Pacific Drive
You reach the Mid-Zone as part of the game's critical path by completing a mission that's aptly named "Mid-Zone Crossing." You receive this task a few hours into the campaign after successfully finishing some of the objectives set forth by Oppy and co. Oppy will then tell you that you have to go to the Mid-Zone to continue your escape.
Still, while the location itself is shown in the Route Planner, things aren't as straightforward as they seem. You're going to have a long journey ahead, so make sure you know how to repair your car and you've got a lot of gas in the tank.
From the Auto Shop hub/base to the Mid-Zone wall
The reason for this is that you have to go down a highway, as well as two junctions (G1 and G3). If it's your first time visiting these areas, then a clear path to the next junction won't appear. Here's what we experienced during our playthrough:
- The path from the hub to G1 is a short highway.
- There was no exit from G1 to G3 during our first visit. Instead, we had to collect Anchors, then escape via Gateway to return to the base.
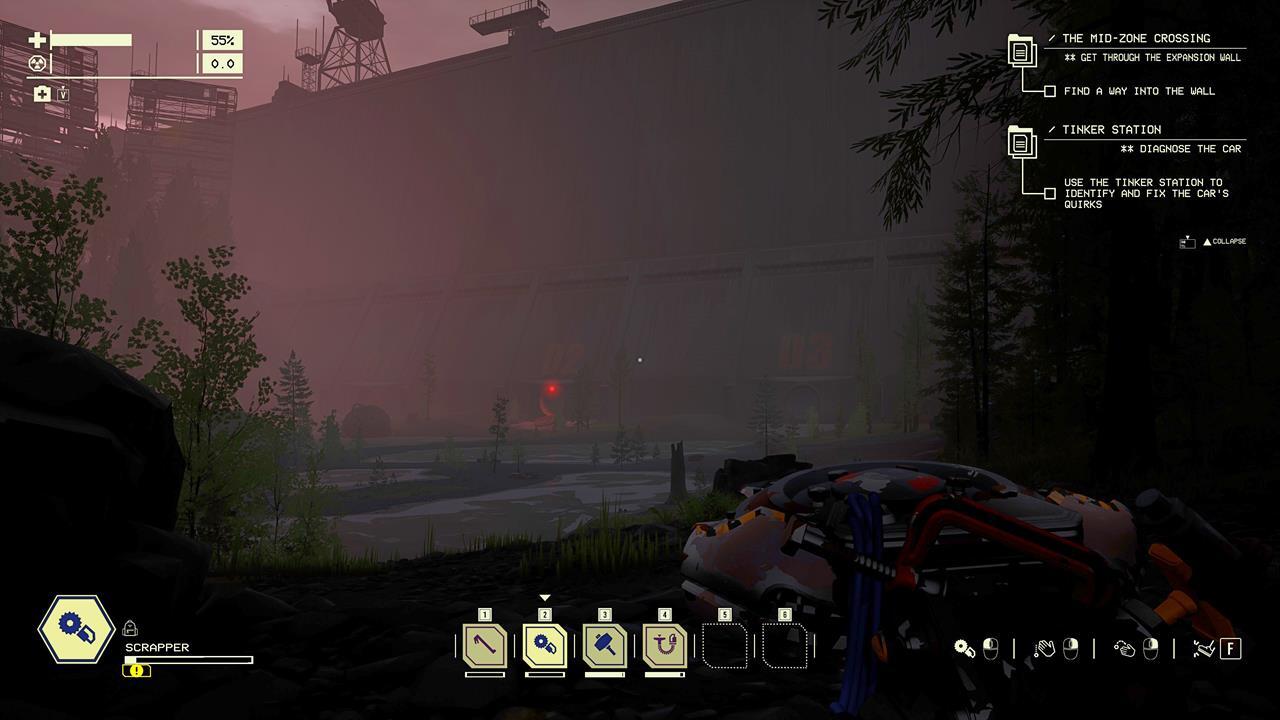
- We then drove back to G1, which finally led to G3. Unfortunately, G3 itself had pitch-black surroundings, making it almost impossible to see anything. We advise you to craft/bring headlights, flashlights, and flares. Otherwise, it's going to be extremely tough to get past this area. Oh, and we also had to return to the base via Gateway once more.
- After multiple runs, we finally arrived in G2, which has the wall that leads to the Mid-Zone.
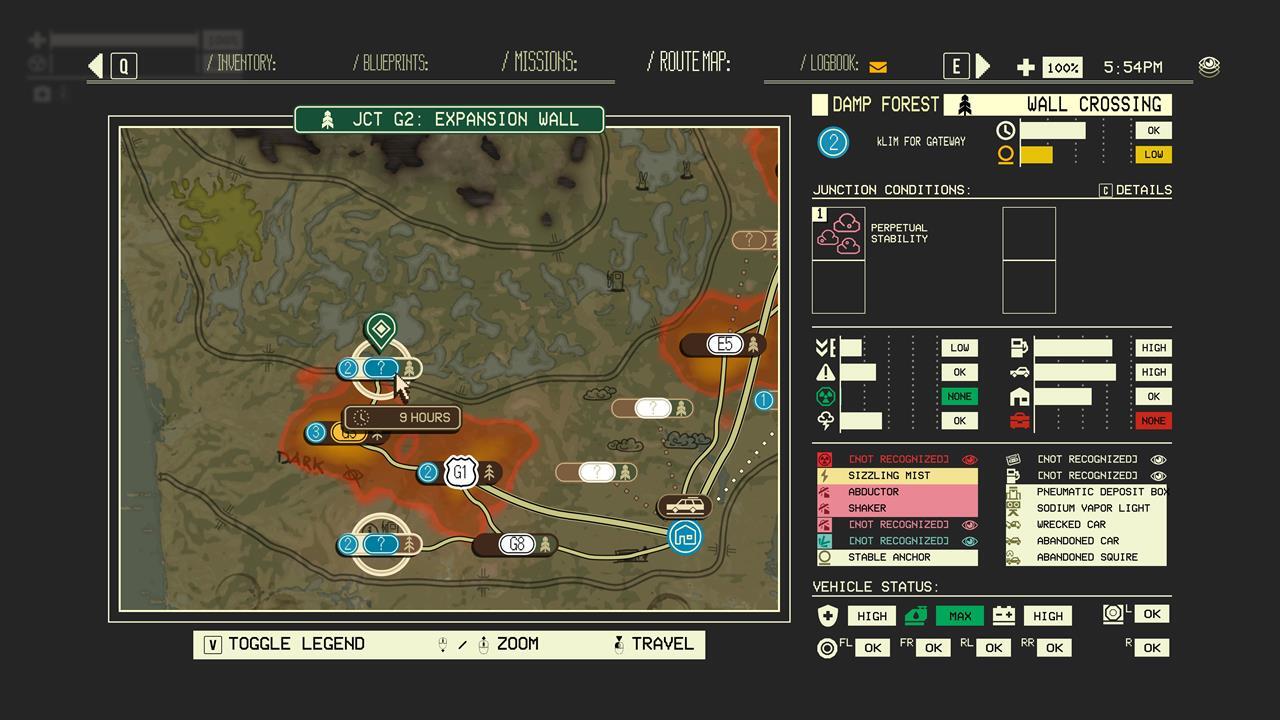
G2: Mid-Zone wall map
We've included the map of G2. Take note that procedural generation does apply in terms of abandoned vehicles, buildings, obstacles, and anomalies. However, the layout of the road might still be the same. The goal is to head south until you reach the area with the three pips (which we discuss in the next section).
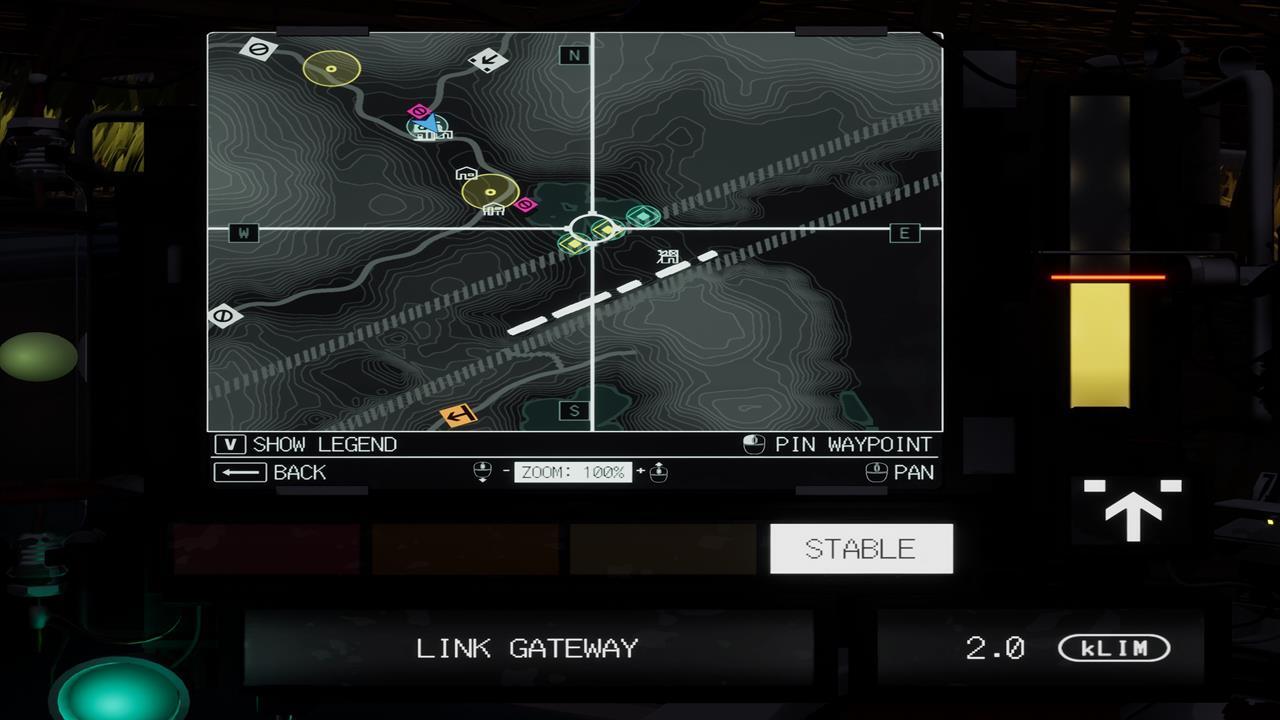
How to traverse the storm drain and tunnels
To reach the Mid-Zone in Pacific Drive, you have to go through the barrier that separates the location from the Outer Zone. The three pips seen on the map actually represent a single storm drain opening. Drive straight down the tunnel and continue following the path. Again, it's extremely dark in this area, so make sure you keep your headlights on.
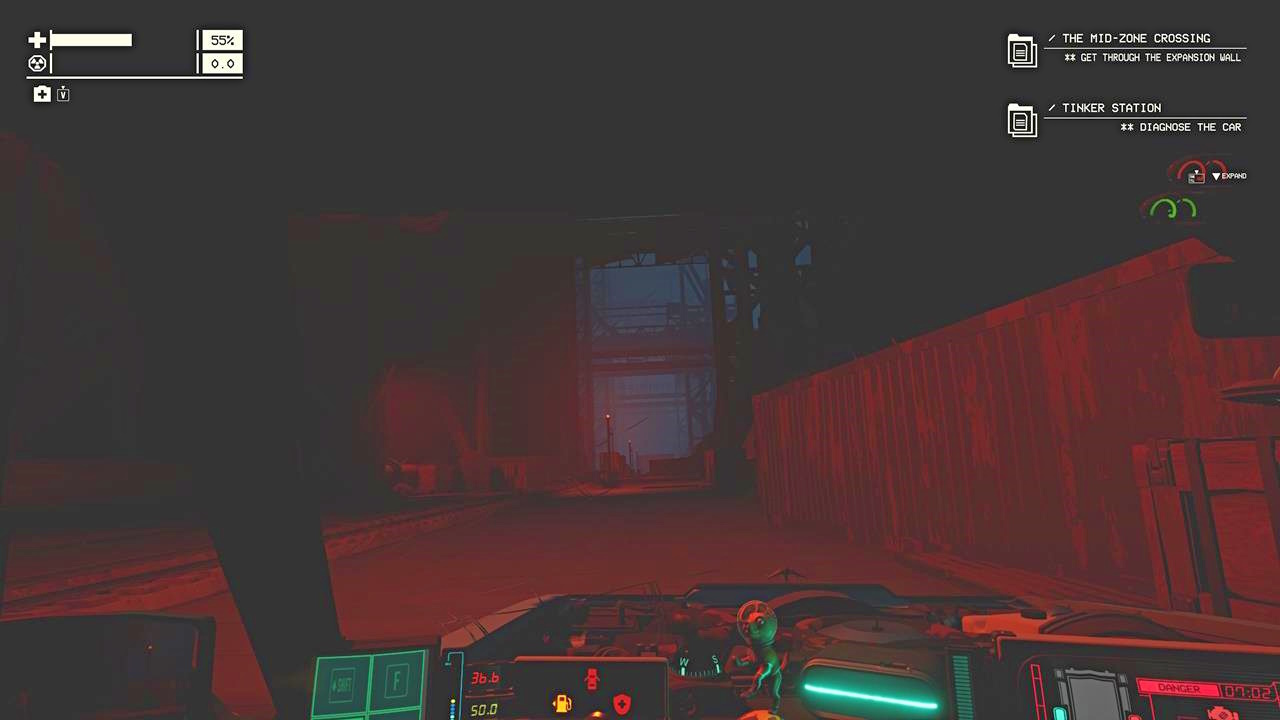
Shortly thereafter, you'll reach what seems to be a railway station or dockyard due to all the cargo containers. Continue along the path until it loops around. Eventually, you'll see the exit, which happens to have a road that takes you to the Mid-Zone proper.
How to safely escape from the Mid-Zone
The Mid-Zone itself has more dangers and anomalies that await. These include floating tri-tentacles called "Birds" (and they're more dangerous than Abductors), as well as poisonous marshlands. Your goal is to activate a panel in the Stabilizer Tower on a hilltop.
The task seems easy enough, but you need to be extremely careful. That's because the moment you activate the panel, the instability will trigger, and the Fornite-esque zone collapse will occur. Here are some tips:
- We suggest collecting several Anchors in this location before you activate the panel.
- Think of the best Gateway to take, one that will be easier to reach from the hilltop with the Stabilizer Tower.
- Keep in mind that some areas have marshes, which will also slow down your car's movement. This scenario can turn deadly if the instability collapse is dangerously close, and you're too slow to reach the exit.
In any case, if you manage to escape the Mid-Zone in Pacific Drive, then you'll be done with this particular mission. Additional objectives will become available, though you might want to unlock the keypad door in the Auto Shop first.
Pacific Drive takes you on a harrowing journey through the northwestern United States, where eerie forests, fetid marshes, and deadly anomalies await. If you want to survive for as long as possible, we encourage you to check out our guides hub.
Got a news tip or want to contact us directly? Email news@gamespot.com
Join the conversation