Doom Eternal Cultist Base: Mission 3 Walkthrough And Tips
Here's a step-by-step walklthrough of the third mission in Doom Eternal
Doom Eternal's third mission has you exploring a cultist base on a snowy mountaintop, while, of course, killing off a humble wave of demons as you go. Below you can find a walkthrough detailing every step to help you come out of this gloomy mountain retreat mostly unscathed. For walkthroughs of Doom Eternal's other chapters, be sure to check out our guide hub collecting what we have up so far. We'll be publishing more in subsequent days. But if you're looking for more basic Doom Eternal tips, be sure to read our guide detailing everything you should know before playing. Otherwise, you can read our Doom Eternal review.
Mission 3 Walkthrough -- Cultist Base
Leap down to the climbable wall and then take care of the Gargoyles waiting for you on the next ledge. From here, you'll want to run to the end of the bone jutting out over the edge and jump to the right and land on the platform with a jump pad. Use this to get to the climbable wall, then use your double jump and Dash to reach the next wall, making sure to latch onto the right hand side to avoid the orange traps.

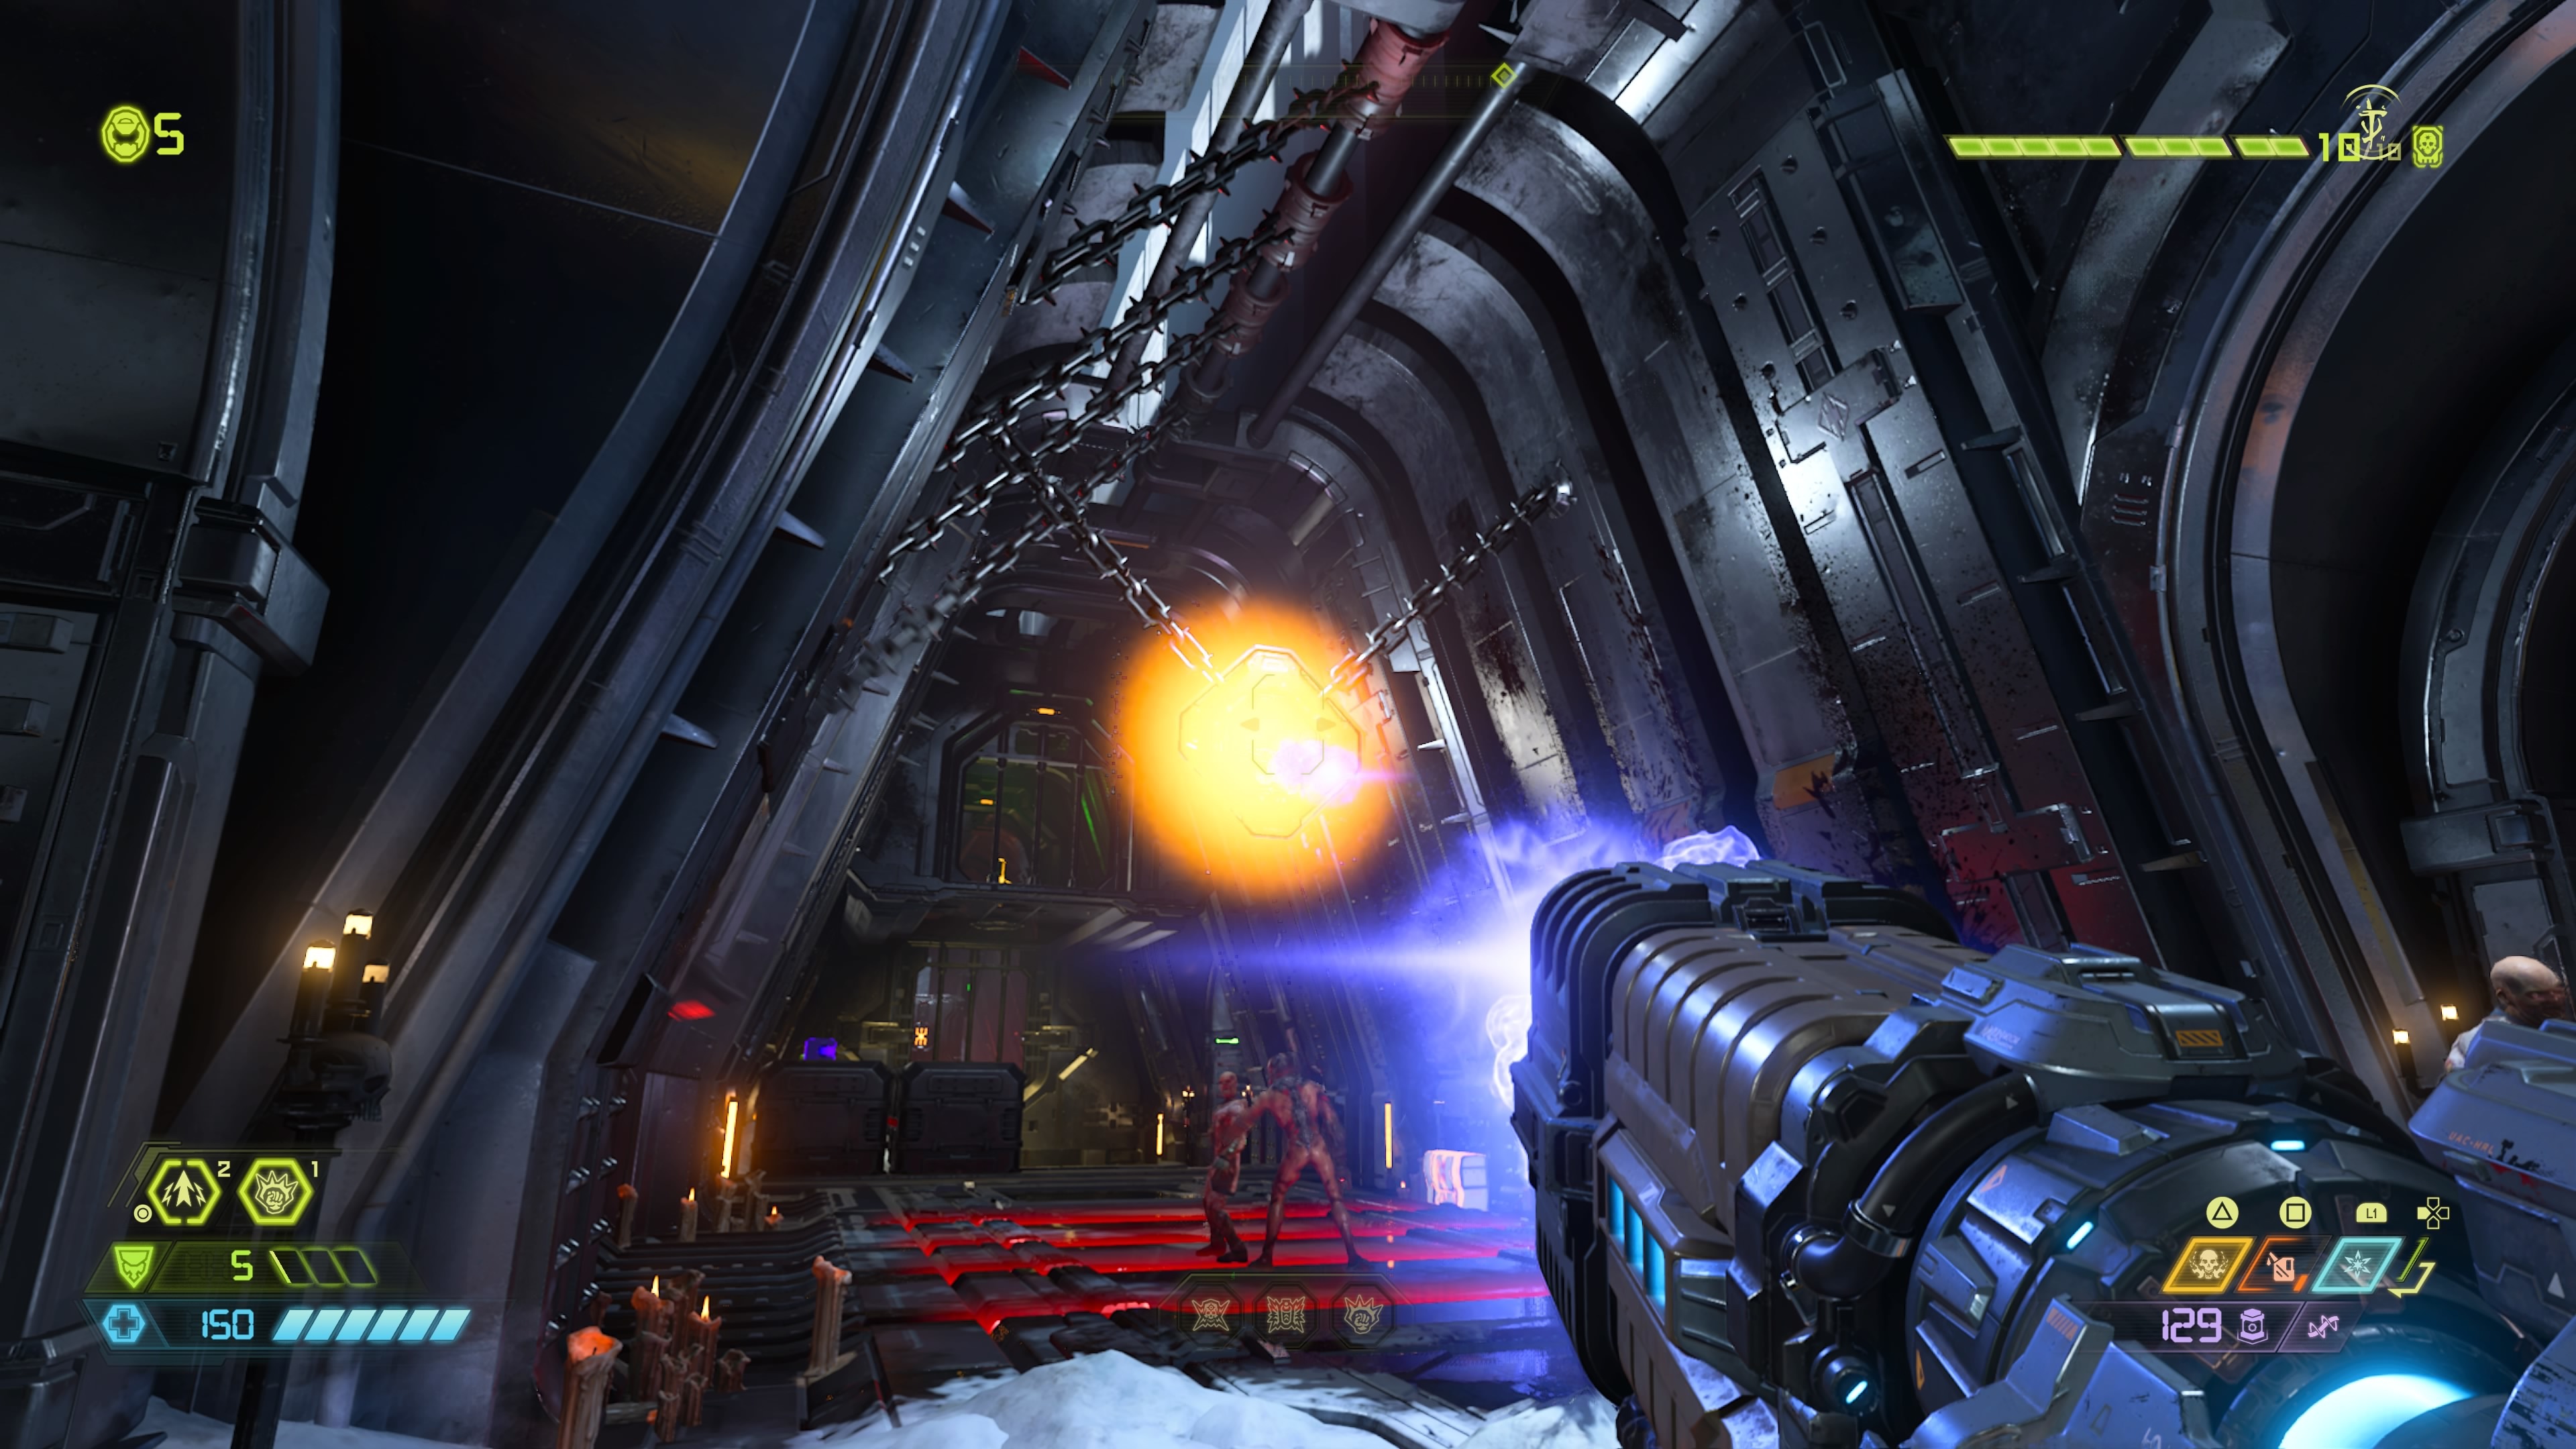
Punch through the wall and prepare to take on a couple of Revenants and some Soldiers and Zombies. The red spiked balls hanging from chains will explode if you shoot them, so make use of them if the Revenants get close. This is also an ideal time to try out the Ice Bomb for the first time. Shooting it into a crowd will freeze each enemy in place, giving you some breathing room to deal out damage without being shot at.
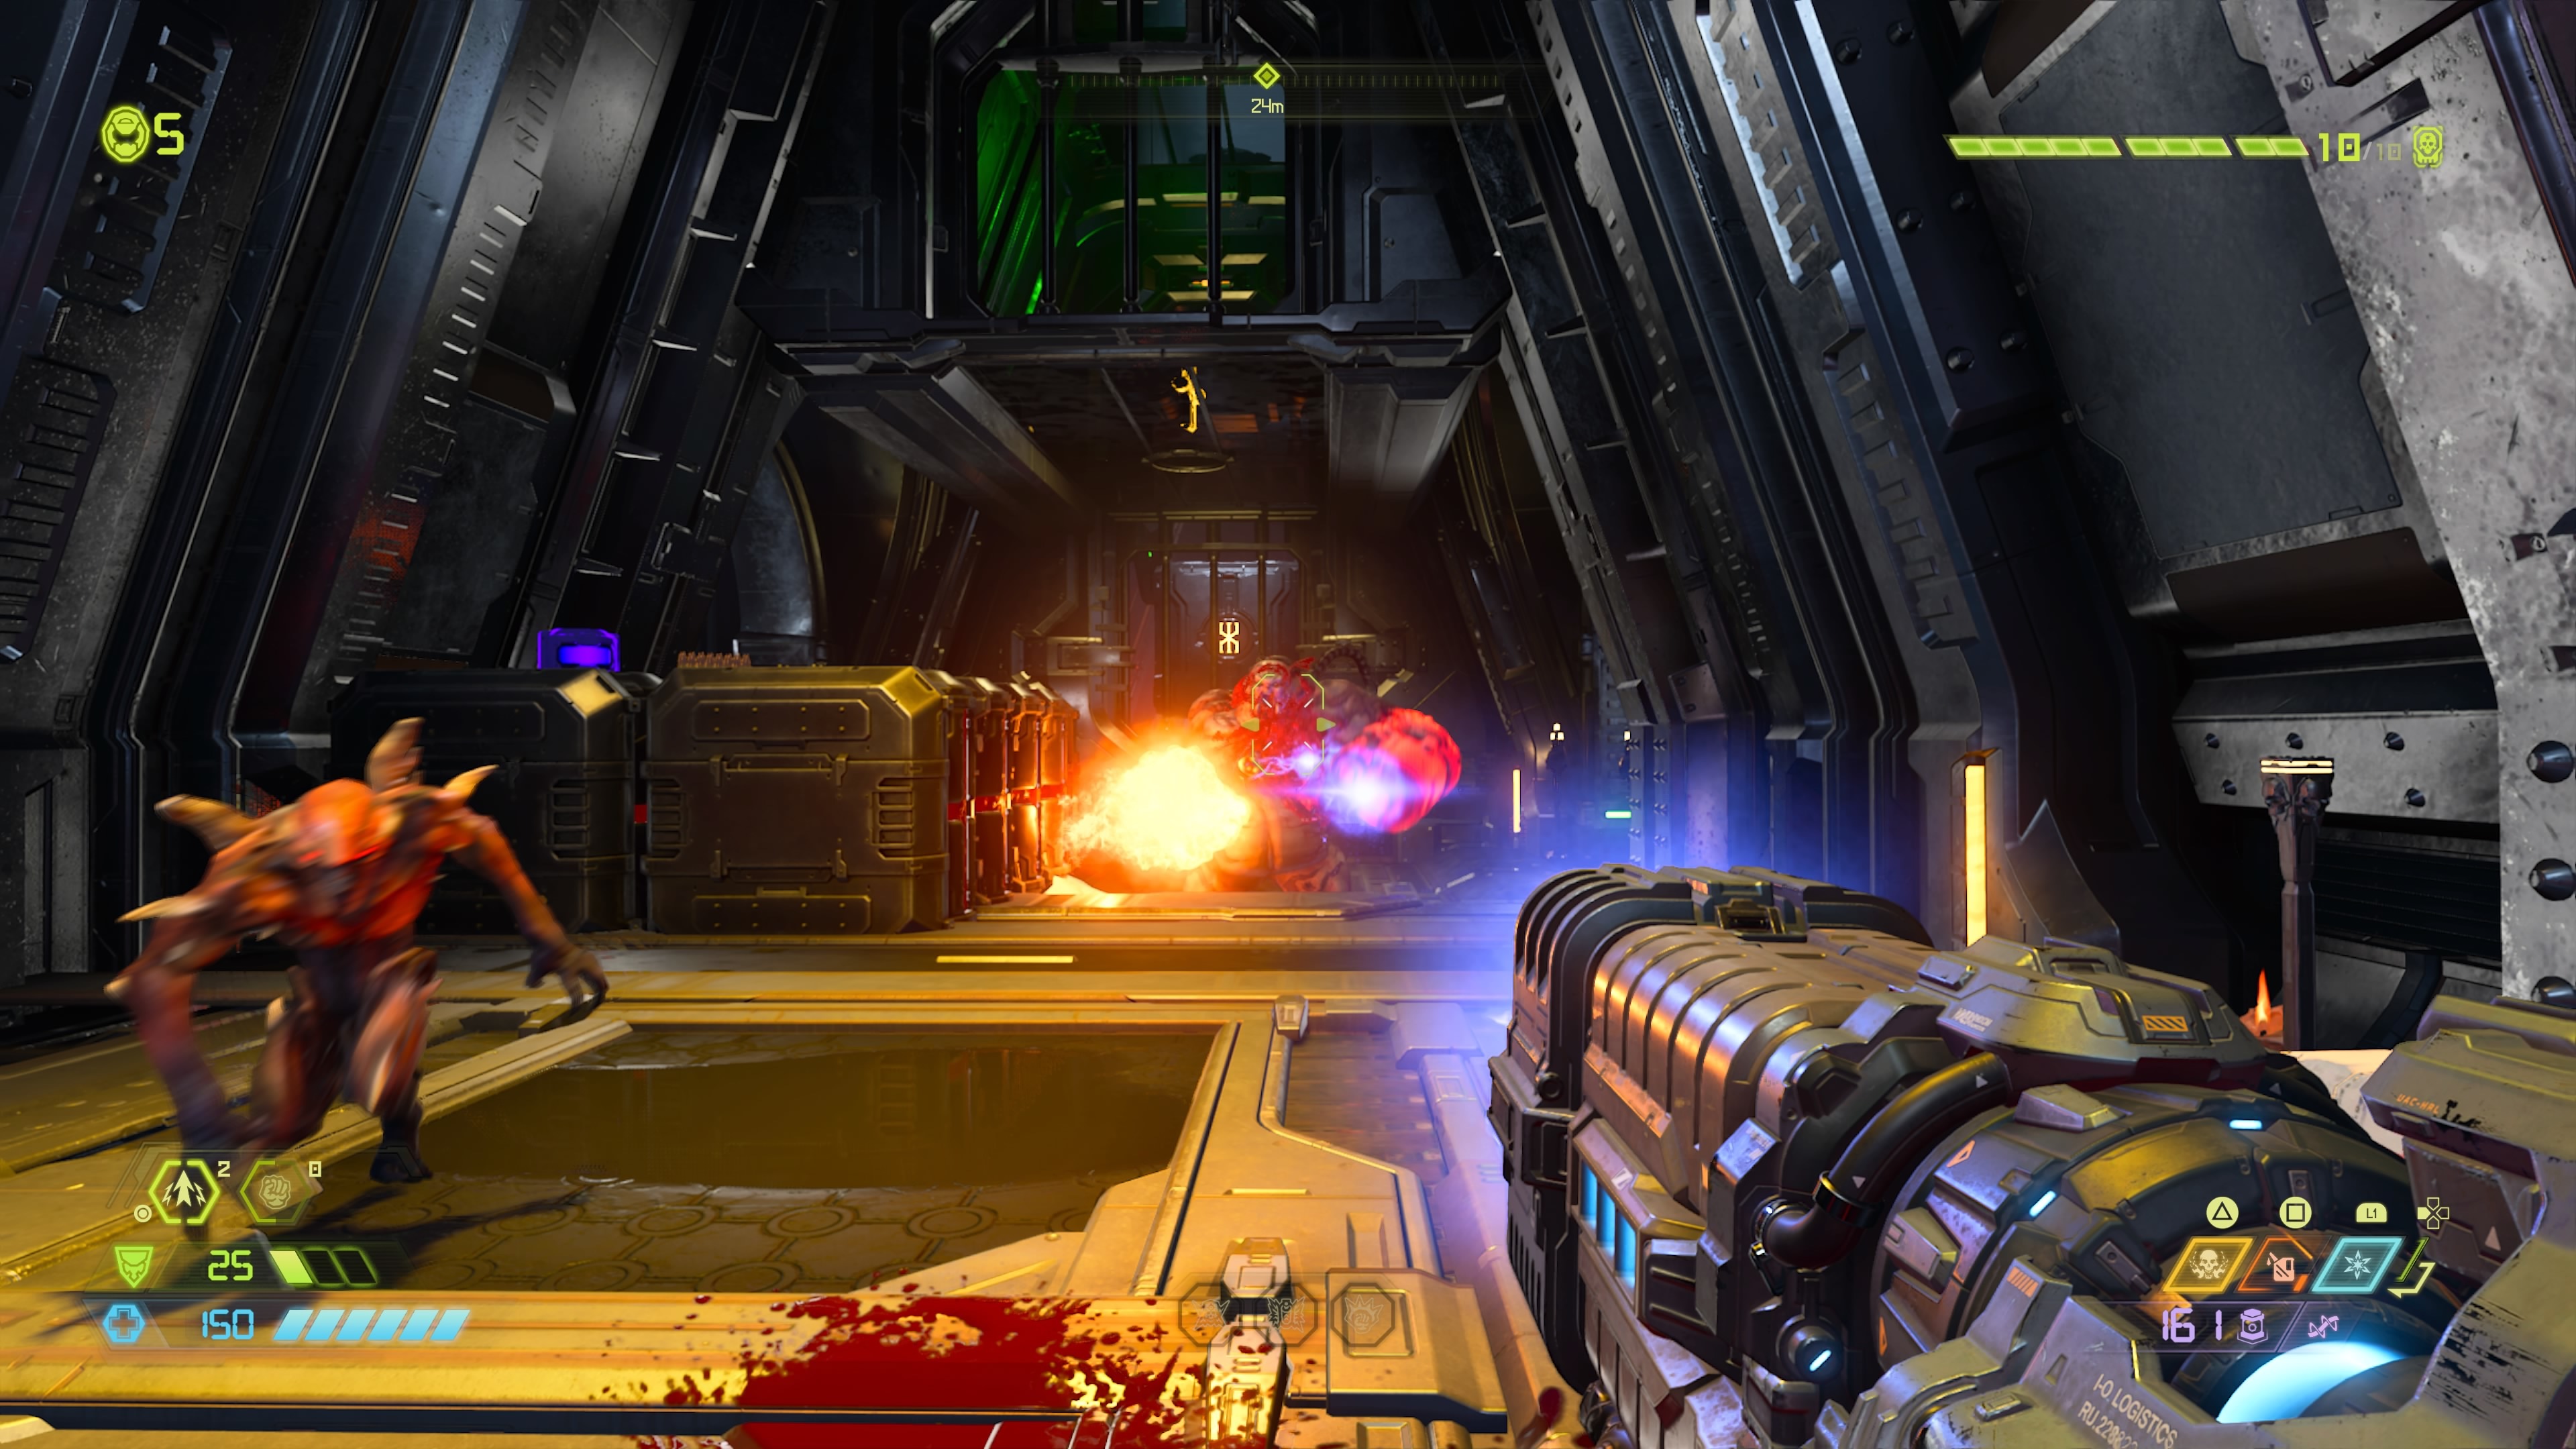
Follow the waypoint across the bridge and get rid of the Cultist Zombies on the other side. This Zombie variant is slightly more threatening than the regular kind because they're equipped with flamethrowers. Head towards the waypoint and you'll be locked in a room inhabited by some Cultist Zombies. Take care of them and a Hell Knight will appear, so use the Plasma Rifle to get rid of it fairly quickly. Follow the corridor to the left and you'll end up back in the room you were before. Now you can shoot the overhanging green symbol to wipe out the Cultist Zombies with the facility's own traps.
Step on the green platform to open the door forward, where you'll be met by a Mancubus. This enemy type has both long range attacks and short range attacks. At long ranges, it will shoot projectiles, while at short ranges, it utilizes flamethrowers. Your best bet is to keep your distance, strafe to avoid its projectiles, and focus your fire on its arm cannons to weaken its projectiles and disable its flamethrowers. The Plasma Rifle and Heavy Cannon prove useful in this regard.
With the Mancubuses defeated, head through the now-open door at the end of the corridor. From here, you need to jump and shoot the green button in mid-air to open the gate and Dash under it to reach the climbable wall on the other side. This leads to another combat arena and another Arachnotron that needs dealing with. As always, stay on the move and use your full arsenal to survive, whether that means using the flamethrower to grab armor, the Chainsaw to refill your ammunition, or the secondary fire modes on your weapons.
Once everything's dead, use the jump pad and then swing across the pole to land on top of the block and reach the Cultist Key. You'll be bombarded by enemies in this area again, but you can lure them towards you and make use of the traps to do the work for you. Head through the Cultist Key door and use your Plasma Rifle to make short work of the Soldiers carrying Energy Shields. Drop down to the area below and head towards the broken arch on the far side. Jump to the climbable wall here, and then leap onto the jump pad platform where you'll see another green button to shoot. Hit this in midair and Dash through the open gate and punch through the wall.
Sitting in front of you will be the Rocket Launcher and another combat arena to test it out in. You'll want to conserve Rocket Launcher ammunition for use against tougher enemies, so use it here to pepper the Mancubus from a distance. It doesn't take long for this area to fill with enemies, so focus on weak points and use your Chainsaw on fodder enemies like Gargoyles to replenish your Rocket Launch ammo for use on the Mancubuses. Once the area is clear, head through the door and melee the green side of this contraption to lower a pole back in the centre of the combat arena. This is on a timer, so quickly swing on the pole, then turn back around and use it again to reach the climbable wall above the door. Grab the Rune and then climb up and follow the waypoint.

After opening the gate in this area you'll have your first encounter with a Whiplash. This slithery serpent-like enemy is incredibly fast and will look to get in close to slash at you with its chained blades. At a distance, it will also fire energy waves across the ground, so you'll want to jump or Dash to avoid them. Due to its tendency to duck its head and slither close to the ground, your shots will need to be accurate so the rapid fire nature of the Auto Cannon and Plasma Rifle make them adept at the job. Alternatively, you can also use the Ice Bomb to freeze the Whiplash in place.
Clear out this area and step on the green platform to open the next door. Use your Plasma Rifle to get rid of the Energy Shield Soldiers, then melee the block in the next area to climb up and destroy the chains holding up the drawbridge and gate. Head through here and there's a formidable combat arena filled with Mancubuses, Cacodemons, Revenants, Whiplashes, and Arachnotrons. Fortunately, this area is quite large with plenty of verticality, so you'll want to keep moving and changing levels to avoid any sustained enemy fire. Use the Rocket Launcher when you can to deal large damage to the tougher enemies, and make sure to hone on the fodder types when you need to replenish health, ammunition, or armor.

Head through the next door into the icy area and use your double jump and Dash to navigate through the corridor of electrified blood. After opening the way ahead, step inside the platform moving up and down to reach the lower area, then follow the corridor around and climb up to reach another contraption you can melee to make a pole appear. There's another time limit here, so quickly shoot the green symbol to open the gate and then swing on the pole to reach the climbable wall. Leap to the left hand platform with the chest armor inside to move up, then kill the enemies on this upper level and swing across the poles to avoid the electrified blood again.
Follow the waypoint down the elevator and get ready to jack into the body of a Revenant. You may as well be invincible during this combat encounter, so just make use of the Revenant's twin rockets, missile barrage, and jet pack to clear the area. Once that's done, grab the Super Shotgun and return back to Doomguy. As you might expect, the Super Shotgun is similar to the Combat Shotgun, except its higher damage rate is offset by a slower reload time. Its usage comes down to player preference, but it should become your de-facto weapon for close-quarters encounters.
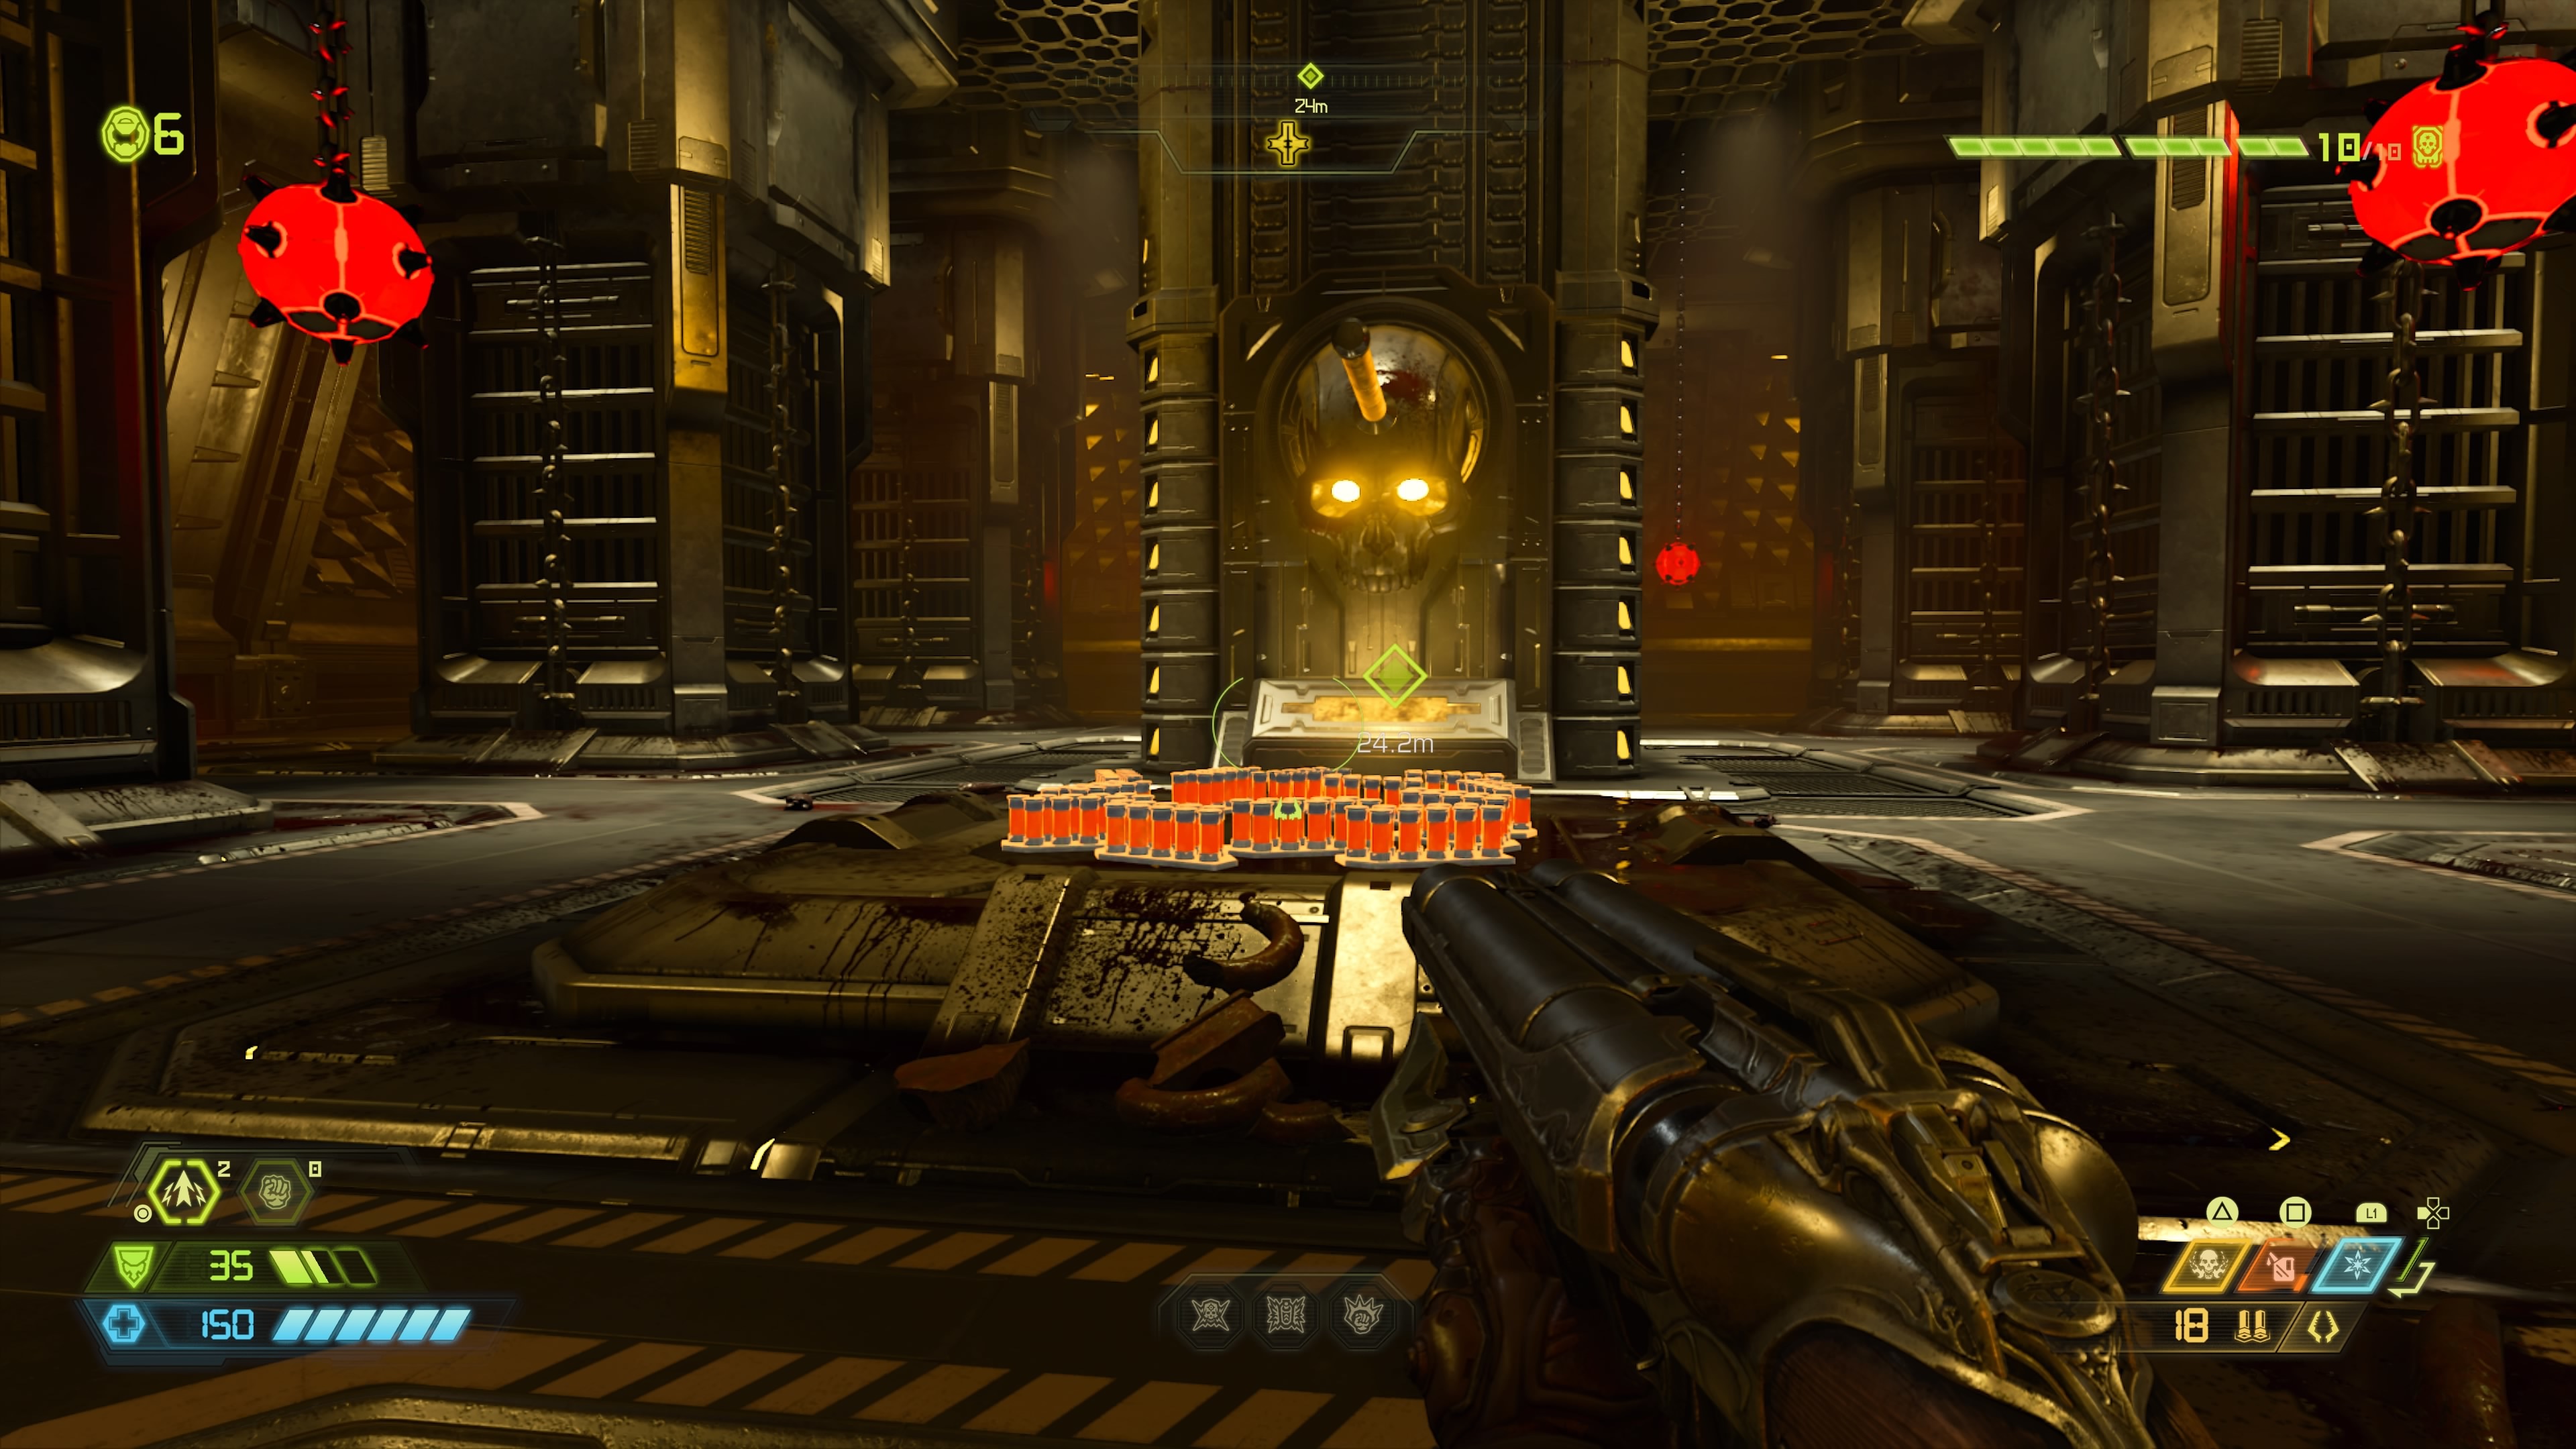
Go up the elevator and you'll come to a room with three rows of columns housing different enemies. Before you do anything, bash open the column furthest to the left in the middle row. There's a ton of shotgun ammo inside which will prove useful once you start opening the rest of the columns. The first row contains fodder enemies, while the rest are home to tougher opponents like Hell Knights, Arachnotrons, and Revenants. If your health, armor, and ammo are full, you might want to take on the harder enemies first before losing any resources to the weaker enemies.
Once everything's dead, a gate will open allowing you to jump down into a corridor with falling blades. Time your movement to avoid them and take the elevator up into another circular room. Use the climbable walls on either the left or right side to make your way around to the waypoint, then use the jump pad to reach the spinning platform and follow the waypoint over to the next room where you'll have to climb your way to the top.
At the summit, time your jump to avoid the spike trap then equip the Combat Shotgun in the next room to make quick work of the Tentacles that pop up. On the left side of the room when you walk in there's a trap you can walk over to reach a narrow corridor. Head down here and destroy the obstacle blocking the way, then stand on the green platform and shoot the symbol on the wall across from you to activate the elevator and send you up. Clear out the enemies in this area, then send the platform back up again and quickly melee the contraption to the side to open up the next door. Head through here and there's another corridor where you can make use of the facilities traps to wipe out a few enemies at one time.

In the next room, look behind the giant statue to find a pole and climbable wall. Make your way to the upper platform and hop down the other side to melee the block and reveal a jump pad in the centre of the room. Hop onto the jump pad and then dash forward and melee the statue to knock it over and create a bridge leading into the next area. Take the elevator down and follow the waypoint to open the door. Head through here until you drop into the next combat encounter, then exit the level after defeating all of the enemies.
Doom Eternal News
Got a news tip or want to contact us directly? Email news@gamespot.com
Join the conversation