Destiny 2 Presage Captain's Log Guide: All Scannables For The Seasonal Challenge And Ghost Shell
There are a lot of secrets hiding in the Presage Exotic mission to unlock the new Dead Man's Tale Exotic scout rifle. Here's how to uncover some of its story.
The Presage Exotic mission in Destiny 2 sends you to a derelict Cabal ship to uncover what happened to its crew--and a fellow Guardian. A Seasonal Challenge, Captain's Log, requires you to locate and scan five different objects scattered throughout the ship, all of which reveal more of the Glykon's story. There are even more scannable items once you find the first batch, which can unlock two more Triumphs and earn you an Exotic Ghost shell. Use this guide to help you find them all and start to unravel all the secrets of Presage and its derelict ship.
Because the Glykon, the ship where Presage takes place, is so twisting and huge, it can be very easy to miss the objects you're looking for and the story that goes with them. As you unlock each batch of scannable objects and the Triumph that goes with it, a new set will become available, so expect to run through Presage at least three times to get them all.
Make sure to check out the rest of our guides for the Season of the Chosen, including a guide for unlocking and besting Presage, rundowns to unlock the Dead Man's Tale Exotic scout rifle and its Exotic catalyst, and where to find every hidden cache.
How To Earn The Captain's Log Seasonal Challenge
Here's where to find the first five scannable objects hidden in the Glykon during the Presage mission. These items won't be available until your second run through the mission, so keep that in mind. Finding all of these items unlocks the Captain's Log Seasonal Challenge, as well as the Figments of an Answer Triumph.
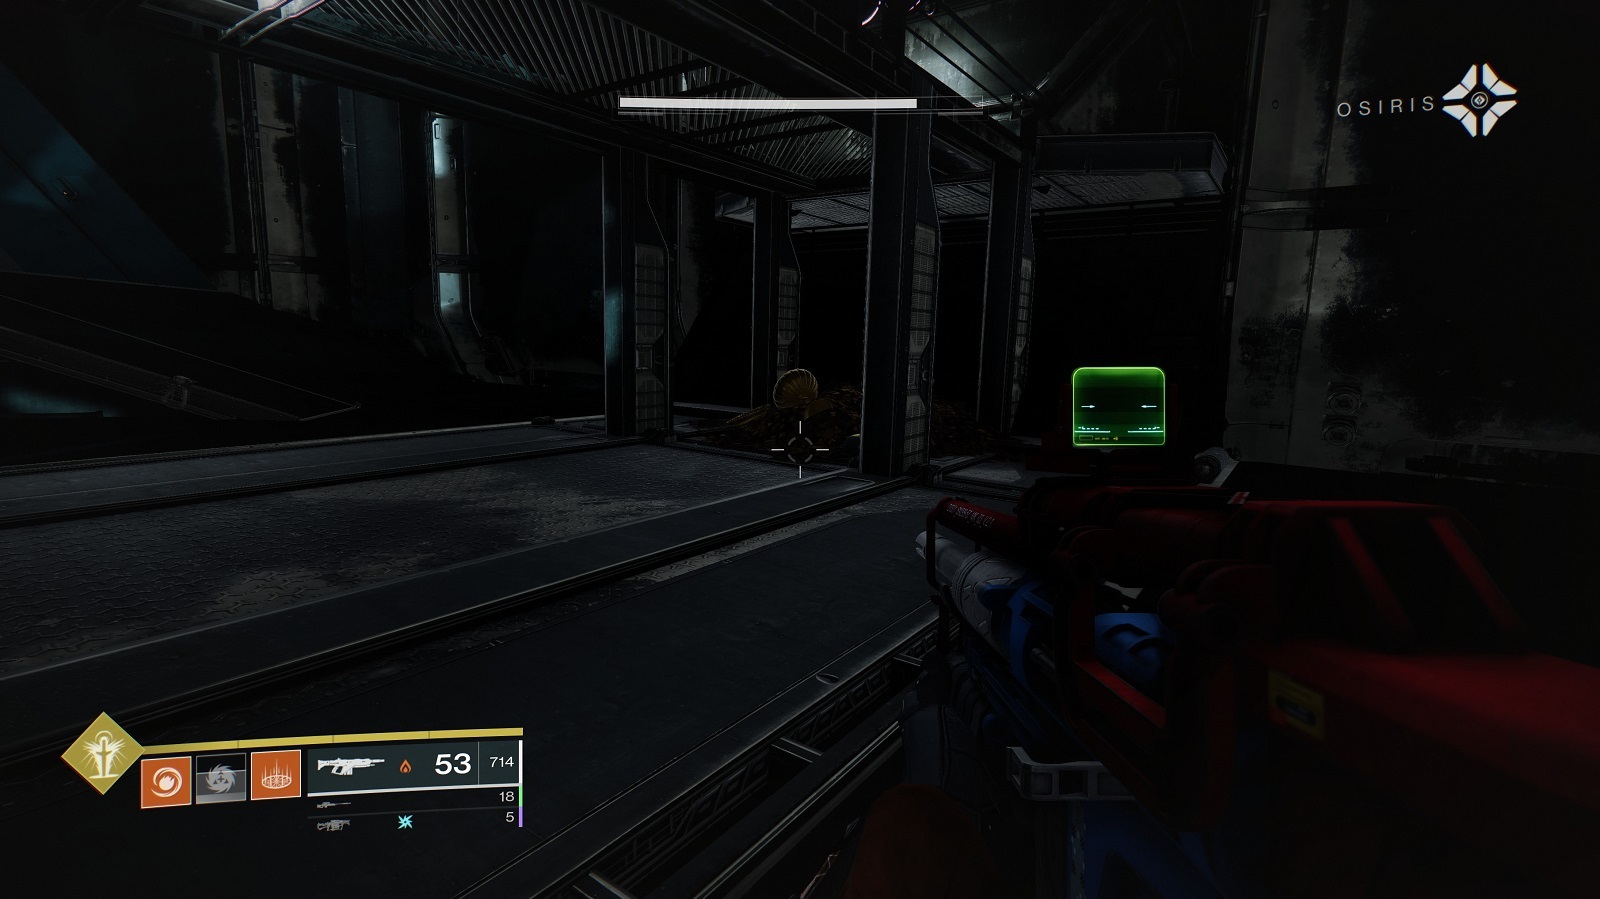
Object 1: Cabal Bodies

Progress through the ship until you make it to the switch that opens the door to the loading ramp where you first spawned in on the Glykon. Throwing the switch unlocks the door that leads into the ship proper. As soon as you go through, you'll be confronted with some weird plantlife. In the center of the room, you'll see several Cabal bodies have been grabbed by the vines and suspended in the air. Scan them for your first hint at what's going on in this place.
Object 2: Scorn Helmets

Continue forward until you hit a room with a pair of big electrical barriers splitting it apart. You'll start on one side of this room and enter a narrower hallway in order to reach a switch. To get to the other side, you'll need to jump a gap, then use spores to run through a sealed Darkness doorway. Before you do that, however, jump across and check to the right of the sealed door to find two Scorn helmets lying on the floor beside the path forward.
Object 3: The Guardian's Jump Ship

After you complete the section with the trash compactor, you'll drop into a fight with some Scorn enemies and see the Locus of Communion for the first time. Keep moving until you enter the ship's hangar for a big fight with two Abomination Majors. Clear the room and head toward the back left corner, where you'll exit out the big hangar opening and go back out into space. Before you do, scan the ship right next to the exit. It belongs to the Guardian you're searching for, and it's outfitted with some Season of Opulence gear.
Object 4: Dark Ether Canisters

Before much longer, you'll hit another room with an electrical barrier, but this one will be above you. You'll unlock a door exposing a power conduit that lets you interrupt the barrier briefly so you can pass through it. On the other side, turn left to find a side room with a switch clearing the path back to the far side of the barrier. To the right of the switch are some canisters with a light blue liquid inside, your fourth piece of evidence.
Object 5: Calus's Message

The fifth and final scannable object appears after your boss fight with the Locus of Communion. Defeat it and leave the boiler room through the newly opened door. Continue until you can blow open a hole in the floor and drop down into a ventilation shaft lit in red. Instead of continuing down the clear path, turn the other way and hop over the low pile of junk to get to an open space on the other side, where you'll find a little hologram of Calus's face. Scan it for one last tidbit of info about what happened aboard the Glykon.
Note that you'll have to now complete the Presage mission in order for the Seasonal Challenge and Triumph to be completed. Good luck!
Destiny 2 News And Guides
- Destiny 2 King's Fall Raid Guide: How To Beat Every Encounter And Open Every Secret Chest
- Five Years Of Destiny 2's Dramatic, Transformational Changes
- Destiny 2: Season Of Plunder Guides, Season Pass Gear, Exotics
- + Show More Destiny 2 News And Guides Links (2)
- Destiny 2 Season Of Plunder: Seasonal Challenges Guide Week 10
- How To Get Map Fragments, Treasure Coordinates, And Maps In Destiny 2: Season Of Plunder
How To Earn The Another Link In The Chain Triumph
Once you've completed Presage and found the first five scan objects, another Triumph will become available, called "Another Link in the Chain." This requires returning to the Presage mission, where you'll explore the ship again, but this time with the assistance of Caiatl on the radio as well as Osiris. Six additional scannable objects will now become available, bringing the total to 11. Here's where to find the second batch of lore items.
Object 6: Computer Panel

This item pops up relatively early on your trip through the Glykon. Once you open the front door, you'll enter a large room with Cabal bodies strung up by the strange vines infesting the ship. Jump up on the pipes to your left to reach a ventilation hatch you'll shoot through to advance. Inside the vent is an orange computer panel; scan it on your way past.
Object 7: Scorpius Turret

Keep moving until you reach the large area with the electrified barriers. You'll jump over one gap to pass through a Darkness barrier, then find another gap to leap across with a cylindrical platform in the center. Before you jump, turn left to find a destroyed Cabal turret that you can scan.
Object 8: Cabal Incendior Tank

After your fight in the hangar with two Abominations, use the platforms outside the ship to cross into another hangar that's lit with an orangeish glow. Check beneath the ship docked there, down a slight ramp, to find the flamethrower tank worn by an Incendior Cabal enemy. It's at the end of a slick oil-like blood trail leading from one of the doors.
Object 9: Scorn Surgery Table

Just beyond the hangar is a big room full of Darkness vines. You'll pass through here twice; scan the Scorn Chieftain lying on a table in the middle of the room before you leave. He's tough to miss.
Object 10: Dead Ghost

Right before you reach the boss room is an area where you'll need to jump to platforms that are oriented vertically, but rotate flat as you approach them. Jump to the second of these rotating platforms and instead of going left toward the Scorn on the ledge above you, go right to find a small platform with crates on it. Behind the crates is a dead Ghost you can scan--but not the one you're looking for.
Object 11: Calus's Riches
Your final scannable object is in the last room of the Glykon, the bridge, which you'll access after you defeat the Locus of Communion boss. Entering the room, you'll drop down onto a catwalk that leads you straight to Dead Man's Tale and the dead Guardian at the center of all this intrigue. Jump off the catwalk and do a 180 to check beneath it at the far end of the room, opposite the Guardian. You'll find a pile of gold riches from the Leviathan there that you can scan.
Complete Presage again by grabbing Dead Man's Tale and you should unlock the Another Link in the Chain Triumph, revealing even more of the tale of the Glykon.
How To Earn All The Scattered Pieces Triumph
Return to the Glykon one more time and you'll find a final set of scannable objects, revealed now that Caiatl has access to the Cabal ship's mainframe. You'll not only hear more dialogue from her and Osiris, you'll finally hear some messages from Katabasis, the Guardian working for Calus who died on the Glykon's bridge. There are four scannable objects to find in this last jaunt through the ship, and you'll need to complete the mission in order to get the "All the Scattered Pieces" Triumph to unlock and award you a new Ghost shell.
Object 12: Maintenance Frame

You'll find the first of these in the room where you encounter Scourge Screebs for the first time. This is in the room with the electrical barriers, but before you jump over the first gap to run through the Darkness barrier blocking the way forward. Look for a raised walkway on the left side of the room with a computer panel and the robotic frame lying on the ground next to it--it resembles the sweeper frames that Calus used to use to communicate with Guardians in the Tower.
Object 13: Antenna Array

You won't find your next scannable object until after the big fight in the hangar with the Abominations. Clear the room and head to the big bay door that's open to space at the far end on the left. Jump out onto the platforms, but don't progress to the other hangar; instead, look for a platform above you and jump up to it. You'll be standing next to a big piece of cylindrical machinery attached to the hull, which you can scan.
Object 14: Computer Panel

The next scannable object is in the very next room, just ahead of you. Enter the hangar with the ship that's hanging from a crane attached to the ceiling and turn left. Jump up onto the ledge to find an orange computer panel lying in the rubble there.
Object 15: Imperial Equipment

The final object you need to find is in the room right before you fight the Locus of Communion boss, where you can drop a Raid Banner. Look for blue canisters and a tarp bearing Caiatl's seal (which is also the logo for the Season of the Chosen).
Finally, you'll need to finish Presage, which will unlock the "All the Scattered Pieces" Triumph.
Unlock The Gilgamesh Ghost Shell

Knocking out "All the Scattered Pieces" gets you a new reward from Presage: Gilgamesh, a new Exotic Ghost shell. This is the Ghost you've been looking for, to some degree--Gilgamesh was the Ghost of Katabasis, the Guardian who sent the distress signal that led you to Dead Man's Tale. With all the scannables collected, it seems we know most of what happened aboard the Glykon; to get the rest of the story, you'll need to keep completing the mission each week to unlock the Captain's Log lore book.
Got a news tip or want to contact us directly? Email news@gamespot.com
Join the conversation