Destiny 2 Presage Guide: How To Start Dead Man's Tale Exotic Quest And Find All Secrets
There's a new Exotic in Destiny 2 this week, but you'll need to know where to go to unlock the Presage mission for Dead Man's Tale.
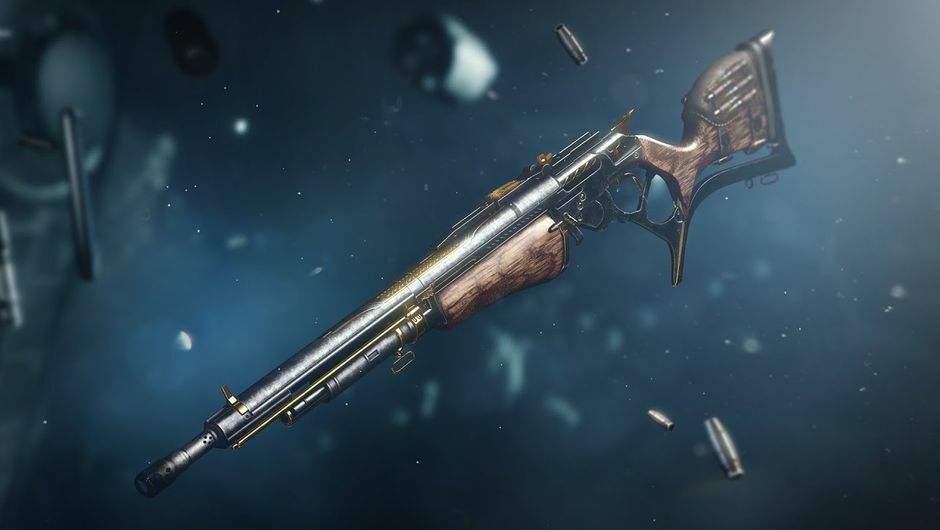
Destiny 2's Season of the Chosen is humming along with a new Exotic weapon for players to chase in Presage, a hidden Exotic quest. Here's what you need to know to find the start of the Presage mission and earn Dead Man's Tale, a new Exotic scout rifle, and get its Exotic catalyst. There's a lot to find within the mission, including secrets, story tidbits, lore, and a cool Ghost shell, and we've covered how to find them all below.
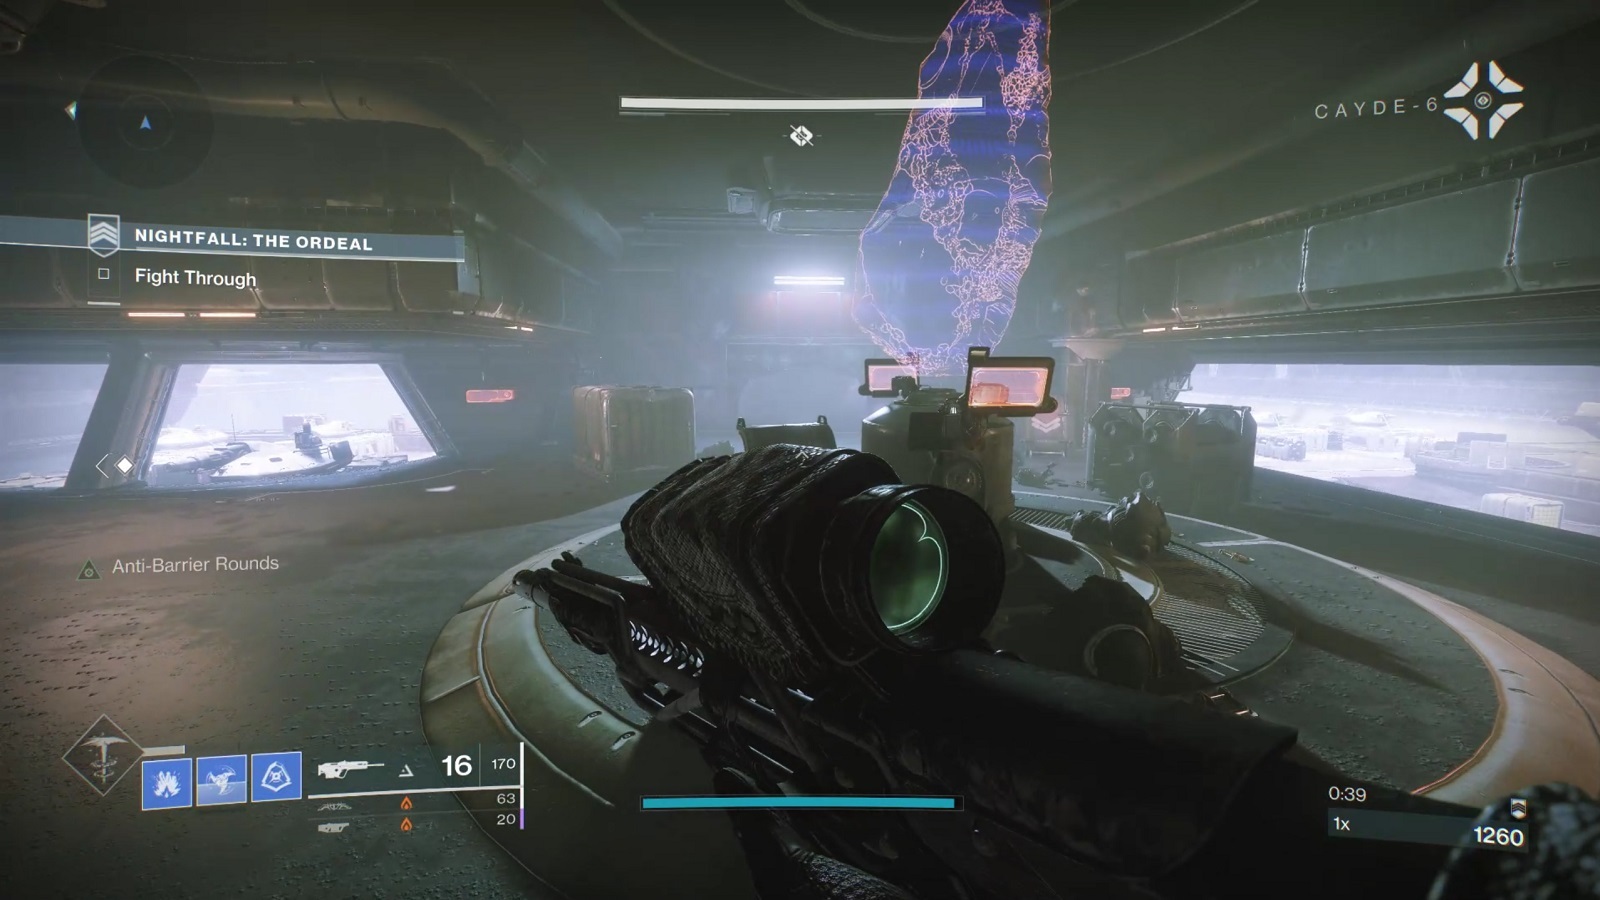
Your journey starts with this week's Nightfall: The Ordeal Strike, The Arms Dealer. You'll need to load into the mission in order to find the path to start Presage, so you'll want to grind your Power level up to at least 1230 to make things easier on yourself. The mission you're looking to unlock, Presage, also has a recommended Power level of 1230, so keep that in mind before you get started.
How To Find The Presage Exotic Mission
Play The Arms Dealer In Nightfall: The Ordeal
You'll need to start The Arms Dealer, this week's Nightfall: The Ordeal Strike, but the good news is that you neither have to finish the Strike nor play it at a high difficulty to find what you're looking for.
Start the mission and enter the first room, a Cabal facility where you'll fight a handful of enemies. Usually, you'd then use Ghost to hack a console and open the door at the far end of the room, which leads outside. Instead, look for another, newly opened door, near the table with the big hologram on it. This leads you to another large hallway deeper into the facility, and the path is littered with turrets.
Find The Distress Signal
Blast your way through the hallway to its end and you'll exit outside, but this time, onto a pair of landing pads. A Major Cabal Phalanx called Than'grot, Loyal to Caiatl, blocks the path here, as do some more turrets. Shoot through them all to open the path out onto the landing pads.
You'll see a few more turrets as you push away to the facility. Jump out to the furthest landing pad and look for a big gray crate. Interact with it to receive a Cabal Distress Signal datapad in your inventory. You can check it out for a little bit of backstory.

Return To Zavala
At this point, you're done with The Arms Dealer and you can finish the Strike as normal or just depart for orbit. Head back to the Tower and talk to Zavala. After getting a rundown of the situation, you'll unlock a new mission on the Director's Tangled Shore map. Look toward the top of the screen for the Presage mission.
Destiny 2 News And Guides
- Destiny 2 King's Fall Raid Guide: How To Beat Every Encounter And Open Every Secret Chest
- Five Years Of Destiny 2's Dramatic, Transformational Changes
- Destiny 2: Season Of Plunder Guides, Season Pass Gear, Exotics
- + Show More Destiny 2 News And Guides Links (2)
- Destiny 2 Season Of Plunder: Seasonal Challenges Guide Week 10
- How To Get Map Fragments, Treasure Coordinates, And Maps In Destiny 2: Season Of Plunder
Presage Exotic Mission
When you load into Presage, you'll find yourself in the loading bay entrance of the Cabal ship called the Glykon. There's actually no way through these sealed bay doors. To find the entrance, head back down the ramp and, facing toward your ship and out into space, turn right and jump to the red pipes there. You can follow the pipes and scaffolding around the outside of the ship to find an entrance that'll let you get in.
It's better to experience Presage yourself, rather than follow a guide--the mission is heavy on puzzles and asks you to find your way through, and it's a lot of fun to figure out on your own. If you want to go it alone, stop reading now. We'll leave a few more key tips below.
The Hidden Paths
If you get stuck in any given room, you probably need to shoot your way out. As in other Cabal-based missions, there are a lot of pathways that are hidden by ventilation covers that you can shoot through. If you get stuck, look for a vent you can blast open. You'll also open a lot of paths by throwing big switches (similar to those found on the Leviathan), and you'll often hear a beeping alarm that marks their locations when you get nearby.
Finally, you'll sometimes open doors or blow off vent covers to reveal a power conduit. You can shoot these to disable electrical fields or open doors, although they sometimes recharge, forcing you to destroy them and then quickly run through the path they clear. Watch for what these conduits effect, because it's not always obvious.
Use The Spores
There's one other major mechanic throughout the Glykon. You'll often run up against glowing white barriers that burn you if you touch them. To get through, you'll need to find and shoot small round glowing balls that release spores. Stand close to the orbs when you shoot them to get a buff called Eregore Link, allowing you to pass through the white barriers. The spores only work for a short time, so you'll usually need to identify your path from the spore orbs to the barrier so you can make it before the timer runs out.
Battling The Locus Of Communion

The mission culminates in a boss fight with a big Scorn enemy reminiscent of The Hangman from the Forsaken expansion. He has a giant maul he slams on the ground, sending flames shooting across the floor toward you. The room where you fight him fills with other Scorn enemies as you battle him, so keep moving as best you can so you don't get bogged down. After you do a little damage to the Locus, he'll drop down to the lower level of the room, where the floor is alight from the ship's boiler. You'll need to activate three control panels on the top level of the room in order to cool it down enough that you can continue fighting him.
When you've cleared out the smaller enemies (Ticuu's Divination does well in the standard version of the mission), look for control panels at either end of the room. Behind the panels, you'll see a wide hole in the floor where you can drop down. Don't do so until you've activated all three coolant panels, however. The third is in the small room in the middle of the upper floor, but note that when the boiler is active, this room will also inflict burning on you. The best way to deal with it is to activate the other two panels first so that when you activate the panel in the burning room, it'll turn off the flames and save you from burn damage.
After the coolant panels are active, drop down and fight the Locus of Communion on the lower floor. The battle is pretty much the same as above, except there's nowhere to hide. If you get into trouble, jump up to the top floor again so you can avoid the Locus's burning maul attack. You can give him the slip pretty easily by running to one of the other two holes in the floor to drop down and get behind him.
Knock off a third of the Locus's health and the boiler will re-activate, forcing you back up to the upper floor. Clear out the enemies and repeat the process. After you deactivate the boiler twice more, you'll be clear to kill the Locus and complete the mission.
Claiming Dead Man's Tale
Once you kill the Locus of Communion, you'll find Dead Man's Tale in another room. The Exotic builds up bonus damage as you stack precision hits, while also gaining faster reload speed, so land as many headshots as you can with it for maximum power. Like Hawkmoon, you can re-roll Dead Man's Tale to get different perks on the gun.
Getting Additional Dead Man's Tale Rolls
Once you've finished Presage once, you'll have access to the mission on the Director. Re-running the mission gets you a Pinnacle drop. From what we can tell, having run the mission several times now, you can get one new Dead Man's Tale roll per account per week. Presage will give you three Pinnacle drops per week, one per character, but only your first run of the mission per week will give you a new Dead Man's Tale. Running the mission on alternate characters gives you random Pinnacle-level loot.
How To Get The Dead Man's Tale Catalyst
Once you've completed Presage the first time and unlocked Dead Man's Tale, you can earn its Exotic catalyst. You'll need to collect the At Your Fingertips Exotic quest from Zavala in the Tower, then take on Presage at Master difficutly. This is a tougher version of the original mission that has a 25-minute timer, so you'll need to be quick.
For more, check out our Dead Man's Tale Catalyst guide for info on how to beat Presage on Master difficulty and how to advance your progress in unlocking the catalyst once you've earned it.
Secrets In Presage
After you clear Presage for the first time and earn the Dead Man's Tale Exotic, returning to the mission allows you to unlock additional secrets within the mission. Several of them have additional Triumphs tied to finding them. Here's what we've found so far.
Captain's Log Seasonal Challenge
There's a lot more story hidden aboard the Glykon, and finding it can earn you two Triumphs and a Seasonal Challenge. The Captain's Log challenge requires you to play through Presage a second time, looking for five scannable objects that reveal additional clues about what happened on the ship. There are five scannable objects in total; check out our Captain's Log guide for detailed instructions on where to find each one.
Another Link In The Chain Triumph
After clearing the Captain's Log Seasonal Challenge, another set of collectibles unlocks. You'll need to run Presage again to get access to another six scannable objects. We've got them all in the Another Link in the Chain section of our Captain's Log guide.
All The Scattered Pieces Triumph And Gilgamesh Ghost Shell
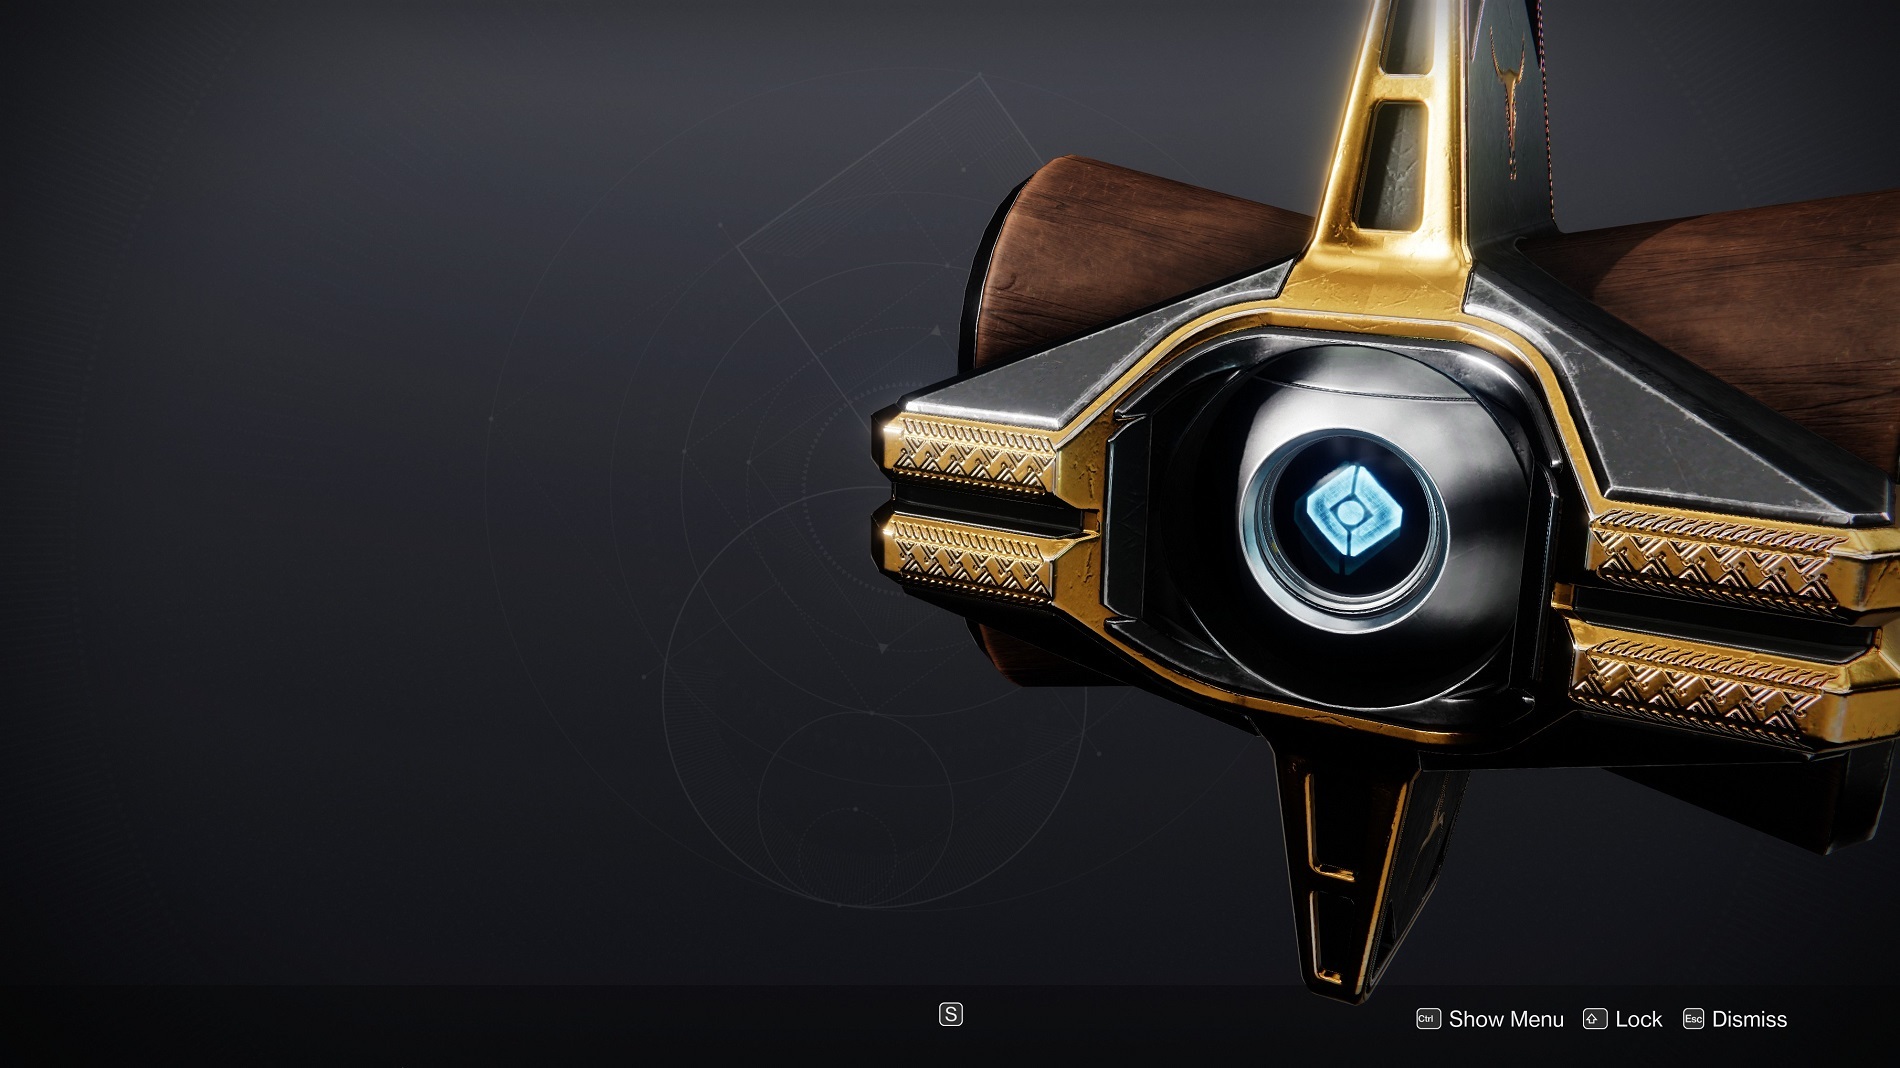
There's one last set of scannable objects you can find if you've cleared the first two groups. The last set of four will earn you the Gilgamesh Exotic Ghost shell, as well as fill in some of the final gaps of the Glykon's story. Check out the All The Scattered Pieces section of our Captain's Log guide to find them all.
Captain's Log Lorebook
We're still checking on this, but our time spent in Presage suggests you'll get an entry in this lorebook as one of the rewards for clearing Presage each week, with no extras for repeating the mission on different characters. Ours unlocked on our second run through the mission, so it seems you'll need to complete Presage and claim your Dead Man's Tale first before you can earn it.
There are 12 total lore entries, which suggests you'll need to run Presage all through the season to get them all. The first entry also corresponds with a secret chest hidden in the Presage mission, which suggests you'll find a new chest with each new entry you unlock.
Hidden Caches For Dead Man's Tale Catalyst
Scattered all over the Glykon are items that look like datapads in other missions. None of the datapads are interactable on your first or second time through the mission, but they seem to unlock as you earn new pages in the Captain's Log lore book, which seems to allow you to access one datapad each week. Each datapad opens a secret smuggling compartment aboard the Glykon, which houses a cache that gives a random loot drop. Each of these caches gives you about 12% progress on your Dead Man's Tale catalyst, and finding them all unlocks the Tucked Away Triumph. The good news is that even if you open the caches before you get the catalyst, the progress counts retroactively, so you'll still get credits for the caches you opened.
Check out our Dead Man's Tale Exotic Catalyst guide for details about the location of each cache.
Got a news tip or want to contact us directly? Email news@gamespot.com
Join the conversation