How To Attune With The Hive Elemental Runes In Destiny 2
The Bladed Path tasks you with attuning to elemental runes in Lost Sectors. Here's where to find them.
This week, Destiny 2 tasks you to attune with the Hive elemental runes inside Lost Sectors. Introduced during Season of the Witch, this objective is part of "The Bladed Path" questline, which is the current seasonal questline.
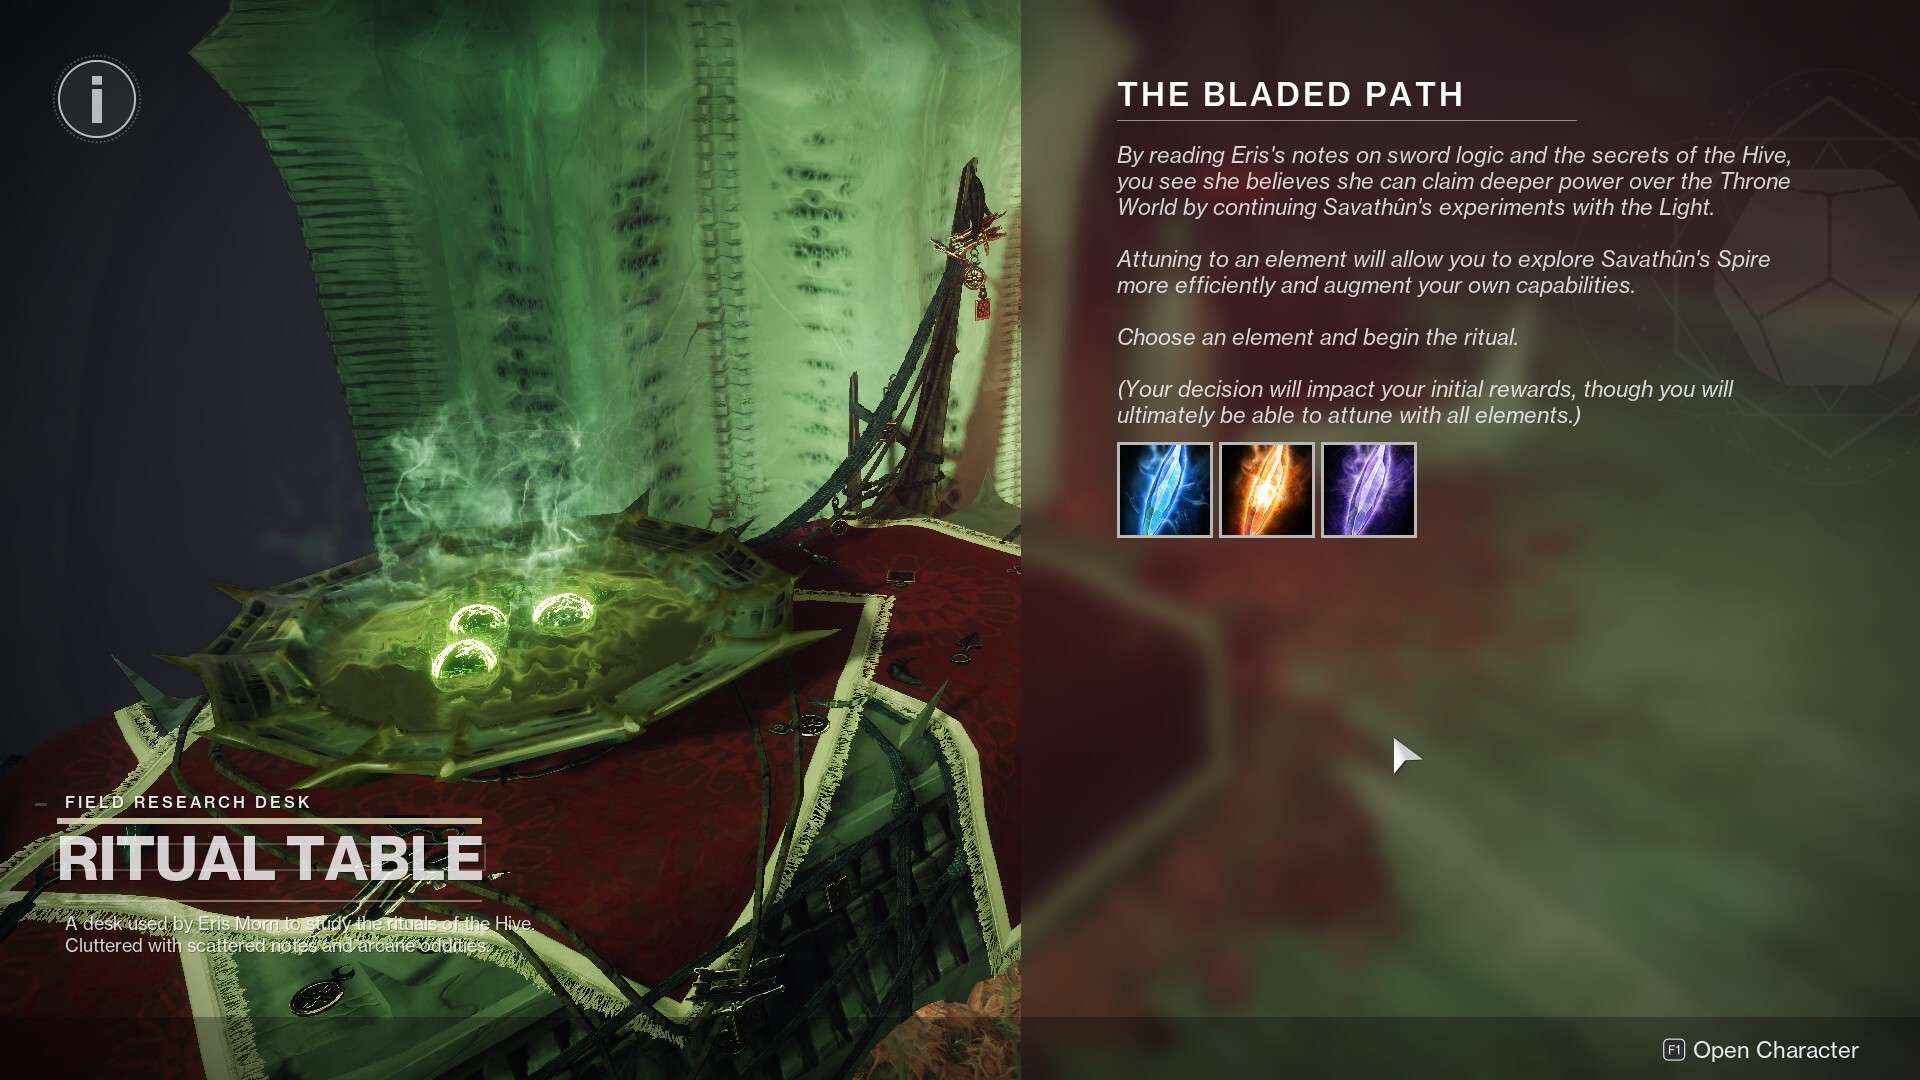
If you've already completed the first week of quests, you'll be asked to attune with an element at Eris Morn's Ritual Table in the HELM space. From here, you'll need to complete a few new tasks can be a bit confusing in practice. Here's how to attune with the Hive elemental runes in Destiny 2, so you can promptly return to focus on the seasonal challenges instead.
How to attune with the Hive elemental runes in Destiny 2
First of all, make sure you've completed the first week of "The Bladed Path" questline. Then, return to the HELM space, and you'll soon be asked to choose an element.
You can pick Arc, Solar, or Void. My recommendation would be to pick the one that matches the ammo of at least a weapon of yours (preferably not swords), as you'll need ammo that corresponds to that element later on. So, if you have a weapon that uses Void ammo, go for Void to make things easier.
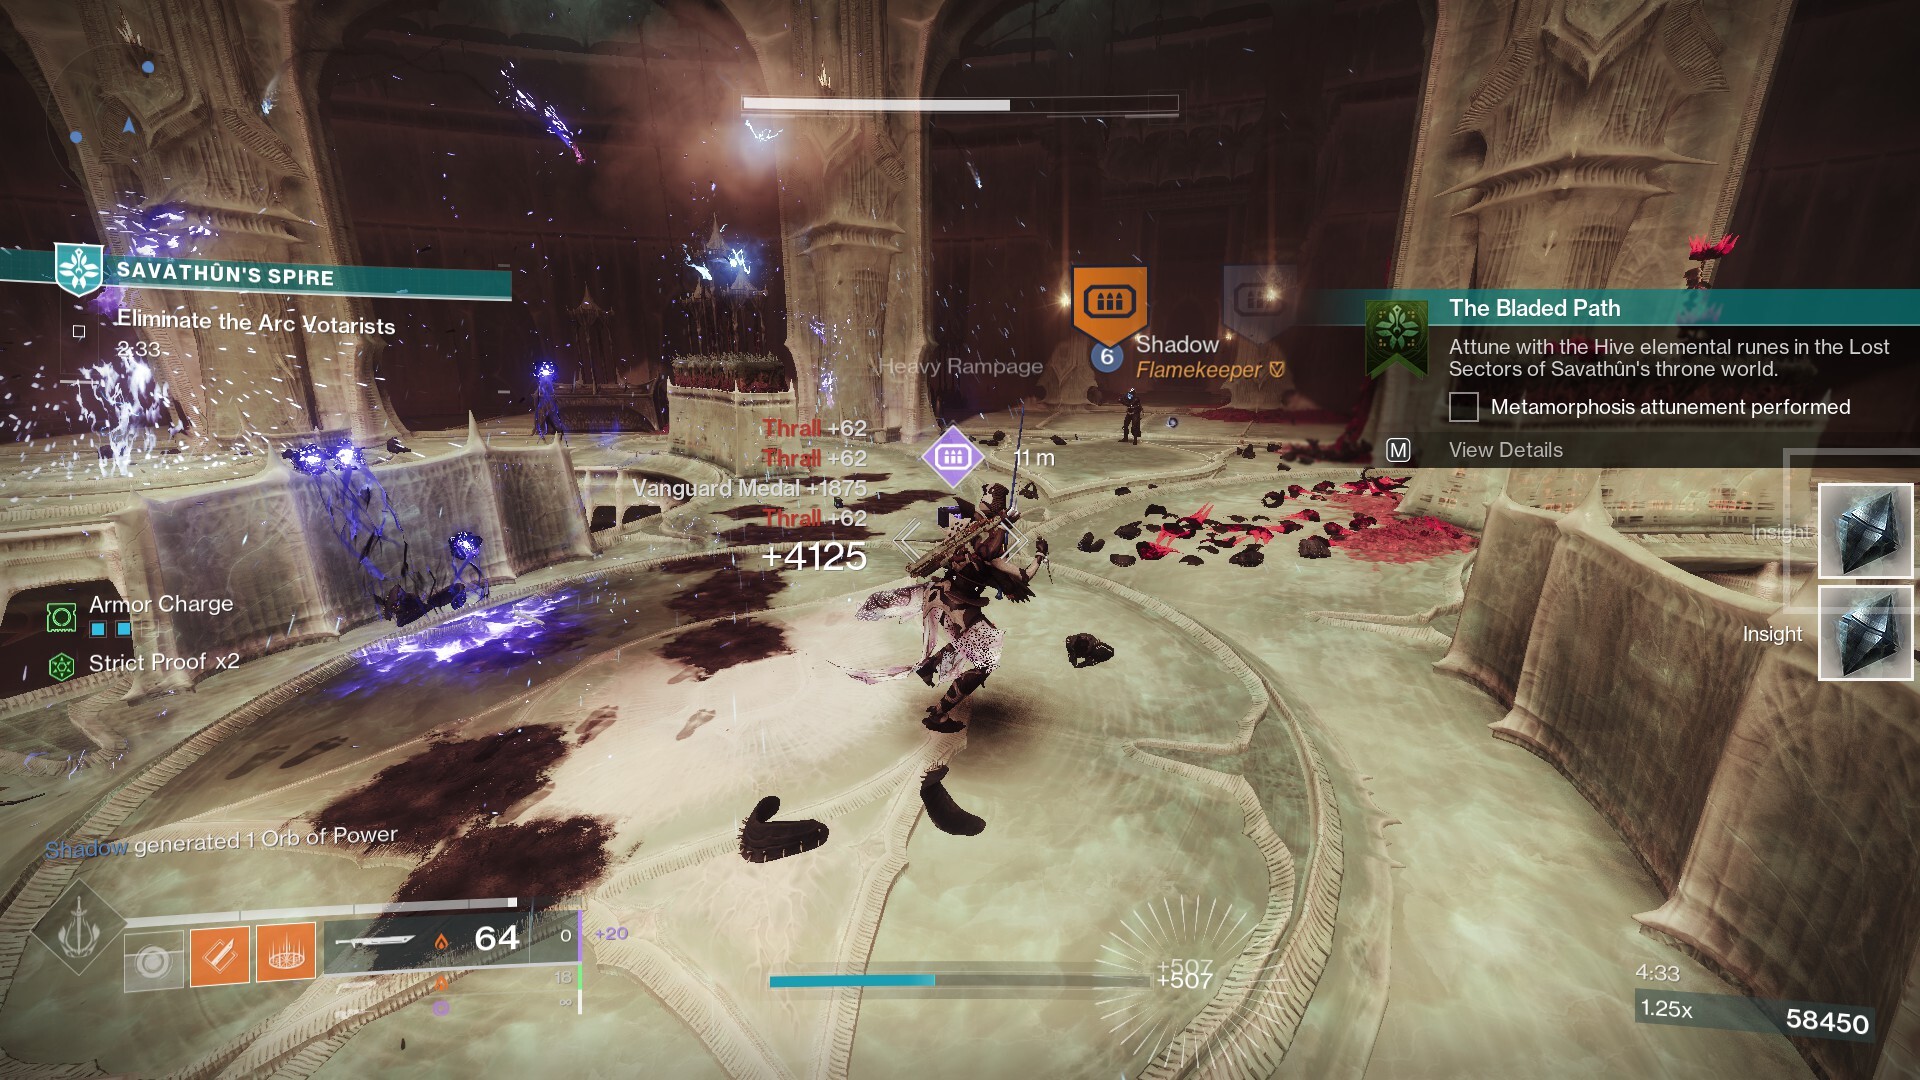
After you've attuned to your element of choice, you'll have to defeat combatants using your selected element's damage type in Savathun's throne world or in seasonal activities. Defeating powerful combatants will grant bonus progress. You can opt for Altars of Summoning or Savathun's Spire for this, as well as the Throne World's own free roam.
I went for Savathun's Spire myself, and it didn't take long. There are quite a few Thralls to take care of even in the first enemy encounter. This also includes the occasional powerful foe that grants bonus progress. I recommend changing your subclass to correspond with the element you chose, as well as using a weapon that also matches said element, which will make things faster.
Once you're set, you'll be asked to head to a Lost Sector in the Throne World. The location varies depending on the element of choice:
- Solar: Metamorphosis Lost Sector, located in the Miasma region of the Throne World up north.
- Arc: Extraction Lost Sector, located in the Quagmire region of the Throne World, northeast of the landing zone.
- Void: Sepulcher Lost Sector, located in the Florescent Canal region of the Throne World, all the way east.
Reminder that, if you select the quest on your list, it'll mark the location on the map. Thankfully, the objective is the same regardless of the element you went for.
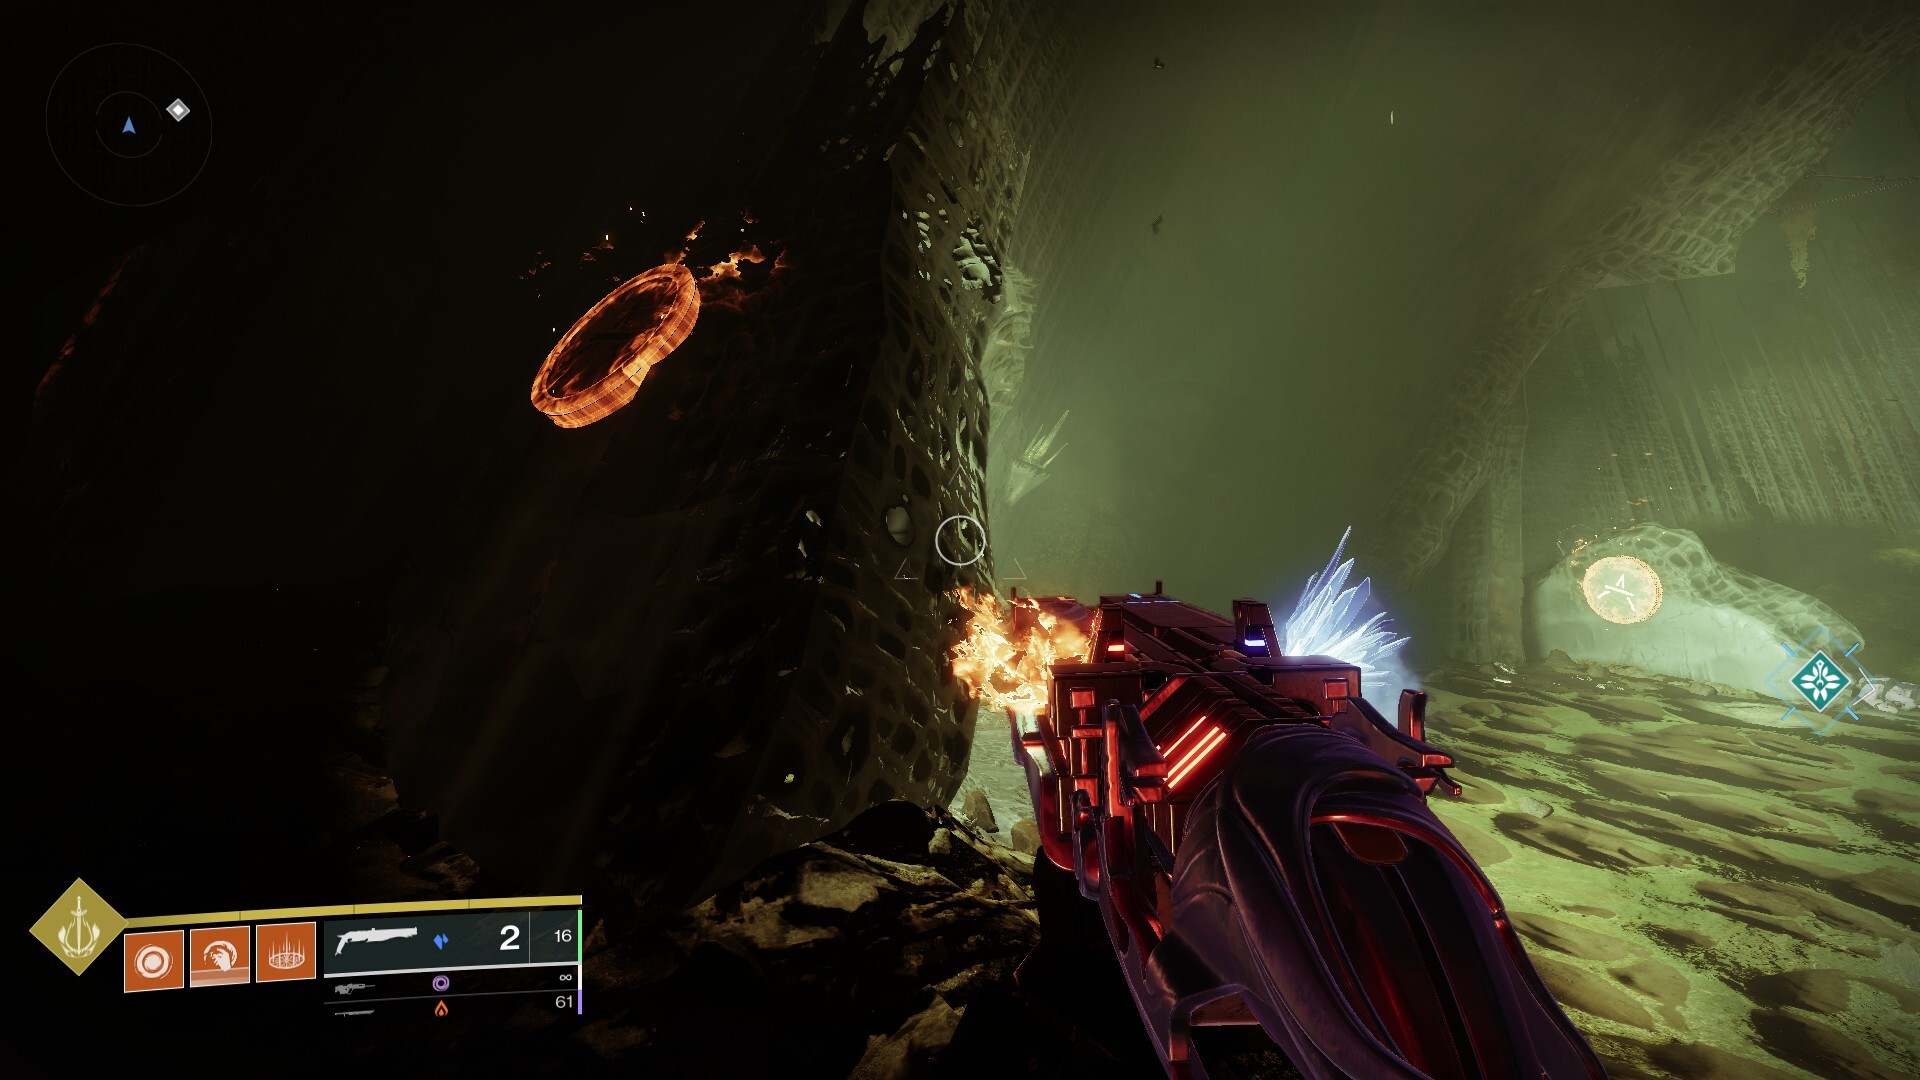
You need to head inside the Lost Sector, take care of the first enemy encounter upon entrance, and shoot five Hive elemental runes using the corresponding elemental damage. Emphasis on shooting, as using a sword didn't work for me. I went for Solar, which means I had to head over to the Metamorphosis Lost Sector. Here's how it goes.


Enter the Lost Sector and head down to the first enemy arena. Upon your arrival, you'll likely start noticing the Hive elemental runes. These are emblems that are primarily placed on walls, with their outer ring being the same color as the ability you chose.
I recommend taking down all enemies first, which shouldn't take too long. Once you're done, we'll be going through all five Hive elemental runes in Metamorphosis, using the entrance to the enemy arena as a starting point.

The first Hive elemental rune is behind the first wall you stumble upon as you're going down the corridor. Turn around facing the door you just came in from, and you'll find it.

The second Hive elemental rune is on the path to the left, following the corridor of sorts that leads to the second door to the next area. It's facing your direction, so you can't miss it.
The third Hive elemental rune can be found by following the path towards the door that leads to the next area--it's against the wall facing the door to the right.
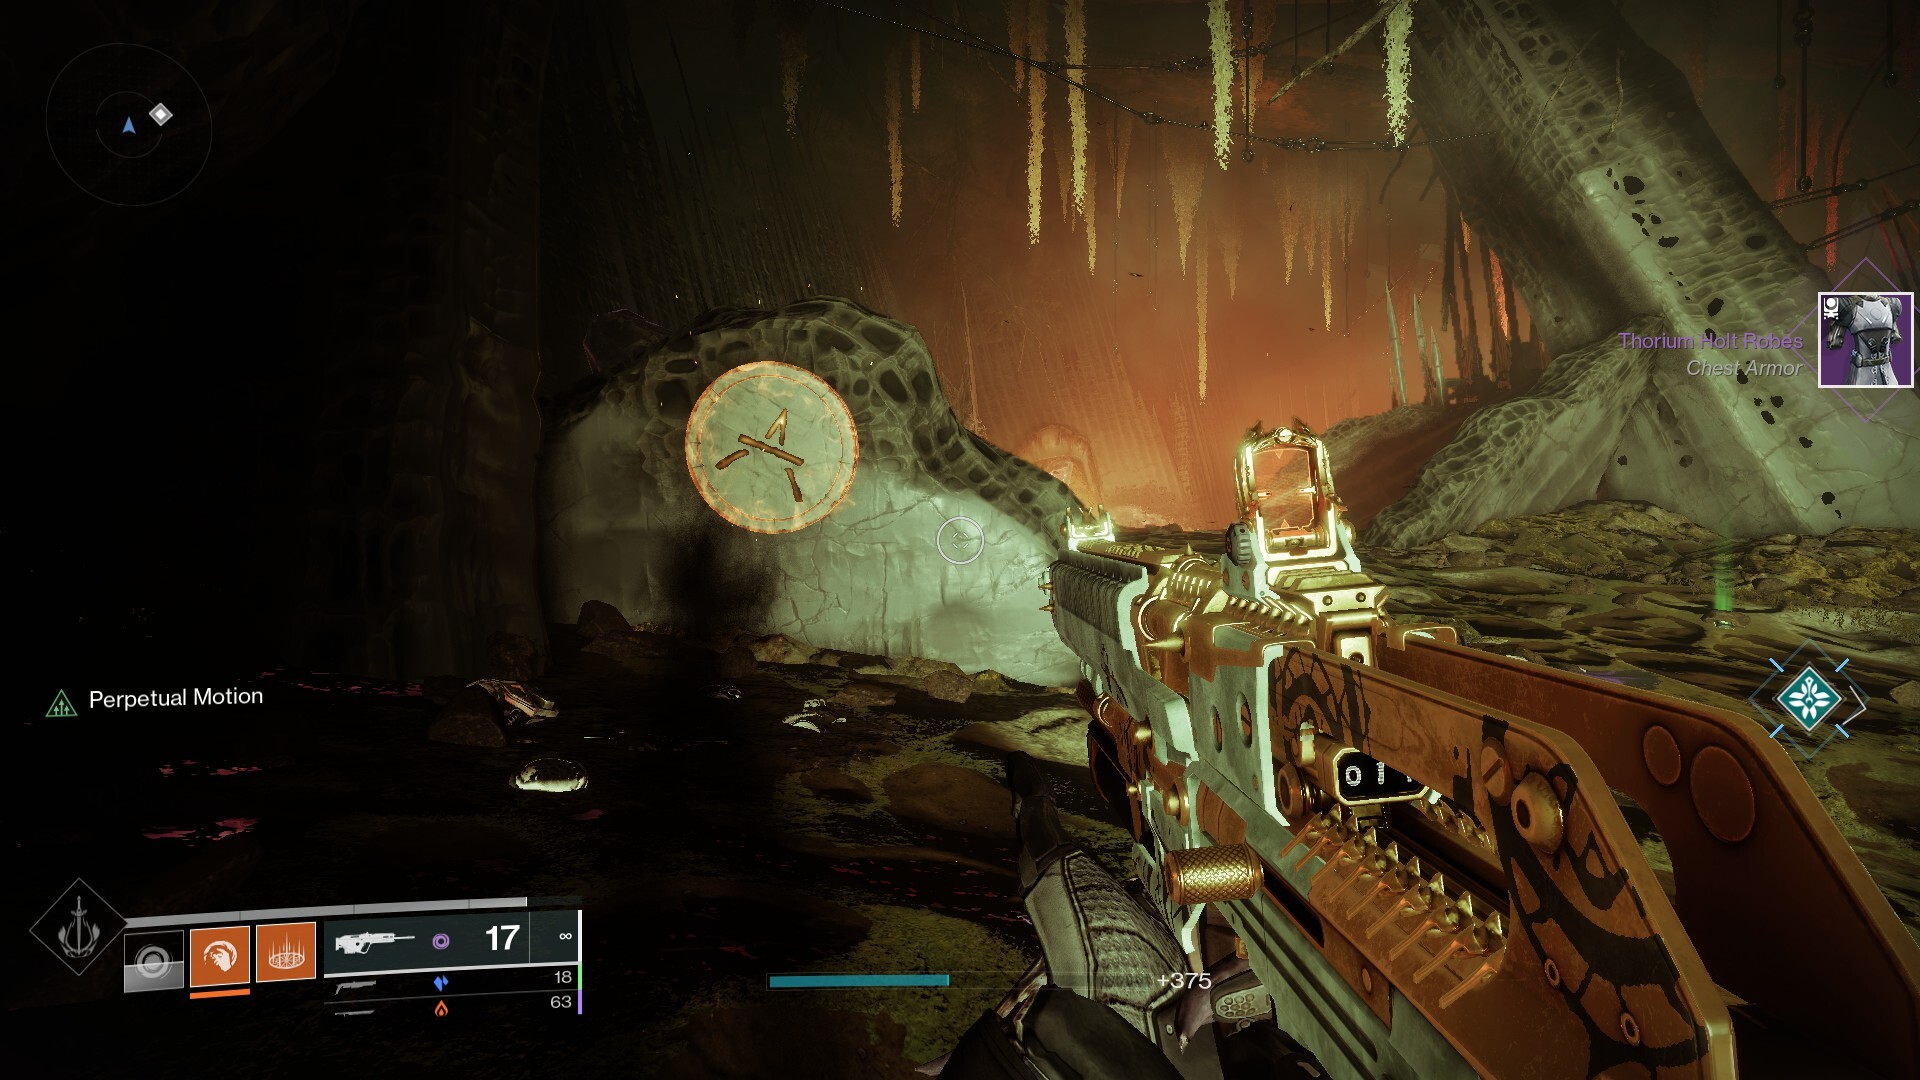
The fourth Hive elemental rune is actually to the left of said door, hidden behind the pillar in the left corner of the room.

The fifth and final Hive elemental rune is in the center of the room. If you were to trace your steps from the first door, take the path to the right instead and face the tall structure in the middle. Alternatively, if you've been following the previous directions, it's close to the second door in an almost direct line.
That's all. You'll know when you've successfully activated a Hive elemental rune as it'll light up. Now, you'll get to use Hive magic by following the quest marker, which is done right in front of the second door. From that moment on, you're all set to continue with The Bladed Path questline.

If you're curious, I was rewarded with two Opaque Cards for the Deck of Whispers after completing the objective. Finishing this set of quest steps rewarded me with two Witch's Engrams, five Feeble Offerings, two Robust Offerings, and one Powerful Offering, although the latter may vary.


Got a news tip or want to contact us directly? Email news@gamespot.com
Join the conversation