Call Of Duty: MW3 Zombies - How To Unlock Dark Aether Rifts And New Schematics
Here's how to complete the Season 1 Easter egg and unlock Dark Aether Rifts, plus earn Aether Blade, Dog Bone, or Golden Armor Plate schematics.
Season 1 of Call of Duty: Modern Warfare 3 delivers the first main Easter egg quest for Zombies. This is a multi-step Easter egg that unlocks access to the Dark Aether via the rifts, and it allows you to earn this season's powerful new schematics. Here we'll guide you through completing it.
The setup
You need to complete the new Season 1 Bad Signal story mission to start this Easter egg. You'll want to make sure you're properly set up before attempting this mission, meaning you'll want to save yourself some time by loading into the match with as much gear as you can.
Here we provide a full guide for the Bad Signal story mission, including all the gear you'll need to take out the boss. Follow this guide and make sure to collect the Locked Diary item from the reward rift. Exit the mission to extract with this item.
Collect remaining quest items
The Locked Diary from the story mission rewards is one of four items you need. You don't need to get these remaining pieces in any specific order, but you'll want to spawn in with certain equipment or ammo mods to make the task easier.
You can always get an item and exfil for use at a later time, or you can essentially complete them all in one match, if you're really prepared and efficient with your time. For this, I'd recommend spawning in with a gun with range, the Brain Rot ammo mod, Deadwire ammo mod, and a piece of fire-based lethal equipment.
Pill bottle
For this item quest, you'll need to put the brain rot mod on a gun. You don't want this to be upgraded or super powerful. Just a regular base weapon will do.
Head to an infested building. This can be an Infested Stronghold or the smaller Aether nests. Use the Brain Rot gun to shoot cysts with single shots to try and Brain Rot it. It might take several cysts to get the Brain Rot to activate. When it activates, the cyst should turn green, allowing you to interact with it and loot a purple pill bottle from inside.
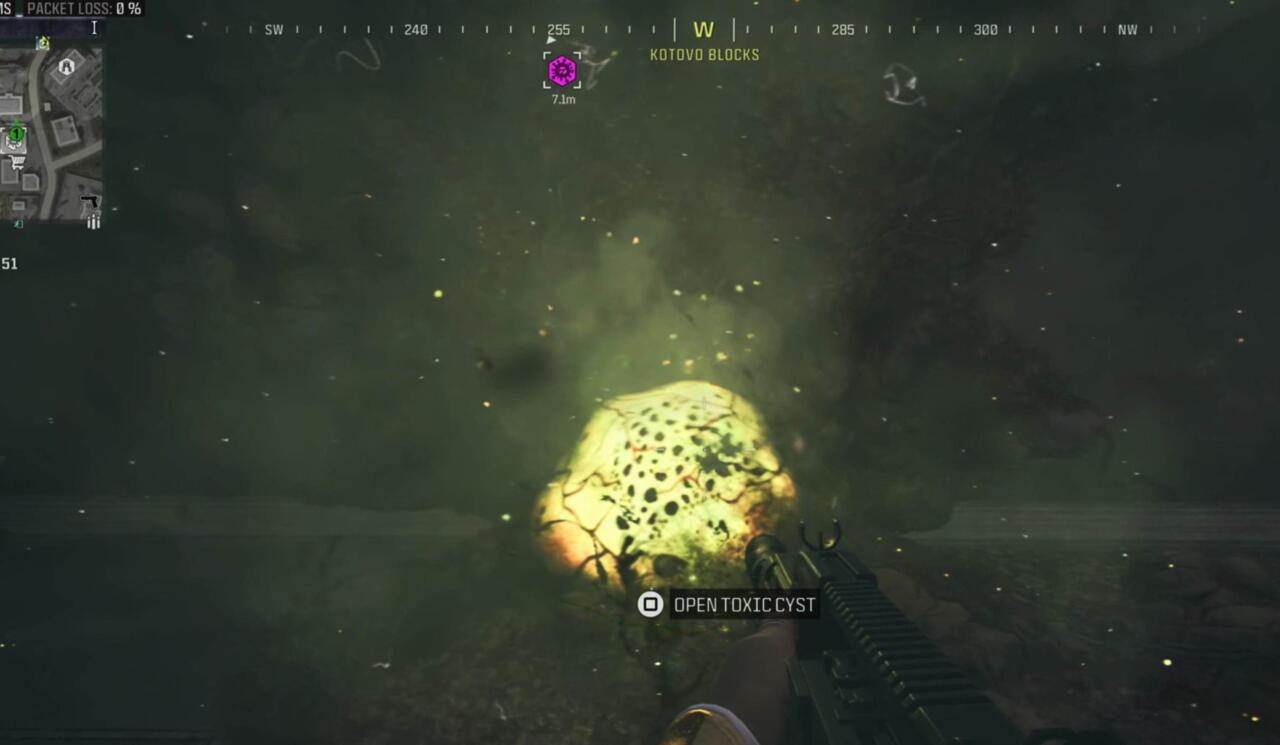
Store the pill bottle in your backpack. If for any reason you run out of time or want to wait for a new match, you can exfil with this item for later use.
To proceed with the collar equipped, look for an Aether tear, which are the purple glowing rifts that let you parachute back down to the map. Like the dog houses, these are only on the minimap when close. Drive around until you find one.
Use the rift to be transported into the sky, but make sure to pull your parachute immediately, and there should be another Aether tear in the sky for you to travel through. These can be green or red, and sometimes you need to turn around because you won't always be facing the right direction.
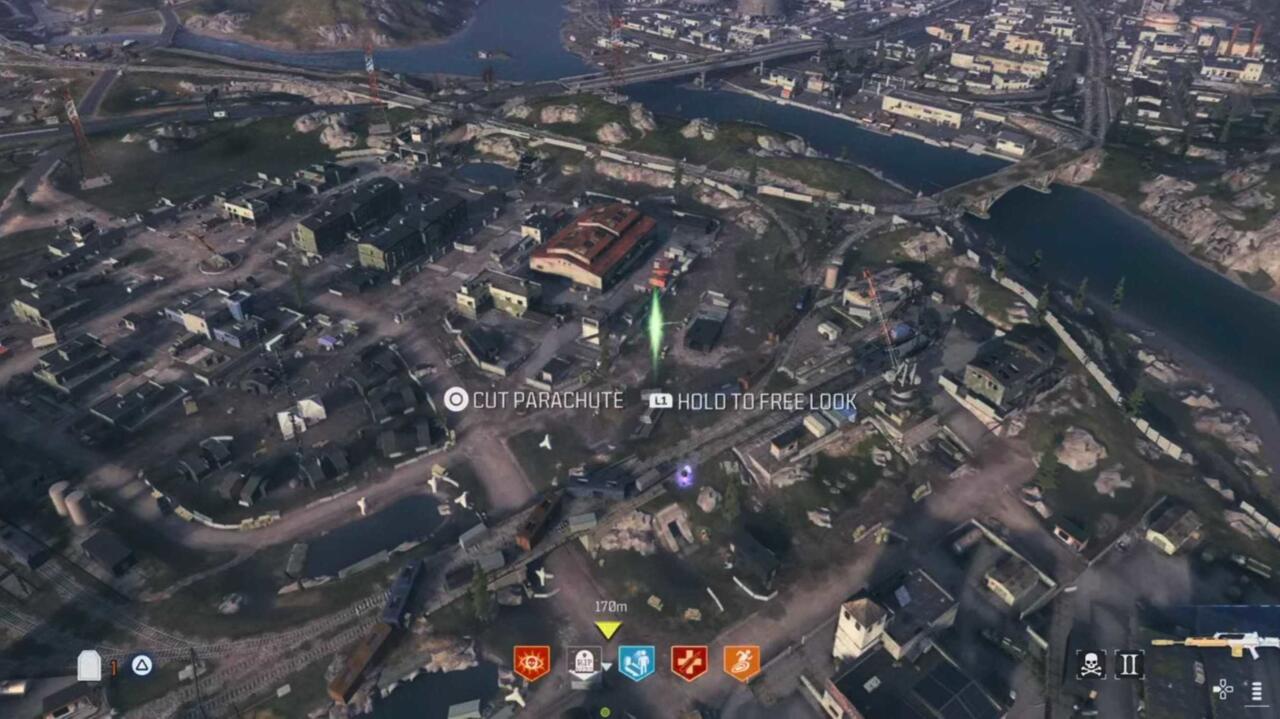
This second Aether tear will spawn you above another part of the map, and you'll see a glowing item falling from the sky. Parachute down where it lands. It will be a glowing contract phone.
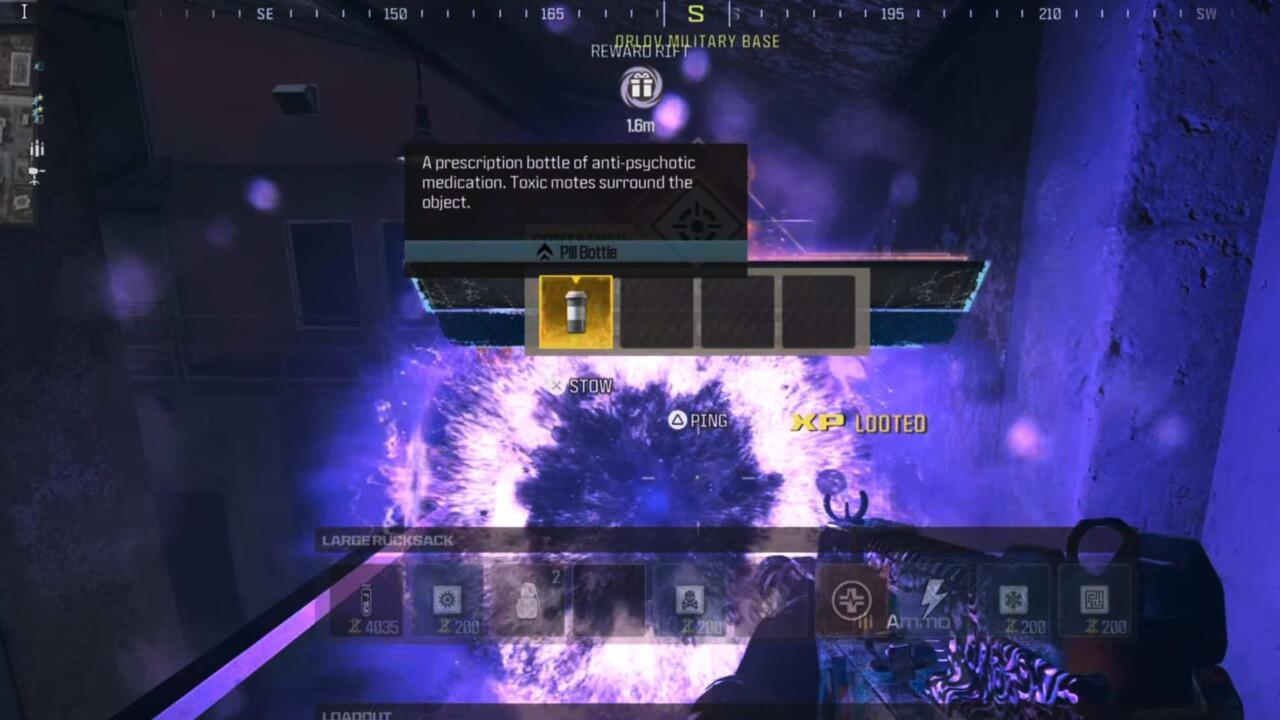
Grab the contract and complete the given Mimic bounty. This is an easy tier 1 area fight. The reward rift for completing this will contain a gold rarity pill bottle. Collect the gold pill bottle.
Dog collar
You'll need the element of fire to collect the dog collar, so start a match with molotovs or thermite equipped. You'll want to locate one of the many dog houses on the map. These spawn randomly and can only be seen on the minimap when you're nearby. Just drive around until you see one popup on the minimap.
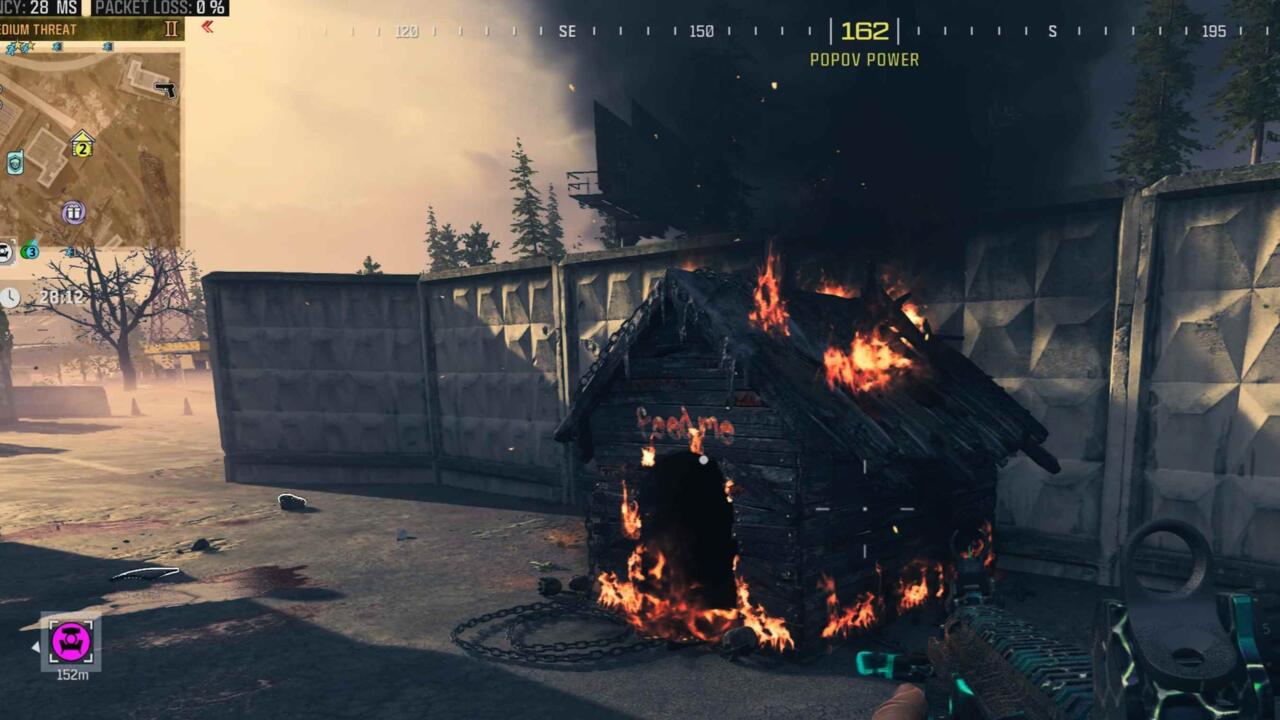
Normally, you'd place meat inside the dog house to spawn a friendly hellhound companion you can pet, but here you want to place the molotov or thermite stick inside. This will spawn any enemy hellhound you need to kill. The dog will drop a collar item you need to pick up.
Repeat the same steps as the pill bottle above. Store the collar in your backpack and use an Aether tear. Use the second Aether tear in the sky, follow the glowing contract phone falling from the sky, and complete the given Mangler bounty.
Be prepared for a fight here. This is a high-threat zone Mangler bounty contract. Keep to the rooftops and use killstreaks if possible. The reward rift for completing this will contain a gold dog collar you need to collect.
Surveillance camera
You'll need to have the Deadwire ammo mod to collect the camera. Equip Deadwire to a gun and find one of the Harvester Orbs. This is the floating purple orb event that gives you points. Shoot it until it drops the surveillance camera item.
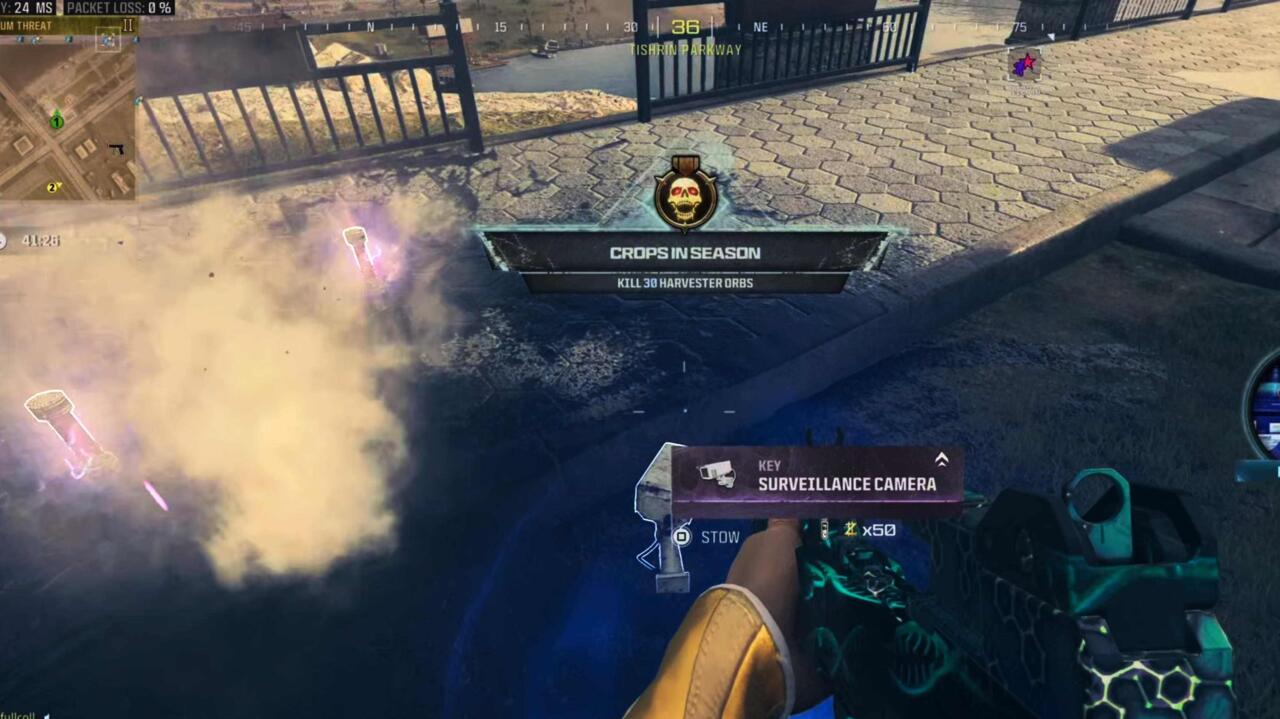
Grab the camera and repeat the same process as the previous items above. Go through the Aether tear with the camera, grab the glowing contract, complete the Disciple bounty. This contract is just a medium-threat level zone, but you'll still want a decent Pack-a-Punched gun here. The reward rift will be a golden surveillance camera. Collect this item.
Place the items
You need to have all four of these items at the start of a fresh match. You only need one of each, so if a teammate already has the collar, you won't need a collar of your own. Collectively, just make sure you have all four items.
Make sure you're geared up with tier 3 Pack-a-Punch weapons, 3-plate, killstreak, and perks. Pretty much gear up like the boss fight you completed earlier. Juggernaut suits are also helpful here. I'd also recommend the Tombstone perk for whoever is holding the items. You don't want to die and lose all of the items here.
Head to the purple tornado swirling on the map. You can't miss it, but it's across the water from the Bad Signal mission marker.
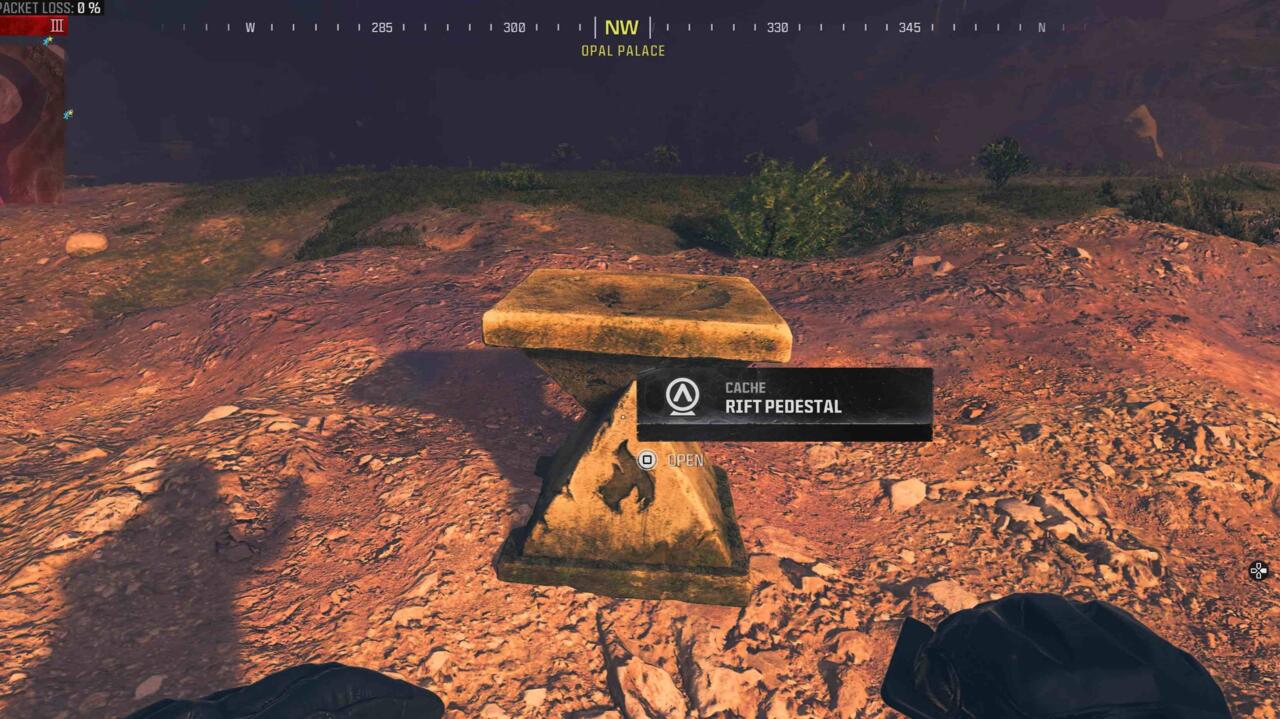
Around the base of the tornado you'll find four pedestals with ammo mod symbols. You'll need to place a specific item on each one.
Place the items on the pedestals in the following order:
- Locked Diary on the pedestal marked with the Cryofreeze symbol
- Pill bottle on the pedestal marked with Brain Rot
- Surveillance camera on the Deadwire pedestal
- Dog collar on the Napalm pedestal
A portal will spawn and unleash an Abomination enemy. Kill it to get the "Dark Aether Rift Sigil" item drop. This is a key back to the Dark Aether, which is where you were previously transported for the story mission.
You don't have to use the Sigil now, but if you're still well geared up and want to continue, use the Sigil on the portal. This is a one time use item, but you now have a chance to earn more of them by completing tier 3 contracts.
How to complete Dark Aether Rifts and unlock new schematics
Use the Sigil by placing it on the side of the gate, and the gate will unlock and glow yellow. Once you've stepped into the Dark Aether, you'll have a 30-minute timer to complete three contracts. Find and interact with three Mister Peeks plushies (the blue bunny from the Mystery Box) and complete the contract each one gives you.
You want to make sure you're geared up for this part just like you would for a boss fight or Easter egg. This is a higher threat zone than the map's tier 3. This is technically like tier 4 with increased difficulty.
These can be done in any order and found in the following locations:
- On a rooftop ledge of a building on the top left side of the map
- In the front window of a green bus just bottom left of the fortress
- On the top of a circular battlement of the fortress with a nearby ascender
I'd suggest working the left side of the map first. These bunnies have a sound cue. You'll hear a giggling child when you get close.
Make sure you search each reward rift. Each one of these three contracts has the chance to reward one of the three new items in the game: The Aether Blade, Dog Bone, or Golden Armor Plate.
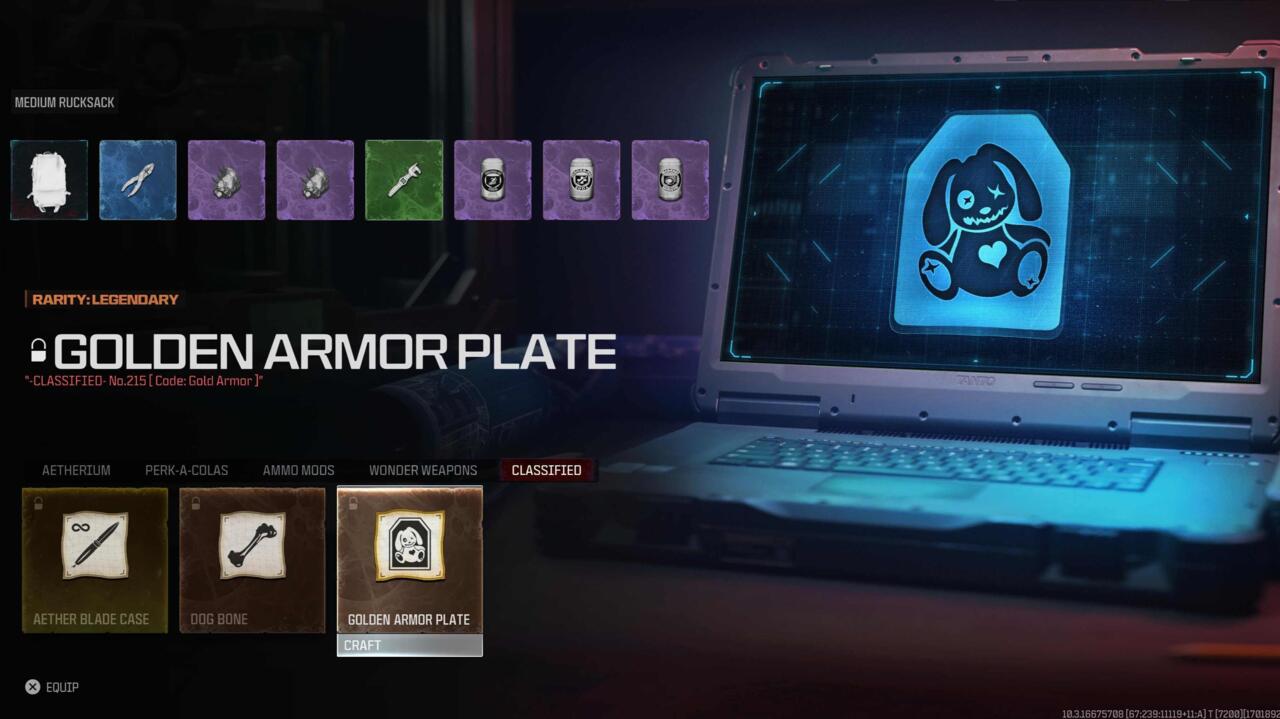
You also need to find one Elder Sigil item drop. You only need one for your squad, but make sure someone has one before you exfil.
When ready to exit, find one of the triangle portals like you entered through. They can be found on top of the fortress and underground, so you should have a few options here. Any of these portals will end your match, and you'll keep any sigils and acquisitions you found during your time in the Dark Aether.
Start a new match with the Elder Sigil. Put the Sigil on the opposite side of the gate as last time. The gate will turn red. This is a tier 5 threat zone.
Having a six-player "super squad" here is very helpful. You'll rinse and repeat the same steps as above. Go to the same bunny locations as before and do the contracts. Your timer has been reduced to only 15 minutes.
This tier 5 zone is how you collect and unlock the new schematics for crafting the Aether Blade, Dog Bone, or Golden Armor Plate items.
Got a news tip or want to contact us directly? Email news@gamespot.com
Join the conversation