Call Of Duty: MW3 Zombies - How To Defeat The Gorm'gant Worm Boss
Here's how to beat the Act 4 Bad Signal story mission of Call of Duty MW3 Season 1.
Season 1 is live in Call of Duty: Modern Warfare 3, bringing the new Zombies Act 4 story mission and boss fight to a close. While the mission doesn't start out too difficult, the boss fight can quickly become a nightmare if you don't know how to approach it. Here we walk you through how to take out this pesky worm with as little stress as possible.
The Act 4 story mission "Bad Signal" is marked on your map at the start of the match. However, you'll want to do a bit of prep work before jumping right in. You can even save some time here by loading into the match with as much gear as you can. This is best attempted with teammates versus going in solo.
The setup
This means using an operator already beefed up with a 3-plate vest, and a self-revive. You'll want at least one ranged weapon like an LMG or assault rifle with a large ammo count, as you'll want to keep your distance from the boss. Having high rarity Aether tools and crystals to instantly upgrade your weapons will help too. Fill the rest of your backpack with perks like Juggernog, Quick Revive, and Stamin-Up. Sentry guns or mortar strikes can be helpful killstreaks. Decoys and monkey bombs make great tactical equipment.
Everyone needs to have at least one fully Pack-a-Punched gun. But make sure you have one person spawn in with the RGL-80 launcher as their secondary.
You can do a contract or two for enough cash to buy any perks or gear you need, but loading in with as much as you can will cut back your setup time. If you find any circuits for turrets, I'd recommend grabbing those for a boss fight. Try scavenging extra self-revives if possible. You might not need them if you're running the Healing Aura field upgrade, but better to be over prepared than under.
Once ready, head to the Bad Signal story mission marker on your map. All players in your party must ready up to start this mission.
Bad Signal mission and Gorm'gant boss fight
Head inside and begin the story mission, which requires you to break four seals. This first part isn't difficult, but you're on a 30-minute time limit, so don't get distracted by random enemies and looting here.

Go straight to one of the yellow objective markers and start breaking the seals. Kill Zombies close to the pillar marked for the quest. Do this until the meter is complete. Rinse and repeat for all four seals.
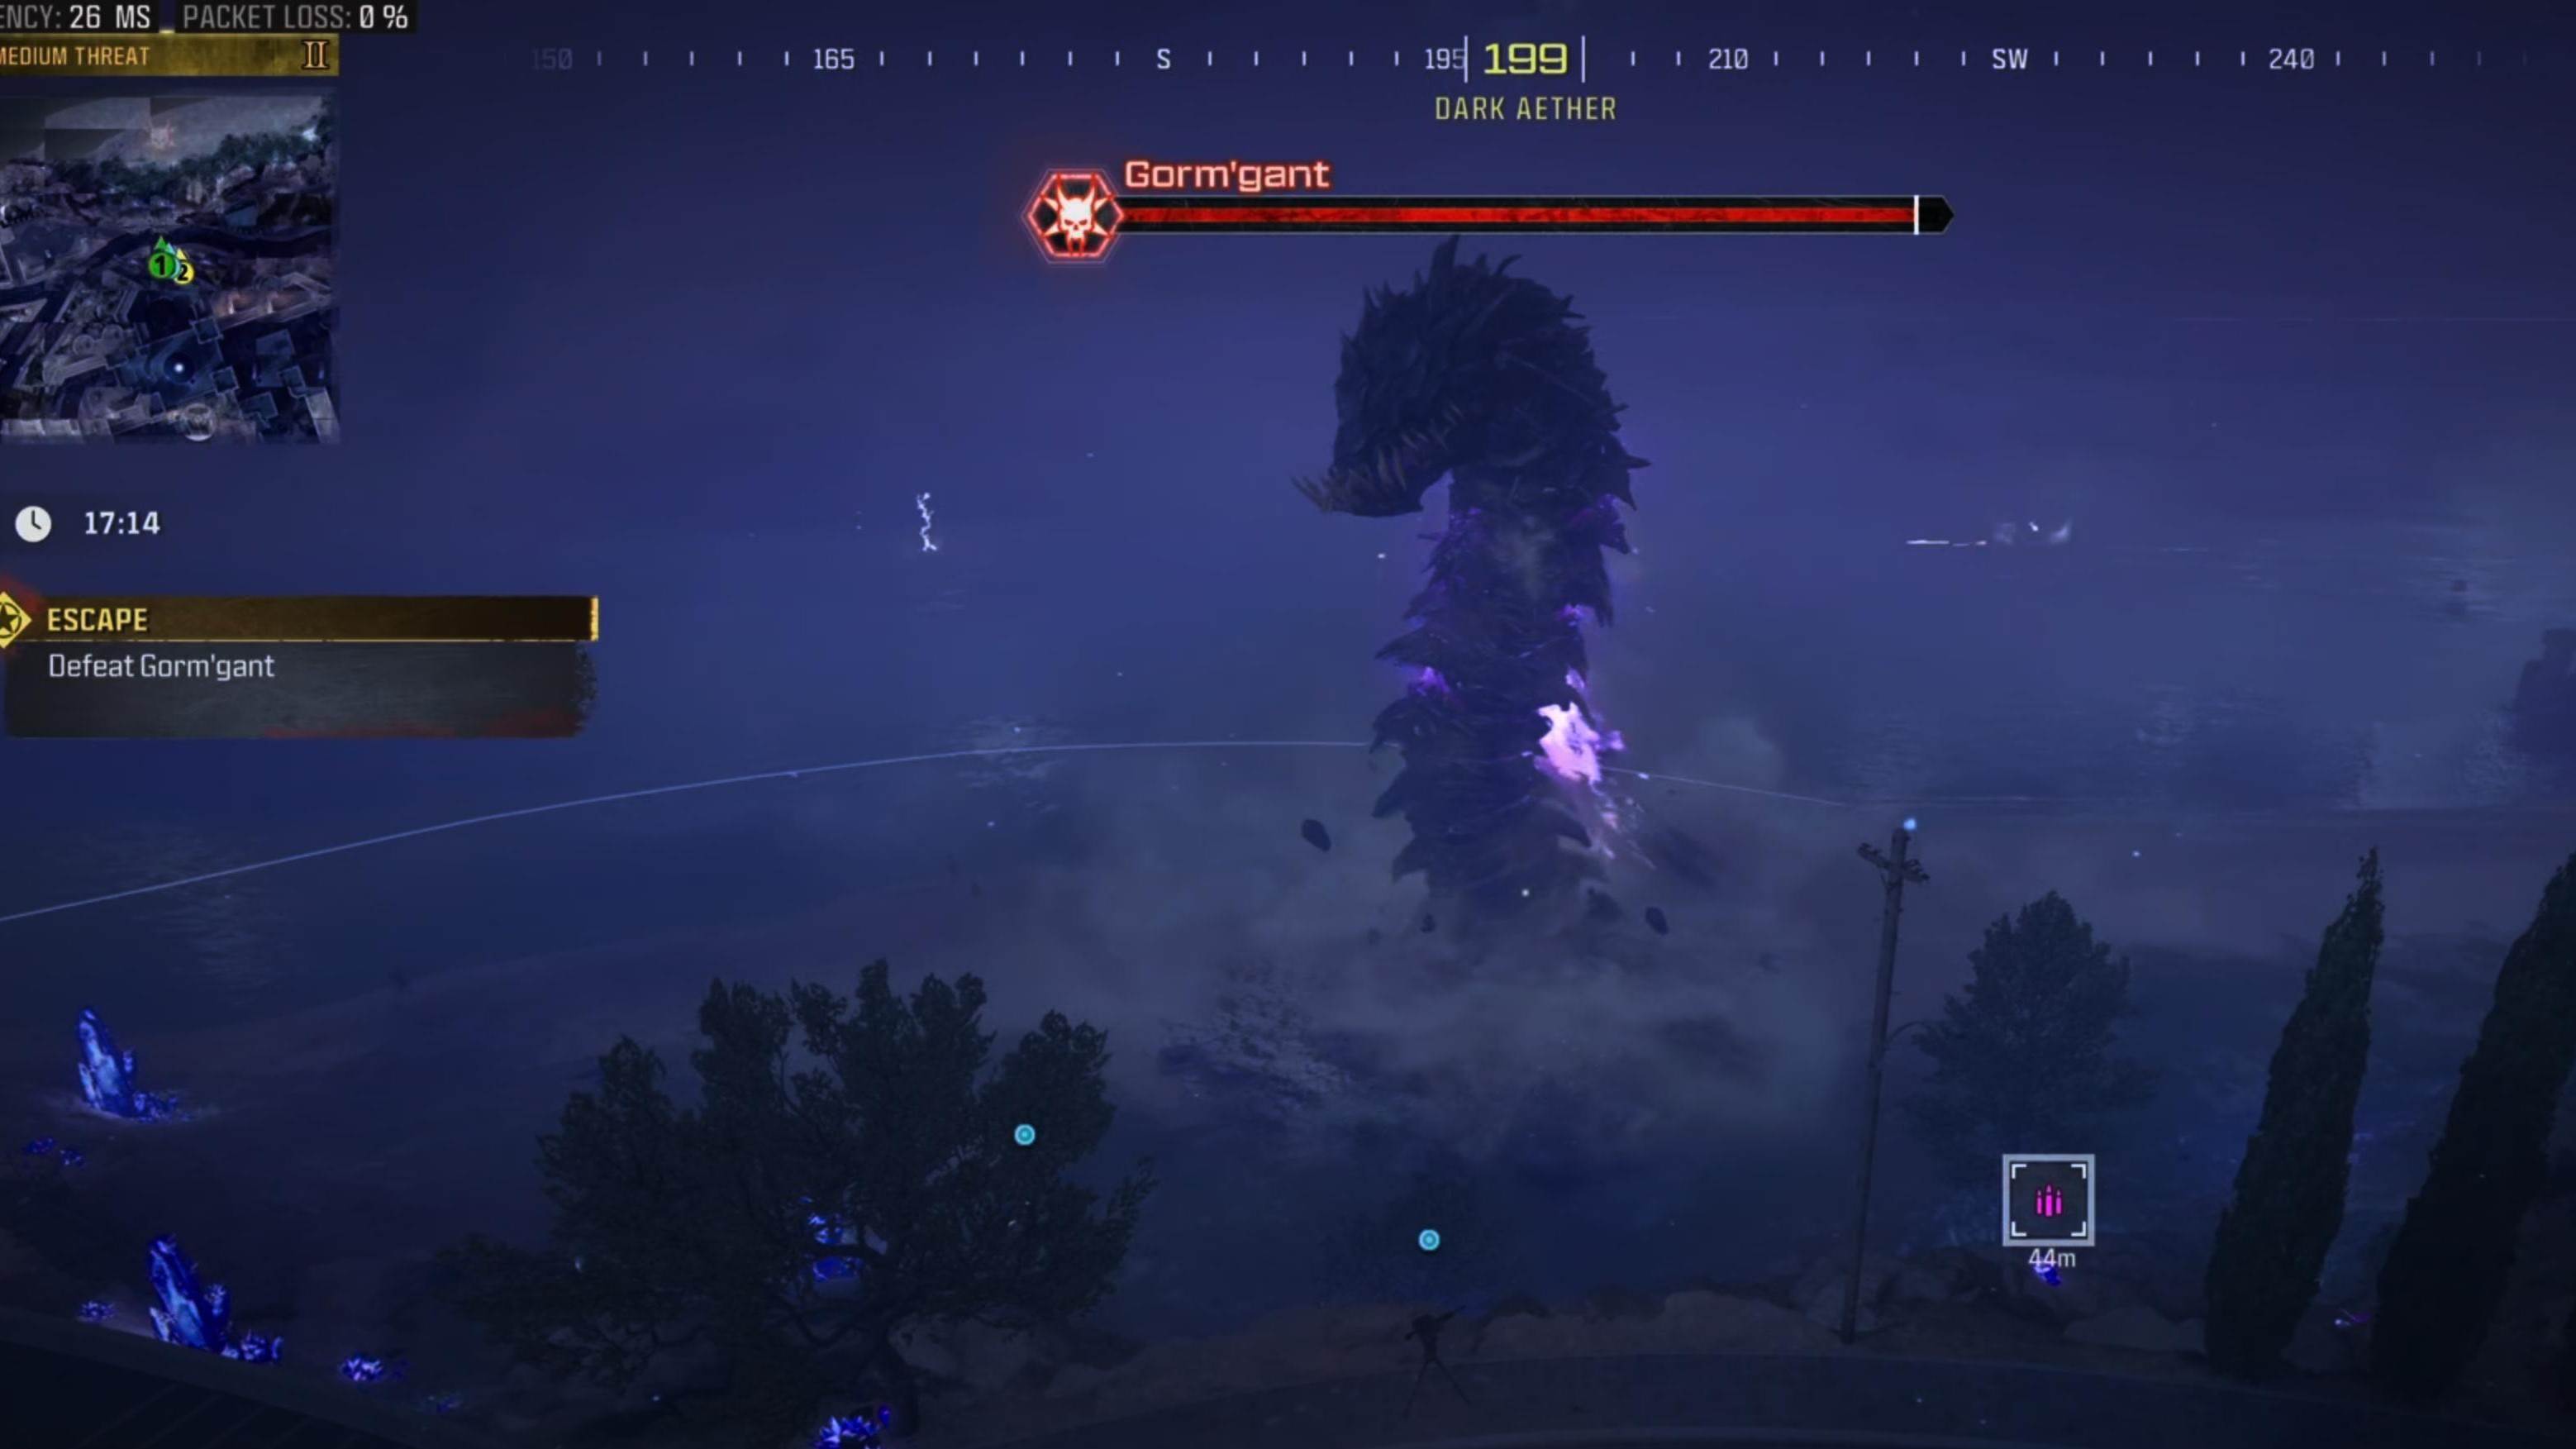
The next part of the mission will lead you to an exit portal, but Gorm'gant will spawn and prevent you from leaving. Assuming you've faced the previous worm boss from Act 3, you'll find this worm to be much more aggressive.
Make note of the nearby ammo cache on the beach near the cliffside, because you'll likely need to refill later. Then, quickly head back up the hill towards the road and the fortress. You want to stay at the road or further back at all times unless you need ammo.
The worm has fast attacks and will eat you if you get too close. If the worm eats you, spam the button for your parachute. The game doesn't give you a prompt telling you that you can use your parachute here, but you'll die by fall damage otherwise.
Use sentry guns by the road and activate the turret with any circuit mods you collected. This is a difficult boss fight to navigate even staying at range by the road, but there is a place where you can push back even further to the fortress for a bit more high ground.
Throw out decoys or monkeys to keep the zombies off you, and shoot any floating purple orbs that get too close to you. Mostly, you'll focus on the worm itself. The glowing purple bits on the worm seem to be weak spots.
The worm will periodically burrow into the ground. You want to stop this ASAP. It heals underground, so this is where you use the grenade launcher. Shoot it at the beach where the worm burrows to force it back to the surface. Making sure you're quick with the launcher can make a huge impact in how long it takes to finish this fight.

With these tips you should hopefully be able to take out Gorm'gant, and you'll want to collect the "Locked Diary" item from the reward rift.
Exit the mission and extract with this mission reward. This means you can now choose to continue on with an Easter egg quest that allows you to unlock the ability to use Dark Aether Rifts and unlock this season's powerful new schematics.
Got a news tip or want to contact us directly? Email news@gamespot.com
Join the conversation