Dead Space 2 Walkthrough
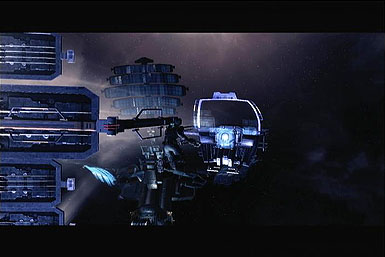
Isaac Clarke must survive a Necromorph outbreak aboard the Sprawl space station. Our Dead Space 2 Walkthrough provides a full walkthrough, tips for defeating bosses, and hints for obtaining powerful gear.
Isaac Clarke must survive a Necromorph outbreak aboard the Sprawl space station. Our Dead Space 2 Game Guide provides a full walkthrough, tips for defeating bosses, and hints for obtaining powerful gear. Here's what's inside:
- Walkthrough: A walkthrough to escape the horrors of the Sprawl
- Xbox 360 Achievements: Boost your Gamerscore with a huge list of Achievements
- PlayStation 3 Trophies: Gain new Trophies for your collection
Weapons and Upgrades
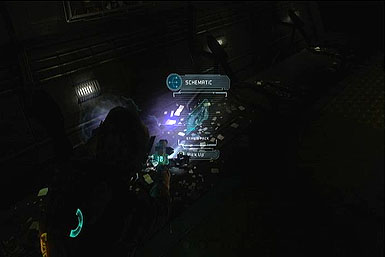
You'll have a number of weapons and armor to collect throughout the game. Some of these items you'll find during the story, while other will need to be located by exploring rooms and using nodes to unlock doors. After gaining the schematics for a piece of gear, take it to a store in order to purchase a copy. You can further upgrade most of these items at any Bench station.
Plasma Cutter
- 22 Nodes
- 4 Damage, 5 Capacity, 2 Reload, 1 Speed, 1 Special
Your basic weapon. With upgrades it is very versatile with a great balance of damage and speed. Make sure to always keep it on you for any sort of situation. The alternate fire changes the line between a horizontal and vertical direction. In most cases, keeping it in horizontal is much more beneficial. The special node will allow the Plasma Cutter to ignite enemies for some extra damage over time.
Line Gun
- 28 Nodes
- 4 Damage, 4 Capacity, 2 Reload, 2 Width, 6 Alt Fire, 1 Duration
Similar to the Plasma Cutter, however the Line Gun can only shoot with a large horizontal line. It covers a larger range and does more damage than the Plasma Gun, but has a smaller clip and longer reload speeds. It's still worth taking this as a secondary weapon for crowds or when your Plasma Cutter is low on ammo.
Javelin Gun
- 26 Nodes
- 4 Alt Fire, 2 Speed, 4 Damage, 5 Capacity, 1 Special, 2 Reload
The Javelin Gun fires a projectile that penetrates one foe and sends a shock wave shortly afterwards. Most of the time this gun isn't very practical against the hordes of Necromorphs. However, it can be used on on-on-one fights against bosses.
Pulse Rifle
- 24 Nodes
- 4 Damage, 5 Capacity, 2 Reload, 4 Alt Fire
The Pulse Rifle fires a barrage of low damage shots, similar to an assault rifle or machinegun. While it fires rapidly, the damage output is still too low to make it a necessary part of your arsenal.
Ripper
- 26 Nodes
- 4 Damage, 4 Capacity, 2 Reload, 2 Duration, 4 Alt Fire
The Ripper fires a saw blade a short distance that will hover in front of you for a few seconds. Its damage is very high and can make short work of foes, however it requires getting in very close. This is among the best weapons and should be used in any place where the Plasma Cutter won't get the job done fast enough. Be warned though, in some boss fights and environmental shots, the Ripper will have too short of a distance to hit the target.
Flamethrower
- 28 Nodes
- 2 Damage, 5 Capacity, 3 Reload, 2 Duration, 4 Alt Fire
The Flamethrower does fairly good damage and can cause enemies to recoil in pain, giving some extra time to make your next move or retreat. Overall the damage is lower than the Ripper, so it's still not a good choice for your limited weapon slots.
Force Gun
- 27 Nodes
- 5 Damage, 5 Capacity, 2 Reload, 2 Speed, 4 Alt Fire
This is a powerful but slow weapon. Its blasts are great for big single enemies or boss battles, but is too unwieldy for normal encounters.
Seeker Rifle
- 28 Nodes
- 4 Damage, 3 Reload, 3 Capacity, 4 Alt Fire
The Seeker Rifle has a zooming feature that will allow you to pin-point far off targets. However, because you'll be in close quarters most of the time, the rifle won't see that high of a use during the story.
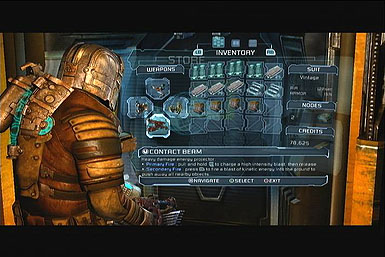
Contact Beam
- 28 Nodes
- 4 Reload, 3 Capacity, 2 Charge, 1 Special, 4 Alt Fire
This weapon lets out a huge burst of damage, making it a must have for a tough boss fight. It has the added bonus of adding status after upgrading its special node slot.
Detonator
- 19 Nodes
- 3 Reload, 4 Capacity, 4 Damage, 1 Special
The Detonator shoots grenades and mines. It's a great weapon for setting up traps to take down fast enemies such as stalkers. Keeping it upgraded is good for a situational alternate weapon.
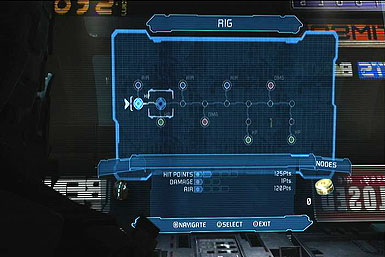
Rig
- 18 Nodes
- 4 Hit Points, 2 Damage, 3 Air
The Rig can be upgraded to provide more health, air, and do increased melee damage. The obvious choice is boosting your Hit Points as soon as possible. The air upgrade is rather pointless for most of the game. It's not until Chapter 14 where an increased air supply will release some tension.
Stasis Module
- 13 Nodes
- 4 Duration, 2 Energy, 2 Charge
Upgrades to the Stasis Module can increase its duration and the amount of stored shots. Being able to stock up four charges will help immensely later in the game.
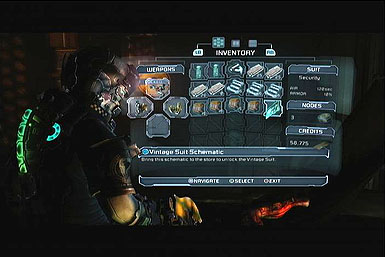
Armor
- Engineering Suit: 10 inventory, 5% armor
- Security Suit: 15 inventory, 10% armor, 5% Pulse Rifle damage
- Vintage Suit: 20 inventory, 15% armor, 10% Store discount
- Advanced Suit: 25 inventory, 20% armor, 50% Stasis recharge time
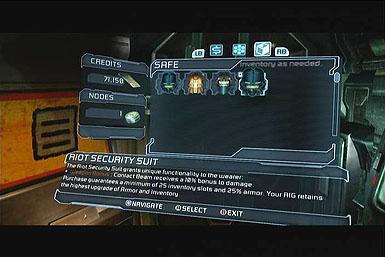
- Riot Security Suit: 25 inventory, 25% armor, 10% Contact Beam damage
- Elite Engineering Suit: 25 inventory, 25% armor, 15% health restore by med packs
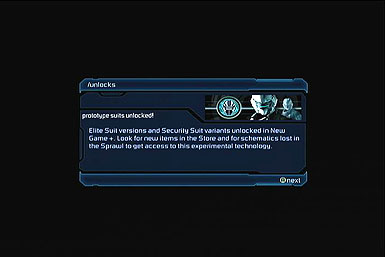
You'll pick up various suits of armor during the storyline. Each new suit retains the armor and inventory slot value, allowing you to switch to earlier models. Suits cannot be upgraded with nodes. The Vintage Suit is great for gaining and saving money, while the Advanced Suit is the best option for combat. After completing the game once you can pick up the Riot Security Suit and Elite Engineering Suit during a new game+.
Chapter 1
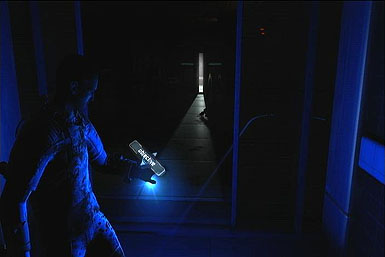
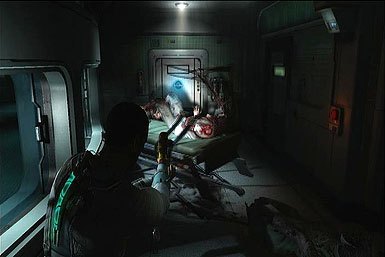
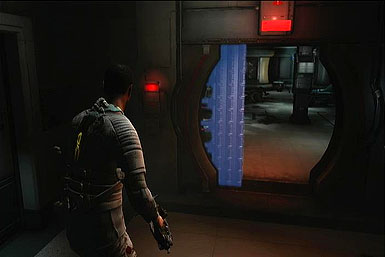
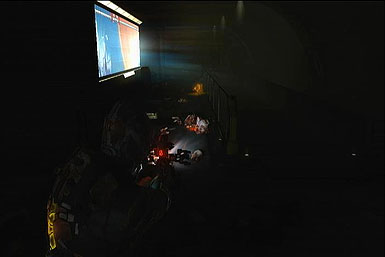
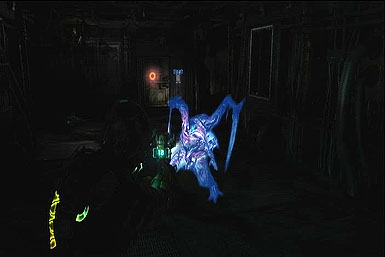
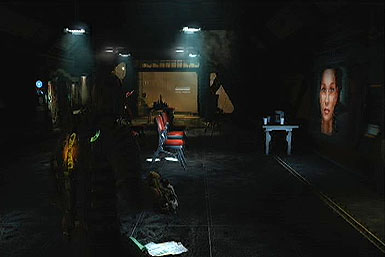
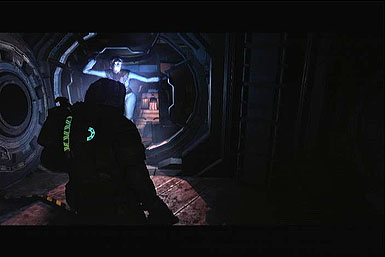
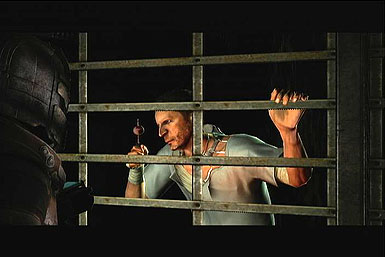
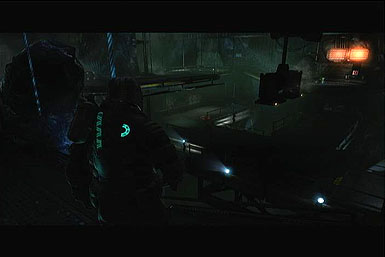
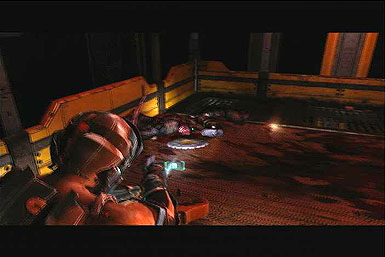
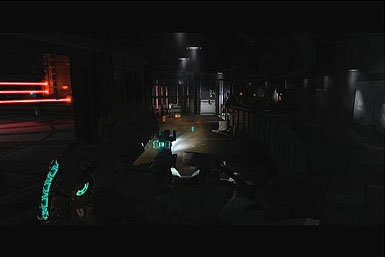
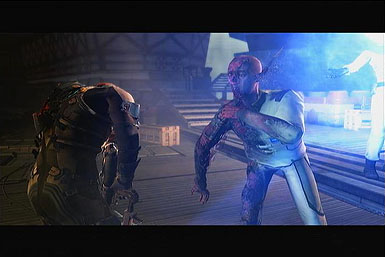
You'll awaken in the Sprawl mental ward and will need to flee the Necromorph outbreak. You don't have the means to defense yourself, so dash quickly out of the room while the enemies are busy with other helpless patients.
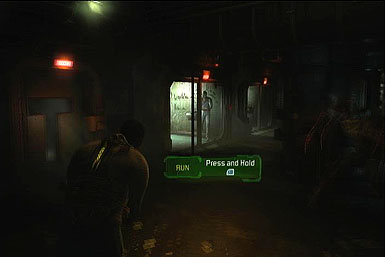
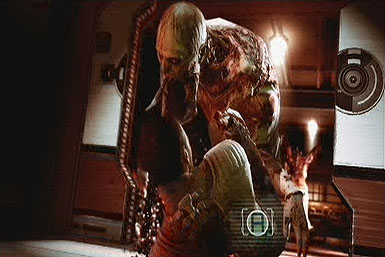
Through the first gate you'll be startled by a lone Necromorph. Mash the on screen prompt to throw it off you. It will get smashed in the door and leave you to continue forward.
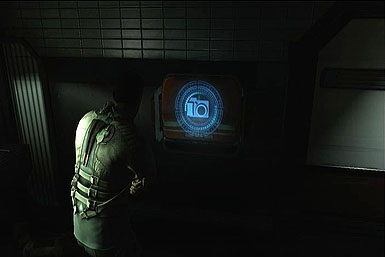
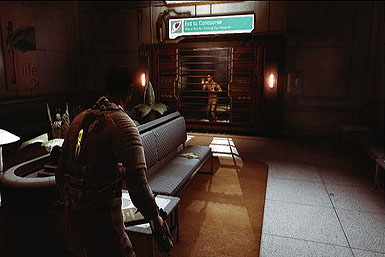
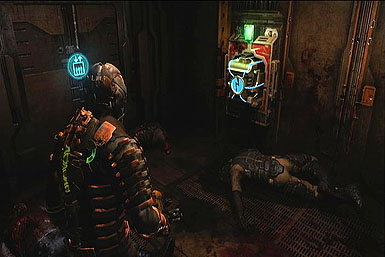
Keep an eye out for your first save point. These will come in handy as you may find yourself saving and reloading often during the course of the game. You'll spot two Sprawl Guards that will point their weapons at you, however they will soon be murdered by a passing Necromorph.
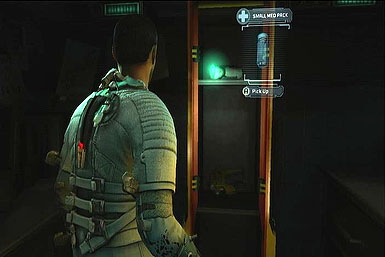
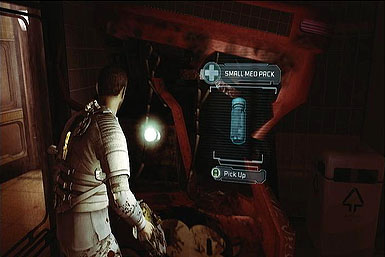
In the next room you'll encounter a less than sane doctor who will threaten you before offing himself. Take the time to five finger discount some healing items and restore your health. You can also now use your objective finder to locate paths to your goal.
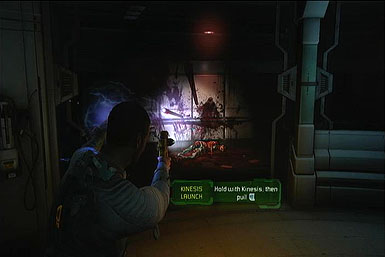
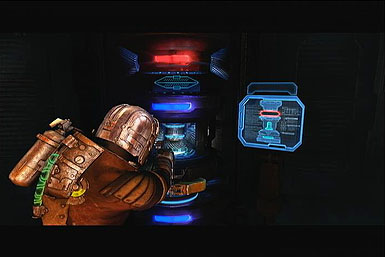
Follow the path to the maintenance tunnel and climb through. You'll land in the medical room where you can acquire the kinesis module. Since you have no weapon at the moment, the module will all you to grab and throw items with kinetic force. Use any spare debris around the room, such as steel beams, to smash a path. A Necromorph will appear, but it can be killed by throwing another broken piece of ship at it.

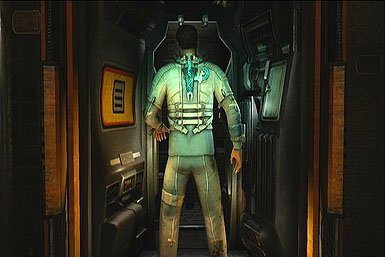
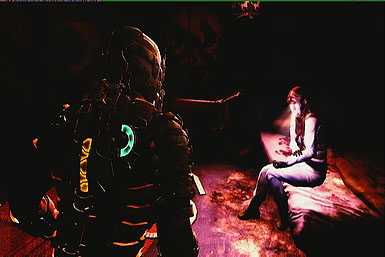
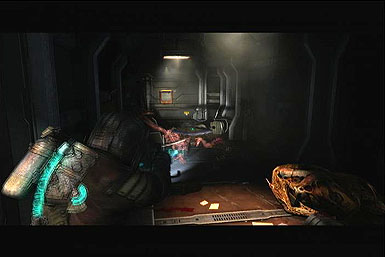
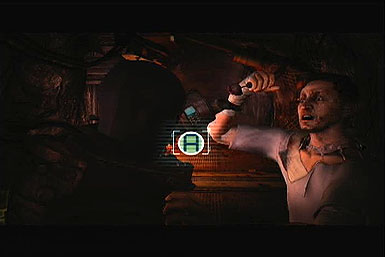
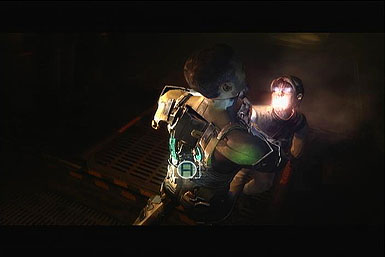
You'll soon arrive at a path blocked by a strapped, flailing Necromorph. enter the surgery room just to the left and you'll find yet another helpless patient. Activate the console to gain the Plasma Cutter. However, a Necromorph will appear and slay your new friend. Use your cutter to kill this Necromorph and reap vengeance. Return to the hall and kill the previous Necromorph to clear a path to the next door.
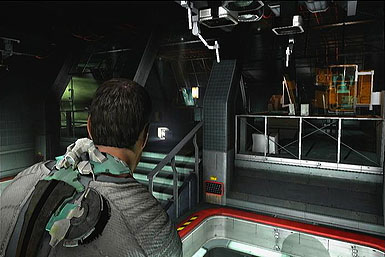
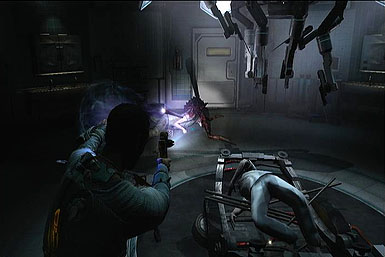
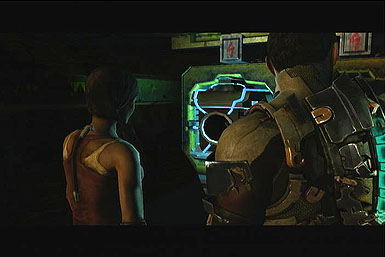
Search the area for extra cash and healing items. You'll want to be stocked for the fight ahead. In the next area you'll meet with Nolan Stross, another mental patient like yourself. After a brisk chat, you'll become swarmed by slash Necromorphs. These can be very deadly at close range, so you'll want to circle up the ramps and avoid being attacked from both sides. There is also a stash of medicine in one of the broken down vending machines. If you find yourself low on ammo, remember that you can also wield kinesis to throw limbs at the enemies. After the Necromorphs are dealt with, grab the Power Nodes on the front desk and continue on.
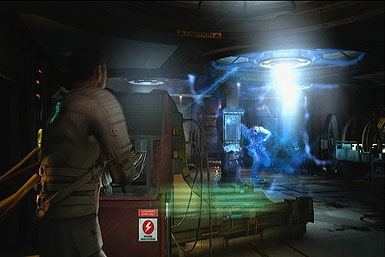
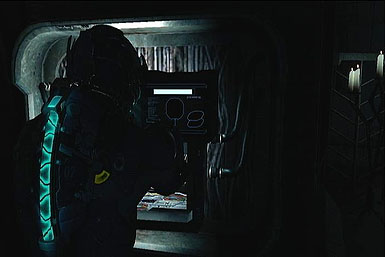
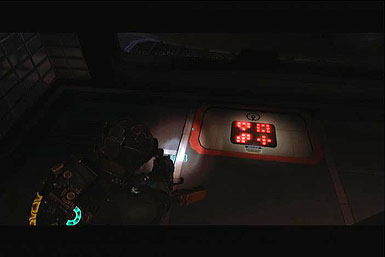
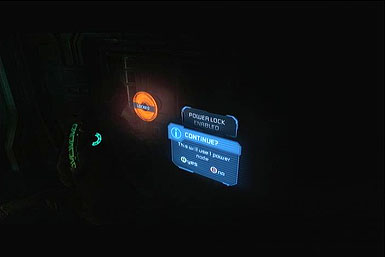
You'll arrive at the first hacking machine. Locate the blue "safe" areas and activate them before the time bar reaches zero. Right after solving the puzzles you'll gain access to stasis and will be ambushed by a lone Necromorph. You must stasis it and kill it quickly, as one hit from it will spell instant death, even during a new game+. After the Necromorph is dead, recharge your stasis at the machine in front of you. Use the stasis to free the malfunctioning door and move to the next area.
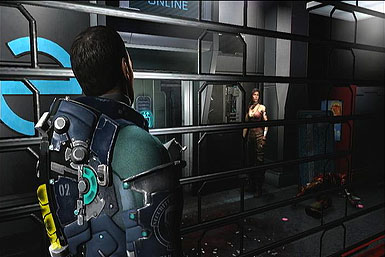
Grab the Power Node in the morgue and face off against a new type of Necromorph: Pukers, that shoot acidic vomit. Afterwards you'll come to a hall with a break able window, a shutter and some enemies. Blast the window and the vacuum will suck the enemies into space. However, it will also start pulling you. Shoot the panel above to lower the shutter and save yourself. in the next room is a store where you can spend credits on replacing gear. You will also find the plans for the Engineering suit that provide you with more health, defense, and inventory space.

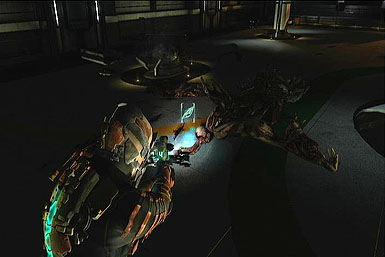
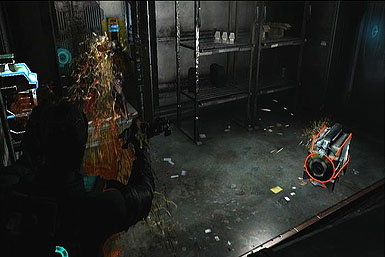
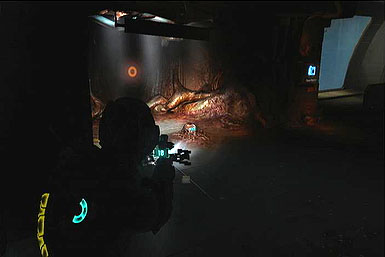
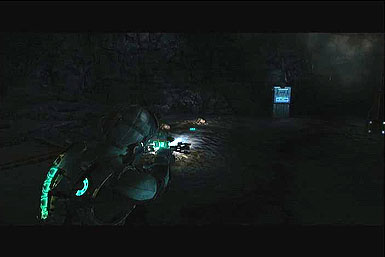
Take a walk through the zero oxygen area to wind up at your first boss encounter. There are boxes scattered around the room that can be used to restock your ammo. Aim at the creatures legs to cripple it. There are also a few stasis chargers around the room, so keep the enemy slowed down. After blasting the Necromorph's limbs, move in for a kill shot or toss something at it via kinesis.
Chapter 2
At the start of the chapter, head to the maintenance shaft to reach a room with a Bench Station. Here, you can upgrade your weapons, rig and stasis with any spare nodes you might have collect. You can also purchase nodes at a store, though that might be economical unsound so early in the game.
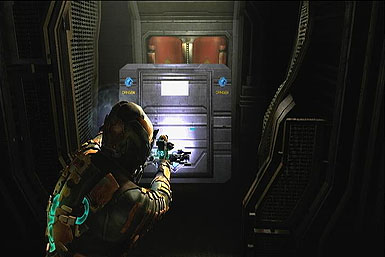
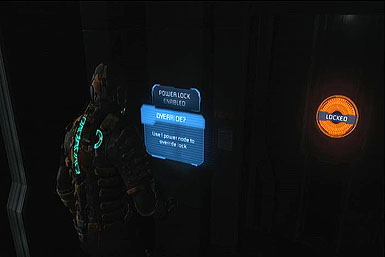
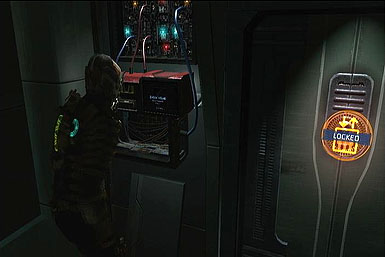
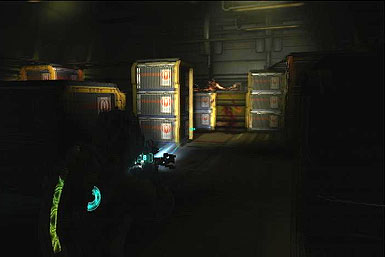
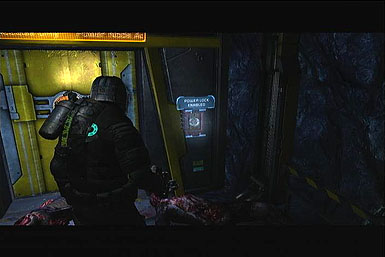
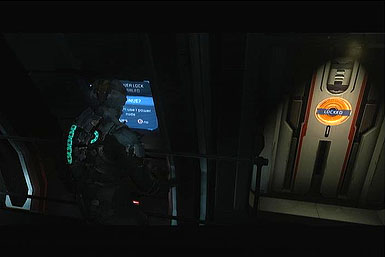
You'll come across a locked door that will require a node to unlock. Thankfully, you'll soon also come to a spare Power Node lying around. Use the node on the door to find a stash filled with ammo and sellable items. Watch out though, as a Necromorph might sneak from behind as you collect your goods.
Check around for some extra cash and proceed to the laundry room. You'll get swarmed by a huge wave of Necromorphs. Both stasis and kinesis will be key in saving on ammo and taking down these continual threats.
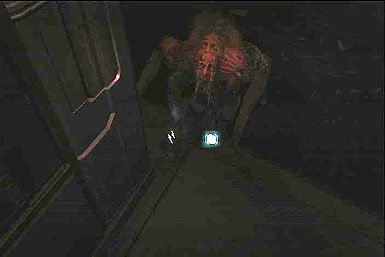
In the next room you'll come across Exploders that carry large explosive sacks. They can do heavy damage if you're in the blast radius. However, the sack is also their weak point. Shoot at it to kill off not only the Exploder, but any other Necromorphs around it.
You'll next arrive at the train tracks and a number of corpses around the room. To prep for the battle and make things easier you should actually use kinesis to pick up the bodies and toss them on to the tracks. An Infector will soon appear that will attempt to revive any of the corpses left. However, if you dumped the bodies, it will have nothing to bring to life. Stasis the Necromorph and kill it quickly with your cutter.
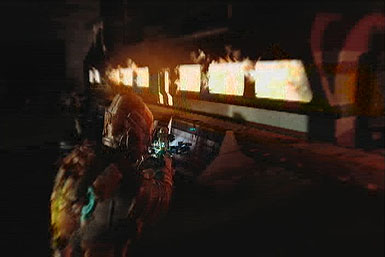
Enter the train and you'll need to take down more Necromorphs. The train is narrow, so there is no real room to avoid their attacks. Kill before you take damage is the best strategy. The train will start to break apart and collapse. Avoid any enemies and dash to the other end of the train.
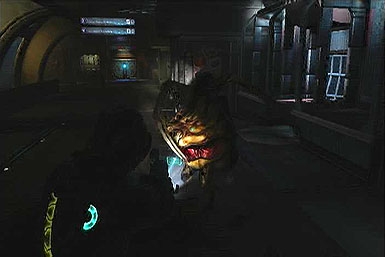
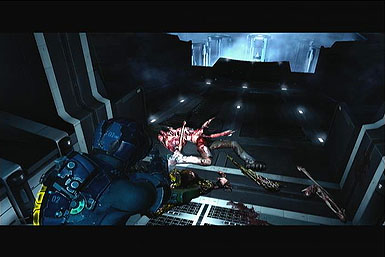
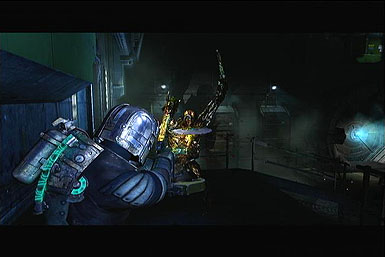
The train will crash, but will keep you trapped upside down, hanging from the exit. You can't move to avoid the next wave of enemies, but can shoot them down and use kinesis to acquire more ammo. Your prime targets should be the Exploders, followed by Pukers and Slashers. After the smaller enemies are dealt with, a Tormentor will appear from the train. Shoot its glowing yellow sacks to take it down and complete the chapter.
Chapter 3
Restock on the ammo boxes scattered around the broken down train. You'll also want to restore any lost health after the previous fight. Use the save point to record your progress and pick up the nearby Power Node.
You'll face off against a group of Packs. These are small child enemies that will attack you in groups. Use area attacks such as the Javelin or Line Gun to finish off these terrors.
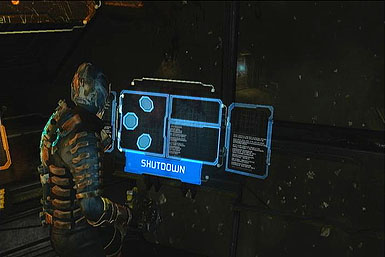
In the next room a few enemies will appear on down the hall. Shoot out the window to suck them out into space. Next, fire at the switch above the door to close the shutters and save your own life. The next room contains a video explaining how to use Necromorph parts and Kinesis as a deadly weapon. Move to the next area and use the terminal to shut off the compactor. There is also a power Node near the machine.
Gracefully skim through the now inactive trash chute. When you emerge back in the gravity zone, kill the Slasher that emerges. The power has been deactivated and you'll need to grab a battery to start up the next passage. Take the now powered elevator to the tower residential area.
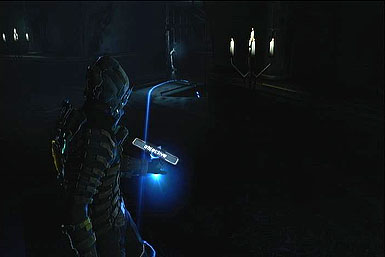
You'll have a brief encounter with Nicole before winding up at a Unitology church. There are however a large gang of Necromorphs waiting to bring the pain.
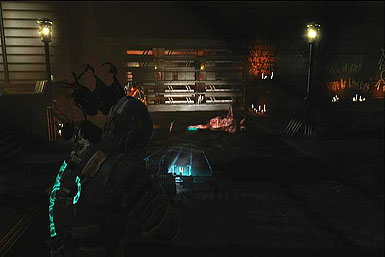
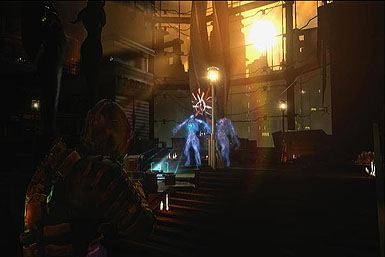
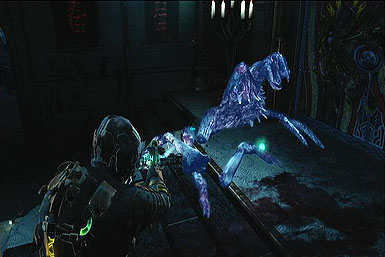
The key target is to kill the Infector so that it cannot form new enemies from any remaining human bodies. Kill off Exploders to deal damage to several enemies at once. The Leapers and Pukers are also somewhat of a threat so keep your distance. After clearing the area, proceed on to the church to end the chapter.
Chapter 4
Enter the gift shop to save and restock your items. During this chapter you may find yourself coming here often to buy new supplies. It is very covenant as there is a Store, Bench, and save point all in one room. Once you're done go ahead and exit, grab the nearby Power Node, and proceed to the next objective.

You'll arrive at a balcony and stairs overlooking a circular room. Necromorphs will start climbing the stairs so shoot them before they can get close. Kill the additional enemies at the bottom of the room and take the next elevator. There is a fuse you can destroy to open a quick passage back to the gift shop.
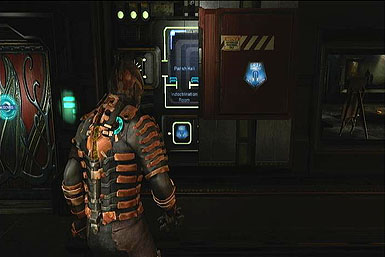
You'll soon come to the indoctrination center. Enter the control room to the right to find a fuse panel on the left wall. However, you can grab a fresh fuse from the right wall to fix the problem.
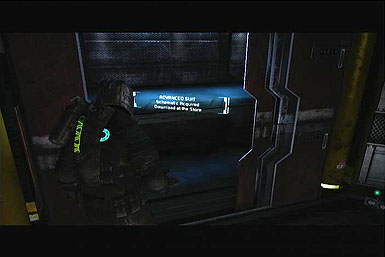
Upon exiting you'll be ambushed by more Necromorphs. However, you can use the breakable glass to suck them out into space. Quickly shoot down the shutter to keep yourself alive. Stasis the door to the security room and grab the schematics for a new suit. Beyond this room is also another Power Node sitting on a desk.

Continue forward and complete the quick time event. You'll encounter yet another enemy: Stalkers. These dog like creatures will move quickly and attempt to ram you before returning to cover. Use stasis as much as possible to slow them in their tracks and follow this some cutter fire.
Done your new Security Suit and head to the balcony overhead. You can grab a Power Node here. Hack through the door and kill off a few Slashers to end the level.
Chapter 5
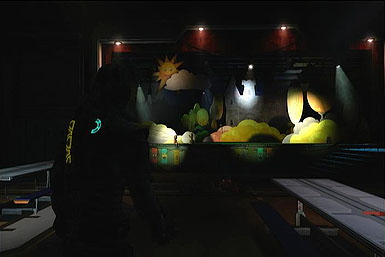
The first section of this chapter is a romp through the freezer section. keep an eye out for crates against the wall. Smashing them open will help restock any lost ammo. A few corridors through you'll run into a few Pukers. Stasis along with a few cutter shots should be enough to take the enemy down.

You'll next arrive at the gravity generator room. Search the area for a Power Node and a plans for the Ripper, one of the best weapons in the game. Hack the generator's computer and pull down the large metal holders with your kinesis. Next, use stasis to slow down each ring of the generator and allow the arms to clamp it in to place. The gravity will stop and you'll be able to float upwards.
Before jetting up, restock your stasis charges and fire at the spinning fan above. This will allow you to easily pass by the deadly blades. Ahead you'll discover some more schematics, this time for health packs. Restock on items in the store and make any necessary upgrades in the work Bench.
Use kinesis to moves the pylons blocking the hatch and take this tunnel to the next section. Here you'll want to kill off the Slashers and Lurkers that appear. Stop in the nearby storage room to locate Line Gun ammo plans. Restock your ammo and press onward.
You'll at first be caught by the Tormentor. Shoot it's glowing tendril to get out of its grasp. You'll now do battle With a large group of Packs. Like before, the Line Gun is your best option for this battle, though the Detonator or other explosive also work.
You'll get a call from Daina, followed by a Slasher surprise. Kill it and keep moving to the meeting point. Enter the next few corridors to learn some interesting plot developments. Next, you'll be indirectly facing an enemy chopper. Mash the on screen buttons to survive the first wave quick time event. Afterwards you'll be dragged off by the Tormentor again. Shoot its glowing sections to escape yet again.
Make a mad dash and kinesis the wall ahead. This will take you back to the surface where you'll have a joint encounter with both the military chopper and the Tormentor. Blast the craft's red fuel tank to destroy it, nuking the Necromorph in the process.
Chapter 6
Restock on ammo and explore the area for some extra Power Nodes and a Seeker Rifle spec. Soon you'll encounter a new enemy: The Pregnants. When killed off they will release smaller Necromorphs that you will need to swat off to keep from taking damage.
Purchase a few new items from the store and clear out any smaller Necromorphs that might be remaining on the walls. You'll also find a locked door near a Bench. If you have spare Power Nodes feel free to unlock this door and plunder the items.
You'll now be a room with little gravity and a blazing fire below. Your objective is to actually remove the oxygen from the room to quell the flames. Locate the first to modules on either side of the room and remove their batteries. Next, float up to the top and remove the third from the above structure.
The oxygen will cease, putting out the fire. However, you only have two minutes of survival in this condition. Return at least one battery to a module to restore some breathing room.
Kill the Lurkers ahead and pick up a spare battery from the oxygen tanks. Proceed down the next hall and use your battery to repair the elevator. Get ready as you open the lift, as a Puker will great you with its foul spray.
Decimate this Necromorph and descend down to the bottom. You'll come to a supply room with a large amount of ammo and some Power Nodes. However, it's all filled with Stalkers. Power up your stasis and kill each of this quick enemies one at a time.
Continue onward and you'll meet with Ellie. She's very accurate with her weapon and will be able to clear out most of the Necromorphs. Give her some aid from the other side of the room and meet up with her at the gate.
Stop to pick up a Pulse Rifle ammo schematic and take down the various Necromorphs prowling the area. After defeating these enemies you'll arrive at the school and daycare center.
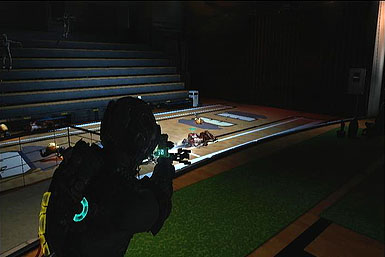
You'll witness some sick sights around this area, as Sprawl inhabits aren't able to part with their Necromorph children. You'll soon arrive at the school's auditorium where a play is being set. You'll be swarmed by Packs, Lurkers and Slashers. Due to the high volume of enemies you should clear out the first waves with the Detonator and Line Gun, then switch out to the Ripper as the beasts get in close. After the fight keep exploring the school for a Flamer schematic and some Power Nodes.
After a meeting with Nicole, you'll once again locate Ellie and Stross. Ellie will once again hold her own, but you'll still need to fight off the forces on your own level. You'll encounter the powerful Brute Necromorph. Stasis it quickly and chop it down with the Ripper.
Head through the next passage way and trip the laser mines by shooting at them. There are a few Guardian Necromorphs on the walls. Stasis them and blast the tentacles that emerge from their hole. Locate the elevator and ride down to conclude the chapter.
Chapter 7
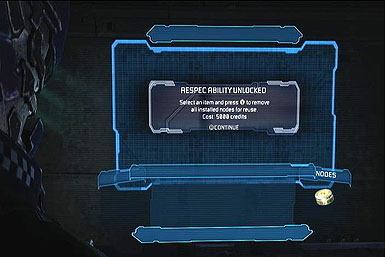
After landing from the elevator, you'll be greeted with a warm welcome from a Puker and Slasher. Quickly dispose of them so you can take a look around the room. There is a work Bench to the left, and accessing it will now allow you to respec Nodes for a fee. Once ready, move ahead and kill any small Necromorphs that spawn and then pass into the next zone.
You'll come to the solar array elevator, which is currently blocked by a mess of junk. Locate the canisters sticking out of the sides and fire at them to propel both the debris and the elevator to a safe location. This will involve entering zero-gravity and getting under the elevator shaft itself to locate the final canister. While down below, be sure to check the ground level for Power Nodes and a schematic.
Return to the previous catwalk and enter the now aligned elevator. Activate the switch to ascend to the top. There will be two dangers during this time: You'll be passing an area with no oxygen, and will be constantly assaulted by Necromorphs. Sound will also be limited while inside the vacuum of space, so pay close attention to where the enemies are entering from. Use explosives and the close range Ripper to keep the Necromorphs under control.

After making it safely to the next area, explore the various lockers for extra ammo and a schematic for the force gun. There are a few smaller enemies, but nothing too difficult. Also grab the Power Node in the broken down vending machine. To pass through the next security gate, you'll need to locate the body of watchmen Philips. His corpse can be found the bedroom on the other side of the hall. Use kinesis to drag Philips (or at least his head) to the door and continue on.
This area is on security lock down, requiring you to blast various wall mounted mines. Take the left path when walking down this dangerous hall way to locate another free Power Node. Continue to the end of the hall and into the next room.

You'll be attacked by a gang of Necromorphs. You'll want to shoot down the initial wave from your current position. If you move ahead to the enter off the room, a security system will destroy a glass window, sucking out into space. If this happens, quickly shoot the button above the door to lower the shutter. If more enemies arrive, kill them with some mines or other area weapons.
When ready, head to the lift and kill the next Necromorph up top. You can take this time to upgrade at the Bench station or explore the lockers for another Power Node. After prepping yourself, use kinesis to extend the catwalk to the next section. You'll enter another hall with laser mines. To make matters worse, you'll also have no oxygen and will be attacked by Necromorphs. Kill the enemies quickly and hack the terminal on the other end. This will both restore oxygen and open an exit to the next room.
You'll now be in the mainframe and will need to lower the barrier. You'll be able to spot a rotatable shaft on the other side of the obstruction. Use the nearby panel to change the tunnel's alignment. You'll need to eventually enter both sections, but it doesn't matter which order.
The right side room has a few parasite Necromorphs inside, which can be easily squashed. There will be a small puzzle where you will need to align various circuits into the nodes on the far right. Check the floor on the lower right to find the solution, and place the circuits accordingly. This will reveal a switch that will lower half the blockade.
After this, exit back through the tunnel and realign it to face the left side room. The situation is the same here, however you'll need to fight a Slasher before completing the same puzzle. After setting up the circuits and lowering the wall, destroy the main frame with your gun. You'll soon be ambushed by some Necromorphs, so be on the ready to shoot them down and slice them with the Ripper.
After the mainframe is destroyed, press onward to receive a message from Ellie and Stross. Explore the next room to find a few small Lurkers and a Node-locked room. Be sure to open this door as it contains plans for the contact Beam, a very good weapon against bosses. Hack through the next door to arrive outside the solar array.
You'll need to resupply your oxygen while in the zero gravity area. Terminals can be found all over the place, so it isn't much an issue. You'll want to destroy any Necromorphs outside so they don't disturb you while you attempt the next puzzle. Locate the array's view point and align it with the solar dish off in the distance. Repeat this with the other arms. After chatting a bit with Ellie, return to the pod and get ready to free fall.
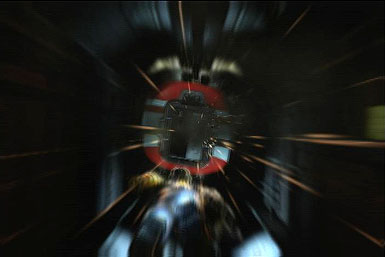
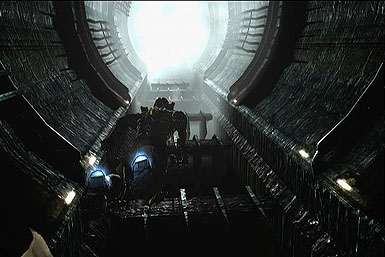
Dive back down to the main hub of the Sprawl. You'll need to quickly dodge the garbage on the way down, as on wrong slam will turn you into chunky space goo. In some cases you'll even need to pass through large debris that are too large to avoid.
After clearing the drop, save and buy whatever you need. Your oxygen will once again be cut off, so you have a limited amount of time to kill off the hordes of enemies that soon appear. Still to the Line Gun and Ripper to make short work of the Necromorph threat. Ellie will eventually unlock the door, but the enemies won't stop. Ignore them and pile through the exit to reach another save zone and the end of the chapter.
Chapter 8
Move down the hall and snag the Power Node hanging on the right wall. You'll need this soon enough to unlock a door that contain the Vintage suit schematic and other goodies.
Equip your new gear and head to the next room. There will be more Necromorphs that can be dealt with your Ripper. Meet up with Ellie and you'll find that the door is jammed. Check around for a Detonator ammo schematic before heading to the processing plant.
You'll be moving through a large, zero gravity waste disposal area. First shoot the canister to open the main door. You'll be greeted by a few Lurkers who can be killed off with your cutter. Next move ahead to a field of spinning turbines. There is just enough room to squeeze passed these un harmed, but if you want to even more breathing room, stasis them to slow down their lethal force.
Next, there will be a few sliding walls that are moving too fast to get by. Stasis them and move by quickly to reach the next obstacle. Here, there will be rows of spinning blades that must also be stopped with stasis. finally you'll arrive at several rings of fire. Pass by each of them as the flames dissipate.
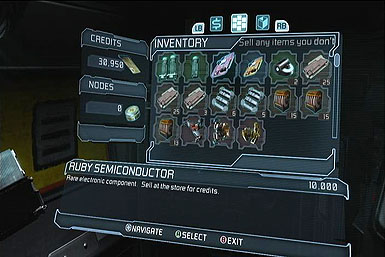
At the end of the tunnel will be a large Necromorph that shoots powerful projectiles. Kill it and grab the semiconductor it drops. After this battle, continue on to find the exit out of the plant. You'll meet up with your friends in the next area. Take the time to grab a Power Node and a schematic for large health packs before moving on.
Chapter 9
The starting area is filled with Lurkers, Pukers, and Slashers. You'll want to be ready for them, as they will come in waves. The Lurkers will tend to stay on the ceiling, so be sure to aim up to nail them.
Continue on and you'll spot a passage blocked by trip mines. Detonate these to gain access to the flamethrower ammo schematic. Move back down the hall and take out the Cysts and Guardians that wait on the walls. There are some fire and stasis canisters you can use if your own charges are low.
You'll come to a Bench and save point, along with with a broke machine. Locate the various disk pieces and place them into the machine. You'll get jumped by a few Slashers, so take them down before they can reach you. You'll meet back up with Ellie and Stross before heading to your next objective.
The next room is filled with Exploders and Stalkers, and a Guardian at the end. Be very careful and take out every enemy one at a time. You can't afford to be swarmed, as everything enemy can do some gnarly damage. Stasis will be your best tool for taking down so many foes. After the room is cleared, be sure to pick up the nearby Power Node and restock on items.
The next hall has a few Cysts inside. Kill them before moving down further. In the next area throw explosive canisters at the fuel tank and then ride the elevator down for another tense encounter.
Throw more explosives at the fuel tanks and soon you'll be ambushed by Tripods. Slow each of them down and rip through them. Continue tossing canisters until the whole area starts to come down. Flee back to the tram where Ellie and Stross are to finish the chapter.
Chapter 10
After entering the Ishimura, stop in the bathroom and grab items and Power Node sitting about. Down the hall you'll be attacked by a Brute. The Plasma Cutter actually works better than the Ripper for this enemy, so combine it with some stasis shots to take down this beast. Don't run too far down the hall as it will trigger a second Brute along with other Necromorphs.
Take out each enemy one at time. Fight with precision, as rushing will simply get you swarmed by the onslaught. When the zone is cleared, search for more Nodes. Next hack the lift and ascend to the higher level.
Buy whatever you need from the store and press on. There are a lot of Pukers, Slashers, and Lurkers roaming around, so be on your guard when slaying them. After taking them out, search the area for another Node.

you'll now enter a zero gravity area along with a centrifuge puzzle. Stop first to look for a Force Gun schematic floating around the room. To solve the puzzle and reinstate gravity, find the pieces around the room. Each section of the centrifuge has a winding tube; align these tubes to allow power to flow.
After completing this task, return to the way you came from. Upon reaching the decontamination room you'll be attacked by more Necromorphs. Use stasis and explosives to deal with them quickly.
Take the next elevator and you'll arrive at the medical center. Grab what items you can and blast the Necromorph threats. Stop in the lab to grab another Power Node. You'll need to kinesis a few platforms to make it down below. Here, remove the battery to recharge the lightning surge in the middle of the room.
Upgrade your weapons at the Bench and grab the Power Node. You can use it on the nearby locked door, though only items are inside. Continue on to enter another zero gravity tube. There are Lurkers in here, so be sure to zap them while moving down the straight path. There is also a Power Node you can grab in here.
The next area is crawling with Stalkers and other nasty Necromorphs. Move slowly and stasis each one before taking them down with your Ripper. You'll zone arrive on the bridge, where you can start up the gravity controls. After messing with the terminal, enter an escape pod to return back to the Sprawl.
Chapter 11
move down the loading dock ramps to discover a cache of items. Be careful, as looting these will summon Necromorphs to your location. Save and upgrade as needed at the Bench. when ready, hack through the next door and move to the next hall.
Kinesis the box in the distance and bust it to gain a Power Node. you'll come to a store along with a second Power Node.

enter the mines and move to the bottom level. You will be attacked by Necromorph waves. Try to kill as much as possible from a range before coming in close with the Ripper. Replace the batteries to start up the lift and an exit to outside the Sprawl.
After some taunting from Stross, exit to the outer rim. Your goal here is to clear the explosive lasers by shooting down canisters. there are also some Necromorphs floating out here, so take them out so they don't bother your work. If you run low on oxygen, return to a hub to recharge your tank.
After the lasers are all cleared off, enter the new passage way. There are a some more enemies inside so be quick about killing them. Remember your oxygen is limited so you don't have time to idle.
Once back inside the mines grab a Power Node siting around and use it to unlock the nearby storage room. Inside is a schematic for the Advanced Suit, the best armor for a first play through. Kill off the Necromorphs along the way and you'll reach the end of the hall.
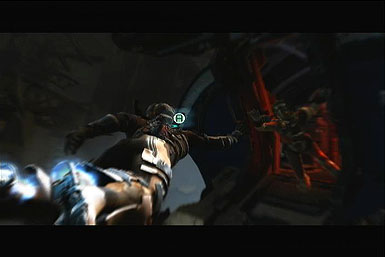
Attempt to hack the next door, but you'll soon be grappled by Stross. Follow the quick time event to murder your crazed pal. Take the time now to upgrade to your new armor and grab the Power Node in the next section.
The final encounter of the chapter is the long elevator ride. Necromorphs will constantly emerge from all dies. The Contact Beam is great for taking out early hordes, but most of the throngs should be dealt with via the Line Gun and Ripper. After surviving the long journey, complete a quick time event to reason with Nicole.
Chapter 12
Upgrade at the Work Bench and meet up with Ellie. She'll attempt to repair the huge drill miner, but still needs you to check on a few things. Kill off the Cysts ahead and grab the battery passed them. While around here be sure to grab an extra Power Node. Place the battery inside the machine and move up to the above level.
After dealing with a few Necromorphs, but nothing too serious. Pick up the circuit board and return to the machine. Hack it to restore power. Ellie will start the driller up, so climb on board. As you ride across the cave many different swarms of enemies will attack.

Ripper down any Slashers or Pukers that manage to reach you, while use the Plasma Cutter on the Lurkers that cling to the walls. If you can, push any enemies into the machine's drills to create some meaty splatter. When Ellie smashes through the cave wall the chapter will end.
Chapter 13
While on the upper level grab the Power Node. Check the lockers around the room for some extra items. After some dialogue with first Ellie, then Nicole, proceed down to the bottom level.
Use stasis and the canisters to deal with the Necromorphs in the room. Make sure all of them are dead before attempting to hack the next door. You'll exchange some harsh words with Tiedemann and he will sic his troop on you. Instead of a straight up fight, leap into the door on the right and make your way through the passage. Remove the batteries to disable the lights. This will summon Necromorphs that will kill off the soldiers for you.
Clear out the Necromorphs that lurk around the hall ways and in the next room. Inside you'll need to repeat the same puzzle from chapter 7: Drag a dead to the doors to lower the security gate. Stock up on items and get ready for another encounter. Take down the Pukers and Exploders before moving onto any surviving Slashers.
Clear out the enemies in the small locker room. There is a locked door, but spending a Node on it isn't really worth it: The room contains healing items, but will also summon a nest of deadly parasites. Continue into the next room and kill off the Stalkers with some stasis and cutter fire. Locate the power cell on the floor and kinesis it to the alcove above. Before exiting grab another Power Node.
You'll arrive at the laser centrifuge. Do not get close to any of the beams or pylons, as the force will be enough to split your torso. Stasis one of the shafts and quickly run around the room to the next alcove. Stop for a second and restock items or kill any Necromorphs that appear. continue this process two more times and you'll reach the centrifuge controls. Shut down the system and lower the bridge. to the next area.

Fight a few enemies that spawn on the bridge before moving into the room. There are a lot of enemies here and little room to wiggly about. Use mines and explosives as much as possible, leaving the Line Gun and Ripper for picking off the survivors. This can be tough, so stick to using powerful area damage. After killing the horde Restock your supplies and continue down below.
A Brute will appear, making it a great time to let loose with your Contact Beam and some handy stasis. Move ahead and talk with Nicole. After a fine conversation, climb into the machine.
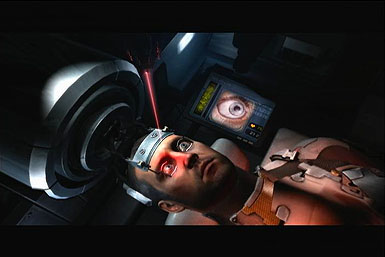
For this little mini game you'll need to jam a needle right into your eye. Align the laser so that it shines blue. A red laser will not be aligned correctly and can kill you if trusted too rapidly. Be slow and lower the needle with ease. After stabbing yourself the chapter will end the next will start up right away.
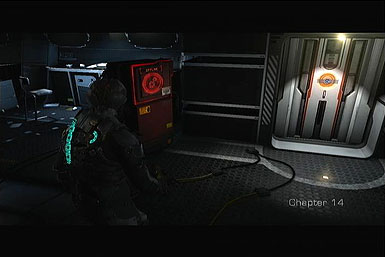
Chapter 14
You'll be in the same room and are greeted by a new Necromorph: immortal spawns that cannot be killed. Your only option is to do enough damage to take down their limbs and stasis them quickly. Eventually these enemies will regenerate back to perfect condition. However, while it's down and slowed take the time hack the nearby panel and move ahead.
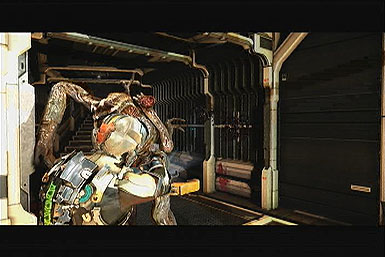
Grab the Power Node to the right. Clear out any killable Necromorphs and continue on. In the next room will be a regenerating enemy and another corpse/door puzzle. Stasis the Necromorph and grab the body to move to the next hallway.
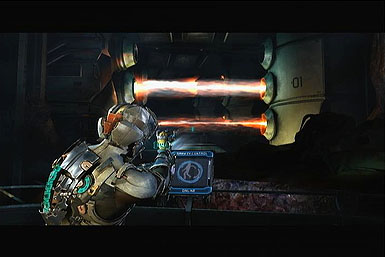
Kill more enemies and get ready of the zero gravity section. It's not only a deadly maze, but there is also no oxygen. This might be the first time in the game where the Air upgrade might actually come to use. Stasis the first set of obstructions to move in deeper.
There will be more obstacles, but most of the them can be taken down with stasis. Towards the end of the frantic space swim is a Lobber. Take it down fast with a strong shot of the Contact Beam or another ranged weapon. Once it's dead, descend back down and turn on the gravity. Proceed through the door to reach the last chapter.
Chapter 15
This is the last stretch of the game. Buy everything you'll need for this last fight. The recommended items for the final jaunt include the Plasma Cutter, Ripper, Contact Beam, and Line Gun. Proceed through the next area and run like mad. There are swarms of enemies, including invincible Necromorphs. Save time by killing the minimal amount and dash to the exit.
Take the elevator up to the above floor and smash the fuse to the last showdown. Save one last time and get ready for the end. You'll face Tiedemann in a quick time event. It's very sudden, so be ready to pound the on screen commands.
After laying waste to the military leader, it's just you and the Marker left. Your absolute top priority during this battle is to kill Nicole each time she spawns. If she manages to get too close she can instantly kill you in one strike. The other Necromorphs are less of a problem, but still continue to hit them with your Line Gun and Ripper.
After so much torment, the Marker will eventually unveil itself. Use this time to hit it with your Contact Beam and Plasma Cutter. Nicole will reappear after doing enough damage to the Marker. Once again kill her off quickly. Repeat this process until the Marker is finally destroyed.
After a short bit of credits, you'll be swooped away by Ellie. Navigate passed the flying debris and complete one last quick time event to win Dead Space 2.
Xbox 360 Achievements
| Achievement Name | How To Earn | Reward |
|---|---|---|
| Made Us Whole | Complete the game on any difficulty setting | 10 |
| Romper Stomper | Stomp 10 Containers | 25 |
| Vacuum Cleaner | Decompress 20 Necromorphs without getting sucked out yourself | 30 |
| …And Stay Down | Kill 25 crawling enemies with Stomp (single player only) | 10 |
| Think Fast | Kill 30 Necromorphs with Kinesis objects | 15 |
| The Nanny | Kill 30 Crawlers without detonating them | 10 |
| Frozen In Time | Kill 50 Necromorphs while they are in Stasis (single player only) | 10 |
| First Aid | Use Quick Heal ten times (single player only) | 10 |
| Looking Good | Purchase the Advanced Suit | 10 |
| Fully Outfitted | Upgrade your RIG and Stasis completely | 30 |
| Picking Favorites | Upgrade 1 Weapon completely | 30 |
| Fully Loaded | Simultaneously have four completely upgraded weapons | 50 |
| The Sampler Palatter | Kill a Necromorph with every Weapon in the game (single player only). | 20 |
| Lightspeed de Milo | Dismember the Lightspeed Boy Statue | 10 |
| The Librarian | Collect 100 logs | 10 |
| My Boom Stick | Kill 6 enemies at once with Line Gun's Alt-Fire (single player only) | 20 |
| Shock Therapy | Impale an enemy with the Javelin Gun and use its Alt-Fire to shock 3 others (single player only) | 10 |
| Lawnmower Man | Kill 4 enemies with the same Ripper blade | 10 |
| It's a Trap! | Kill 20 enemies with Detonator Mines in a deployed state | 20 |
| Necro Flambe | Kill 50 enemies using the Flamethrower | 10 |
| Peek a Boo! | Kill a Stalker with the Seeker Rifle while in Zoom Mode | 20 |
| C-Section | Knock down an enemy with Contact Beam Alt-Fire then kill it with Primary Fire before it stands up | 10 |
| Going the Distance | Impale an enemy and make him fly through the air for 17 meters - it must stick to the surface | 20 |
| Taste of Your own Medicane | TK Impale a live Slasher to a surface using a Slasher's arm - it must stick to the surface | 20 |
| Skewered in Space | Impale an enemy into a Decompression Window to cause it to blow out | 15 |
| Clean Cut | Sever all three tentacles of a Lurker with one Line Gun Primary Fire shot (single player only) | 10 |
| Brute Juke | Kill a Brute without taking damage | 10 |
| Shoot the Limbs! | Dismember 25 Necromorph Limbs (single player only) | 10 |
| Bouncing Betty | Kill a Cyst by catching its Mine and throwing it back | 10 |
| Epic Dismembrement | Dismember 2,500 Necromorph Limbs (single player only) | 50 |
| Collect Peng | Find the Peng treasure | 20 |
| The Electrician | Collect 10 Semiconductors | 10 |
| The Engineer | Collect 10 Schematics | 10 |
| Mission Impossible | Complete the game on Zealot setting | 50 |
| Hard to the Core | Complete the game on Hard Core setting | 50 |
| Patient on the Loose | Get your first Suit | 15 |
| Derailed | Survive the Train Sequence | 20 |
| One Small Step | Get through the first Zero-G area | 10 |
| Clever Girls | Survive your first encounter with Stalkers | 10 |
| Torment Me No More | Kill the Tormentor | 20 |
| The Graduate | Win the fight at the School | 20 |
| Elevator Action | Knock off every Tripod during the Elevator Sequence | 15 |
| Shut Down | Defeat the AI | 10 |
| Powered Up | Complete the Solar Array Puzzle | 15 |
| Hornet's Nest | Destroy the Tripod Nest | 30 |
| Operation! | Snare the Shard with the Ishimura | 15 |
| Knock Knock | Complete the Drill Ride | 25 |
| The Final Sacrifice | Destroy the Marker | 50 |
| Cross your Heart, Hope to Die | Survive the Eye Poke Machine | 30 |
| The Fugitive | Escape the Facility | 50 |
PlayStaion 3 Trophies
| Trophy Name | How To Earn | Reward |
|---|---|---|
| Made Us Whole | Complete the game on any difficulty setting | Bronze |
| Romper Stomper | Stomp 10 Containers | Bronze |
| Vacuum Cleaner | Decompress 20 Necromorphs without getting sucked out yourself | Bronze |
| …And Stay Down | Kill 25 crawling enemies with Stomp (single player only) | Bronze |
| Think Fast | Kill 30 Necromorphs with Kinesis objects | Bronze |
| The Nanny | Kill 30 Crawlers without detonating them | Bronze |
| Frozen In Time | Kill 50 Necromorphs while they are in Stasis (single player only) | Bronze |
| First Aid | Use Quick Heal ten times (single player only) | Bronze |
| Looking Good | Purchase the Advanced Suit | Bronze |
| Fully Outfitted | Upgrade your RIG and Stasis completely | Bronze |
| Picking Favorites | Upgrade 1 Weapon completely | Bronze |
| Fully Loaded | Simultaneously have four completely upgraded weapons | Bronze |
| The Sampler Palatter | Kill a Necromorph with every Weapon in the game (single player only). | Bronze |
| Lightspeed de Milo | Dismember the Lightspeed Boy Statue | Bronze |
| The Librarian | Collect 100 logs | Bronze |
| My Boom Stick | Kill 6 enemies at once with Line Gun's Alt-Fire (single player only) | Bronze |
| Shock Therapy | Impale an enemy with the Javelin Gun and use its Alt-Fire to shock 3 others (single player only) | Bronze |
| Lawnmower Man | Kill 4 enemies with the same Ripper blade | Bronze |
| It's a Trap! | Kill 20 enemies with Detonator Mines in a deployed state | Bronze |
| Necro Flambe | Kill 50 enemies using the Flamethrower | Bronze |
| Peek a Boo! | Kill a Stalker with the Seeker Rifle while in Zoom Mode | Bronze |
| C-Section | Knock down an enemy with Contact Beam Alt-Fire then kill it with Primary Fire before it stands up | Bronze |
| Going the Distance | Impale an enemy and make him fly through the air for 17 meters - it must stick to the surface | Bronze |
| Taste of Your own Medicane | TK Impale a live Slasher to a surface using a Slasher's arm - it must stick to the surface | Bronze |
| Skewered in Space | Impale an enemy into a Decompression Window to cause it to blow out | Bronze |
| Clean Cut | Sever all three tentacles of a Lurker with one Line Gun Primary Fire shot (single player only) | Bronze |
| Brute Juke | Kill a Brute without taking damage | Bronze |
| Shoot the Limbs! | Dismember 25 Necromorph Limbs (single player only) | Bronze |
| Bouncing Betty | Kill a Cyst by catching its Mine and throwing it back | Bronze |
| Epic Dismembrement | Dismember 2,500 Necromorph Limbs (single player only) | Silver |
| Collect Peng | Find the Peng treasure | Silver |
| The Electrician | Collect 10 Semiconductors | Silver |
| The Engineer | Collect 10 Schematics | Silver |
| Mission Impossible | Complete the game on Zealot setting | Gold |
| Hard to the Core | Complete the game on Hard Core setting | Gold |
| Patient on the Loose | Get your first Suit | Bronze |
| Derailed | Survive the Train Sequence | Bronze |
| One Small Step | Get through the first Zero-G area | Bronze |
| Clever Girls | Survive your first encounter with Stalkers | Bronze |
| Torment Me No More | Kill the Tormentor | Bronze |
| The Graduate | Win the fight at the School | Bronze |
| Elevator Action | Knock off every Tripod during the Elevator Sequence | Bronze |
| Shut Down | Defeat the AI | Bronze |
| Powered Up | Complete the Solar Array Puzzle | Bronze |
| Hornet's Nest | Destroy the Tripod Nest | Bronze |
| Operation! | Snare the Shard with the Ishimura | Bronze |
| Knock Knock | Complete the Drill Ride | Bronze |
| The Final Sacrifice | Destroy the Marker | Bronze |
| Cross your Heart, Hope to Die | Survive the Eye Poke Machine | Bronze |
| The Fugitive | Escape the Facility | Gold |
| The Final Frontier | Earn all Trophies in Dead Space 2 | Platinum |
Got a news tip or want to contact us directly? Email news@gamespot.com
Join the conversation