Zelda: Tears Of The Kingdom - Lightcast Island Ga-Ahisas Shrine Guide
Solve the mystery of Lightcast Island for the Ga-Ahisas Shrine in The Legend of Zelda: Tears of the Kingdom.
The Legend of Zelda: Tears of the Kingdom Lightcast Island has a mystery that awaits you. Upon reaching it, you'll be greeted by light beams, which you probably haven't seen that often unless you've been exploring Gerudo. Here's our guide to help you complete the Lightcast Island puzzle for the Ga-Ahisas Shrine in Zelda: Tears of the Kingdom.
How to solve the Lightcast Island puzzle for the Ga-Ahisas Shrine in The Legend of Zelda: Tears of the Kingdom
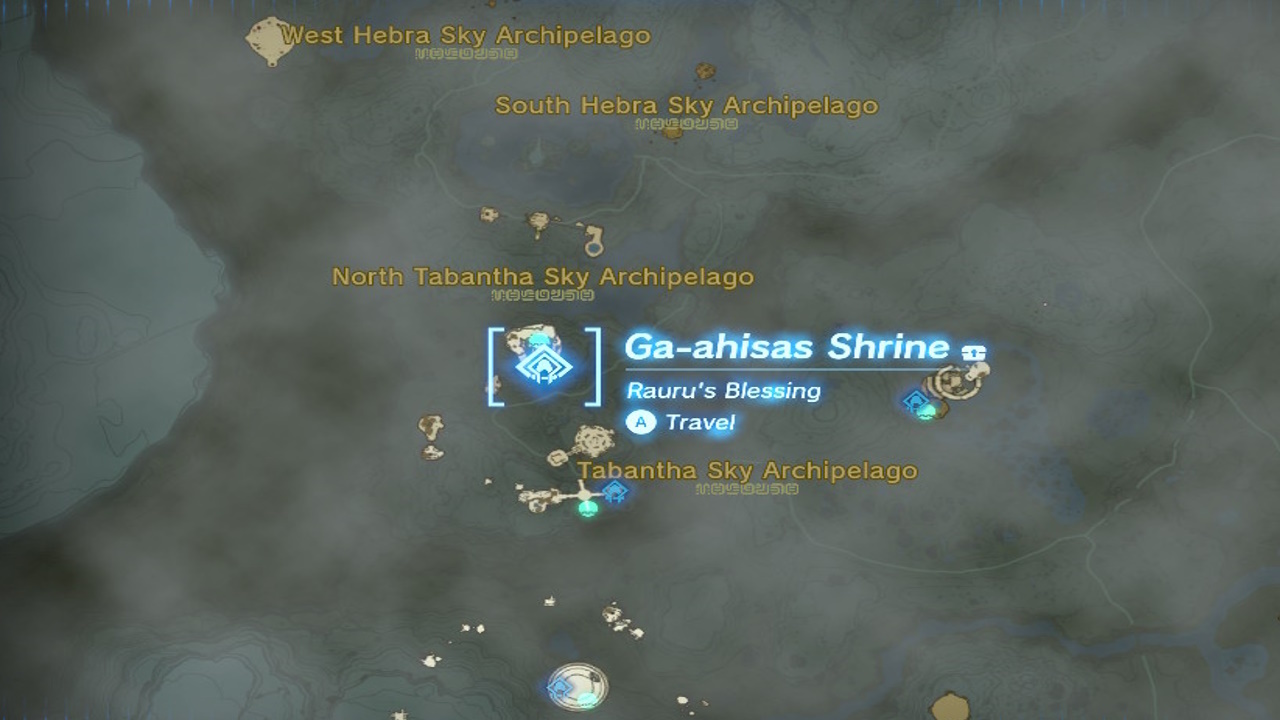
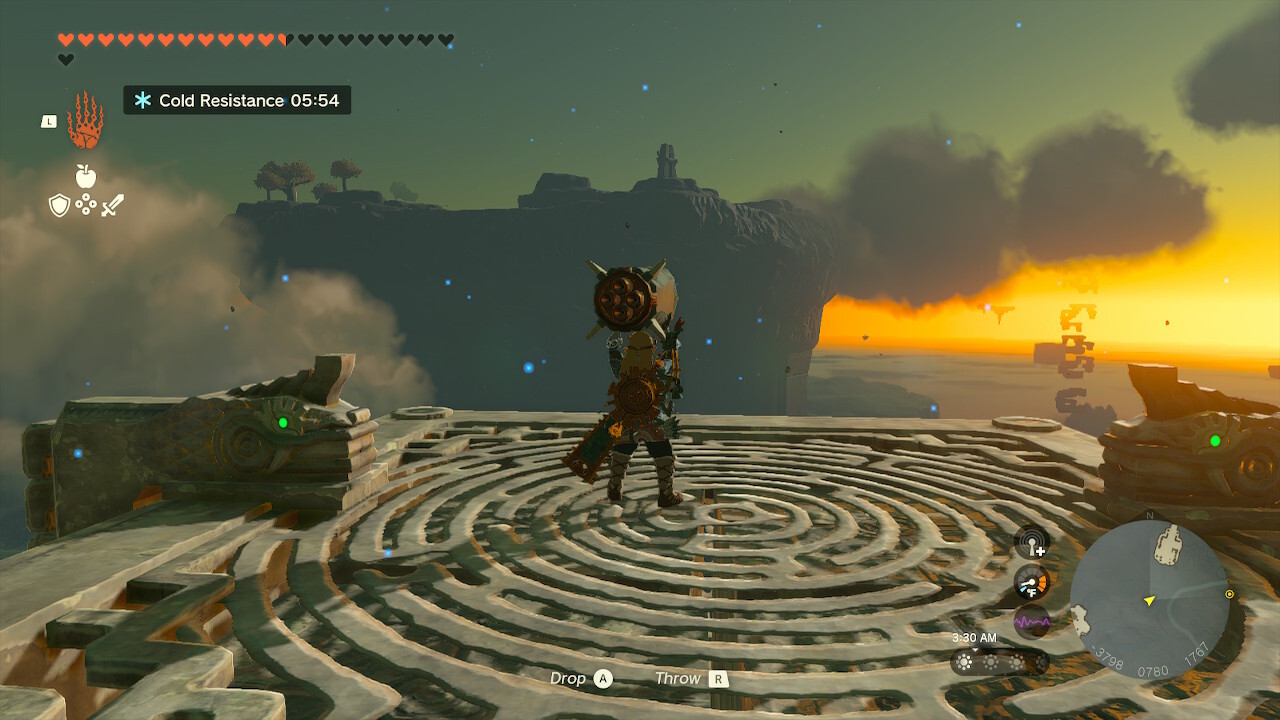
The Legend of Zelda: Tears of the Kingdom Lightcast Island puzzle can be found in the North Tabantha Sky Archipelago, in the western portion of the Sky World.
It can be a little tough to reach it for newcomers. Instead, your best recourse is to return later, at least until you've acquire more Zonai Devices, such as Wings, Rockets, Fans, and Batteries. Once you have what you need, you can head to the Hebra Sky Archipelago, normally reachable by way of the Rospro Pass Skyview Tower. As you keep heading south, island-hopping in the air, you should see a few with scattered Zonai Devices, too.
The goal is to build something akin to a Rocket-and-Fan-powered Plane, so you can reach islands that are higher up. From there, you'll notice Hover Blocks guarded by Constructs. Take them out, and attach their Rockets for a huge verticality boost.

As for the Zelda: Tears of the Kingdom Lightcast Island puzzle mechanics, you'll want to do the following:
- Check out the tower with the beam of light that shines straight into a water-filled cave.
- Head to one of the corners of the island and interact with the terminal. This will drain the water in the cave, allowing the light to reach the bottom.
- There are several Mirror devices left on some rock ledges. Use Ultrahand to rotate these so that the light passes continuously to the end of the tunnel.
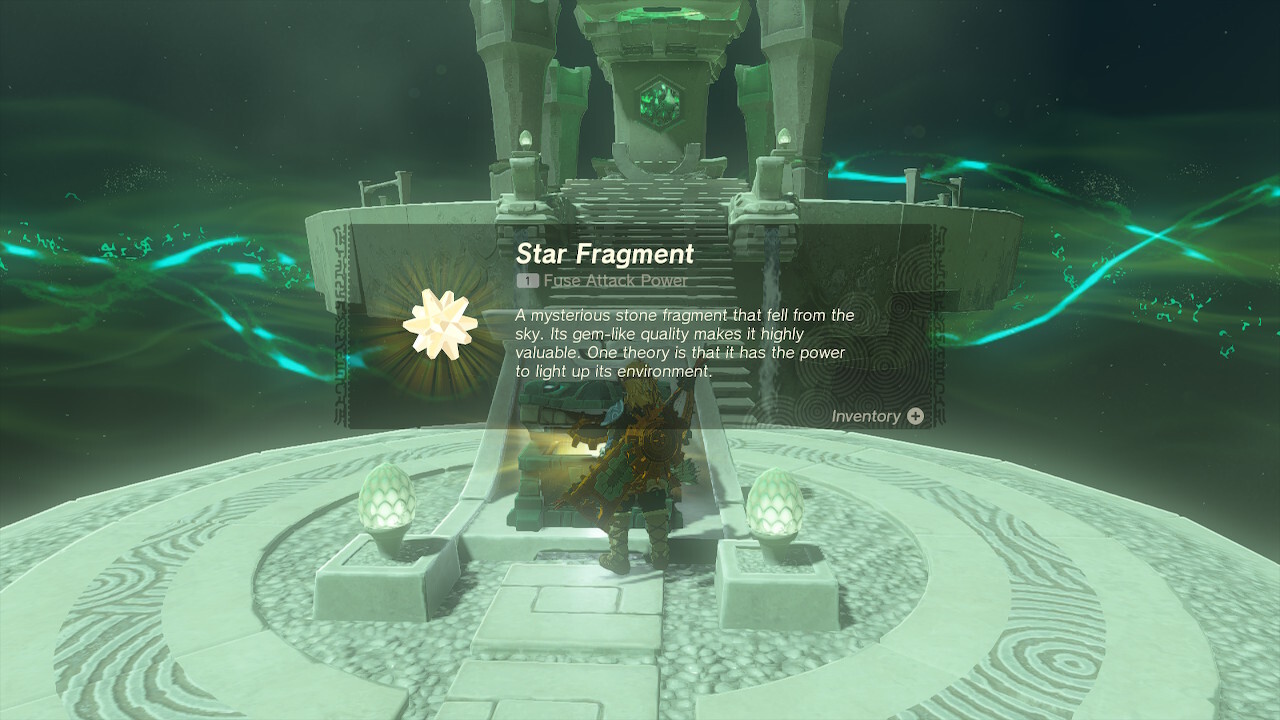
- You can also pick up some loot from chests, such as 3x Mirror and a Star Fragment. There's also a Zonaite Helm, part of an armor set, which you can get at the halfway point of the tunnel. You can use Ascend to reach the ledge.
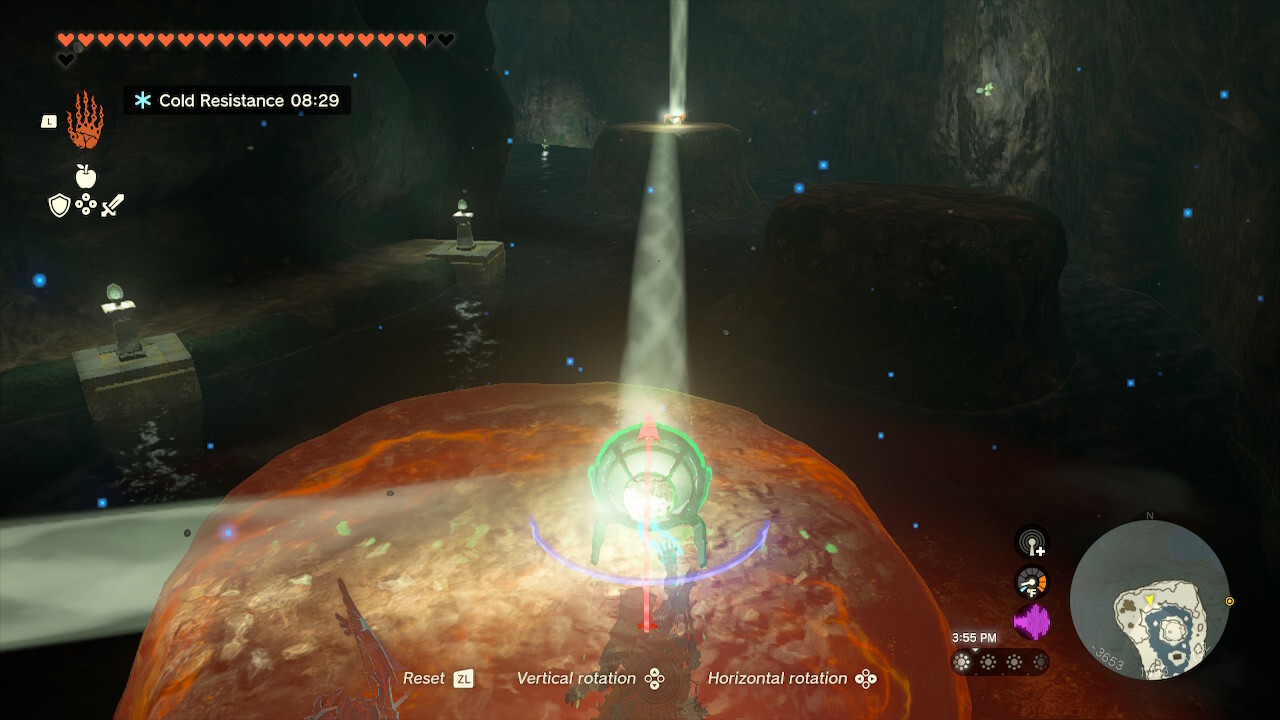
When the light reaches the opposite section, climb down and take out the Construct. It has a Mirror Shield, which you can flip so that it can still reflect the beam. This will let the beam hit the target in the large chamber. If the angle is wonky, you can use one of the Mirror devices that you just looted from the chest.
After solving the Zelda: Tears of the Kingdom Lightcast Island puzzle, a doorway will open. You'll notice steps carved on the side of the island. Follow it all the way down and enter the Ga-Ahisas Shrine. This is a Rauru's Blessing domain, and you can pick up a Star Fragment from the chest.
In any case, this is but one of many activities that you can do in the game. Don't forget to take a look at our Shrine locations main guide for all the other challenges that you can tackle. Likewise, since it's fairly close, you might as well do the Mayasiar Death Star or Starview Island puzzle.
There are numerous mechanics and facets to learn in The Legend of Zelda: Tears of the Kingdom. For more information, you can visit our guides hub.
Got a news tip or want to contact us directly? Email news@gamespot.com
Join the conversation