Ratchet & Clank: Rift Apart Gold Bolt Locations Walkthrough - How To Unlock Cheats
Here's how to find every Gold Bolt in Ratchet & Clank: Rift Apart for PS5.
Gold Bolts return in Ratchet & Clank: Rift Apart, and like previous games, they unlock special cheats, cosmetics, other special options. While some Gold Bolts are easy to find, others are more well-hidden. To help you find every Gold Bolt in the game, we've compiled a list of all their locations. For more about how the game stacks up, be sure to read our Ratchet & Clank: Rift Apart review. Otherwise, check out our other guide coverage in the list of links at the bottom of this guide. Be wary; there are minor spoilers below around key locations you'll visit throughout the game.
Corson V (Nefarious City)


The first Gold Bolt you can get on Corson V is located on a balcony in the Factory. After wall climbing your way to the Factory's second floor, head onto the conveyor belt ahead instead of turning left. Run through while hopping around the incoming containers until you make it over to the balcony holding the Gold Bolt.


When the party goes south shortly after you arrive at Club Nefarious, you'll chase the Phantom through the city. Proceed with the platforming section that ensues until you reach your first open battle area. Dispatch the incoming Nefarious troopers, and then make your way to a small alleyway underneath the balcony you hopped off to get here. Follow it until you see a couple of Rifts that you can use to reach a hidden Gold Bolt.


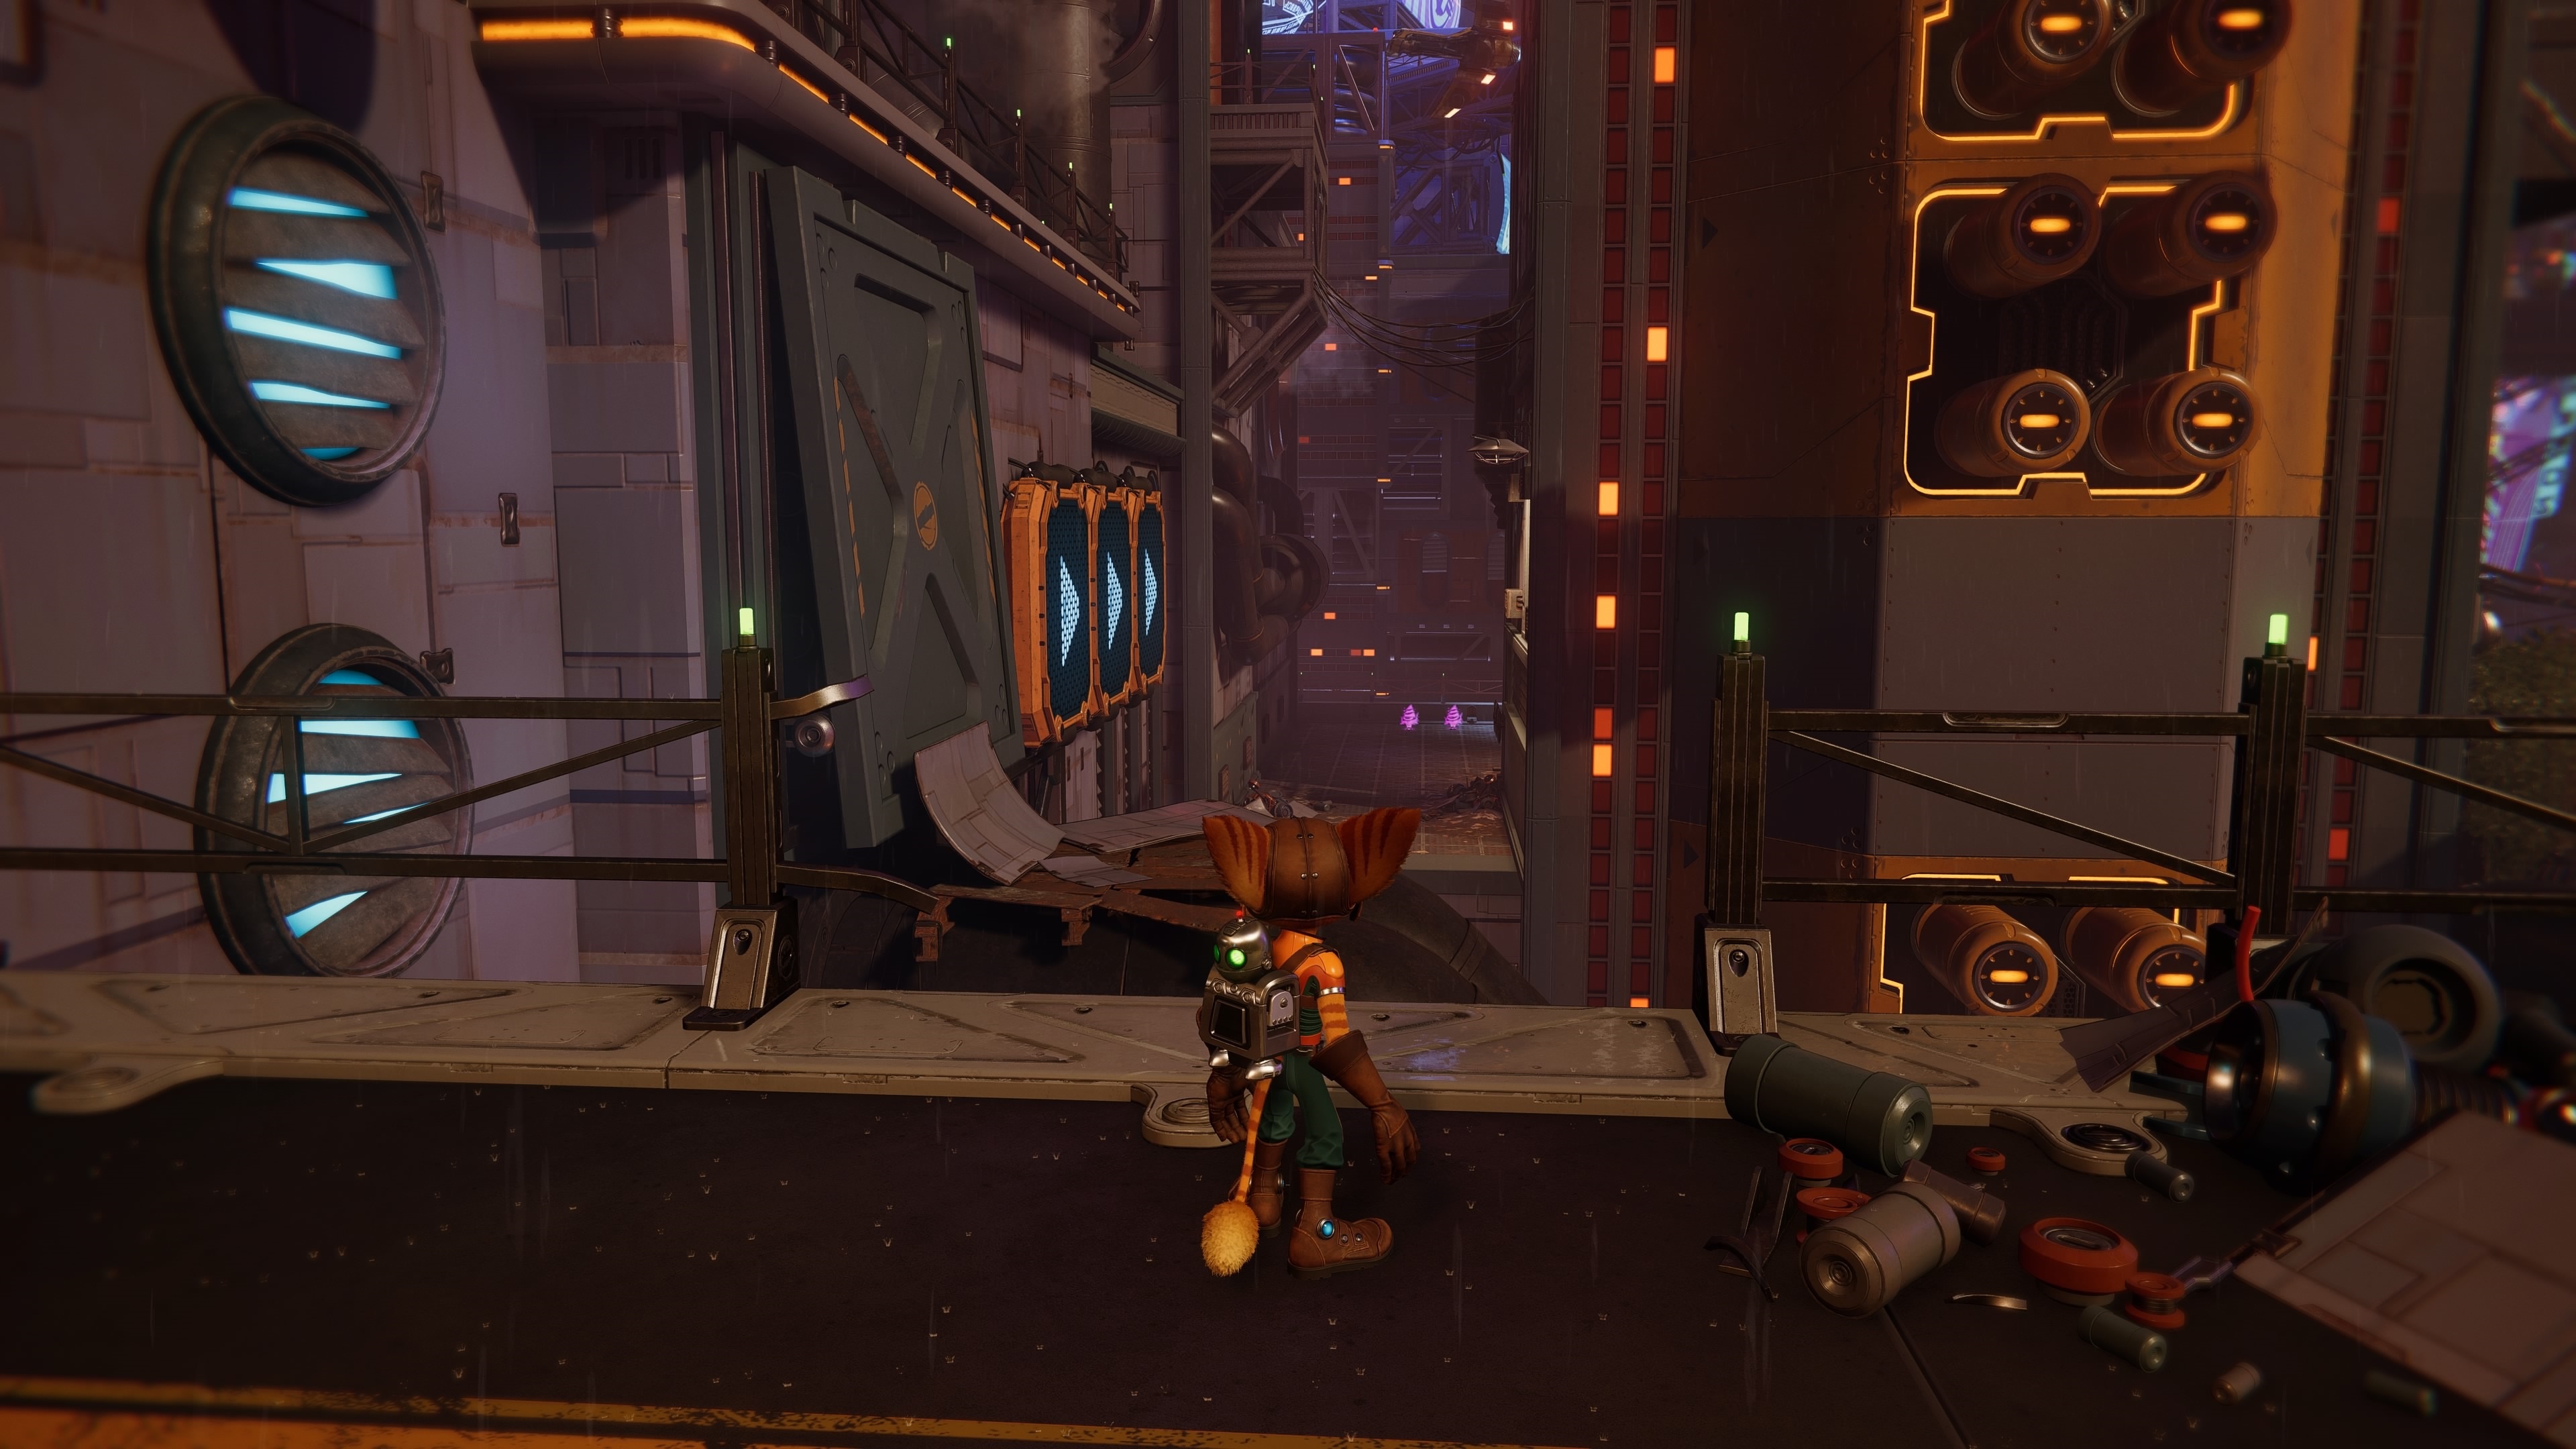
The next Gold Bolt is only attainable after acquiring the Omniglove from the Phantom. From the entrance where you first viewed Nefarious City's skyline, turn left and glide over to the junk platform. You'll see a wall-running fixture ahead of it; make your way through and hop onto the building roof, where you'll find a Gold Bolt.
Sargasso (Outpost L51)
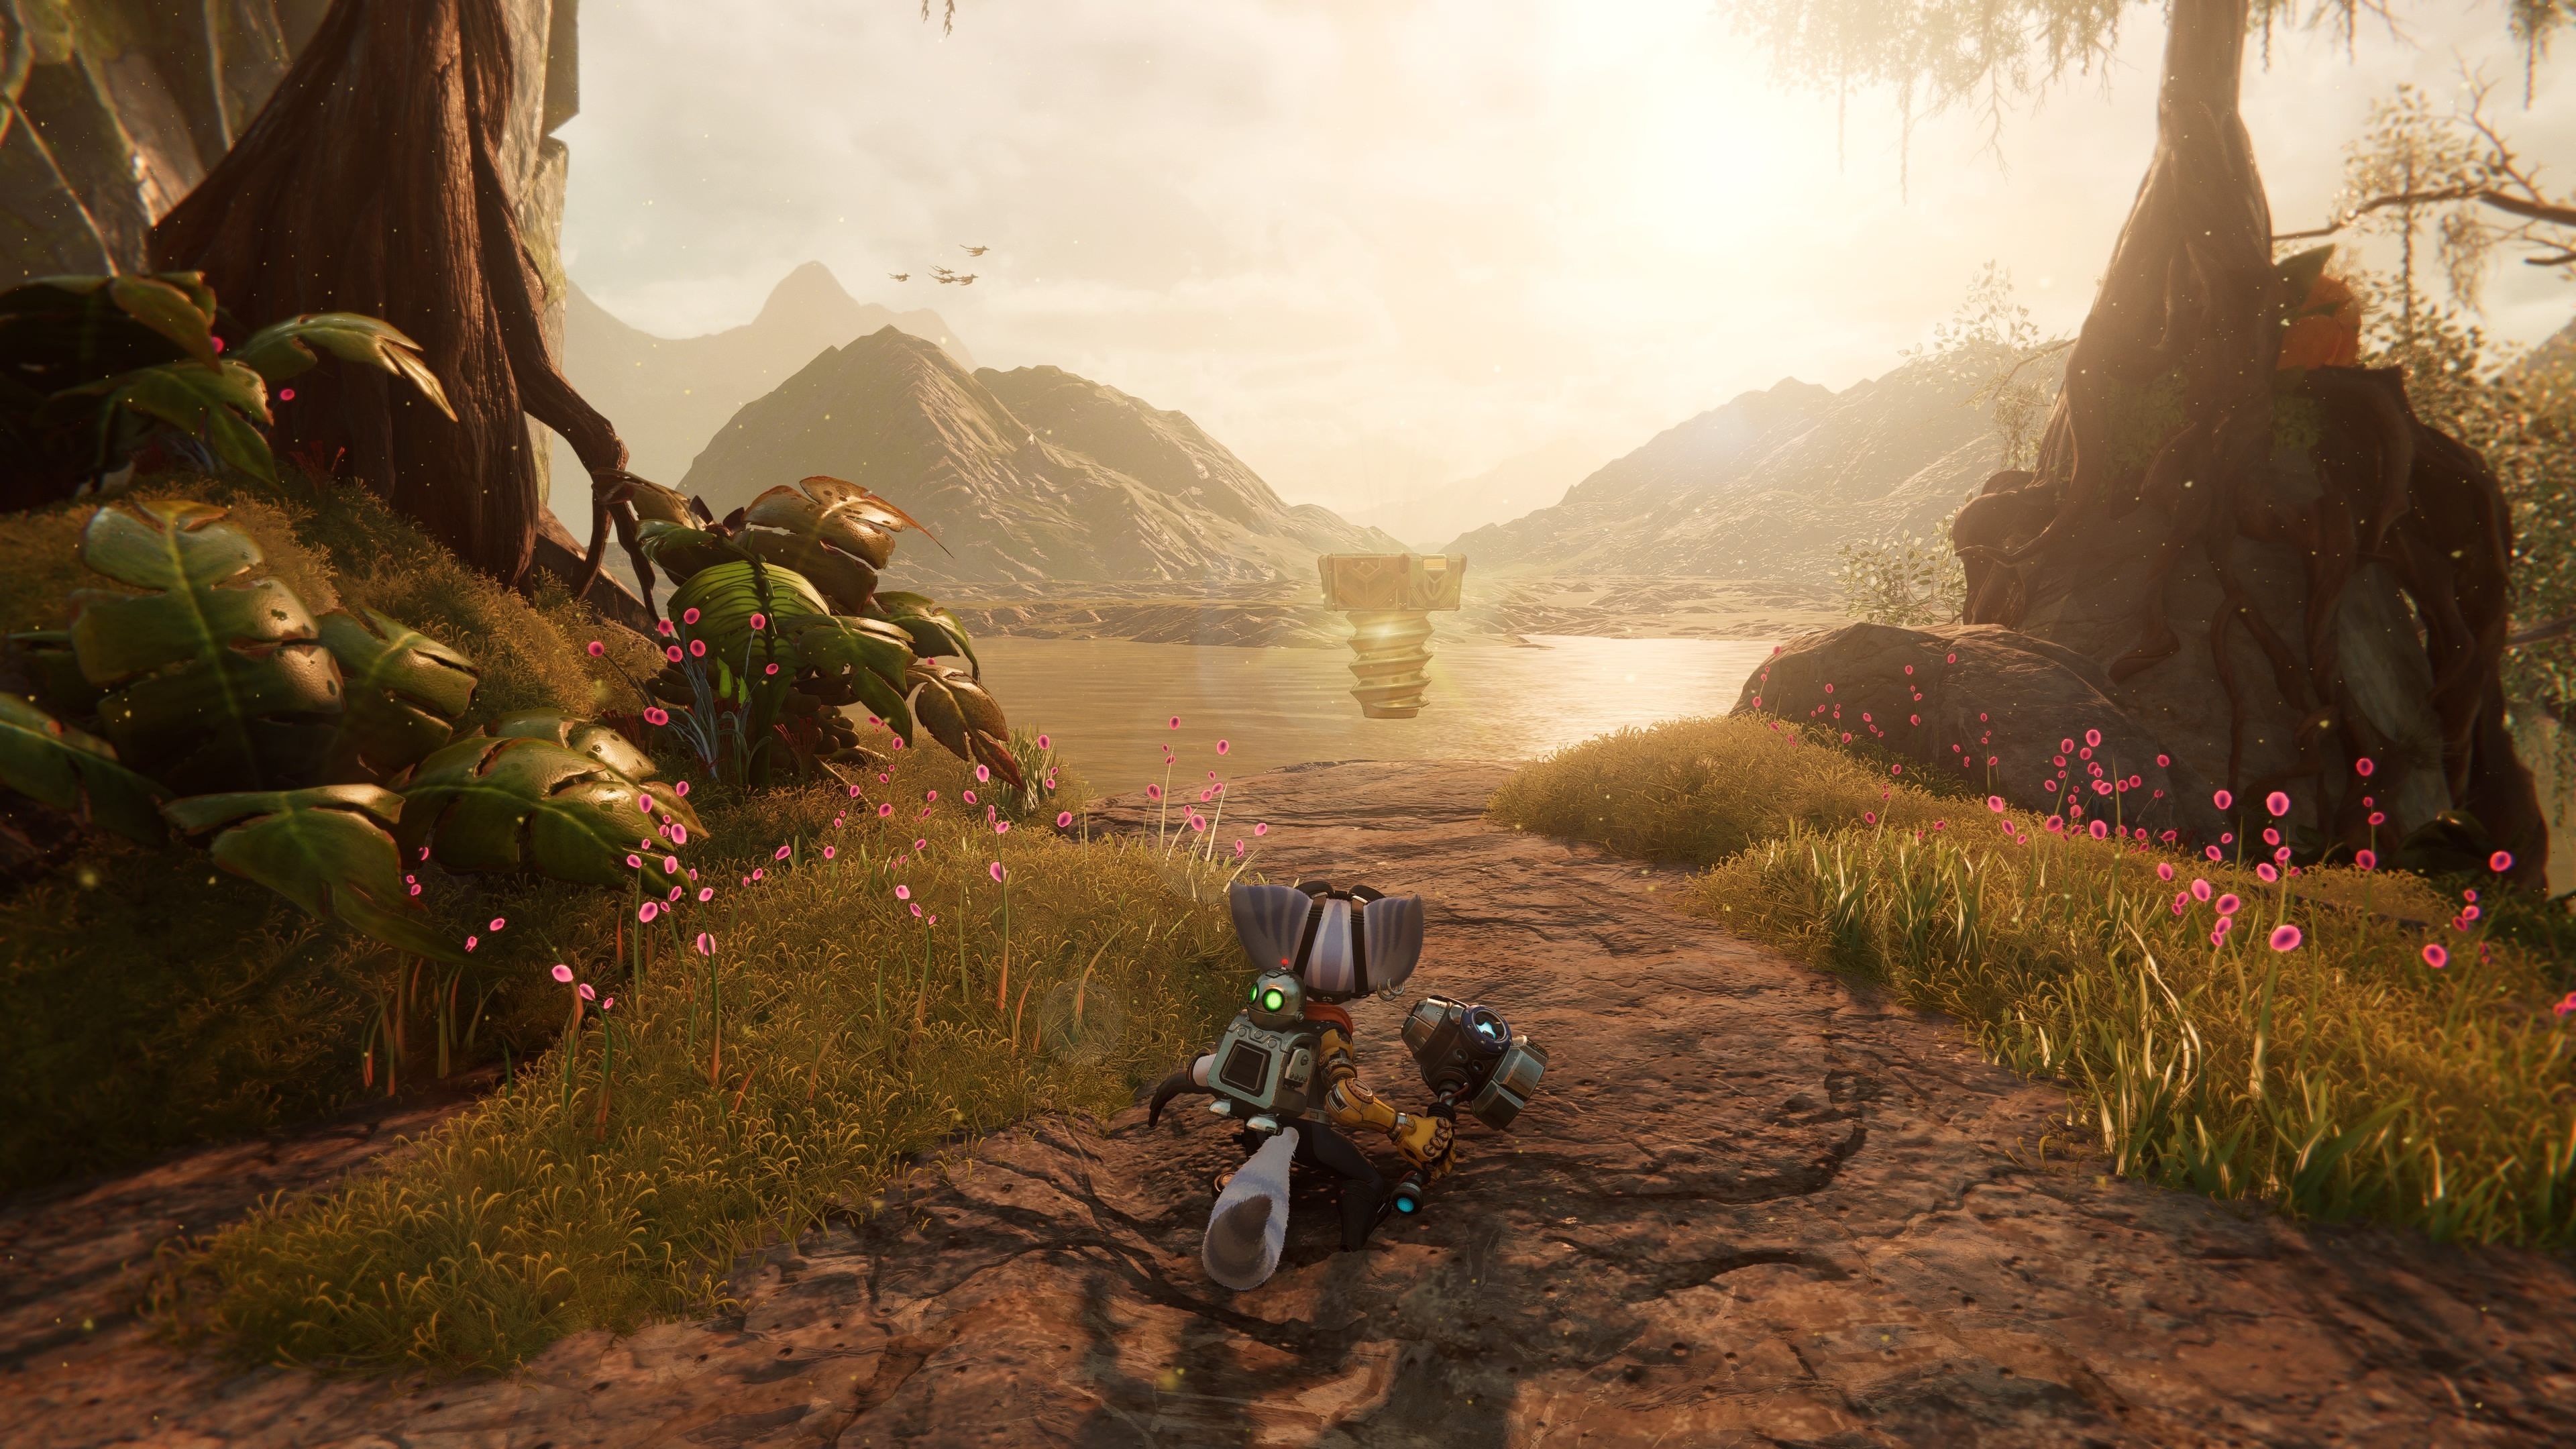


After saving Mort from the Goons-4-Less at the Gelatonium factory, you can find this Gold Bolt on a small elevated island behind the main factory itself. Use the Rift to make your way up there to get the Gold Bolt.

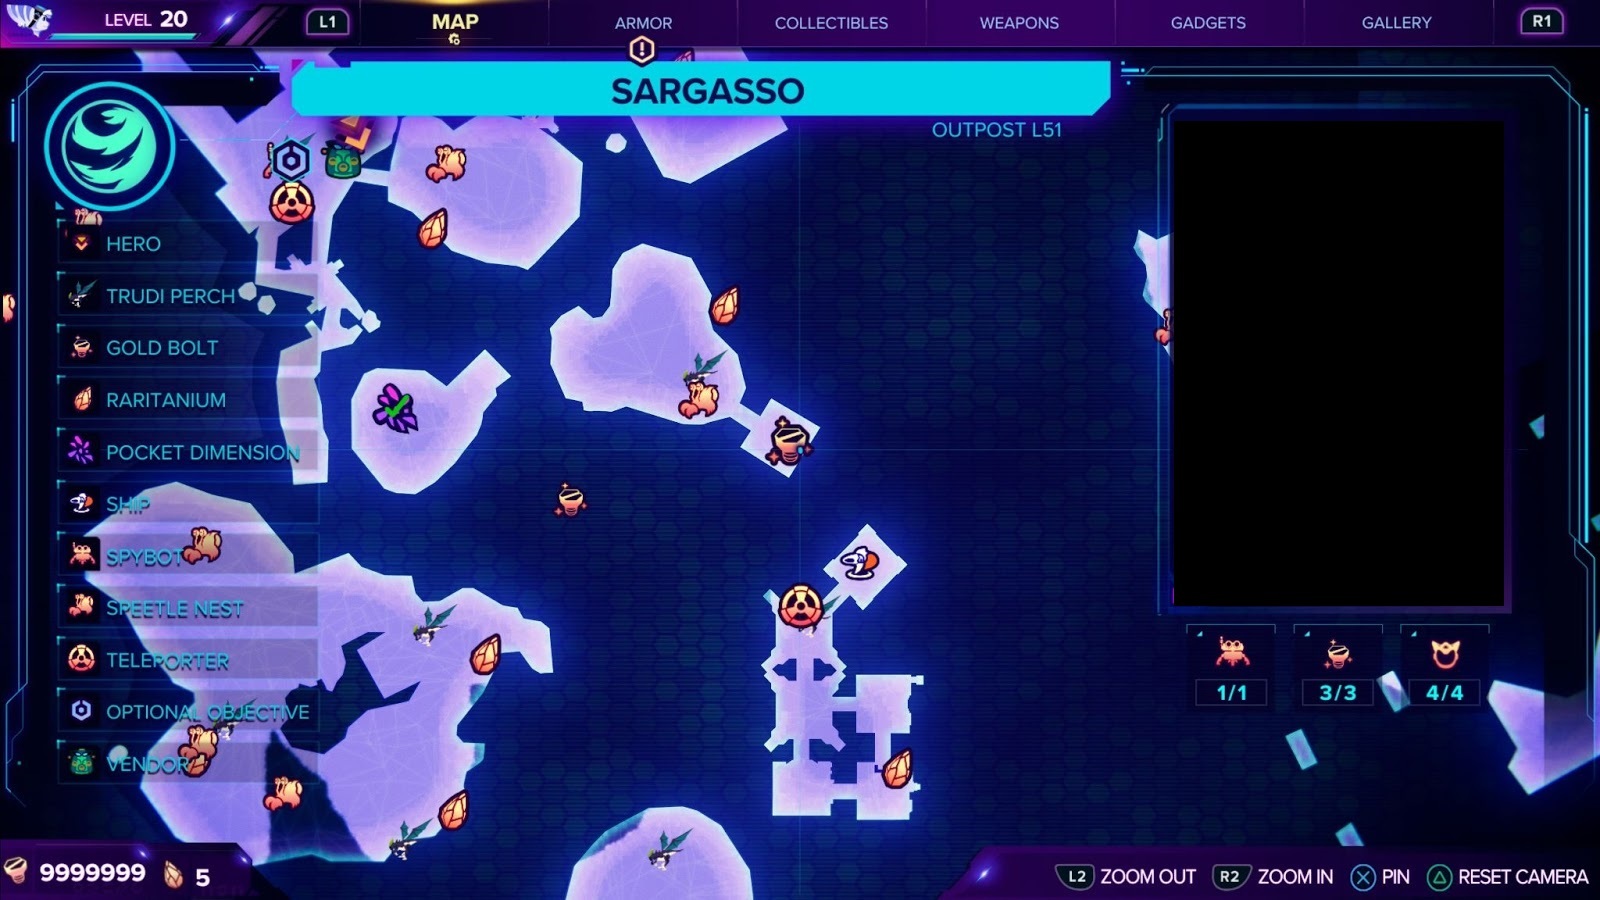
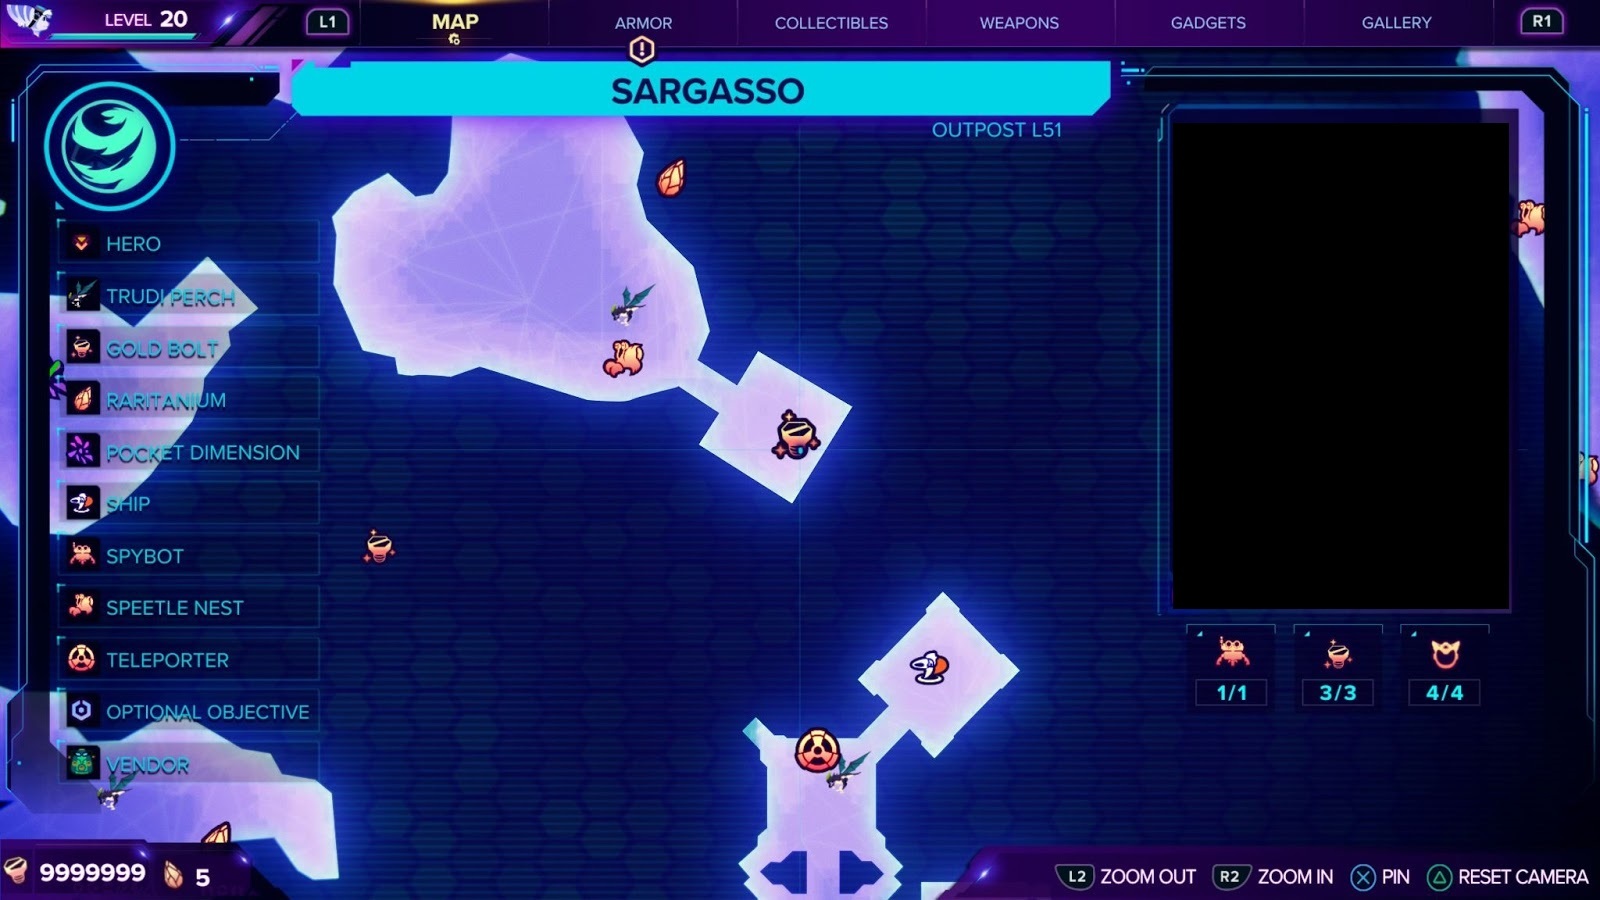
You can find this Gold Bolt behind the Gelatonium factory platform on the island where Rivet's hideout is located. You'll find some Fendersax Wasps defending it; exterminate them, and the Gold Bolt is yours for the taking.

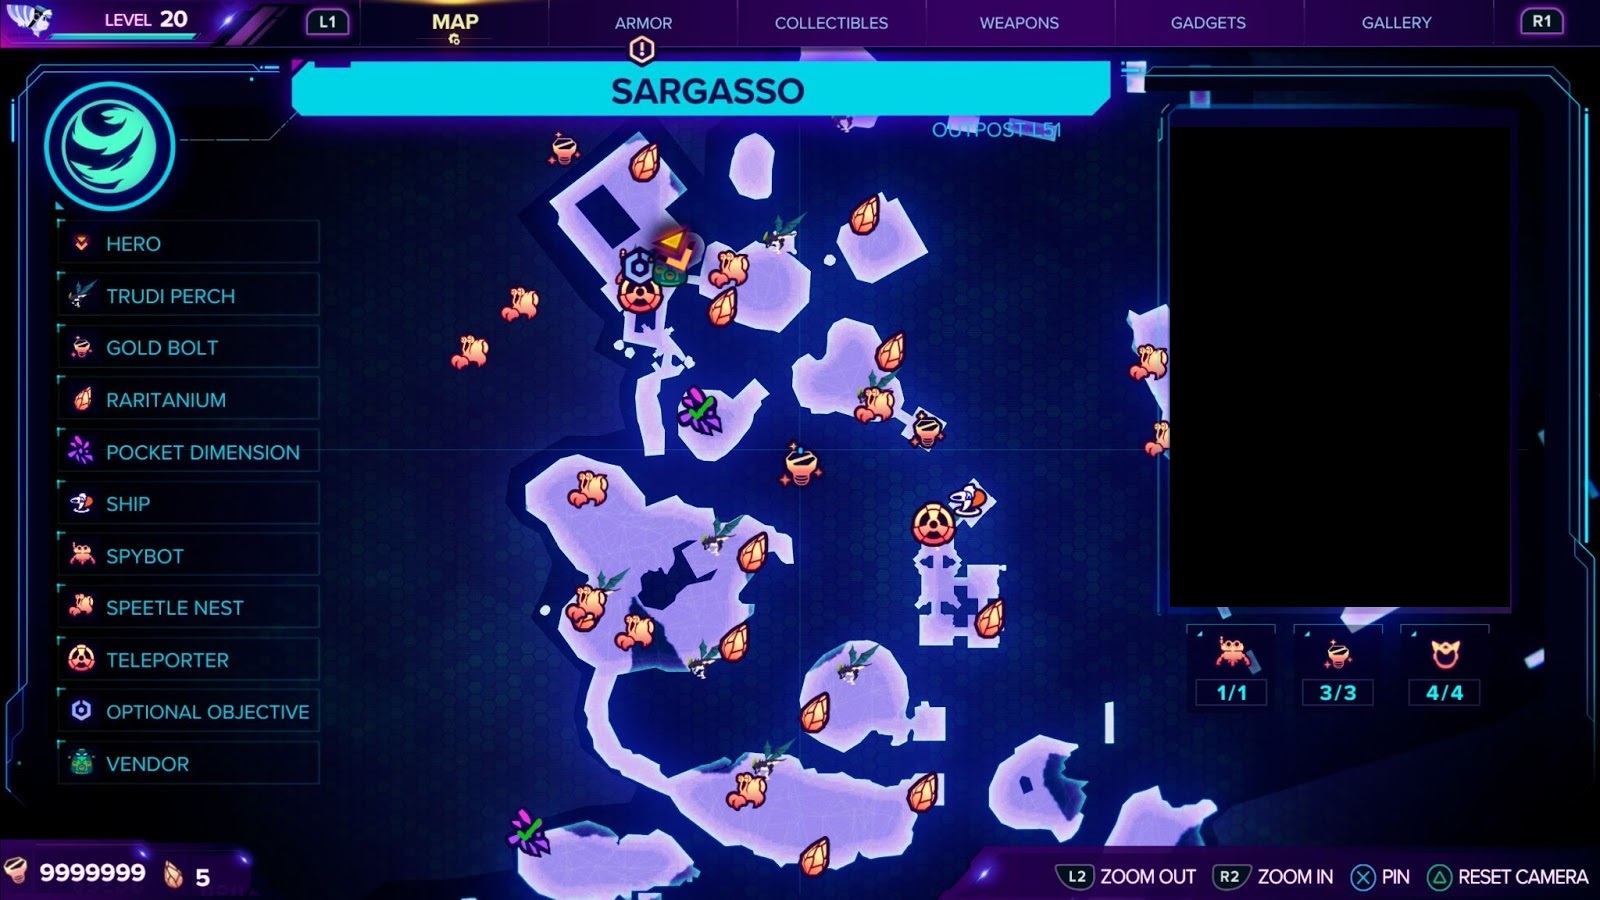

You can only get this Gold Bolt after completing your first visit to Zurkie's. Mort will call you back to Sargasso for an optional side-mission involving helping out Trudie--an alien pterodactyl-like creature--by gathering Zurpstones. Once you've collected enough, Trudi will be able to fly again, so you can take her to the sky to get the Gold Bolt floating inside a ring southeast of the planet's northmost Pocket Dimension.
Scarstu Debris Field (Zurkie’s)


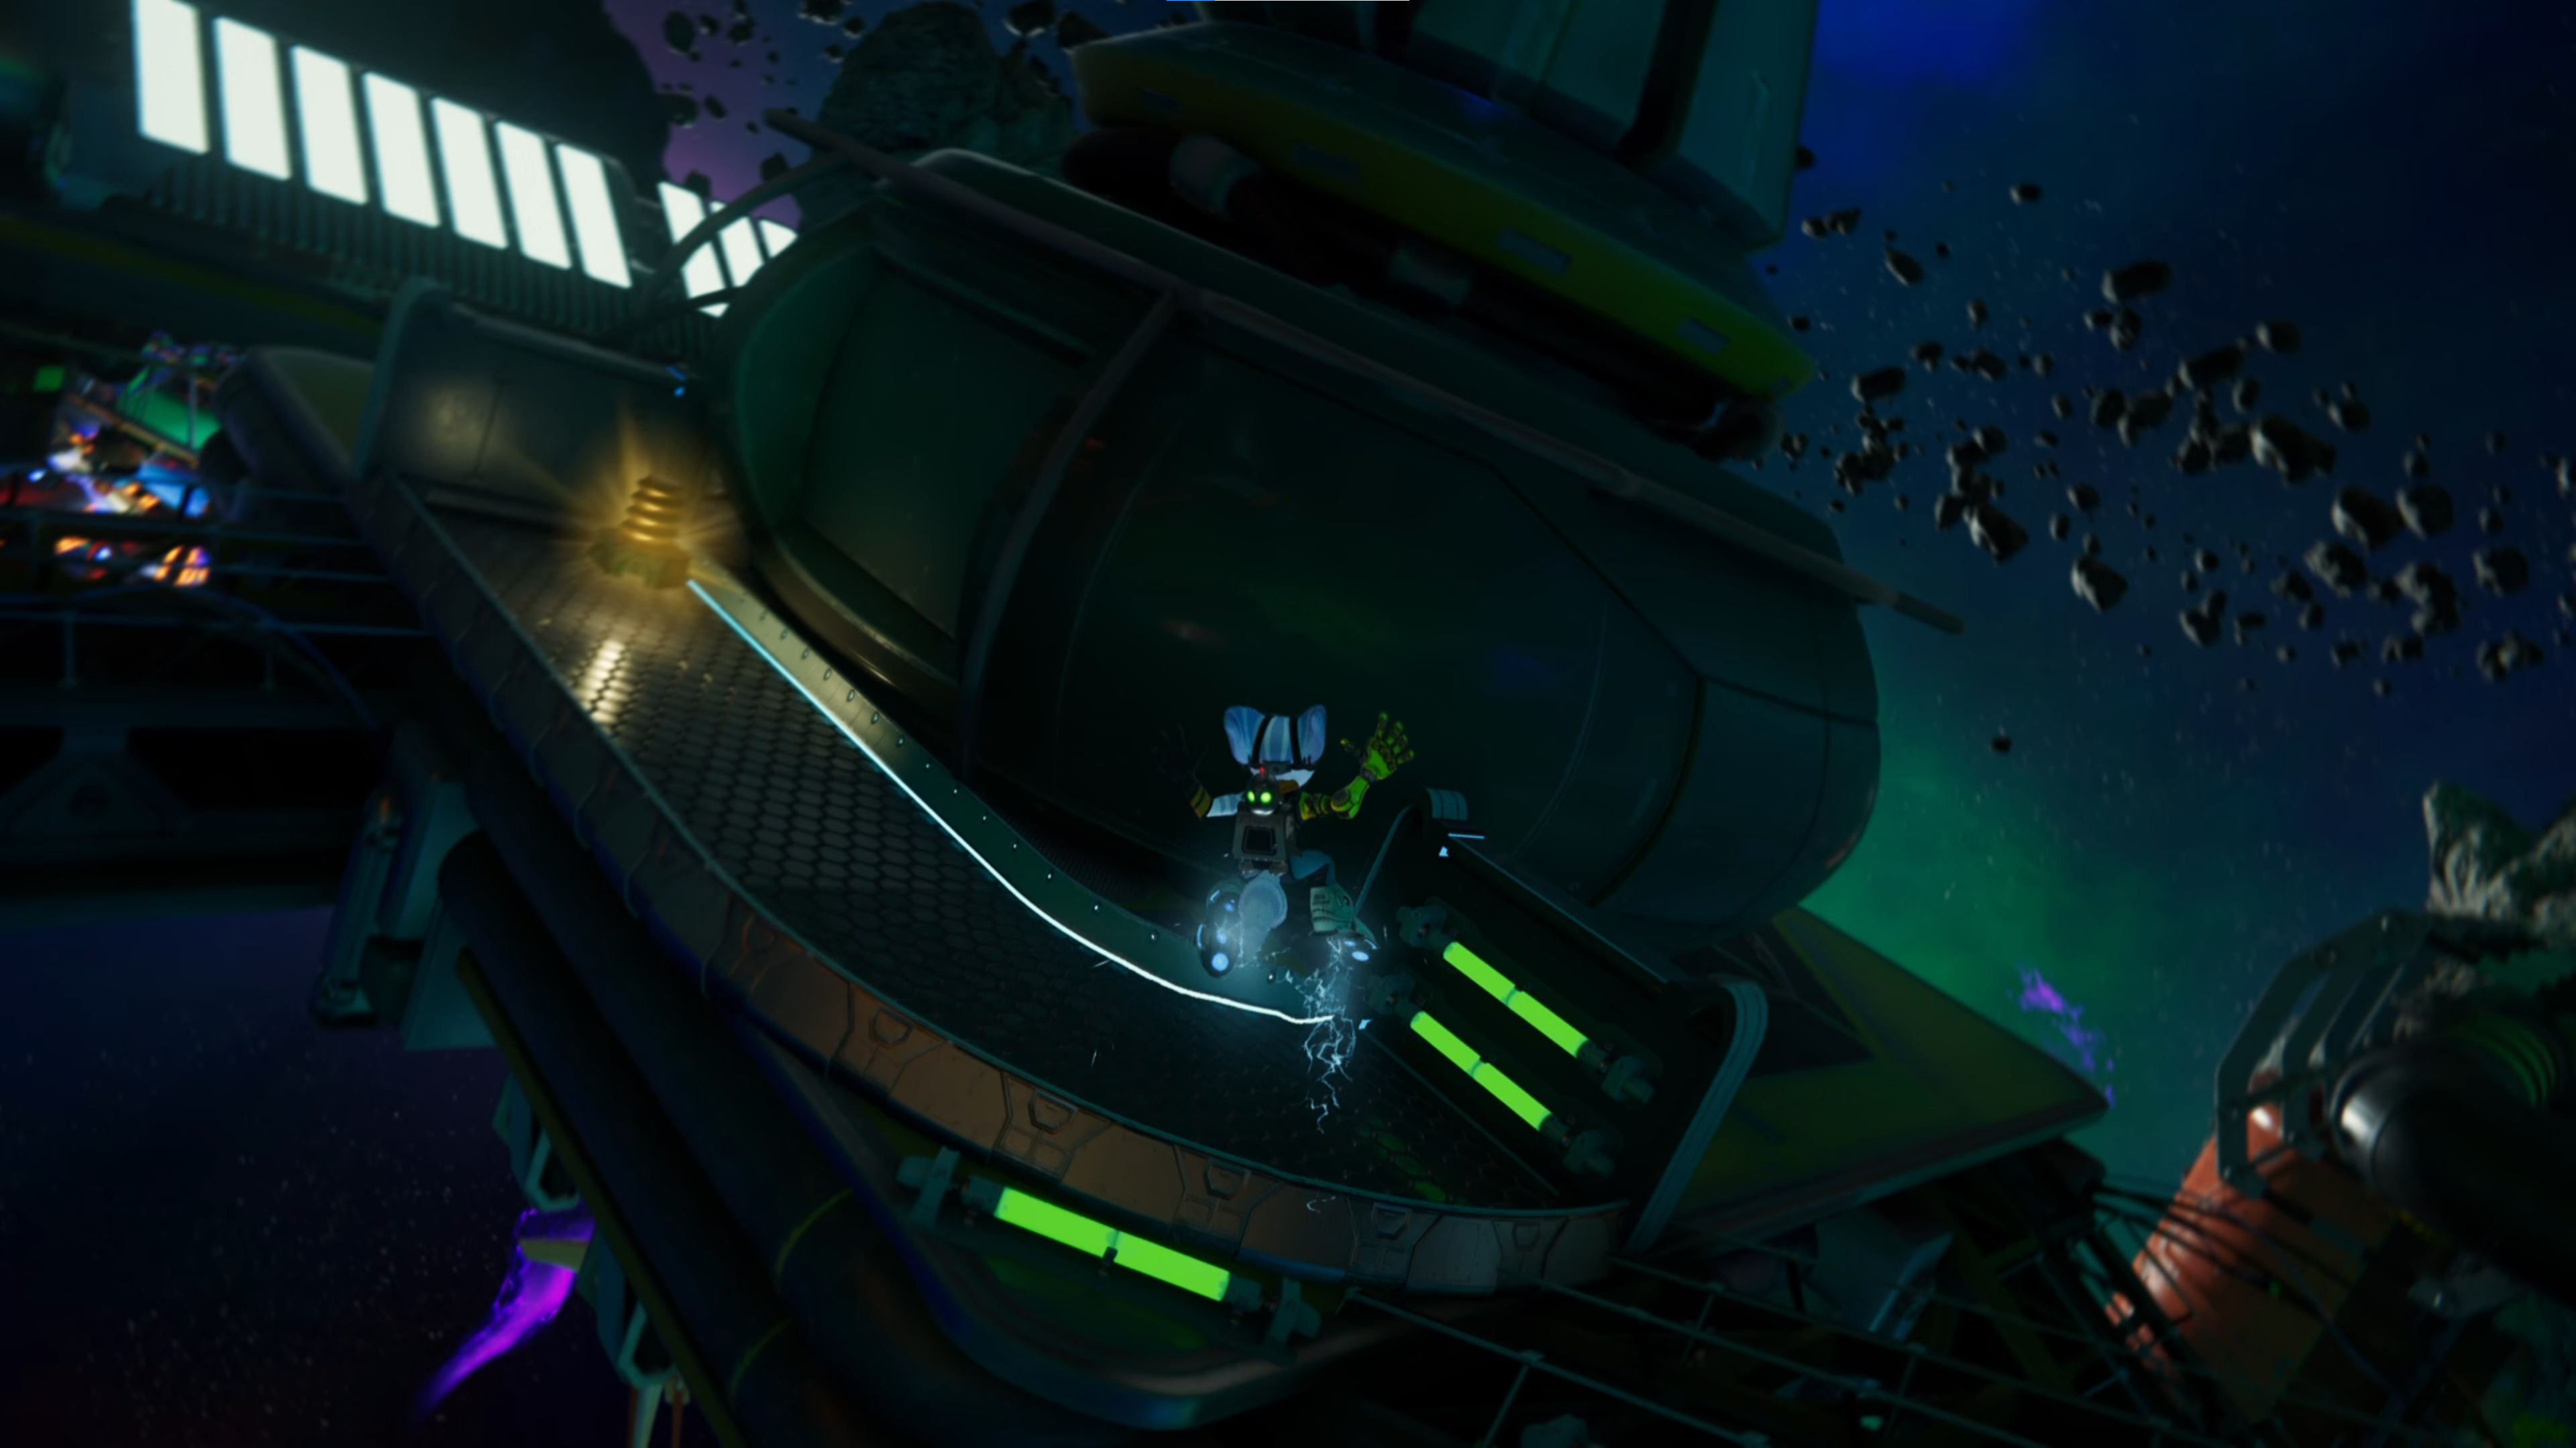
This Gold Bolt is directly underneath the center docking platform at Zurkie's. From your ship, walk down the ramp and hang right to take the next ramp down to a smaller docking platform. At the edge, you'll notice a magnetic ramp; walk down it, and then just before the short wall with the green lights, look up, and you'll see another magnetic ramp. Aim and center your camera until you see a reticle form on the other ramp--press circle to hop over and get that Gold Bolt.

The next Gold Bolt is acquired from completing the "Awesome Bugtrax Done Quick" Bronze Cup challenge at Zurkie's Battleplex. It's a mostly straightforward challenge where you ride a Speedle across an obstacle course. It's worth noting the transition moment after you go off the ramp in the Nefarious City section into a Pocket Dimension area. The instant you enter, stop accelerating the Speedle immediately so as to not go past the ramp you need to go off to cross the gap ahead. Simply slow down and then accelerate again, and you should be fine. The rest should be easy enough to get past. Finish this one and the Gold Bolt is yours.

The final Gold Bolt is acquired from completing the "Pest Control" Silver Cup challenge at Zurkie's Battleplex. This one simply requires you to defeat 50 small enemies before a poisonous gas slowly kills you. Stick to use rapid-fire weaponry, like the Lightning Rod or Blast Pistol, with a few Mr. Fungis on the field, and you'll win that Gold Bolt in a try or two.
Savali (Urfdah Mesa)

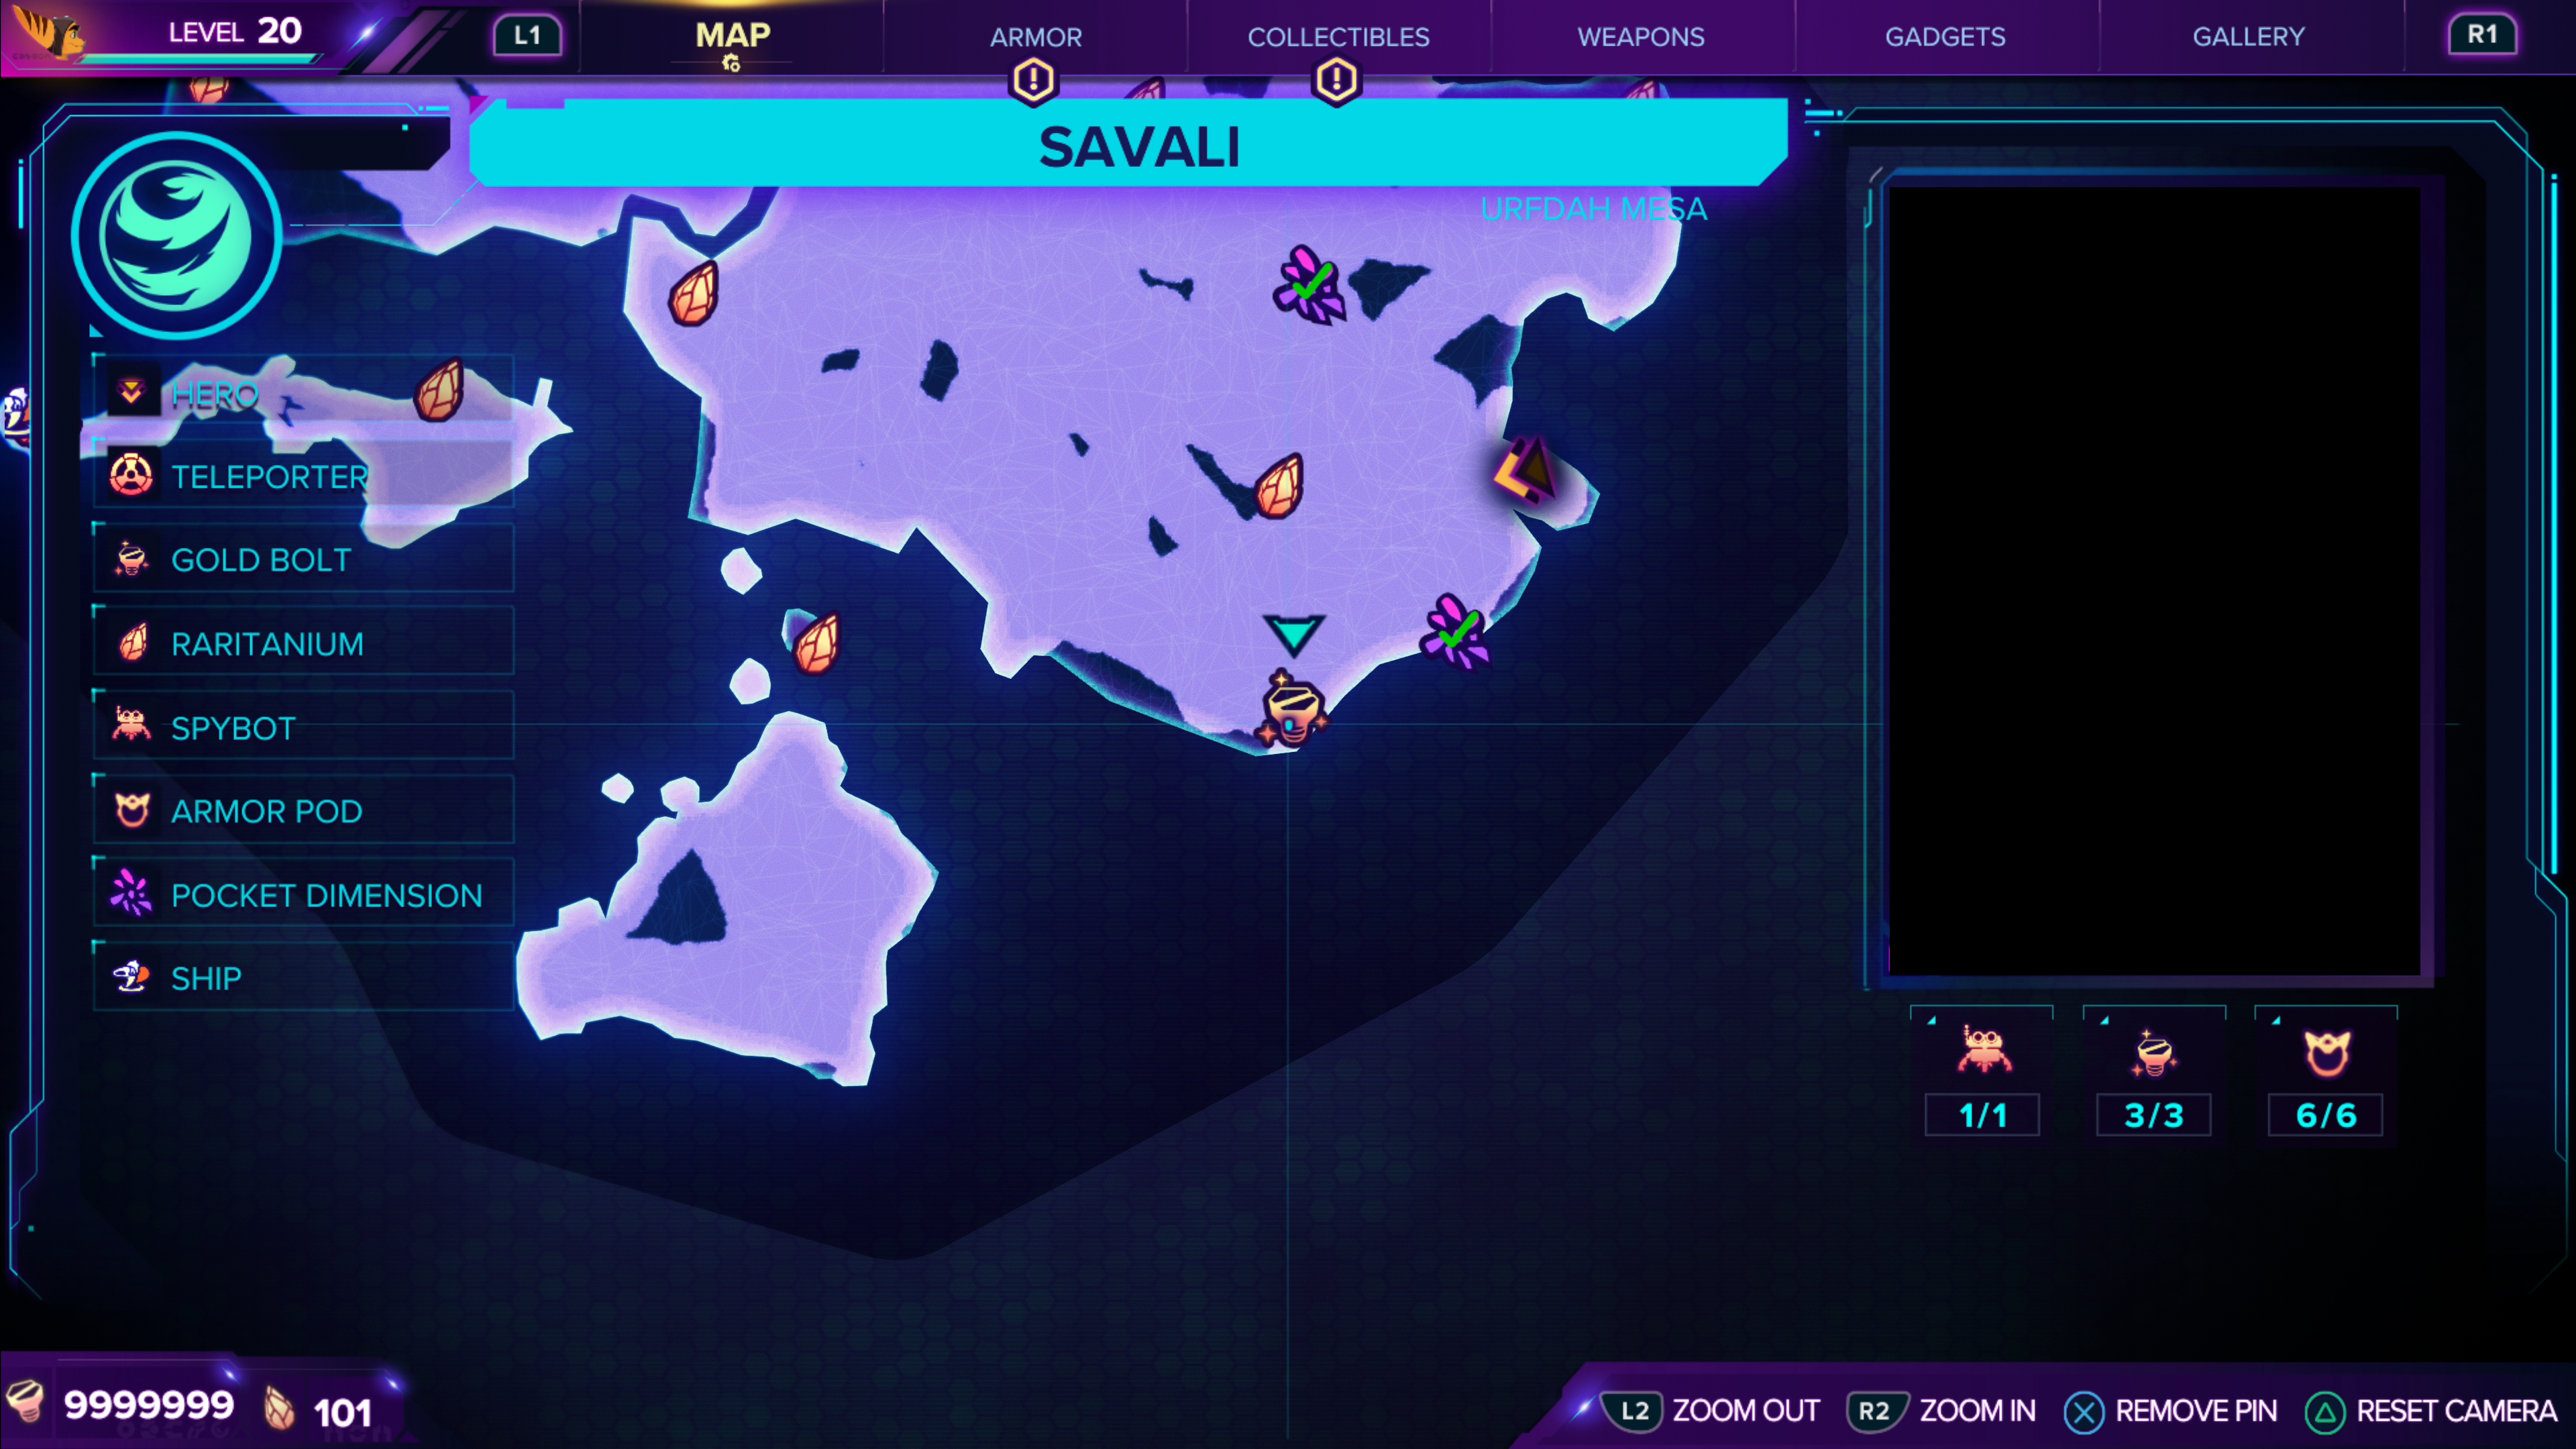

On the southeastmost side of the map near the Pocket Dimension, you'll see a Gold Bolt sitting on a floating platform. But when you approach this platform, it'll start to hover away. Immediately speed up with your Hover Boots until you're close enough to grapple onto the Hookshot point floating beside the platform.


In the northeastmost section of the map, you'll encounter a series of floor switches that seem to power an archway gate. Use your Hover Boots to speed past and activate all the floor switches, and a portal will open up at the gate that leads you to a Gold Bolt. This one, in particular, is the Gold Bolt located west of the main village outpost in the middle of the map that'll likely confuse you the moment you see it early on as you explore Savali.


You can only get this Gold Bolt near the end of the game when you return to Savali. After you activate the machinery and open the way to the underground mines, you'll drop down into a hole. Turn around to find a door that Glitch will need to hack to open up. Behind that door is Savali's final Gold Bolt.
Blizar Prime (Blizon Mines)
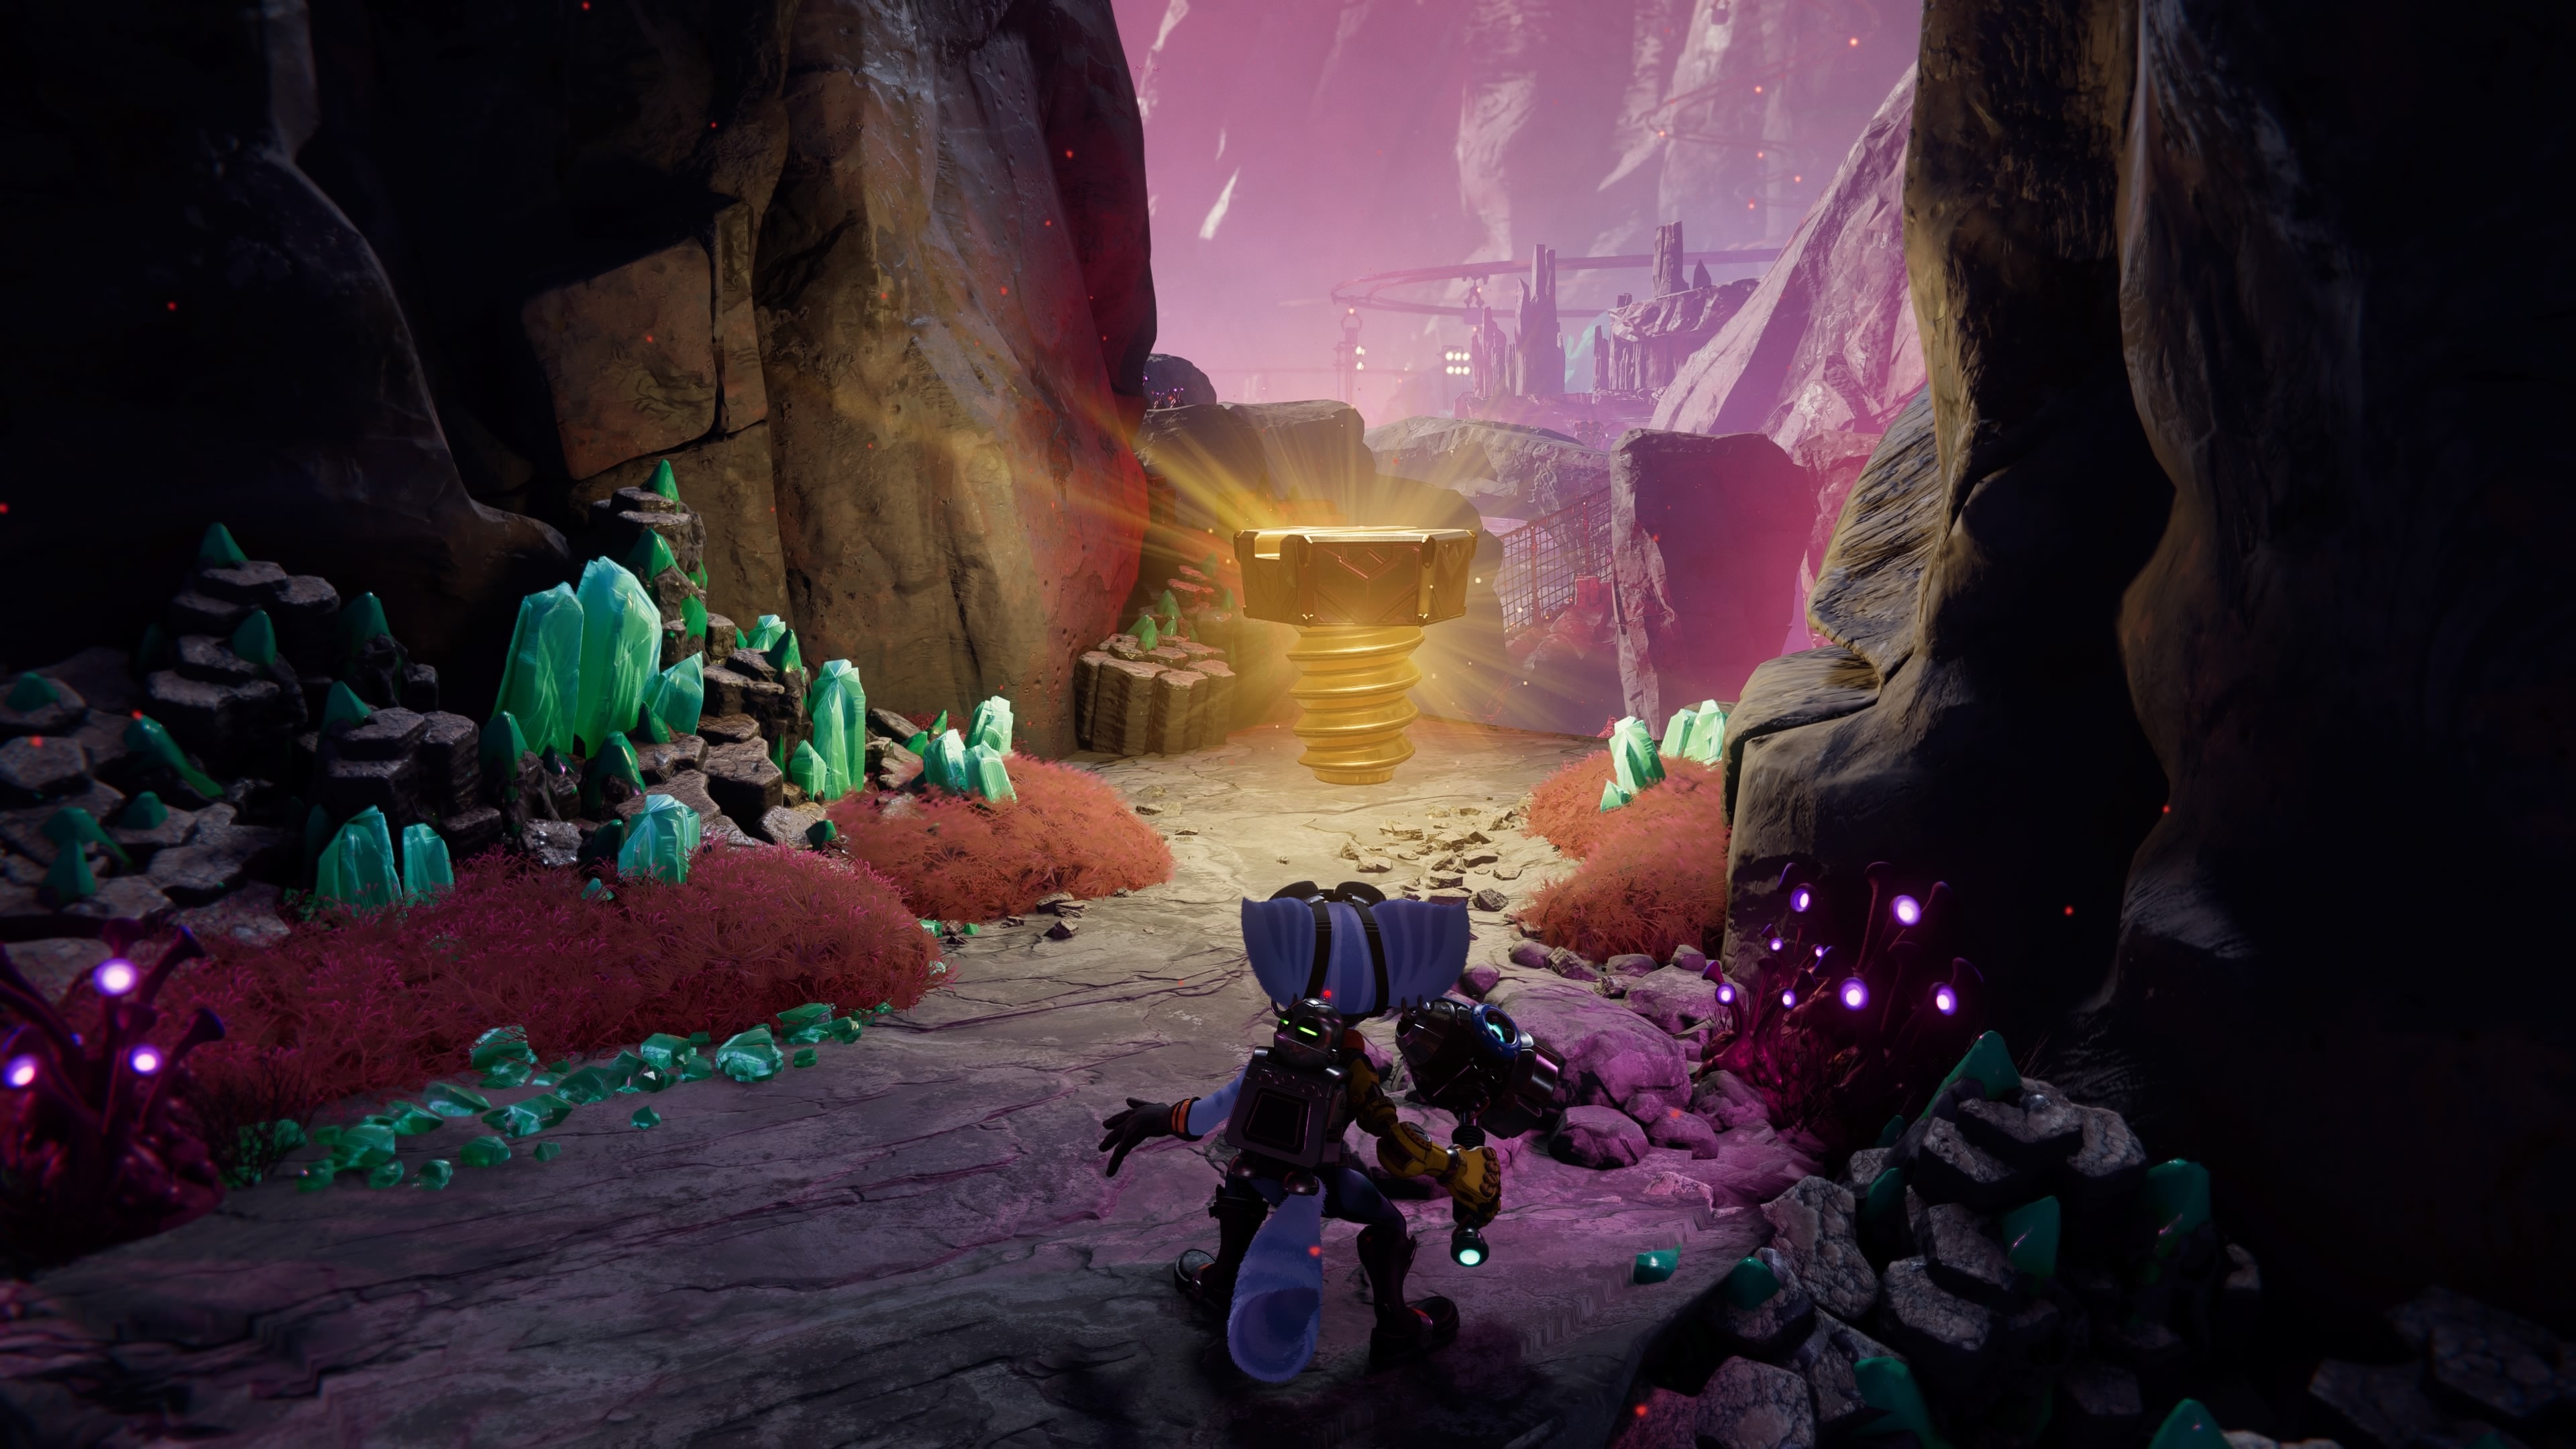


In the dimension where Blizar Prime is still intact, you'll find this Gold Bolt on a small island to the south. A few small enemies guard it but dispatch them and then hop up the platforms curving through the small cave to find the Gold Bolt.

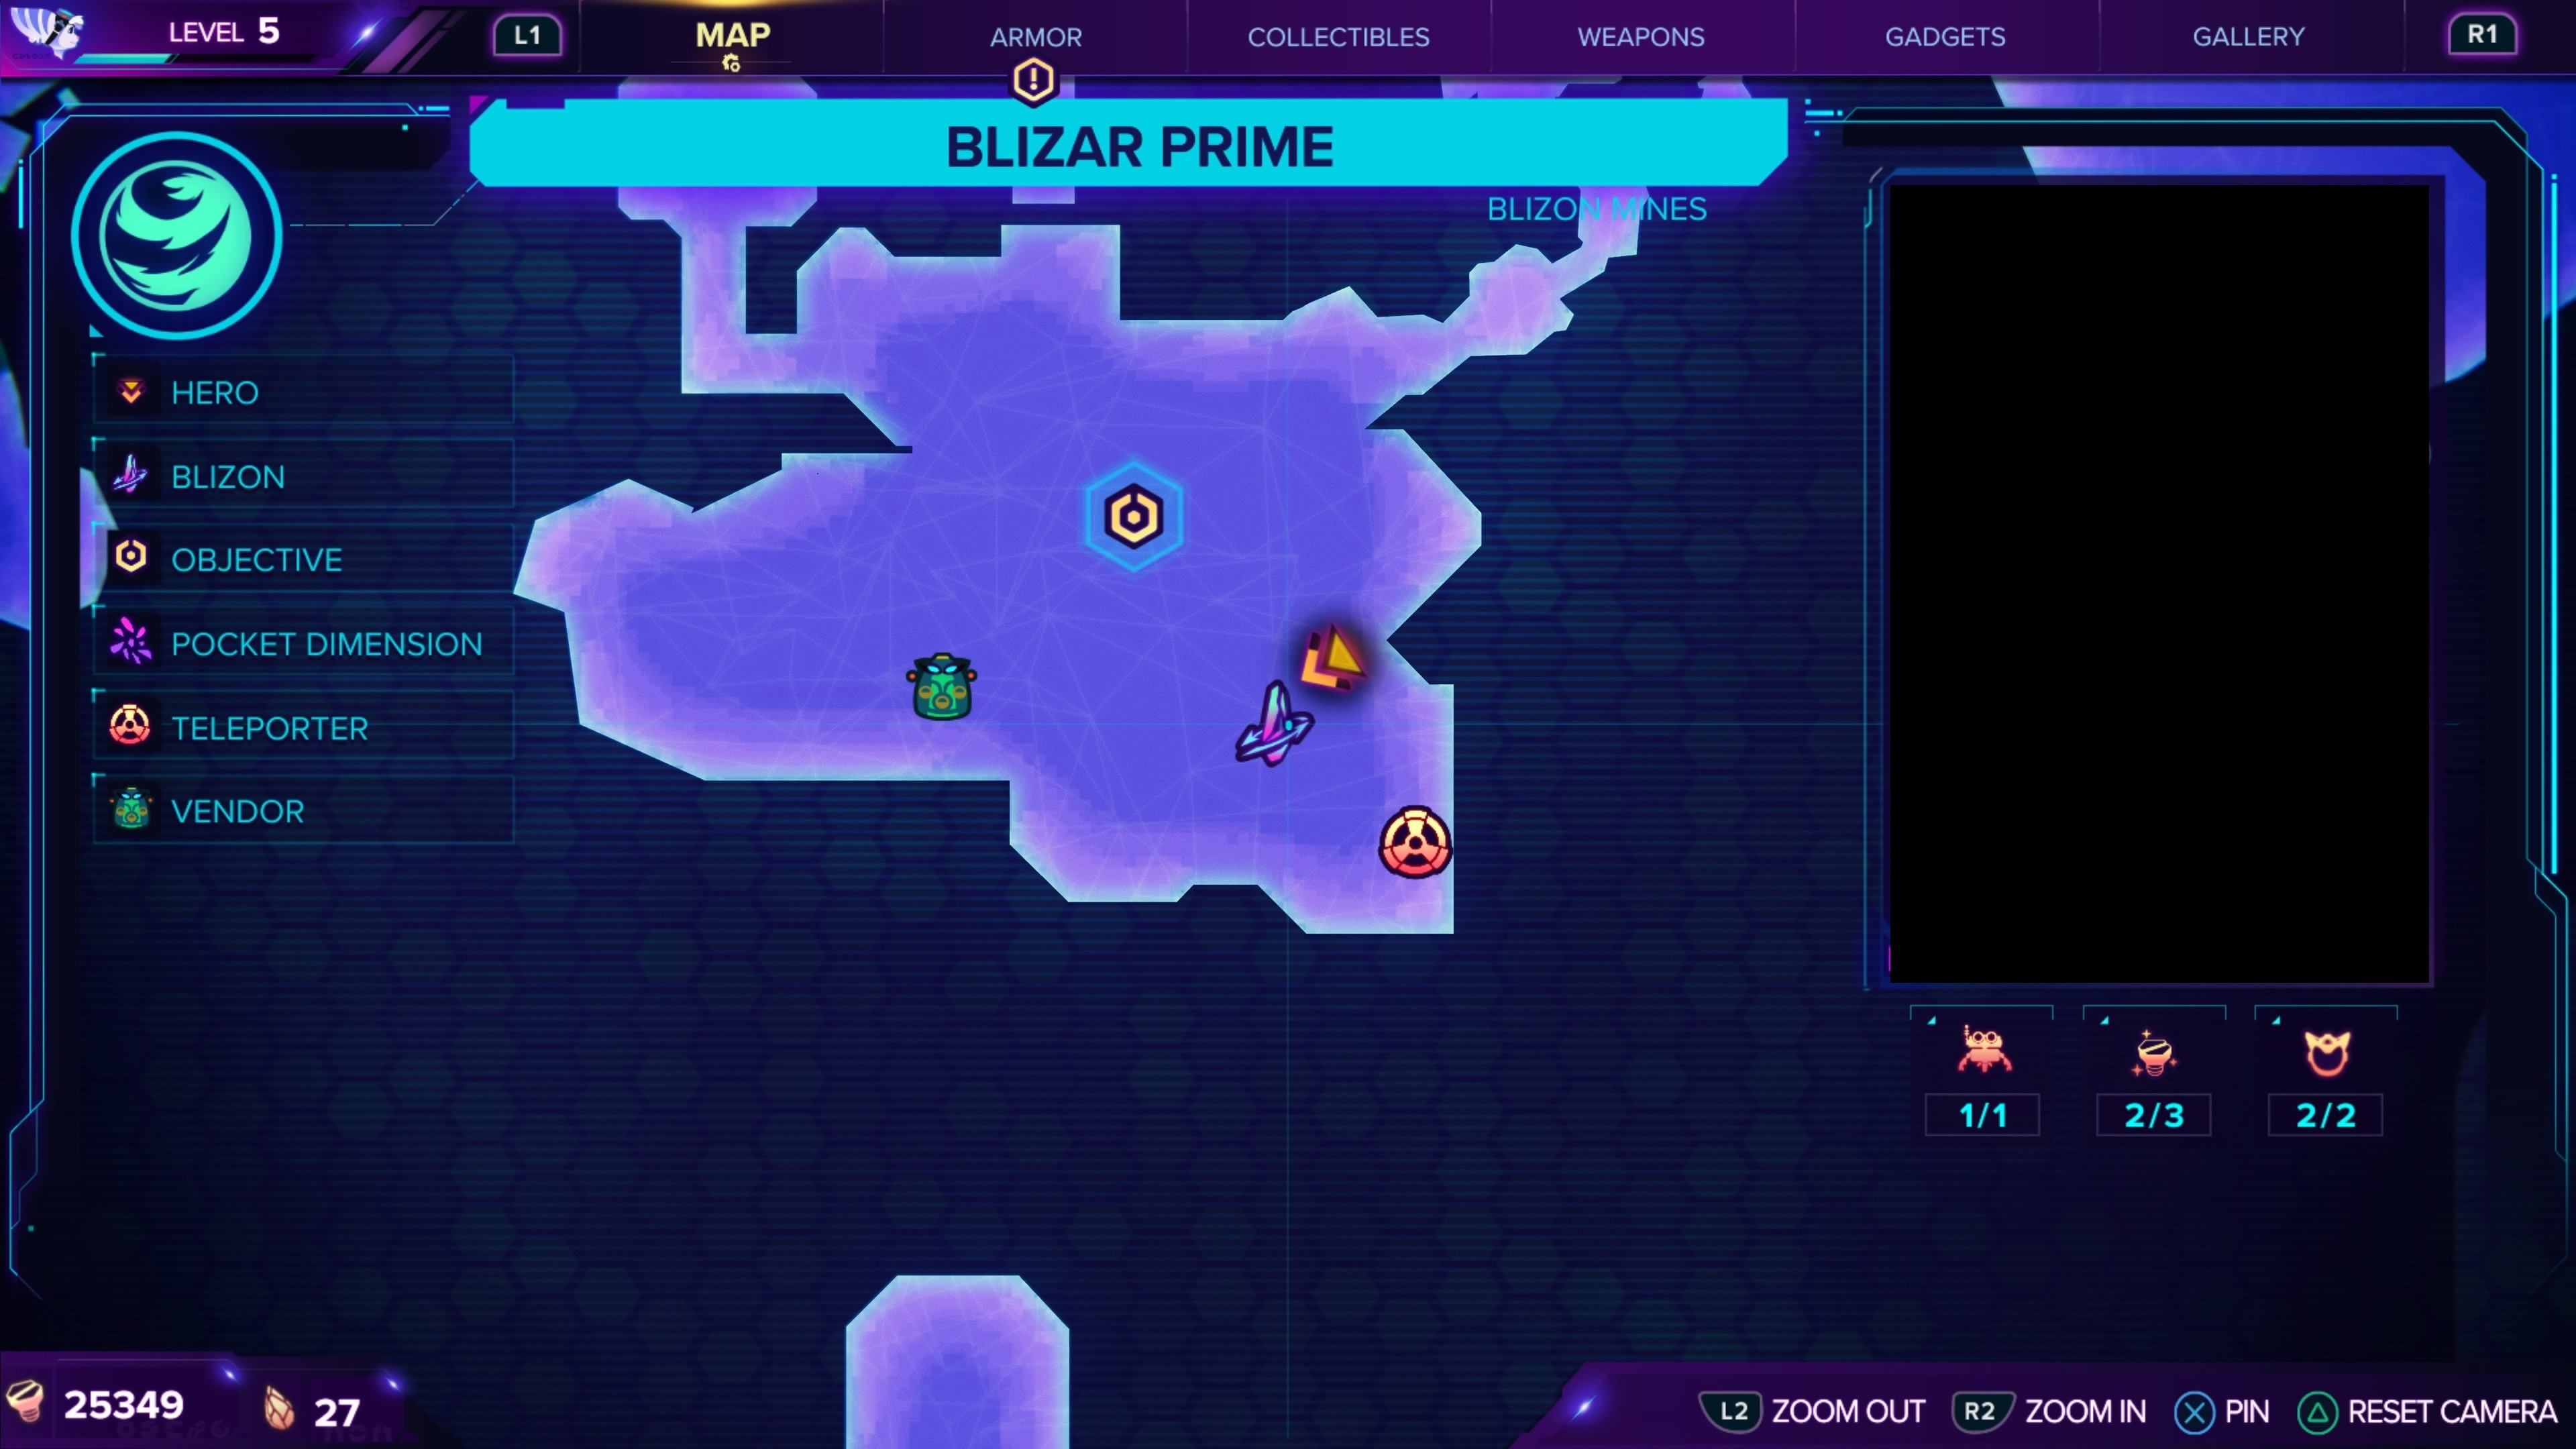

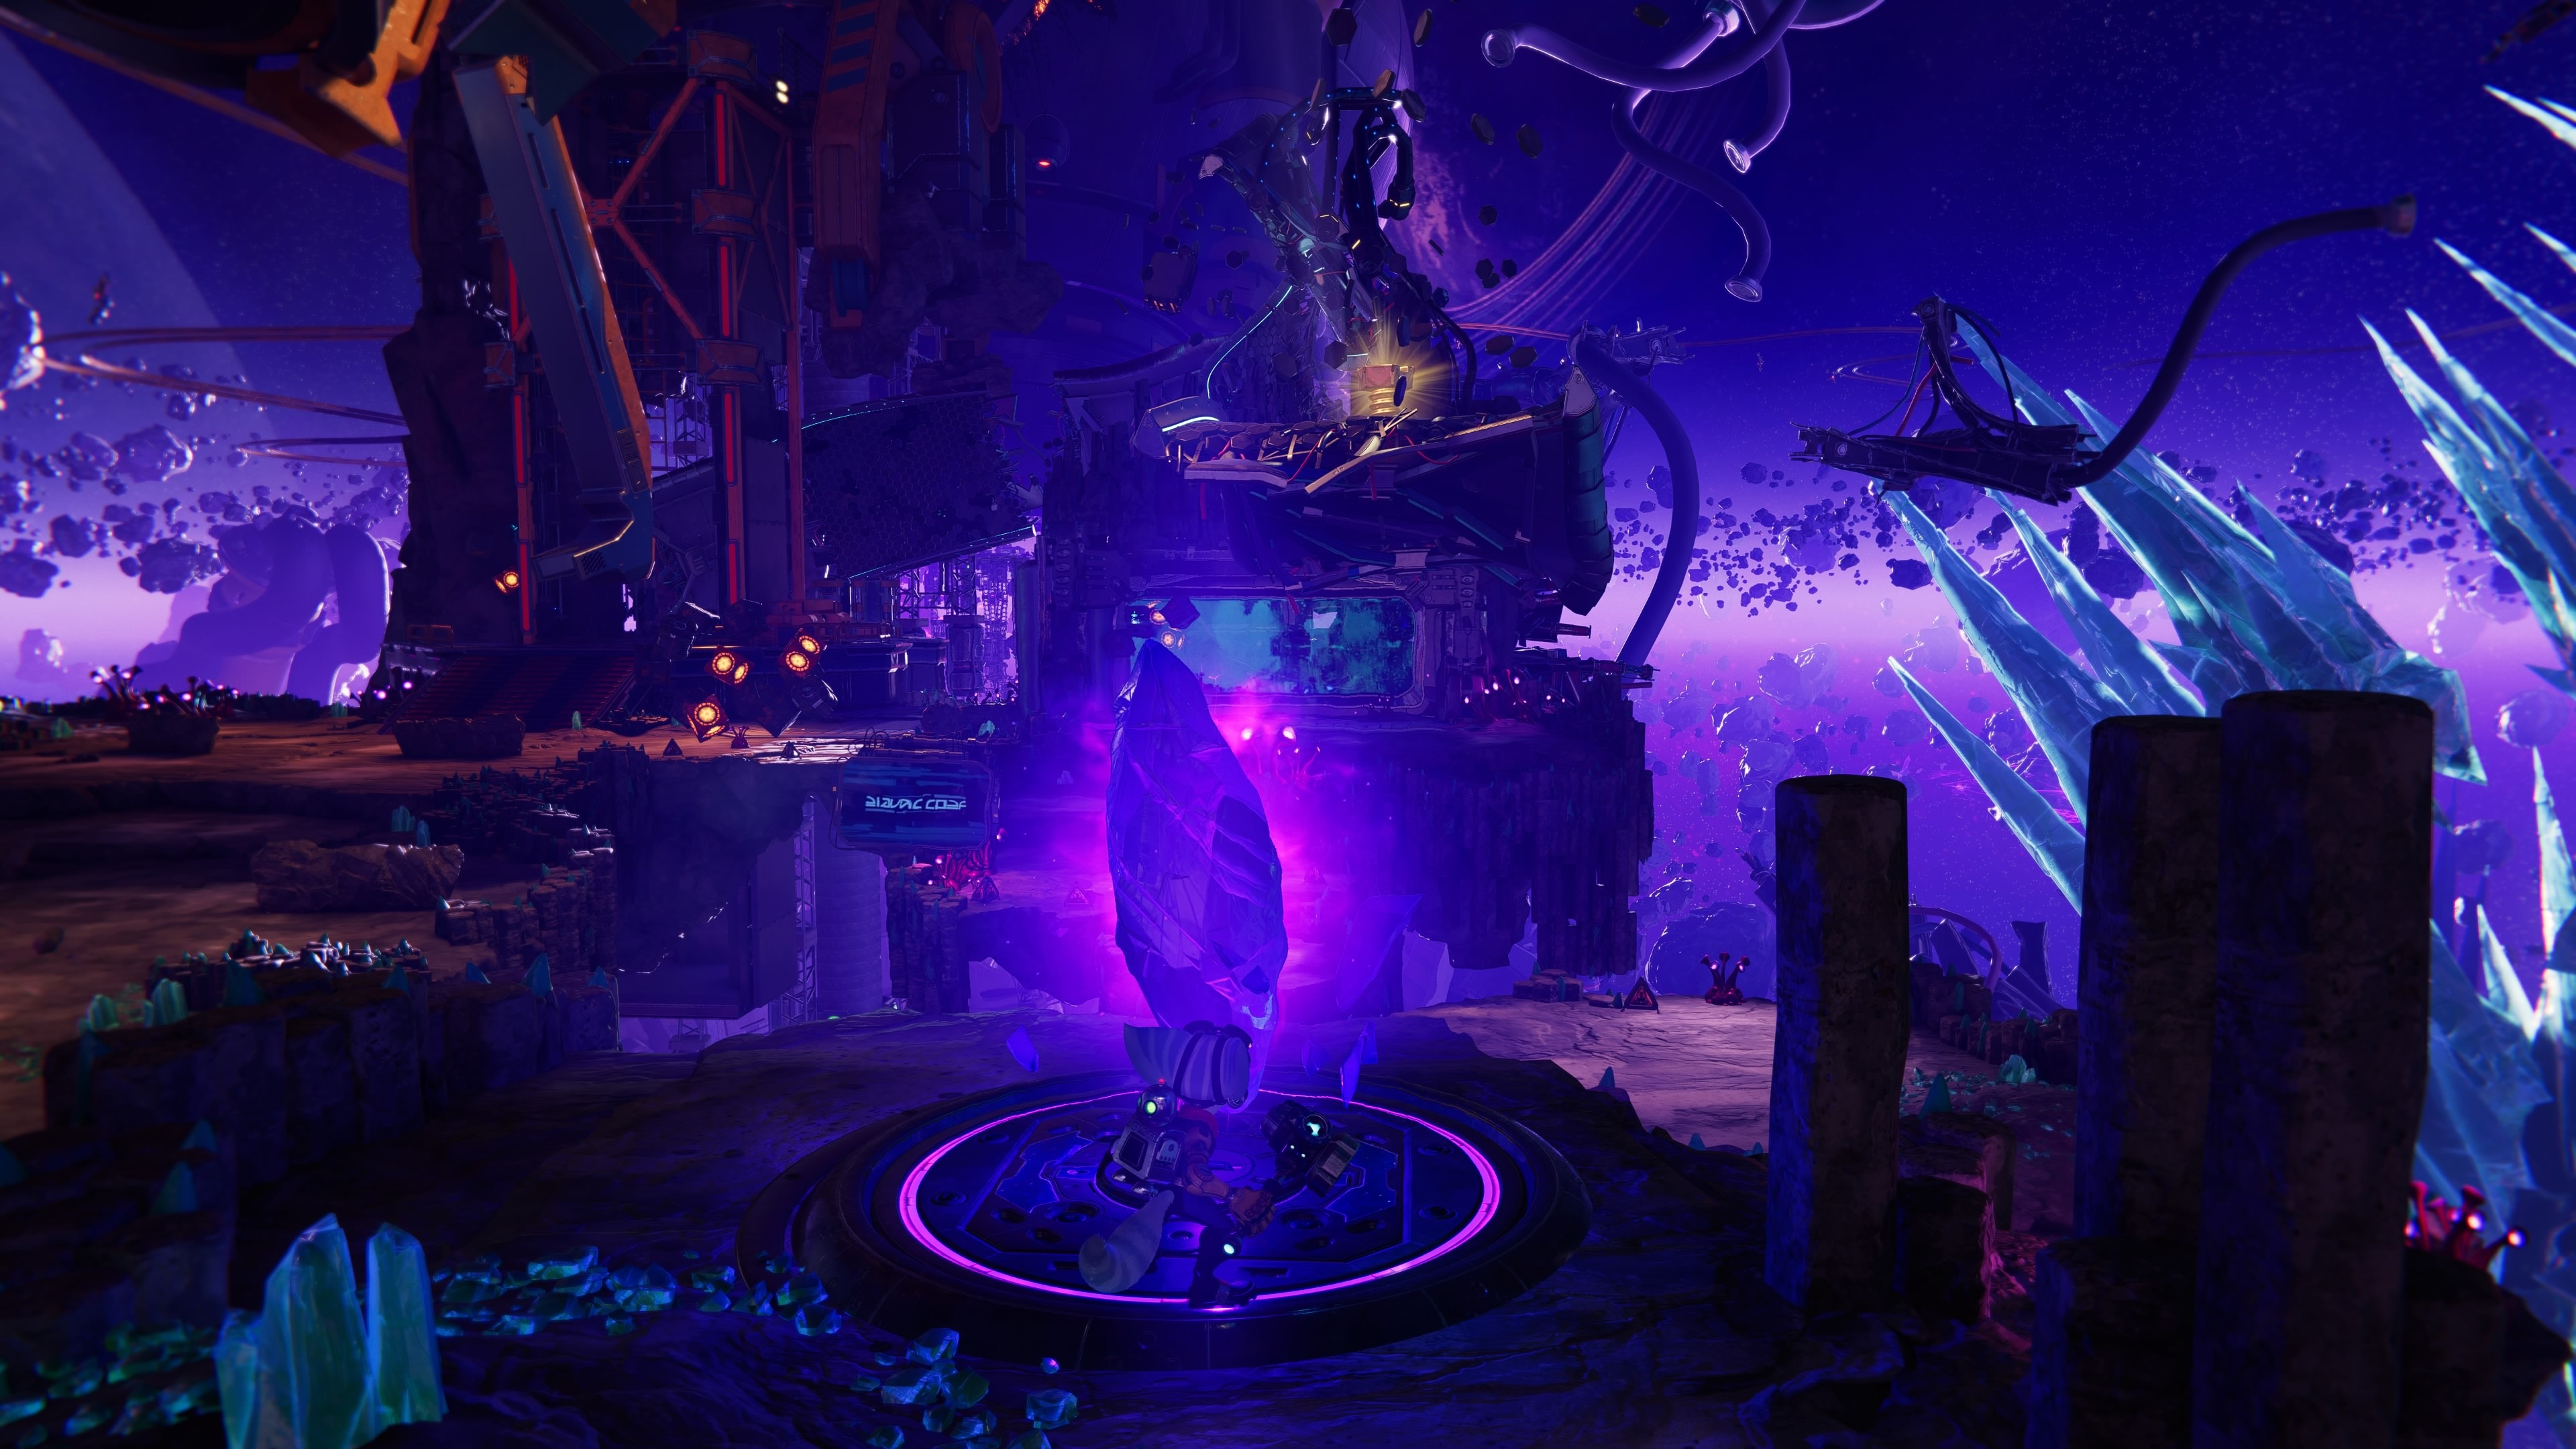
When you first arrive at the Mining Hub, you'll notice a Blizon Crystal perched on a container to the left of the main entrance to the area. Go around containers to find the way up and hit the crystal to transport yourself to the destroyed Blizar Prime. You'll notice a Gold Bolt directly above you, but to get there, you need to follow the path ahead to some magnetic floors. Clear your way through, and the Gold Bolt is yours.

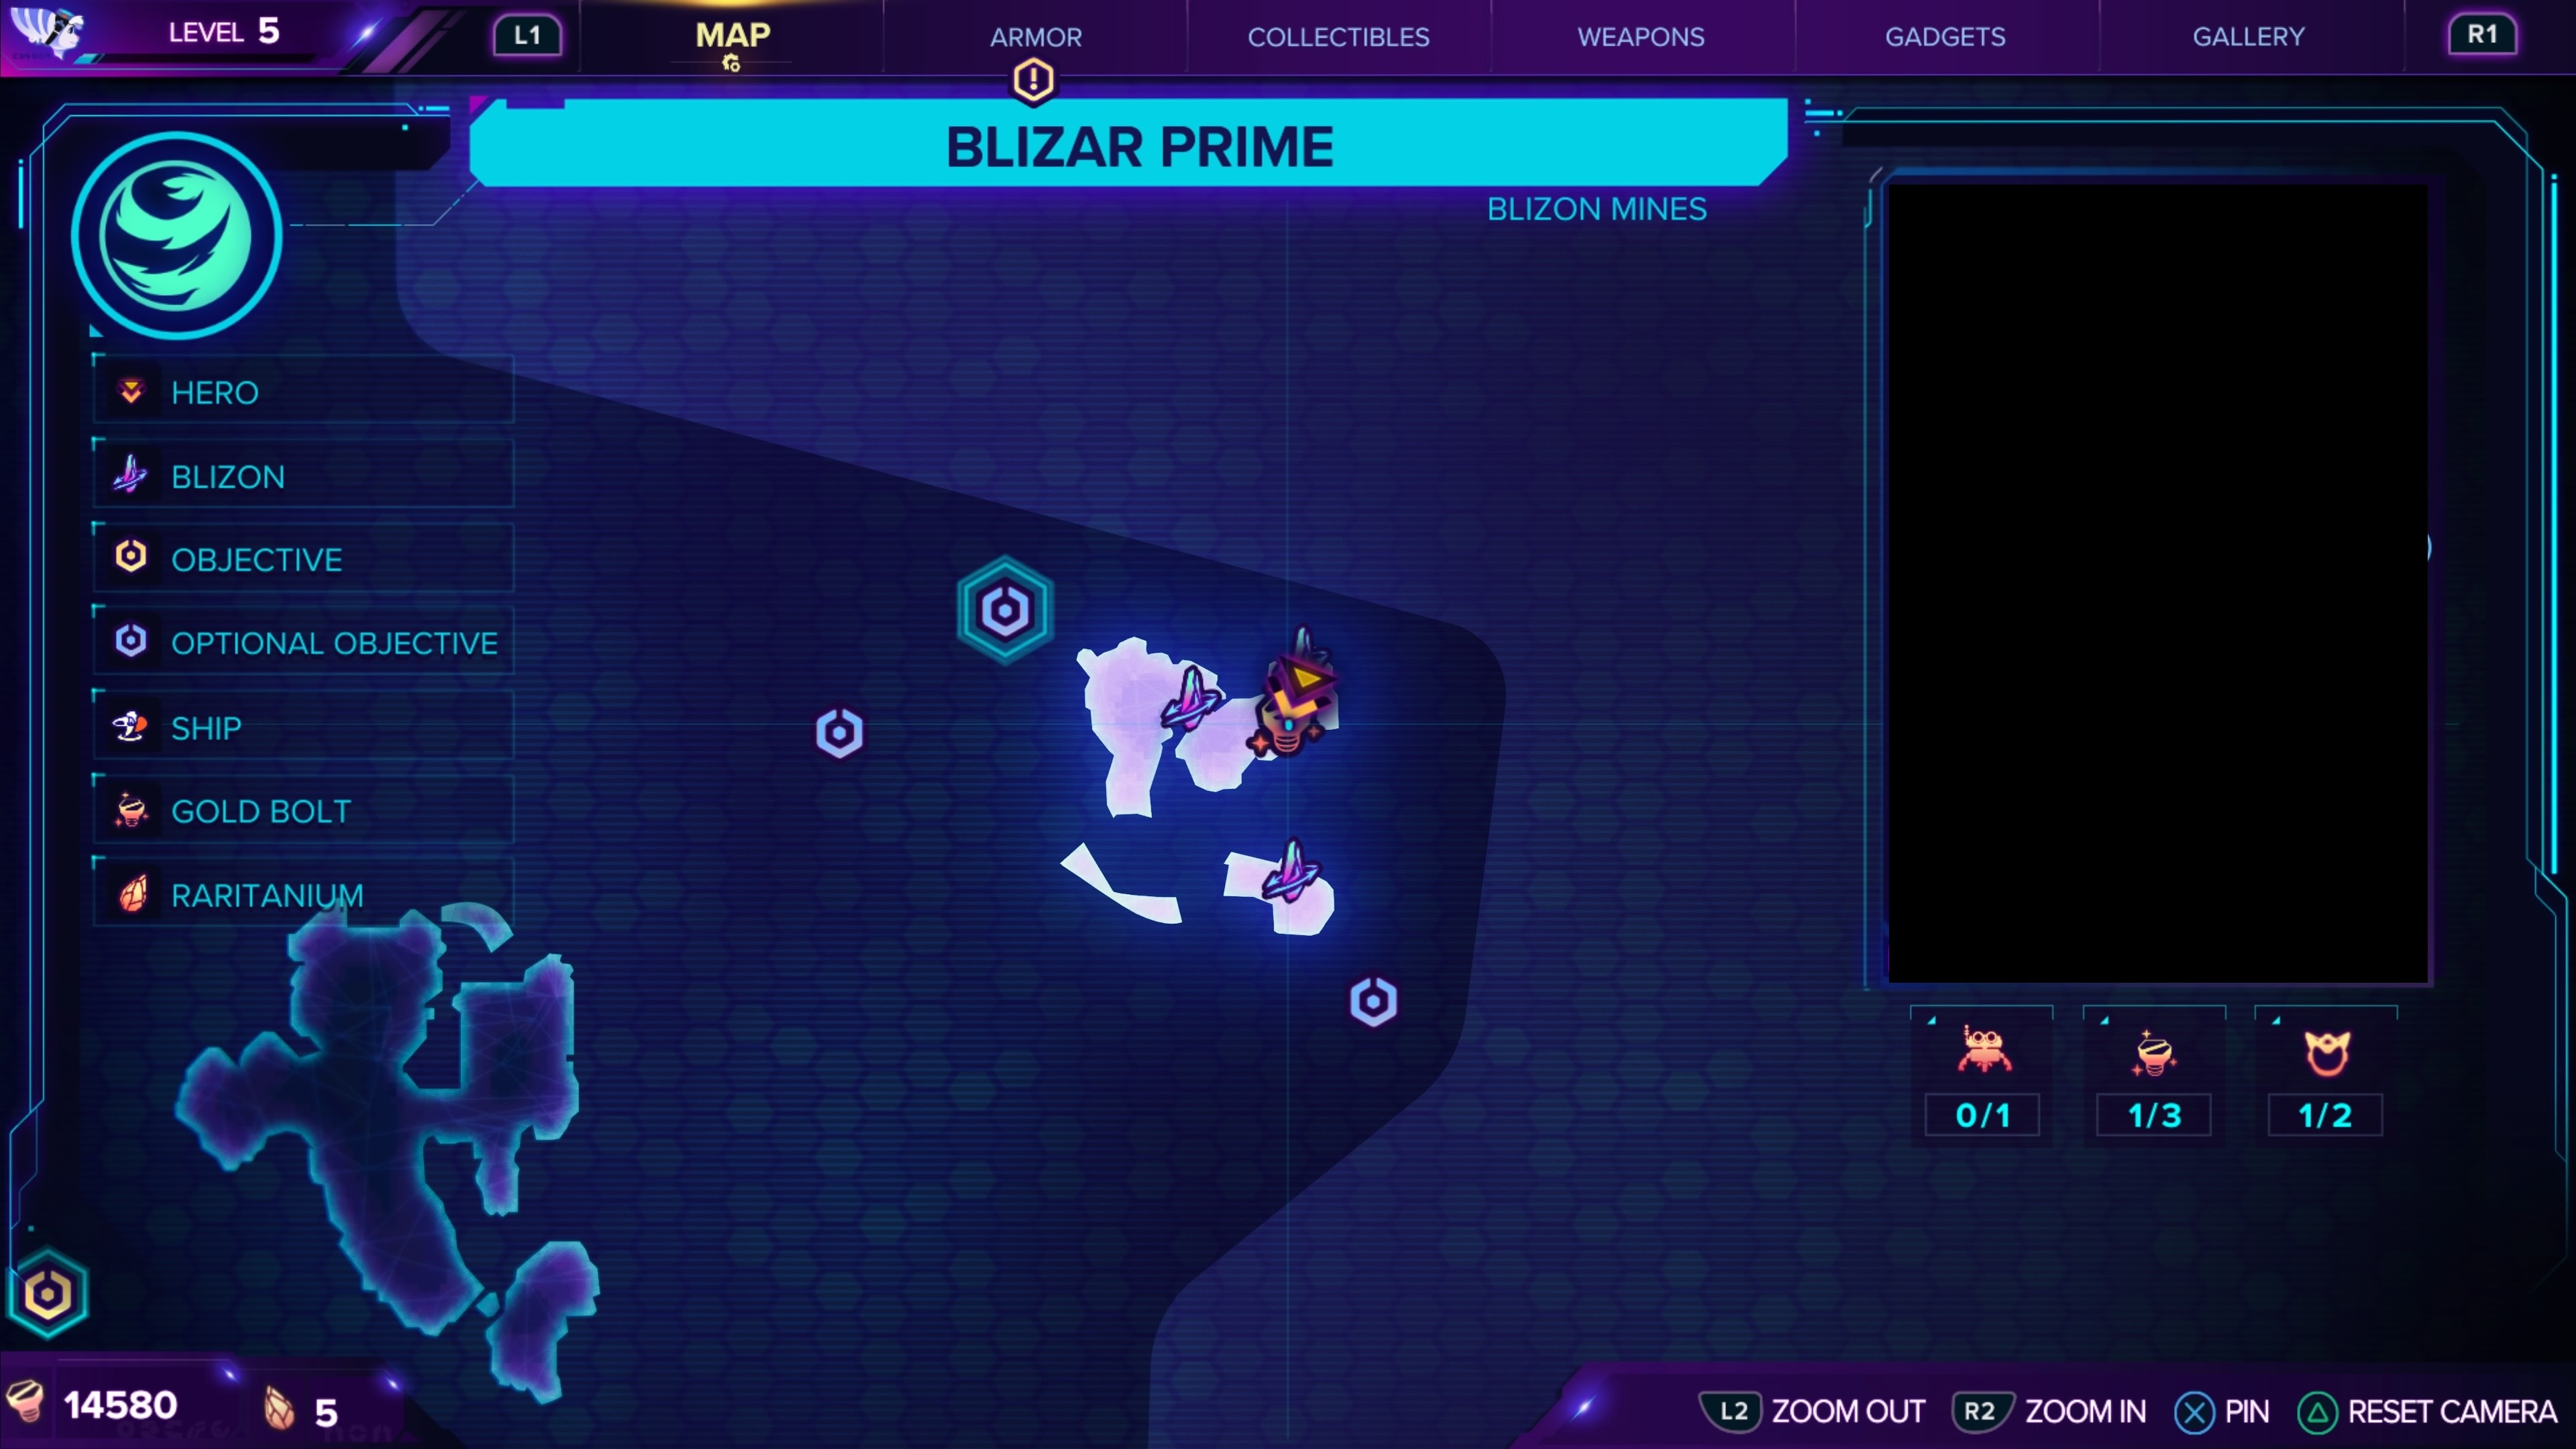

The next Gold Bolt is located in a section of the destroyed version of Blizar Prime, but you can only get there via a series of Blizon Crystals. Head to the northeast section of the intact version of Blizar Prime--the area where you find the Missing Chef.
When you hit the first Blizon Cyrstal in this area, you'll emerge in the destroyed Blizar Prime. You'll see the Gold Bolt to your left, but you can't get it yet, so progress to the next Blizon Crystal. Once you're back to the intact Blizon Prime, go left up the hill and down a path to another Blizon crystal. Hit this crystal, and you'll arrive right at the section where the Gold Bolt is located.
Torren IV (Molonoth Gulch)

This Gold Bolt is found early on at Torren IV at The Outskirts. Get out of your ship and go straight until you hit a fork in the road where you'll likely see the Gold Bolt from afar. Stick to the right path and start accelerating with your Hover Boots, going down the way with the ramp that'll launch you into a wall-running section. Get past it, and you'll be lead right to the Gold Bolt.


When you get to the rail grinding section of the planet, you'll notice a Gold Bolt hanging out on one of the rails. To get to it, you'll need to wait for the moment that Rivet points out a Rift in the distance. When she does so, quickly tether yourself to the Rift, and you'll lock yourself to the path leading to the Gold Bolt. If you miss this small window of opportunity, you can try again after completing the story section of the planet.
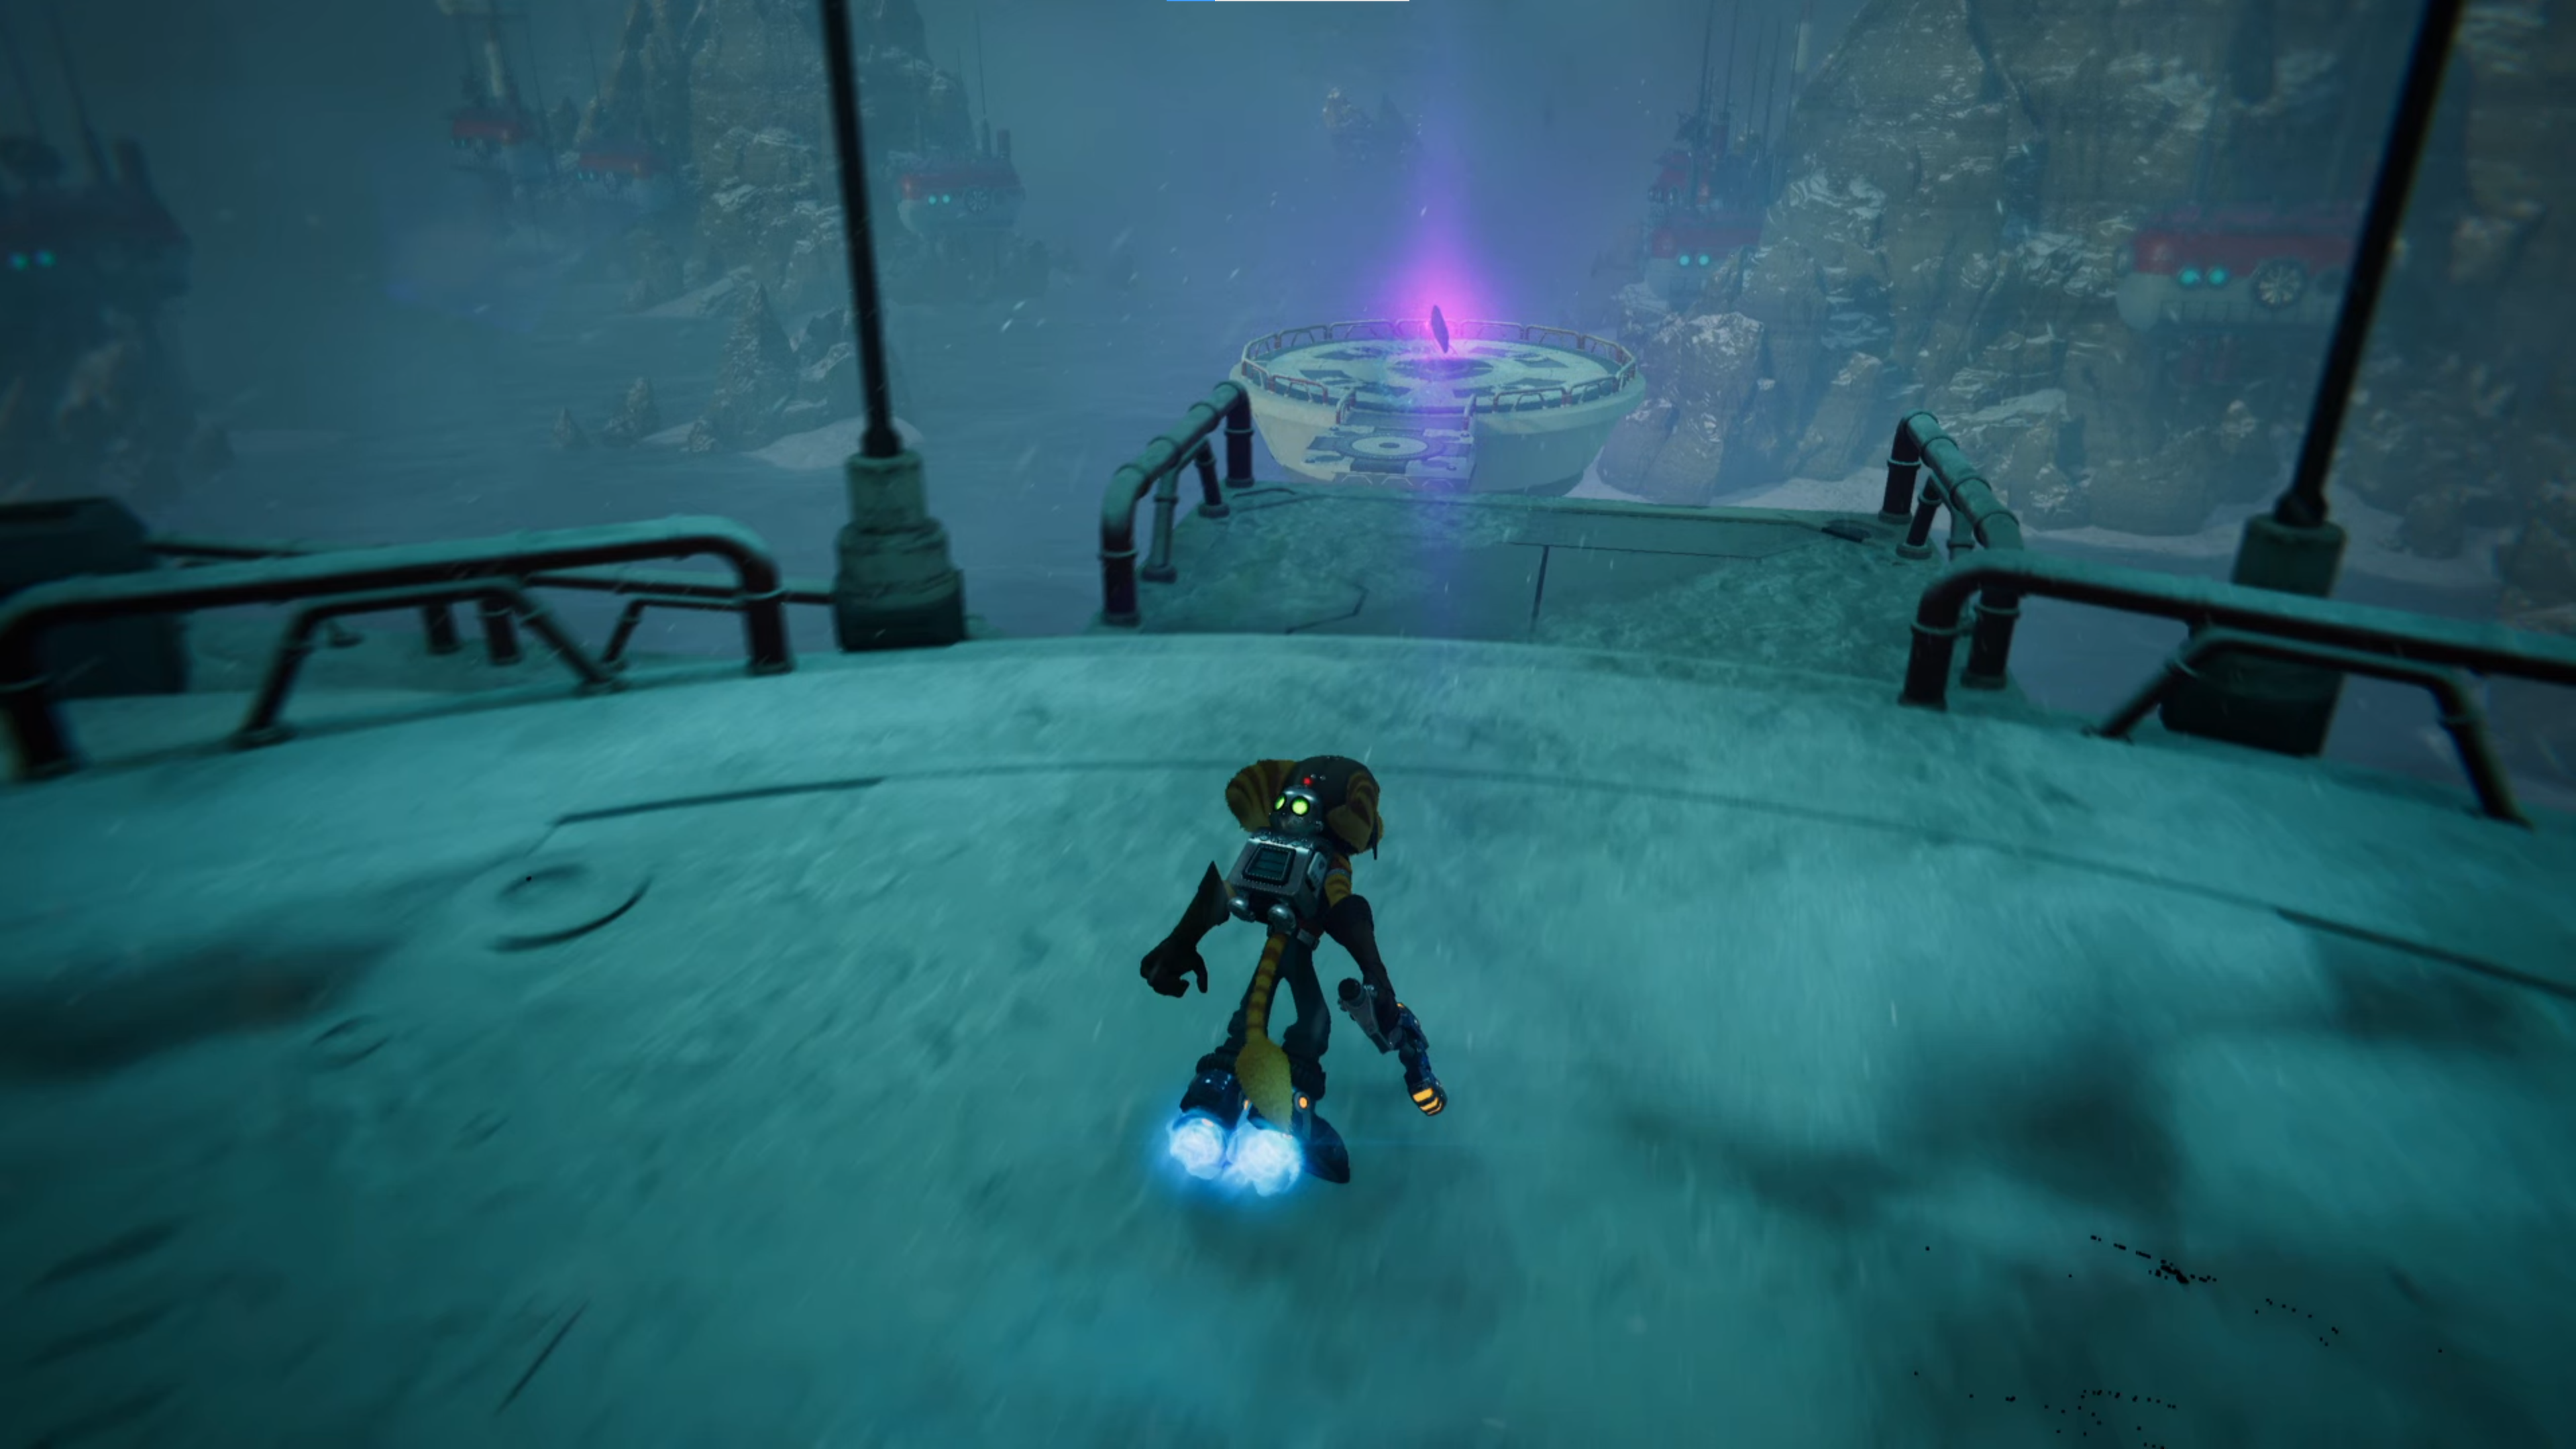
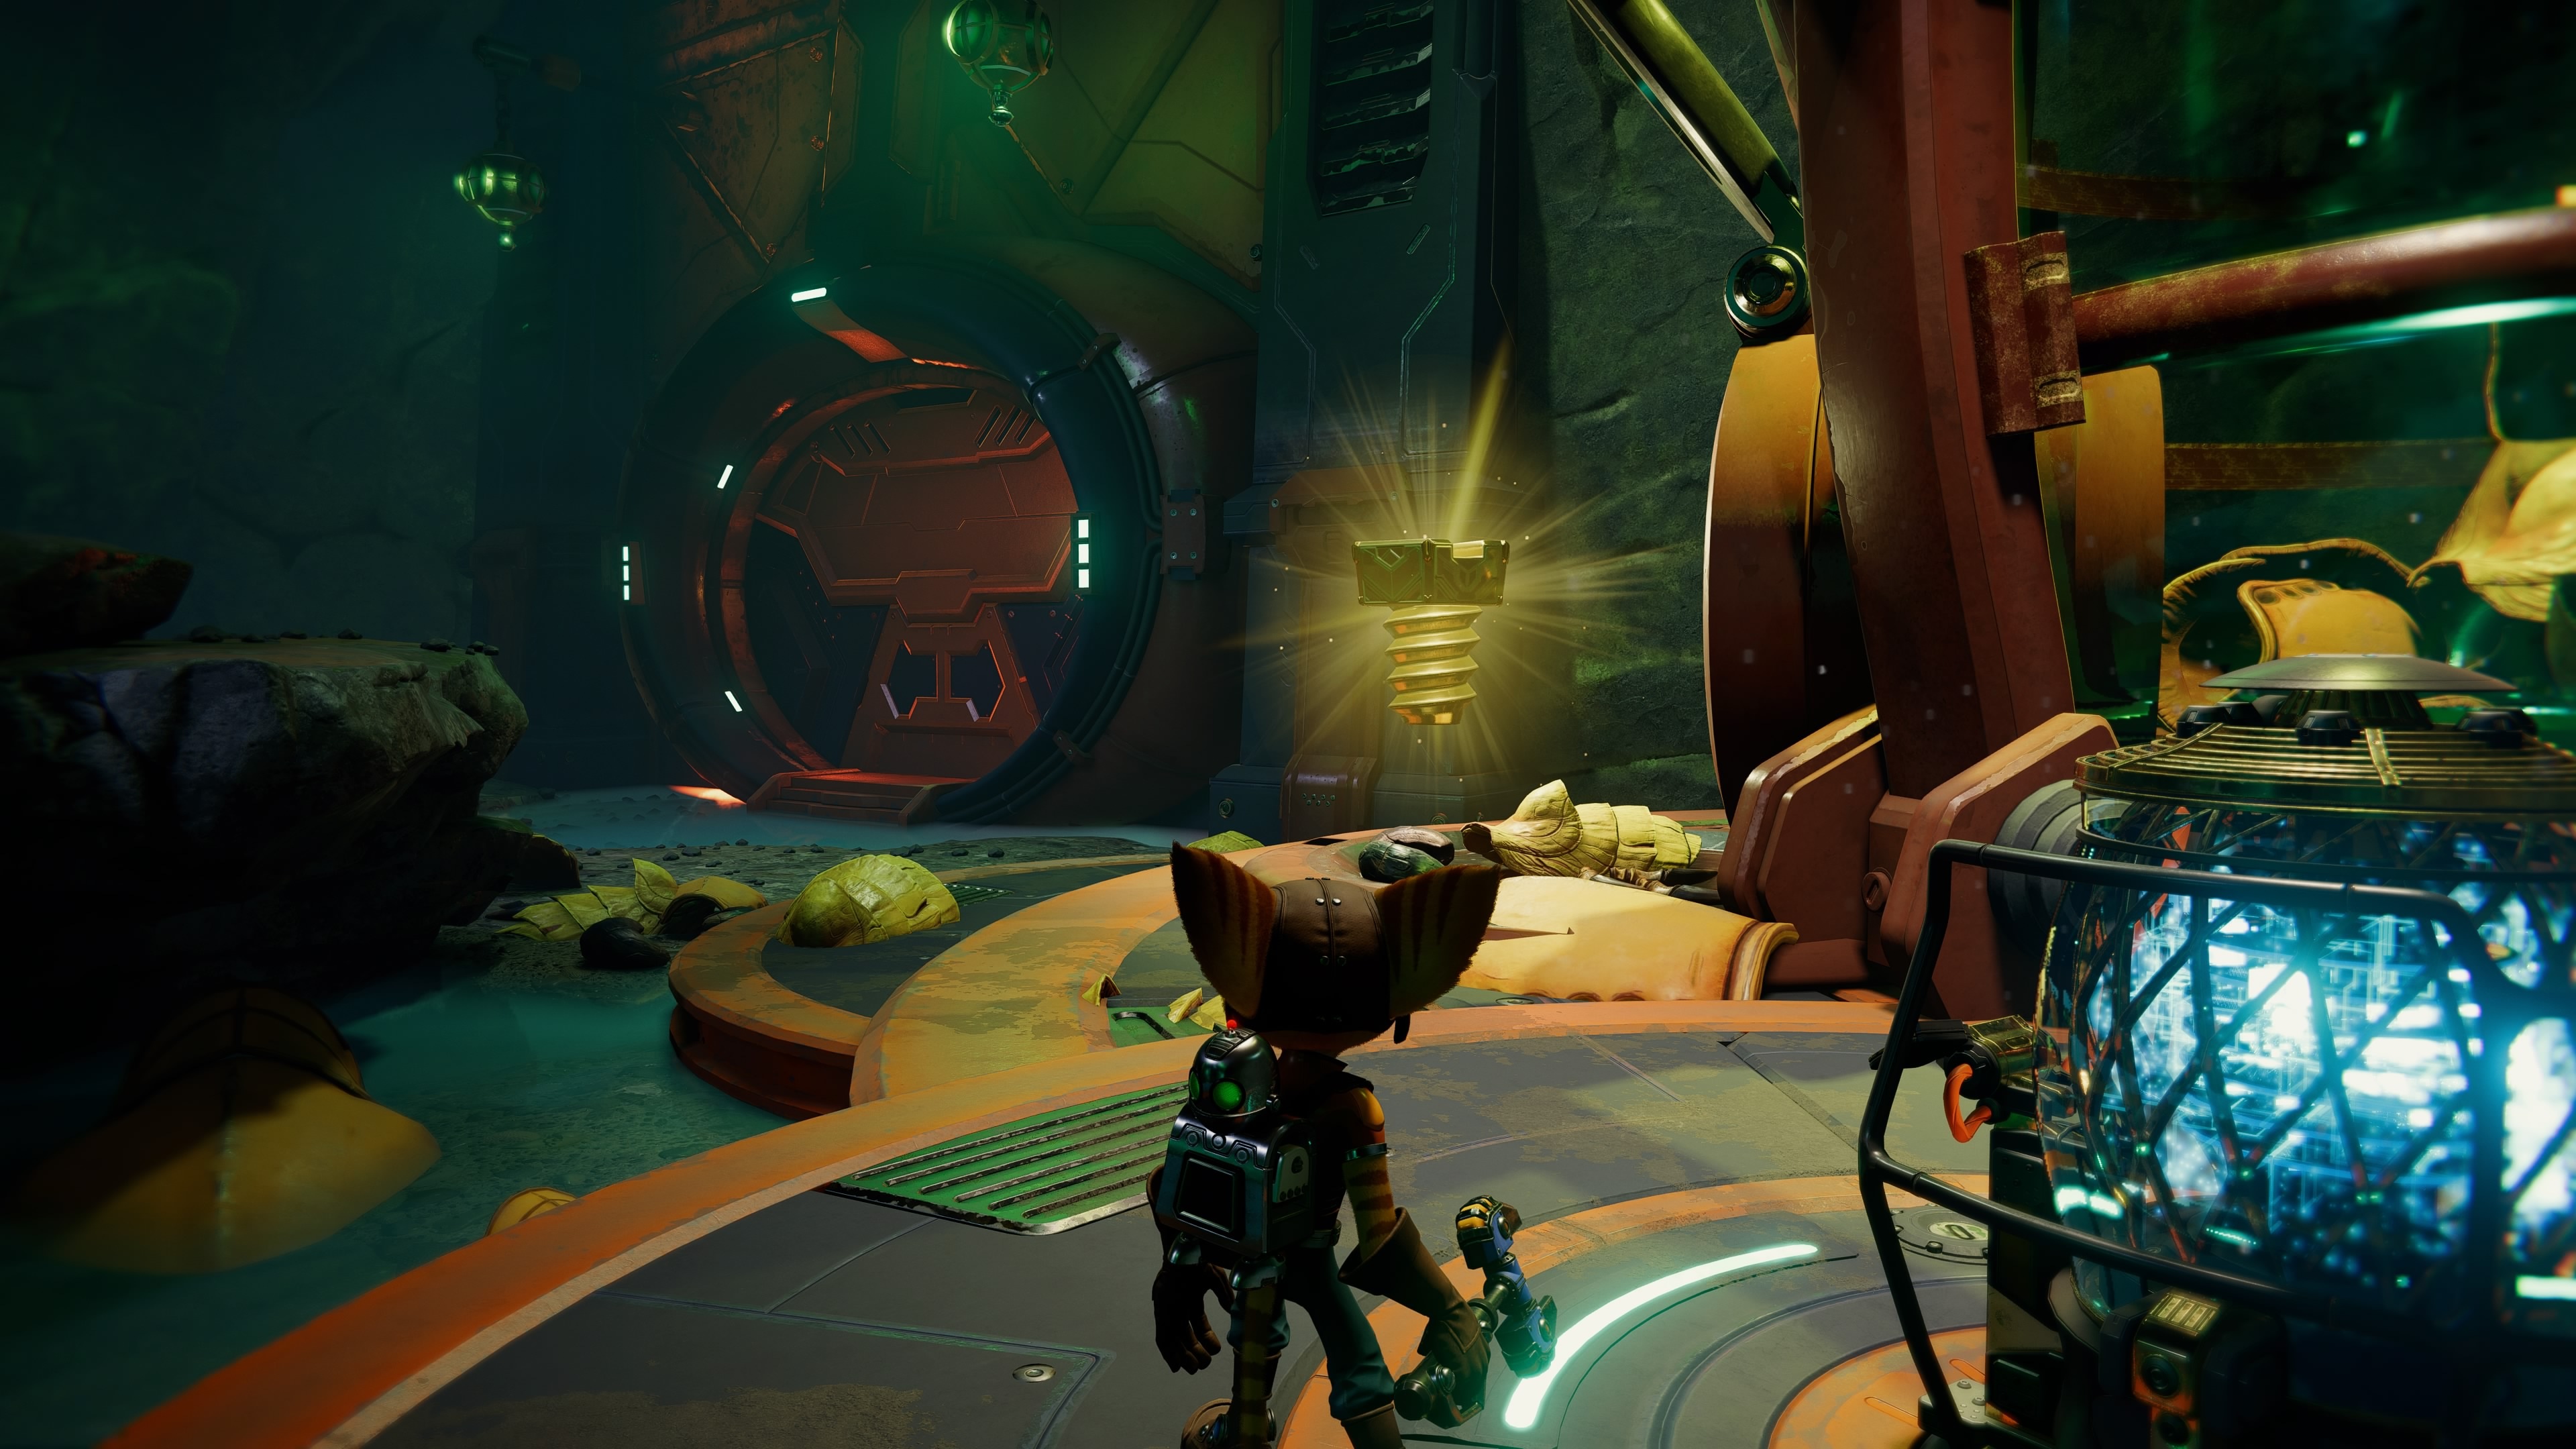
Cordelion (Kedaro Station)
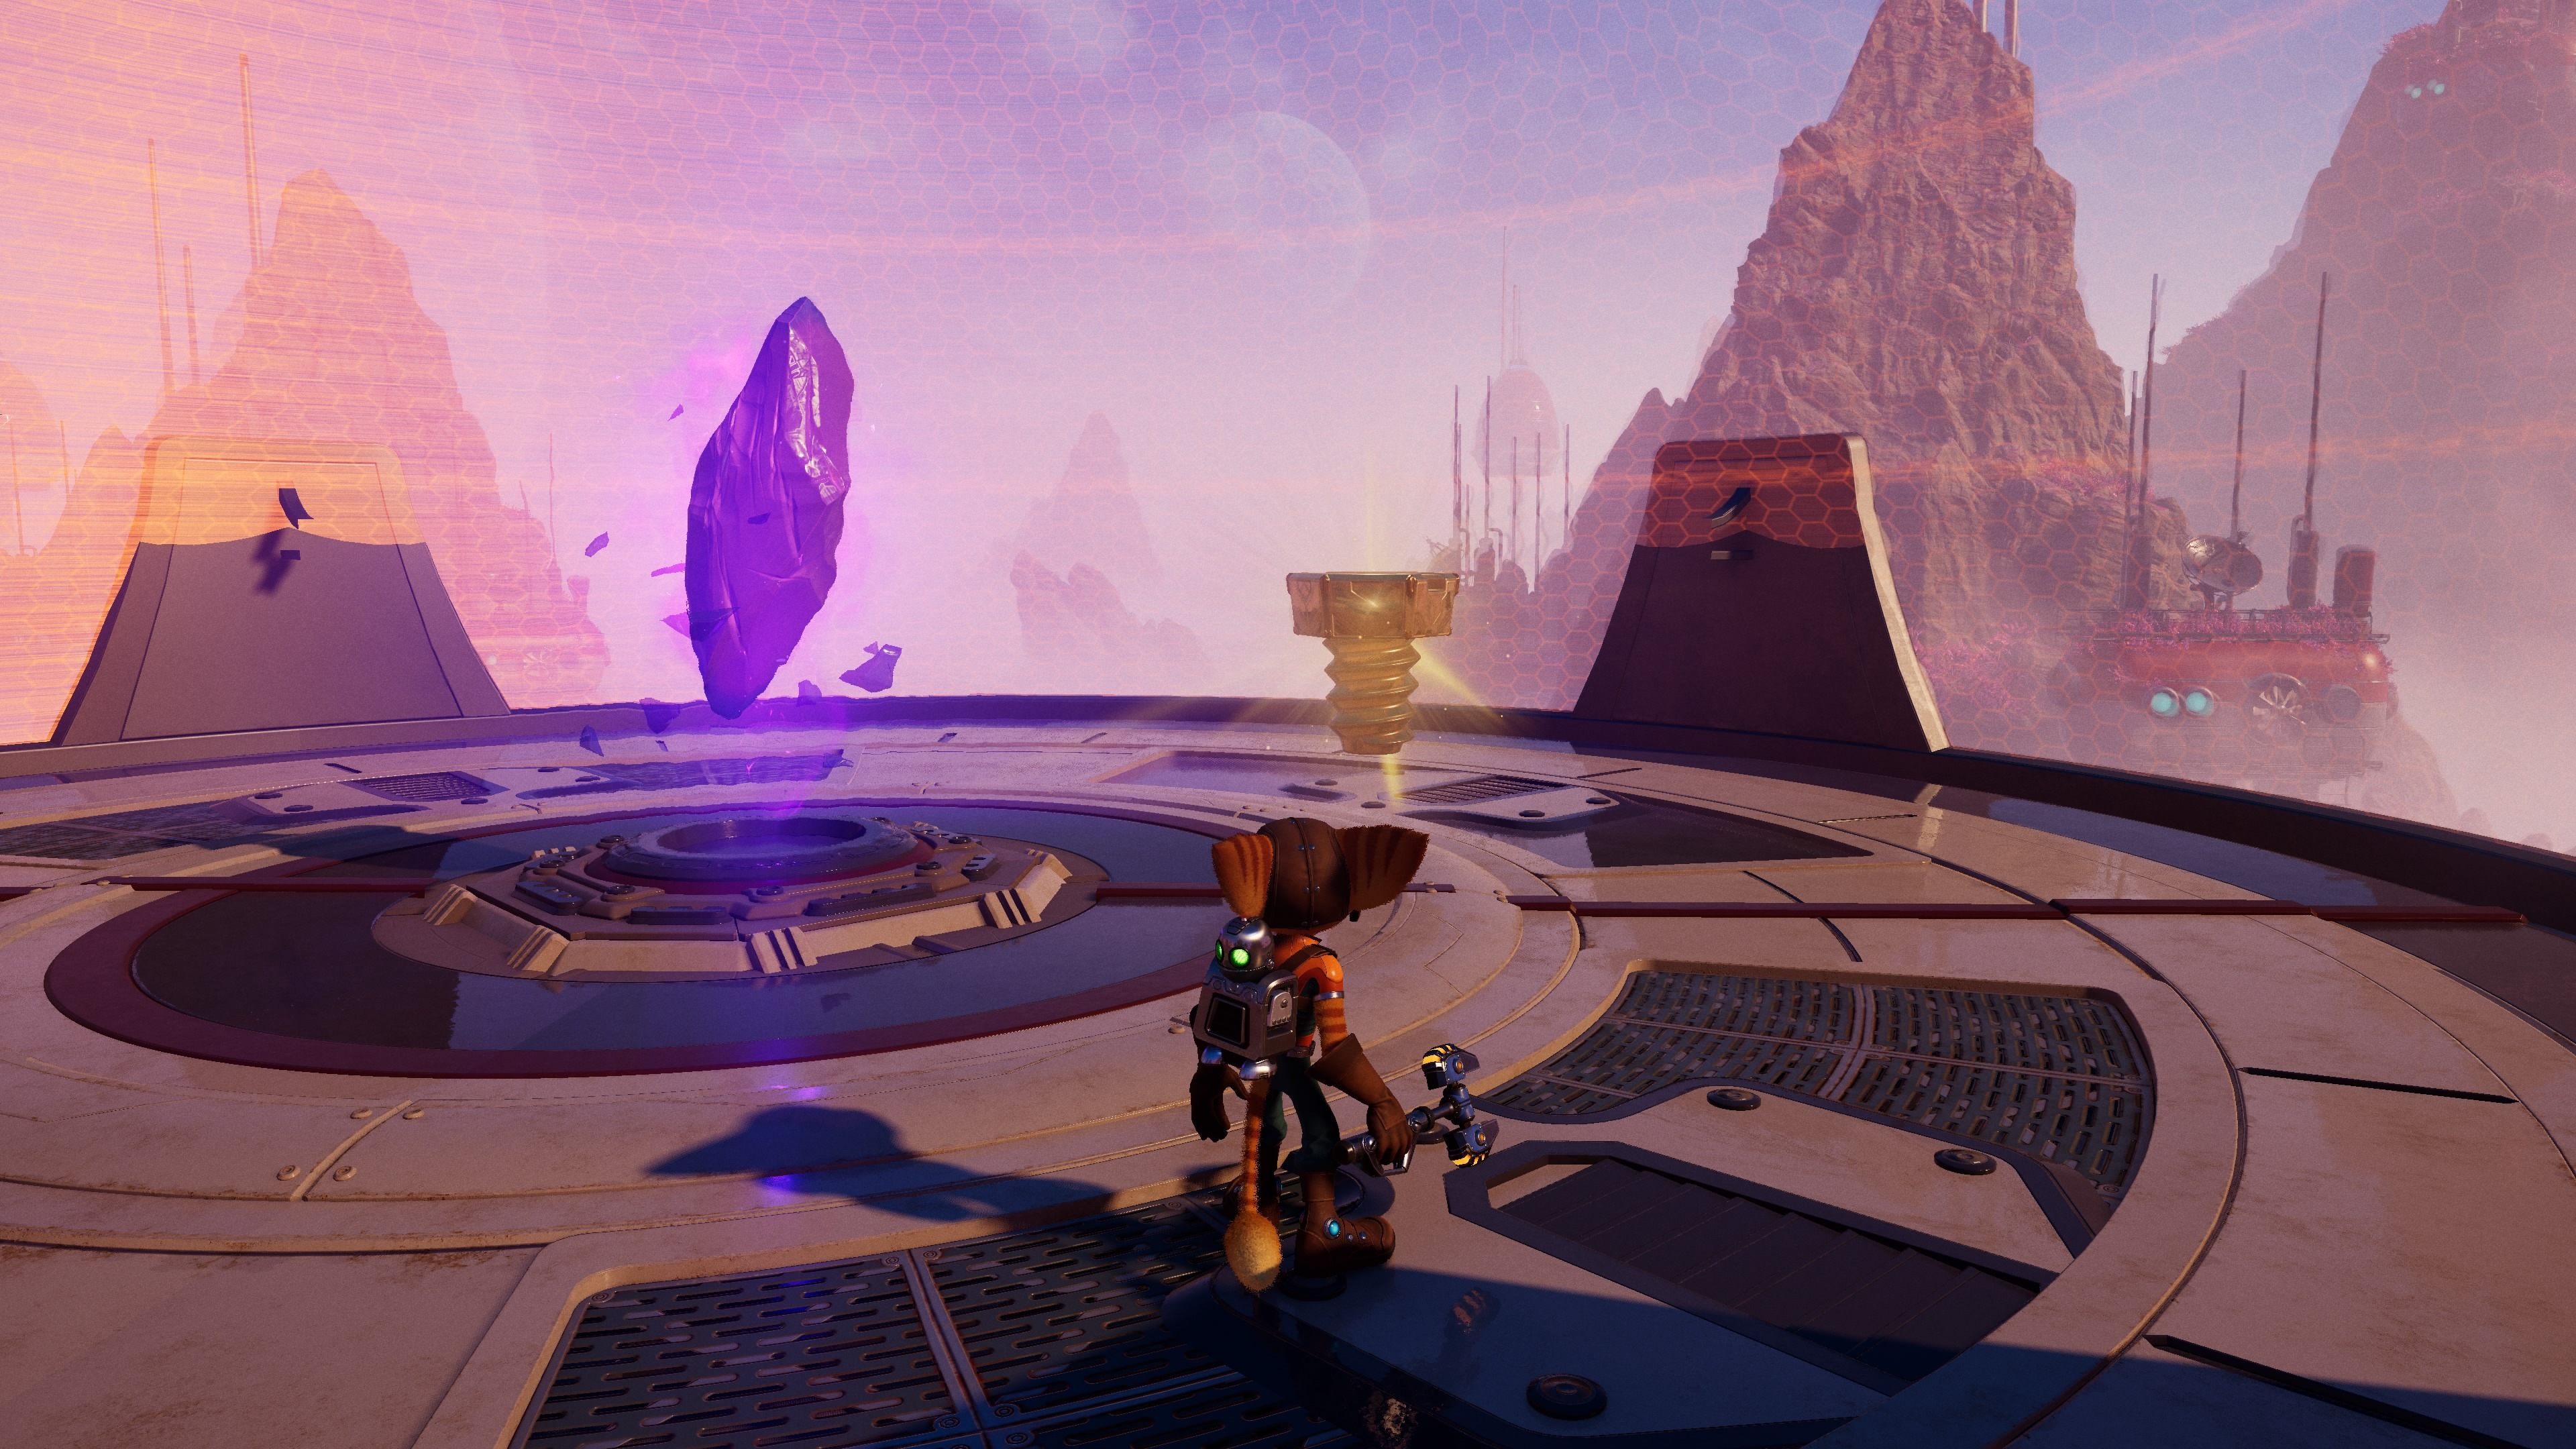
You can get this Gold Bolt on a lone platform at the easternmost point of the central platform at the beginning of the level. When you first enter the alternate dimension Cordelion, take the path down. Before taking the elevator down, use your hover boots to propel yourself eastward toward the lone island platform with a Blizon crystal. Hit the crystal, and you'll end up back in the current dimension Codelion where the Gold Bolt is located.


In the alternate dimension Coredlion, take the elevator down, proceed through the path until you come upon a left turn. You'll see a malfunctioning door with a Rift on the other side. Time your press to when the door is slightly open to get to the other side to nab the Gold Bolt.


After eluding Juice and flooding the facility in alternate dimension Cordelion, you'll be navigating underwater. Stay the path until you leave the enclosed tunnel section. At this point, you'll see a fork in the road. Go right and proceed down the path until you encounter a magnetic wall you can attach yourself to. Take the path upward until you reach the top, where you'll find a Gold Bolt.
Ardolis (Pirate Base)


When you first get to the section where you ride a Speedle at Poacher's Pier, dash forward until you're past a fiery ring archway. As soon as you clear it, take a right and follow the pathway of ramps until you get to a jump leading to a Gold Bolt.

You'll encounter the next Gold Bolt during the second part of the Pirate Trials. There's another virus-infected terminal to hack there, so use Glitch to clean it up and earn yourself a Gold Bolt.
Viceron (Zordoom Prison)


The first Gold Bolt can be found early on at the Scrapyard (the first section of the planet). Go past the first security gate, but instead of interacting with the terminal to proceed to the objective, hang right and circle around to find another security gate. Doing so locks you down a path where you'll find a Gold Bolt sitting on a docked warship.


After releasing some prisoners at the Processing Center, you'll enter a small combat arena with some Nefarious Troopers. Eliminate them, and once that's done, head to the right side of the arena to find a Gold Bolt past a cage holding an alien beast.


You can't get to this Gold Bolt until after you shut down the reactor and open up the prison cells in the West-Wing V.I.P. section. It'll be in an opened cell on the side of the room with the jump platform.
Cheats And Unlockables
As mentioned, collecting Gold Bolts unlocks special cheats and bonuses that should make your time playing Ratchet & Clank: Rift Apart even more interesting. Below you can find a table offering a detailed breakdown of what you unlock and when.
| Gold Bolt Count | Unlocked Cheat |
|---|---|
| 1 | Wrench Skins: Changes Ratchet's Wrench into various colors |
| 2 | Bolt Replacement: Change Bolts to Orbs, Rubies, Overcharge, Coins |
| 3 | Enhanced Gallery: Adds more characters to the Gallery |
| 4 | Hammer Skins: Changes Rivet's Hammer into various colors |
| 5 | Photo Mode Pack 1: Unlocks additional Photo Mode stickers and frames |
| 6 | RPG Mode: Damage numbers fly off enemies when you hit them |
| 7 | Ship Skins 1: Adds more ship colors |
| 8 | Rendering Modes Pack 1: Adds Noir, Sepia, Mars, and Home Movie filters |
| 9 | Music Pack 1: Unlocks additional music to play in the jukebox at Zurkie's |
| 10 | Photo Mode Pack 2: Unlocks even more Photo Mode stickers and frames |
| 11 | Head Size: Can change to Big Head Mode or Tiny Head Mode |
| 12 | Wrench Swap Pack 1: Swap Ratchet's Wrench for a different weapon, like a Goon Sword, Goon Hammer, Pirate Sword, Swordfish, and Key |
| 13 | Hammer Swap Pack 1: Swap Rivet's Hammer for a different weapon, like a Goon Sword, Goon Hammer, Pirate Sword, Swordfish, and Key |
| 14 | Home Run Hitter: Knock enemies a considerable distance when you defeat them with your melee weapon |
| 15 | Confetti Craniums: A burst of confetti flies of our an enemy's weakspot when hit |
| 16 | Photo Mode Pack 3: Adds another new set of Stickers and Frames to Photo Mode |
| 17 | Music Pack 2: Unlocks even more music to play in the jukebox at Zurkie's |
| 18 | Rendering Modes Pack 2: Adds Newsprint, Filmic, and Retro filters |
| 19 | Mirror Mode: Flips the world horizontally |
| 20 | Wrench Swap Pack 2: Swap Ratchet's Wrench for a different weapon, like Rivet's Hammer, Shovel, Broom, Pickaxe, and Skull Sword |
| 21 | Hammer Swap Pack 2: Swap Rivet's Hammer for a different weapon, like Ratchet's Wrench, Shovel, Broom, Pickaxe, and Skull Sword |
| 22 | Ship Skins 2: Adds more ship colors |
| 23 | Infinite Health |
| 24 | Infinite Ammo |
| 25 | Gold Weapons |
Ratchet & Clank: Rift Apart Guides & News
- Ratchet & Clank: Rift Apart PSA - What The Game Doesn't Tell You About The Zurpstone Quest
- Ratchet & Clank: Rift Apart - Tips And Tricks Roundup
- Ratchet & Clank: Rift Apart Gold Bolt Locations - How To Unlock Cheats
- + Show More Ratchet & Clank: Rift Apart Guides & News Links (4)
- Ratchet & Clank: Rift Apart Amor Locations - How To Find Every Piece
- Ratchet & Clank: Rift Apart Spybot Locations
- Ratchet & Clank: Rift Apart CraiggerBear Locations - How To Find These Secret Collectibles
- Ratchet & Clank: Rift Apart Beginner's Guide - Essential Tips For New Players
Got a news tip or want to contact us directly? Email news@gamespot.com
Join the conversation