Final Fantasy 7 Rebirth: Modular Reactor - Corel Protorelics Guide
Discover the locations of Cactuar Rocks and complete more trials Final Fantasy 7 Rebirth.
Many objectives in Final Fantasy 7 Rebirth tend to be straightforward: go to this location, and do this particular task. But there are those that are so mind-boggling, not just because of odd mechanics, but also due to confusing progression. Here's our guide on how to do the Modular Reactor and Corel Protorelics in Final Fantasy 7 Rebirth.
Final Fantasy 7 Rebirth Modular Reactor and Corel Protorelic guide
The Final Fantasy 7 Rebirth Corel Protorelic quest chain is one of the strangest in the entire game. Here's what you can expect:
- You can tackle the first two objectives as early as Chapter 9: The Planet Stirs. There's a Sand Giant that appears, though it shouldn't bother you for now.
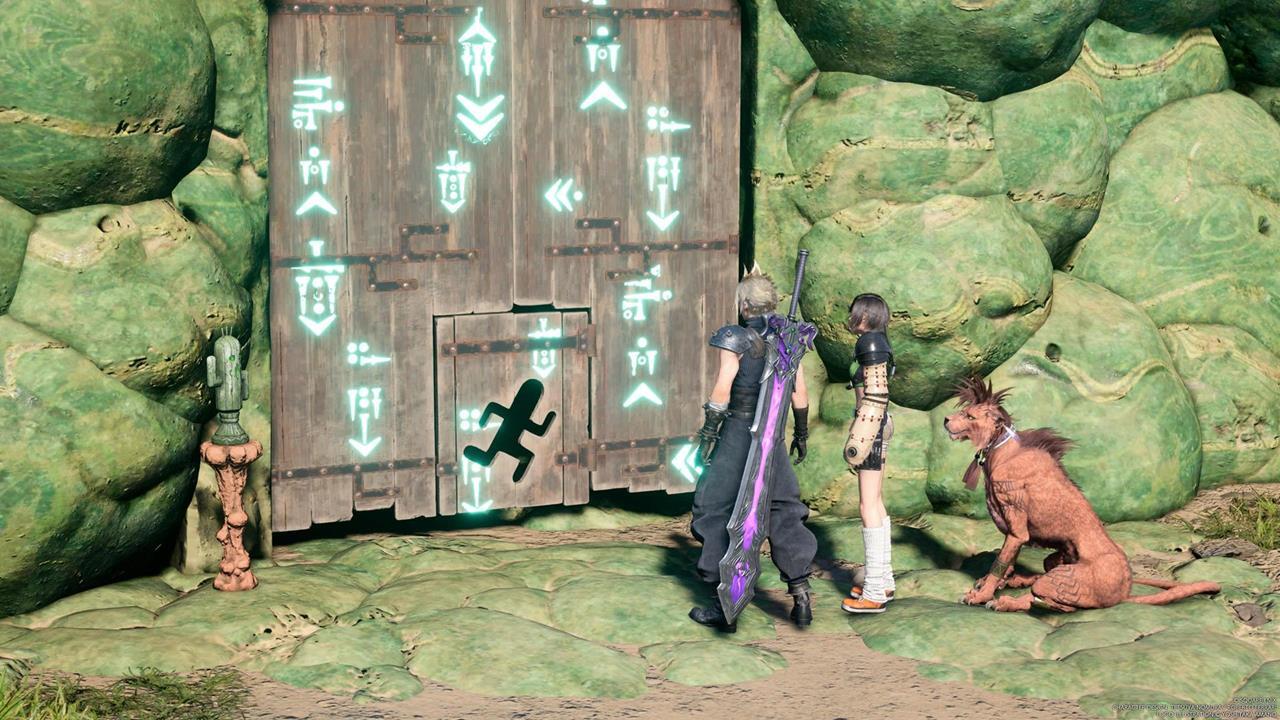
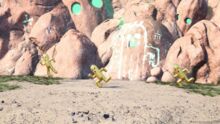
- Your goal is to look for buildings with overgrown cacti. These are the Final Fantasy 7 Rebirth Modular Reactors.
- When you approach one, you won't be able to open it since you need a key.
- To get this key, you pick up a Cactuar Statue. If you press and hold Up on the D-pad, a green beam of light will point to the general direction of a Cactuar Rock.
- Go to the Cactuar Rock, shine the Cactuar Statue, and defeat the Cactuar mobs that spawn. Then, interact with the landmark to receive the key.
- Return to the Modular Rock to open the doorway. Down below, you'll meet a goblin named Kid G.
- The goal now is to complete Kid G's trials, which require you to defeat as many Cactuar mobs as possible within a given time limit. Specific characters are used for each trial, and different Cactuar types have their own weaknesses.
- Oh, and you need to complete Chapter 12: A Golden Key to finish the last two objectives.

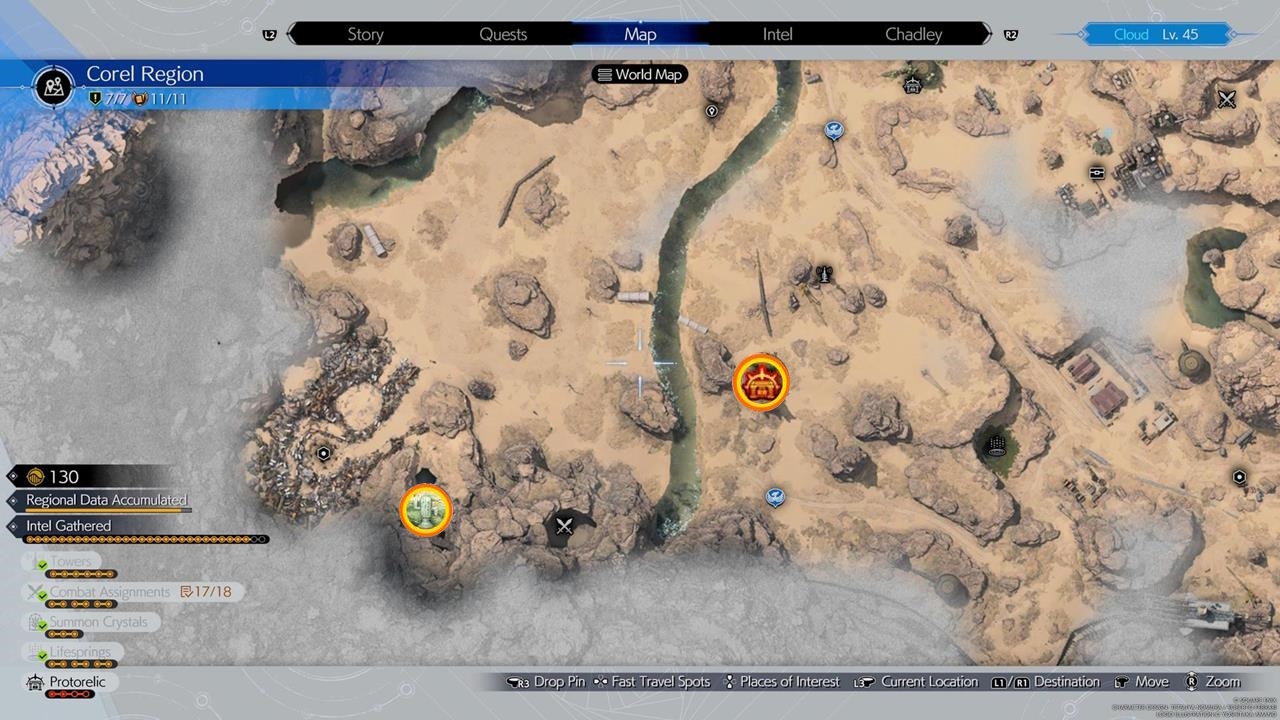
The first Modular Reactor, Cactuar Rock, and Kid G Trial
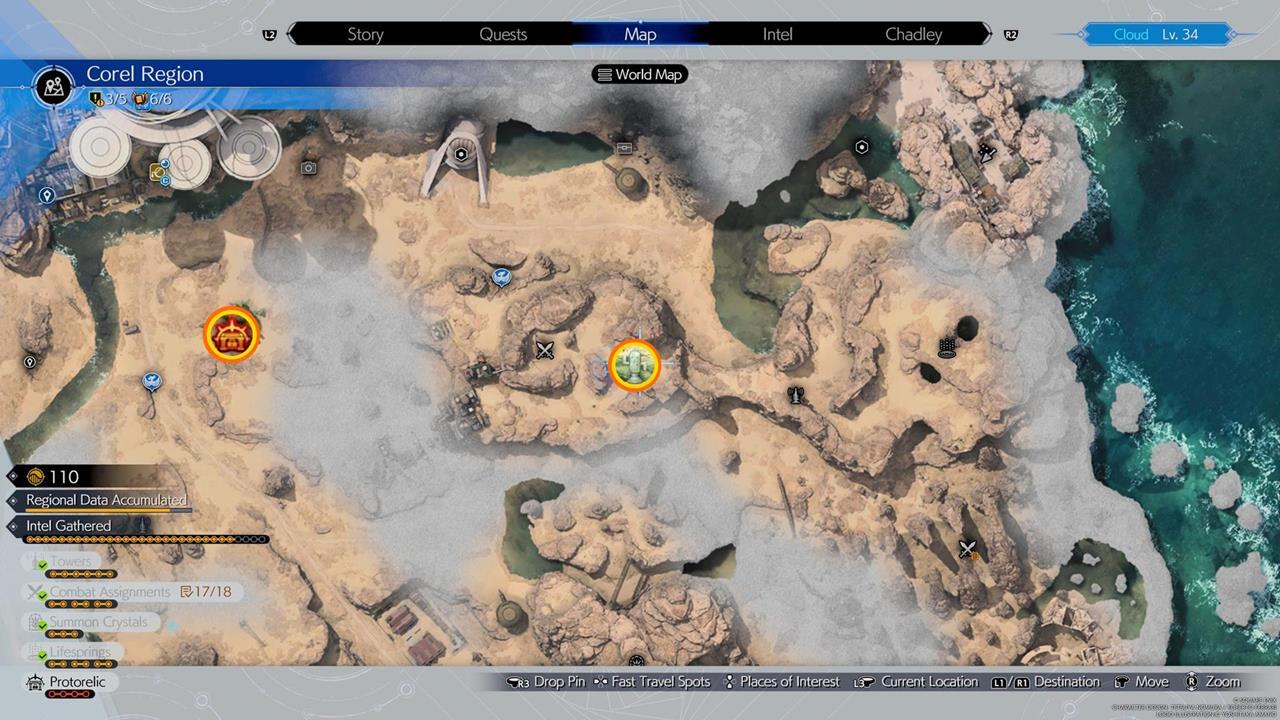
As cited earlier, you have to interact with the Modular Reactor first, then do the appropriate steps to locate the Cactuar Rock. Obtaining the key there allows you to enter the reactor proper.
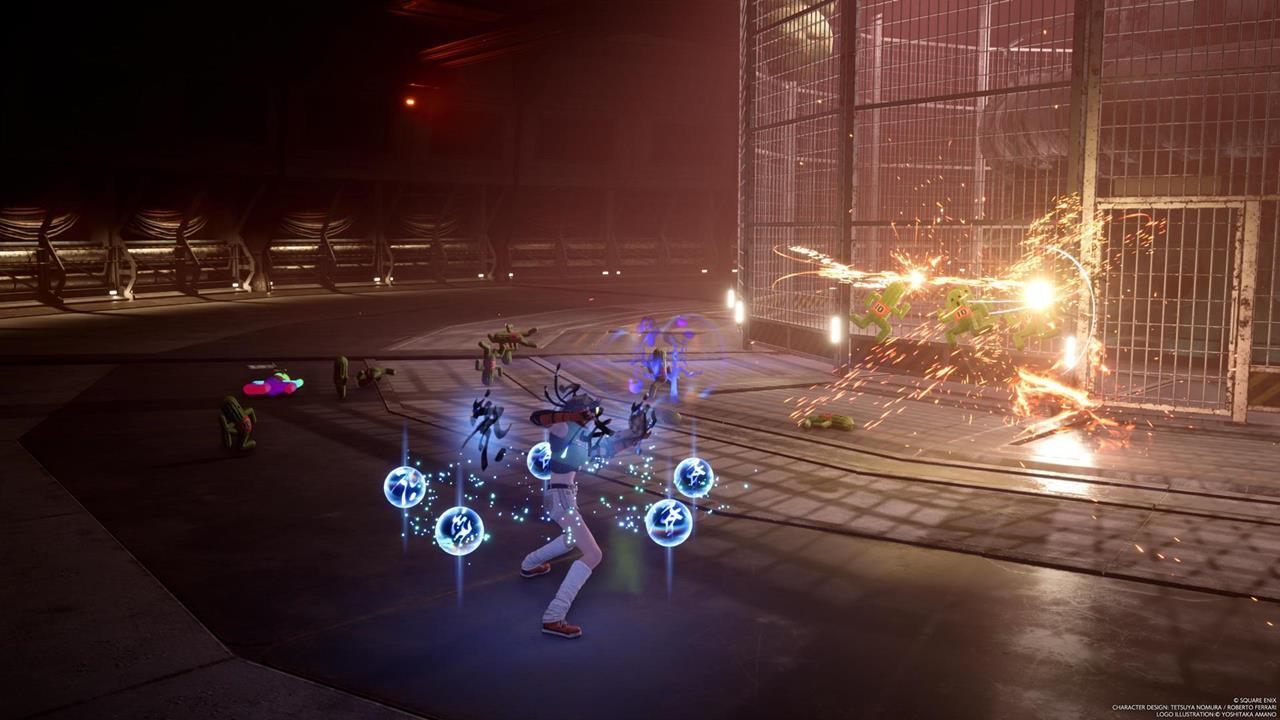
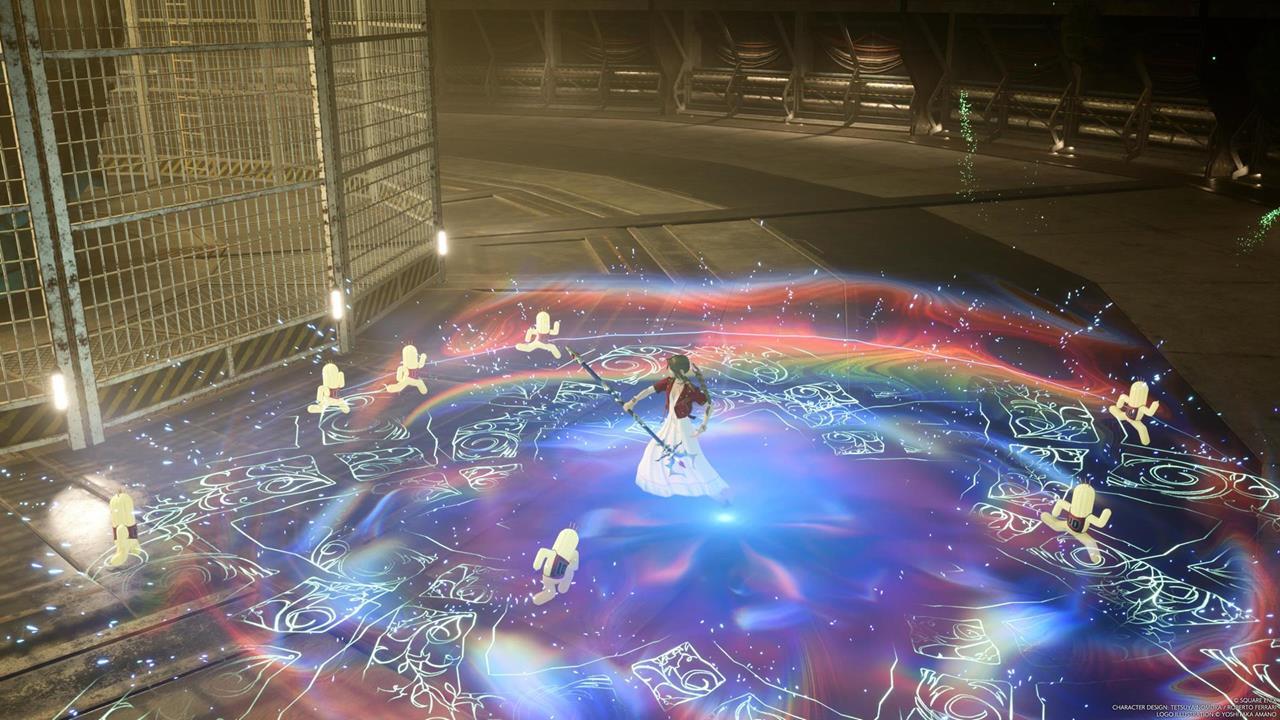
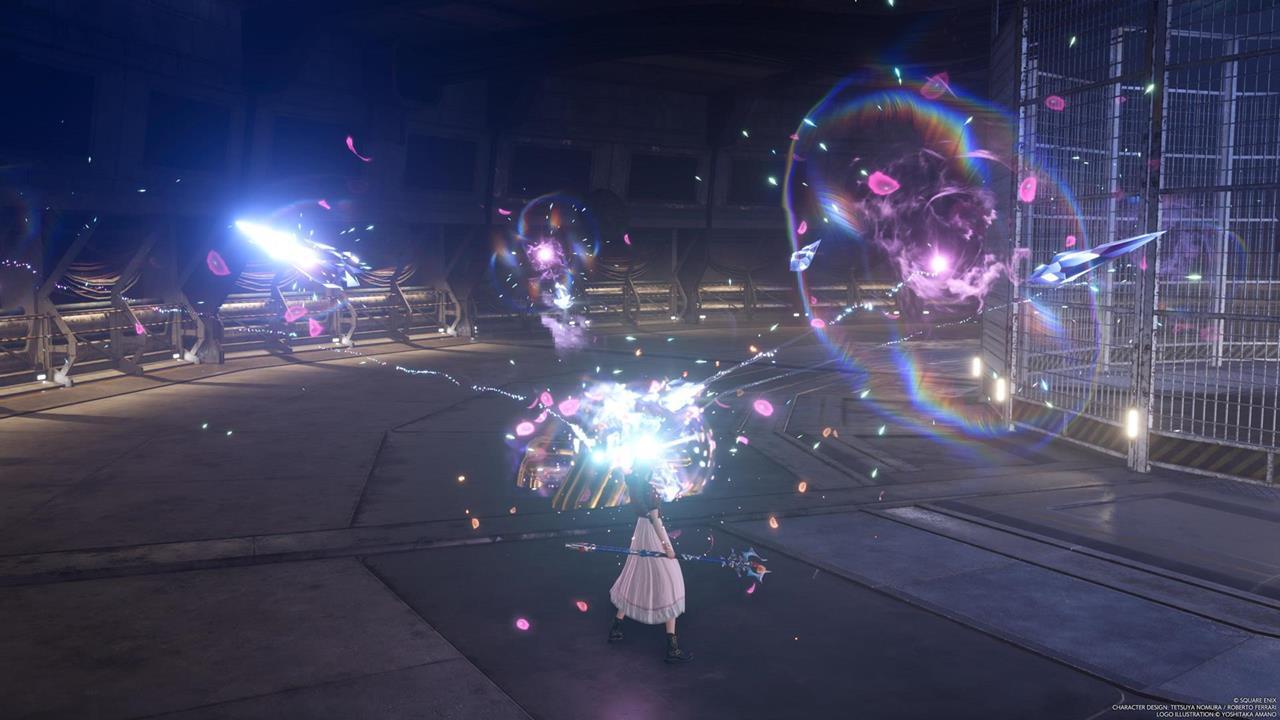
As for Kid G's first trial, the chosen character is Yuffie, and here's what you can expect:
- You mostly battle green and orange Cactuars. The green ones are weak against physical damage, while the orange ones are weak against magic damage.
- Use Yuffie's regular attacks against the green mobs. Then, throw her shuriken and rip apart the orange mobs with her Elemental Ninjutsu.
- Don't forget to target the rainbow-colored enemies, since they increase the time limit.
The second Modular Reactor, Cactuar Rock, and Kid G Trial
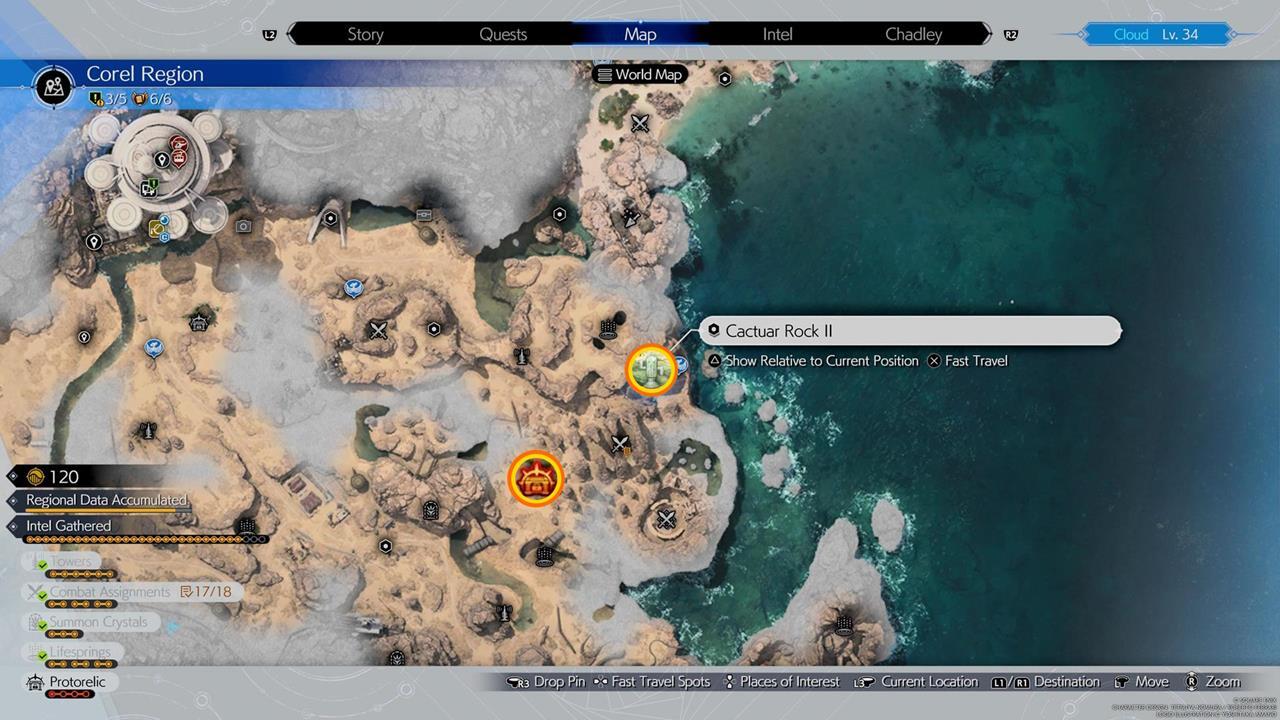
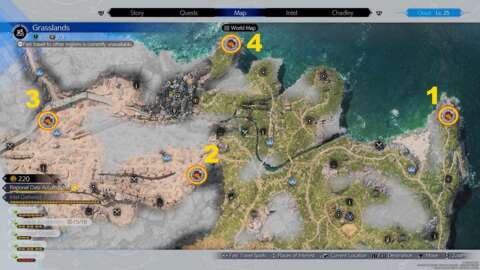
When you're done with the first trial, it's time to head to the next Modular Reactor in Final Fantasy 7 Rebirth. This one is near the eastern part of the region, where there's also a Chocobo Stop:
This trial presented by Kid G entails the following:
- Aerith is the chosen character here. She can create light wards (L2) and dark wards (R2).
- Two new types of Cactuar enemies appear in this level. If you see lighter-colored foes, plop down a light ward (L2). Conversely, darker-colored foes require you to place down a dark ward (R2).
- Stand within these auras to empower your basic attacks, allowing you to quickly slay the mobs that are weak against that particular type of damage.
- The other types of Cactuar (i.e. green/physical, orange/magic, and rainbow/timer) also appear periodically.
When you're done with this challenge, Kid G says that he's still preparing his next trial. As mentioned, the third objective only becomes available near the end of Chapter 12, so that will likely be several hours past this point.
The third Modular Reactor, Cactuar Rock, and Kid G Trial
Assuming you've completed the main objectives in Chapter 12, Kid G will contact you and say that the next trial is ready. That means you should head to the Modular Reactor and subsequent Cactuar Rock:
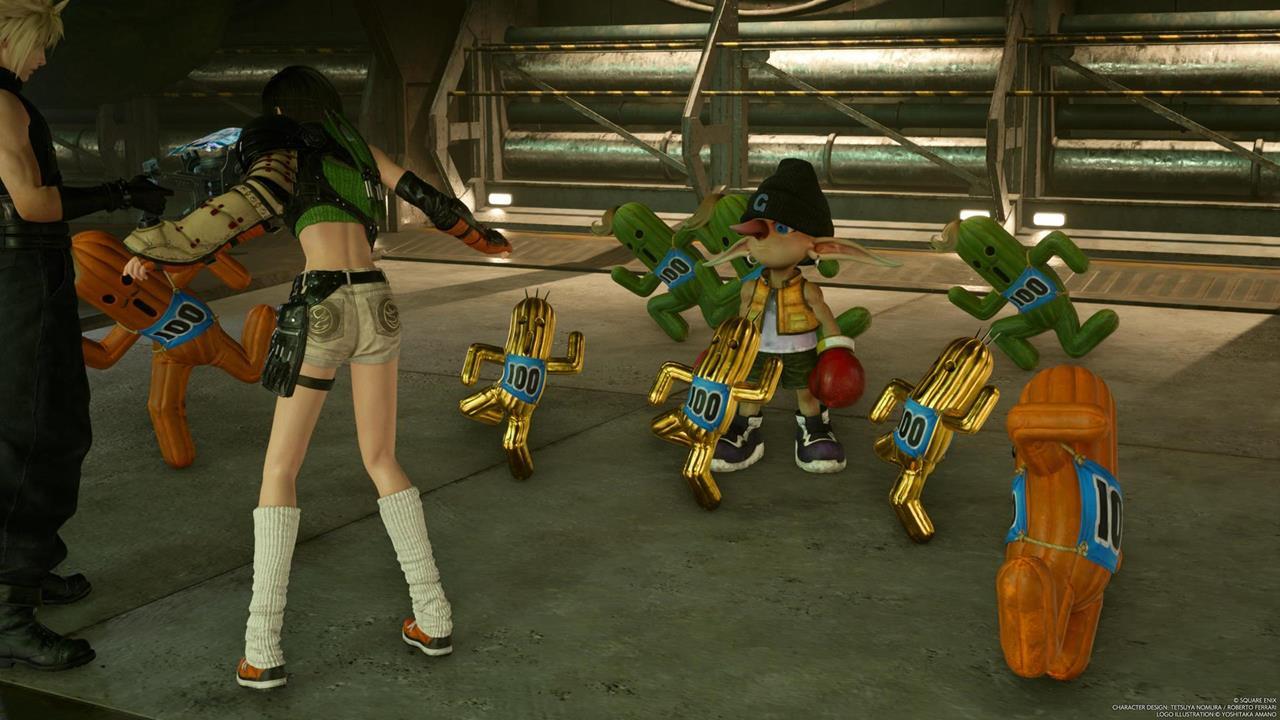
As for Kid G's third trial, you'll use Yuffie again. There are some key facets though:
- Gigantuars add a lot of points, so make sure you bring them down when you can.
- Gold Cactuars also grant more points than the regular Cactuar and Magituar variants.
- Cactuars can change into Magituars, and vice versa. Pay attention when this happens so Yuffie can switch to physical or magical damage when needed.
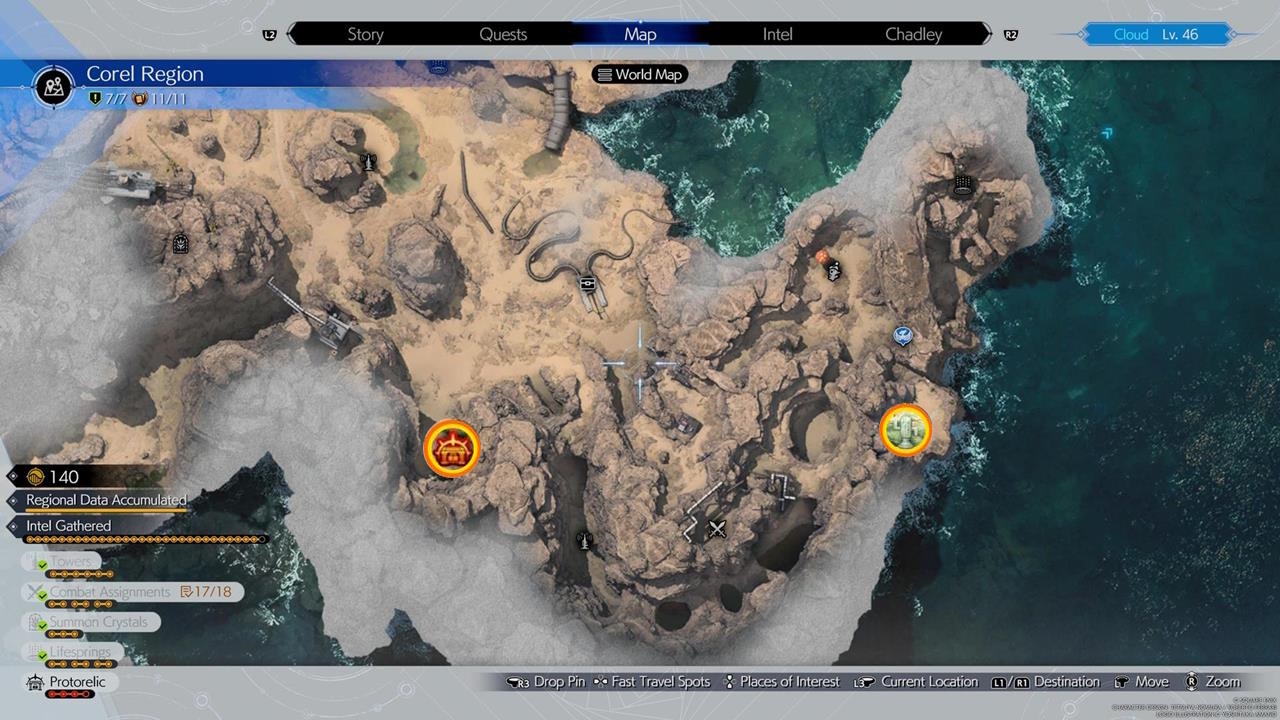
The fourth Modular Reactor, Cactuar Rock, and Kid G Trial
As for the fourth Cactuar Rock, it's all the way to the southeast part of the region. Head to where the Mogstool/Mog Shop is and use the grapple points by the coast:
The last trial requires you to use Aerith again:
- As usual, you want to shift between the light and dark auras depending on the type of Cactuars that you're fighting.
- Gold Gigantuars grant a lot of points, but Aerith's attacks tend to be too slow or too weak. The idea is to avoid their Body Slam attack, which causes them to fall face down on the ground. While in this weakened state, cast Transcendence I or II, so multiple beams can deal tremendous damage to them.
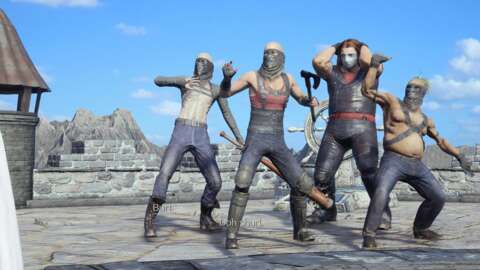
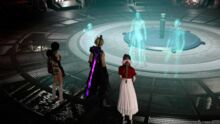
In any case, you should now be done with the Final Fantasy 7 Rebirth Kid G trials. There's a cutscene that awaits, involving a fella that Cloud and co. encountered back in Midgar. The Sand Giant makes another appearance, too. It's also possible to fight Kid G in a sparring match.
That's it: that's how you get the Corel Protorelic in Final Fantasy 7 Rebirth. If you've yet to finish the other quest chains, then make sure to check our Protorelics guide. Lastly, acquiring all the Protorelics unlocks a late-game challenge with a really nifty reward: the Gilgamesh summon materia.
A grand adventure awaits you in Final Fantasy 7 Rebirth. We've got all the tips and strategies for you in our FF7 Rebirth guides hub.


Got a news tip or want to contact us directly? Email news@gamespot.com
Join the conversation