Elden Ring Mt. Gelmir Guide: Where To Go, Items To Get, And Enemies To Watch Out For
Strap on your hiking boots, because you've got some climbing to do.
The northwest section of Elden Ring's Lands Between is home to an extremely dangerous region called Mt. Gelmir. There are a few ways that you can get there, and once you do, you'll face a collection of difficult enemies and an eventual boss battle against Rykard, Lord of Volcano Manor. It's one of the game's most unique boss showdowns, so you won't want to miss it, and you'll also want to explore the manor in order to get the fun and unconventional Ghiza's Wheel weapon.
Like many other areas of Elden Ring, Mt. Gelmir is a place crawling with dangers. From multiple boss fights that will test your mettle to rivers of molten lava to avoid, everything on Mt. Gelmir is designed to kill you. Don't worry, though, as we've got you covered with what you need to know to get the most out of your hike up this perilous mountain, including all of the key items you'll want to grab along the way.
Arriving On Mt. Gelmir

Getting to Mt. Gelmir on its own is a whole task in and of itself, and there are actually three ways it can be done. Two of these methods involve being teleported to Volcano Manor, which lies at the top of the mountain. To reach the top of Mt. Gelmir by the more traditional method, you'll need to have reached the Altus Plateau. From there, collect the map for the region (found Northeast on the main road from the Grand Lift of Dectus or the Old-Ruin Precipice). Head towards the Minor Erdtree and follow the road around it and to the west, across a bridge with The Shaded Castle below at your right. Keep on this path and eventually you'll come to a rope-bridge, with the Bridge of Inequity Site of Grace on the other side. Congratulations, your journey up Mt. Gelmir is just getting started.
For most of this guide we will assume you took the simpler "climb up the mountain method," but below are the two other ways for being teleported directly inside Volcano Manor.
Volcano Manor Invitation
Near the Scenic Isle Site of Grace in the Liurnia of the Lakes region (directly south of the Academy Gate Town) you'll find an NPC named Rya. She wants you to retrieve her stolen necklace and bring it back to her. To do this, go northwest of the Scenic Isle until you see a shack, where you'll find a Site of Grace--the appropriately named Boil Prawn Shack. Talk to the NPC there, where you'll have the option of purchasing Rya's necklace from him for 1,000 Runes. You can also kill him and take it, should you so desire. Return to Rya and give back her necklace, after which she will present to you the Volcano Manor invitation. That is, unfortunately, not the end of it. You'll need to track down Rya once at the top of the Grand Lift of Dectus to be teleported to the manor, and that will involve either activating the Grand Lift of Dectus or climbing through the Ruin-Strewn Precipice in order to arrive on Altus Plateau.
When you're in Volcano Manor, also make sure you look upstairs. You'll be invaded by an NPC wielding Ghiza's Wheel, which will be yours once you win the fight.
Dying At The Bottom Of The Academy Of Raya Lucaria
Another more painful way of arriving at Volcano Manor is to die at the hands of the Abductor Virgin enemy at the bottom of the massive waterwheel within the Academy of Raya Lucaria. Note that you'll need to be killed by the attack where the machine opens up and pulls you inside with its tentacles. After your death, you'll respawn near Volcano Manor, though you'll need to defeat a difficult boss in order to continue progressing farther into the manor proper. As such, this method is not recommended, as the other two methods are far easier.
Ascending Mt. Gelmir
Moving forward from the Bridge of Inequity Site of Grace, before you will be a battlefield wasteland, where knights can still be seen battling horrific mechanical contraptions. Thankfully, you can run by most of these foes. Before climbing the mountain, you'll want to ride straight ahead through the battlefield until you reach a series of shacks and a destroyed stone bridge straight ahead. Prepare for battle, as once you reach this area you'll be dismounted and confronted with an invading NPC, Anastasia, Tarnished-Eater. Defeat her to earn a Furcalling Finder Remedy and Butchering Knife weapon. In the shack near where she appeared, be sure to grab the Golden Vow incantation. Continue to the end of the destroyed bridge to snag a Stonesword Key.
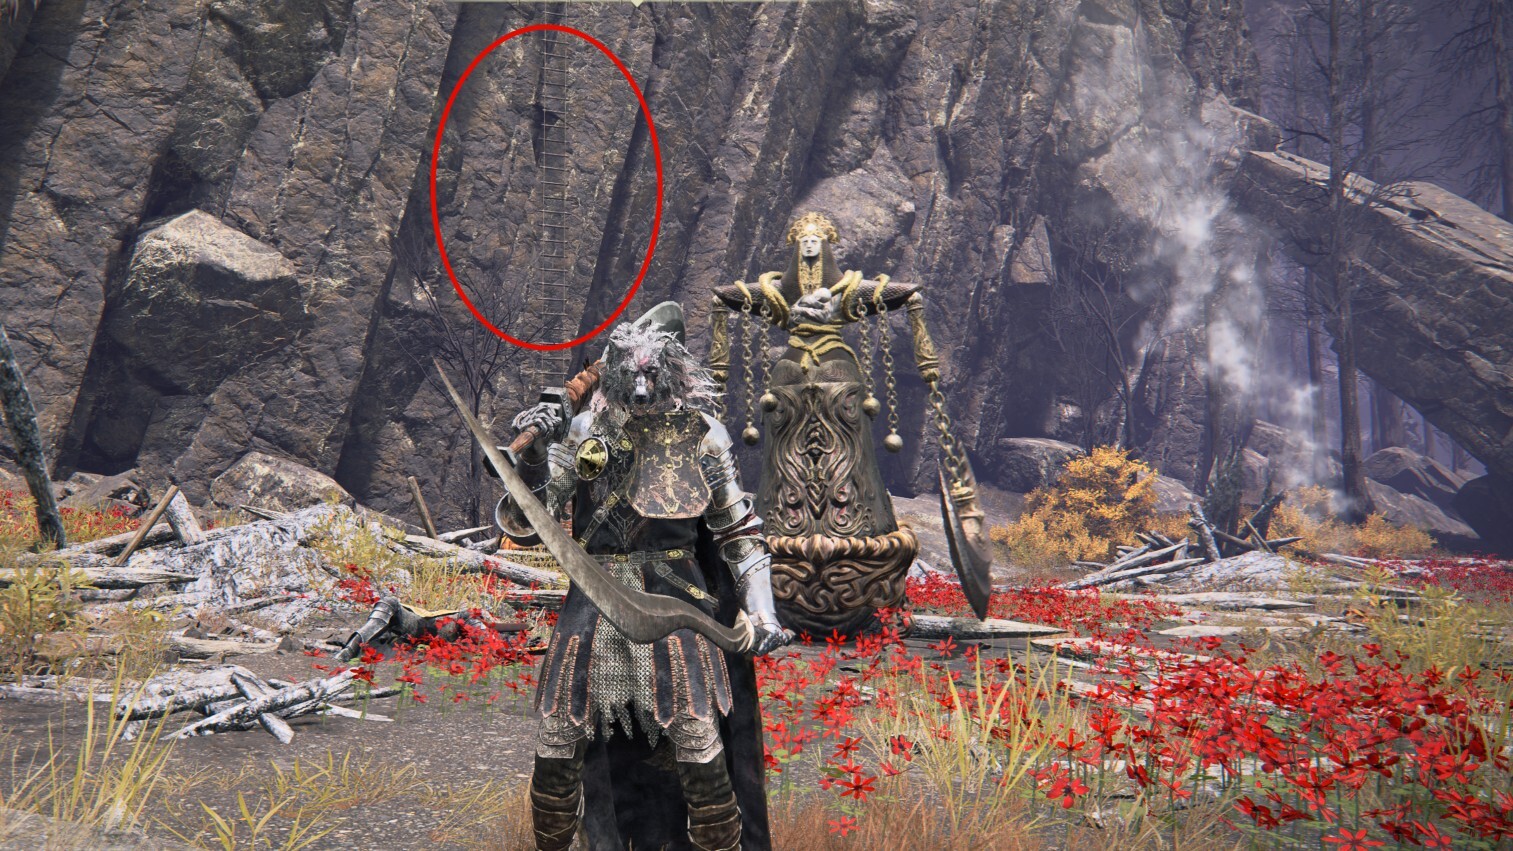
Once those items are collected, head back to the Bridge of Inequity Site of Grace. Continue forward, hugging the left cliff face as much as possible. Eventually you'll come to an area with two torches and a tall ladder. It's time to climb! At the top will be the First Mount Gelmir Campsite Site of Grace. Behind you will be some coffins where you can grab some Golden Runes, and ahead of you will be soldiers and a siege tower. Battle your way to the top of the tower to score a Pulley Bow. From there, you can go two ways. To the left of the tower, through a wooded area, is the Gelmir Hero's Grave. This is a trap-filled dungeon that rewards two sets of heavy armor and the Bloodhound Knight Floh summon should you emerge victorious. To continue up the mountain, take the right path from the siege tower. Continuing forward, you'll encounter a Grafted Scion. Defeat him or lure him away, as you'll need to use the ladder he is guarding. Making your way farther up the mountain.
At the top, you're presented with more options. There is a tall ladder to both the left and right of your current location, though they both ultimately lead to the same area. The ladder on the left will take you to a merchant, while the ladder to the right will put you near a group of knights. Heading right through the knights will lead towards a group of Demi-Humans and the optional Volcano Cave, where you can grab a Jar Cannon weapon by defeating the Demi-Human Queen Margot boss. Heading left will lead to another rope bridge and the Ninth Mount Gelmir Campsite Site of Grace, where you'll ultimately want to head. Rest up.
Pushing Through To Volcano Manor
You'll notice a tall ladder on your left and a Spiritspring to the right. Mount up and take the Spiritspring, because you'll be wanting to get the heck out of dodge as fast as possible. At the top of this cliff is a boss battle against the formidable Full-Grown Fallingstar Beast. You can attempt to tackle this boss here and now if you wish, but you can also just run straight past the foe. There is an outcropping of rocks to the right of where you ascend that you can use as a bridge. Follow the path around and you'll see various Marionette Soldiers, as well as white footprints that are the telltale sign of an invisible Dung Beetle. The best place to defeat the beetle is to wait on a rock in the middle of the area (a Marionette Soldier should be standing there). Defeat the soldier and wait for the beetle to start pacing around the rock. Land a blow and you'll earn the bow Ash of War: Through and Through. There is also a Golden Seed nearby as well, as designated by a glowing yellow tree.
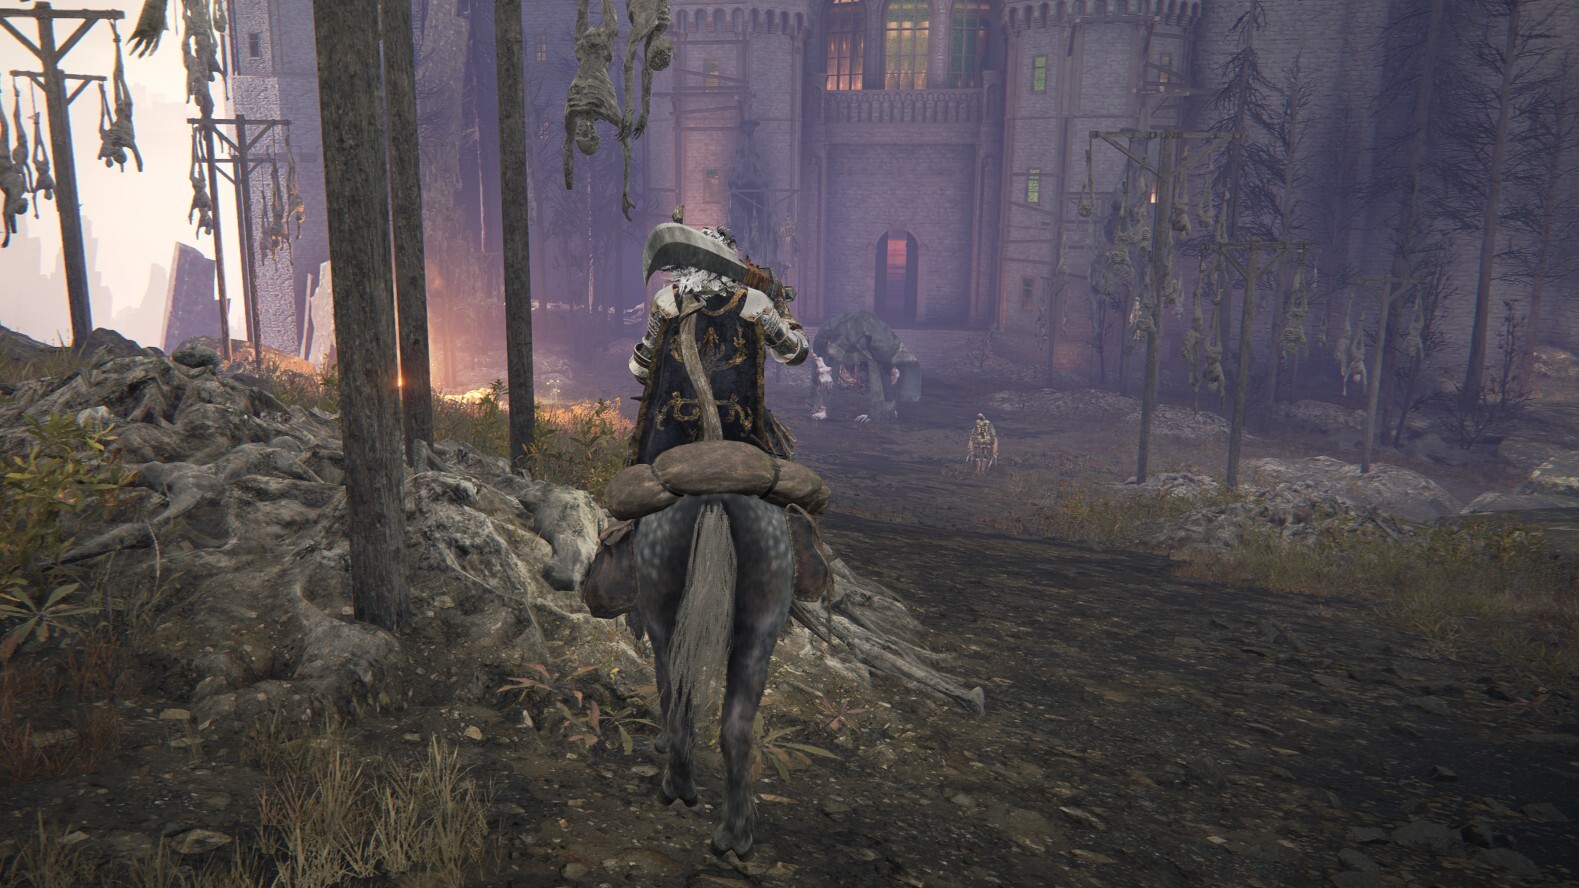
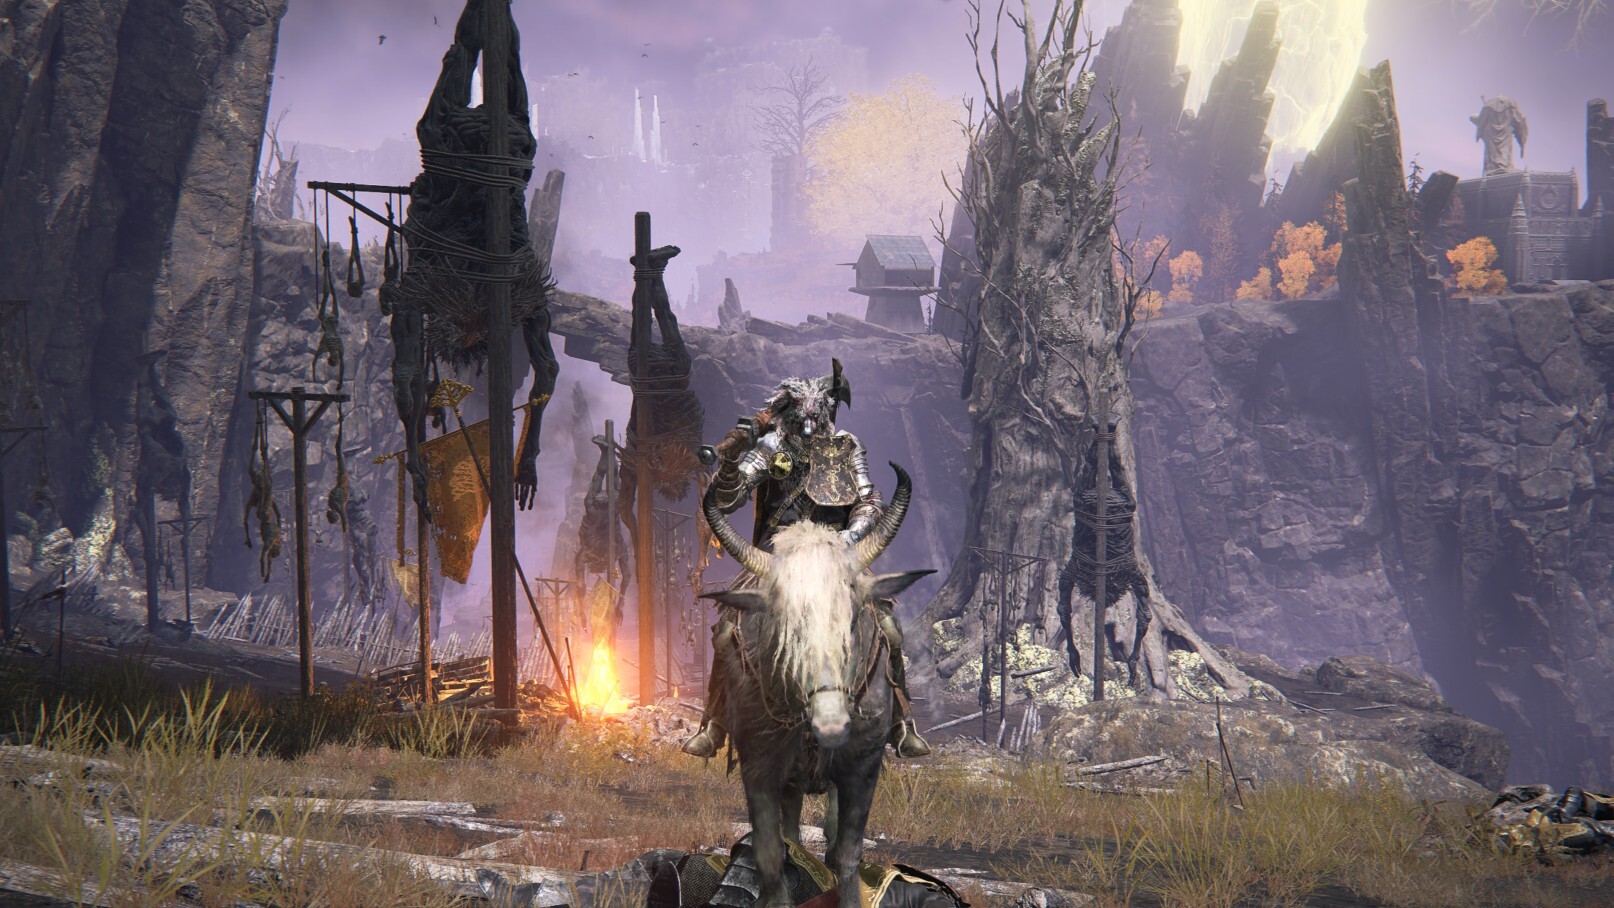
From here, you can head south to the front door of Volcano Manor, which is guarded by Marionette Soldiers and a Troll that will spew balls of madness at you. Fight if you wish, but you can also ride by into the manor and unlock the Site of Grace inside. You made it! There are, however, numerous other boss battles and items to find in the area around the manor, so venture forth once more.
Mt. Gelmir Map And Battling The Ulcerated Tree Spirit
Leaving the manor, proceed forward and take the path to the southwest. Beware of the giant enemy hands that will pop out of the ground. Keep making your way forward to find the map for Mt. Gelmir, as well as the Road of Iniquity Site of Grace. Continuing ahead you'll see the destroyed remains of a Minor Erdtree, which can only mean one thing--it's boss battle time.
Unlike the tree-like guardians you may have encountered before at other Minor Erdtrees, this tree is guarded by the Ulcerated Tree Spirit, a dragon-like mob of flesh that is not in any way pleasant to look at. Be sure to take out the Marrionette Soldiers in the area so that you aren't distrubed while battling the boss. Like other dragon-type enemies, it will spew flames in front of it, so mount up, stick to its backside while dealing damage, and be sure to keep a safe distance during some of its more dangerous attacks. Defeating the Ulcerated Tree Spirit will reward you with the Leaden Hardtear and Cerulean Hidden Tear for your Flask of Wondrous Physick.
Finding Fort Laiedd

You've conquered the Minor Erdtreee and found Volcano Manor, but there's still plenty to be seen in Mt. Gelmir. To uncover an entirely different part of the region (and an incredibly powerful sorcery) you'll need to backtrack to Altus Plateau. Fast travel to the Erdtree Gazing Hill Site of Grace (which is near where you arrive if you made your way to the region via the Ruin-Strewn Precipice). After arriving, head north up some rocks to discover the Wyndham Ruins. There's a boss battle here against a Tibia Mariner, which will reward you with a Tibia Summons sorcery spell and a Deathroot should you defeat them. Either way, head west to find a river and the Seethewater River Site of Grace. Follow the river, but watch out for geysers of fire that will deal significant damage if you happen to get hit. There's a Dung Beetle near the entrance to the river that will reward you with the Ash of War: Barrage.
Continue following the river and dodging geysers until you reach the Seethewater Terminus Site of Grace. Ahead of you will be Fort Laiedd, as well as various fire-wielding priests and flame-spewing war machines to be wary of. There are a number of useful items inside the fort, but first you'll have to defeat a strong foe wielding a massive hammer. Kill him to earn the Prelate's Inferno Crozier, and continue exploring the fort for an Armorer's Cookbook and Fire Scorpion Charm talisman. You can also find a Stonesword Key near a graveyard to the right of the fort, populated by Jellyfish.
Acquiring Comet Azur

There's still more to discover in this area, but you'll need to dodge a dragon and hop across a pool of lava to do it. Thankfully, that's not as hard as it sounds. West of Fort Laiedd will be a lava-covered area. Approaching it will cause a Magma Wyrm boss to spawn. Battle it if you wish (you'll get a Dragon Heart for doing so) but also feel free to run past it into the lava while mounted. Heal using your flask if need be, but you shouldn't take too much damage from the lava while on horseback before reaching the other side.
Ahead are a number of shacks and demi-human enemies throwing explosives, so be careful. Clear out the enemies and loot the shacks. As you move forward a massive Runebear will appear. Lure it back towards where you came and have it attack the nearby glowing statue to earn some Smithing Stones. A shack to the upper left from where you came in will have the Roiling Magma sorcery. Continue forward to unlock the Craftsman's Shack Site of Grace and find a Pulley Crossbow.
A little further down the path is the Hermit's Village, and there are a number of items (and enemies) here. Clear out the area and look around to find items like the Hierodas Glintstone Crown (a piece of headgear that increases intelligence and endurance at the cost of reduced FP), as well as a Starlight Shard, the Errant Sorcerer armor, and the Prattling Pete "You're Beautiful" item.
A boss battle against Demi-Human Queen Maggie awaits you on the other side of the Hermit Village. This boss is accompanied by three Glintstone Sorcerers, so be sure to take them out first before dealing with the boss. Defeating Maggie will reward you with a Memory Stone to increase your number of equipped sorceries and incantations.
Just past the boss area is a Site of Grace, along with a mysterious man made of crystal. Attempting to talk to him does nothing, but shortly after you'll be rewarded with Comet Azur, a powerful sorcery that requires 60 intelligence to use. You can continue forward across a rock bridge to loop back around to the start of your Mt. Gelmir journey, near the Gelmir Hero's Grave.
For more on Elden Ring, be sure to check out our guide on the best early Rune farms, how to acquire the powerful Mimic Tear Spirit Ash, and tips for beating bosses like Rennala, Queen of the Full Moon.
Got a news tip or want to contact us directly? Email news@gamespot.com
Join the conversation