Destiny 2 Shadowkeep: All The Ghost Locations For The Lost Dead Ghosts Quest
How to help Eris Morn find Ghosts.
Destiny 2's Shadowkeep expansion is rich in places to discover and activities to complete, including cool new attractions like the Alters of Sorrow and Nightmare Hunts. You'll find many chests around the moon and as rewards for completing activities, and often when you open them, you'll discover new consumable items called a Lost Ghost Trace. These items unlock a new series of bounties from Eris Morn that require you to use the clues in their descriptions to find the Dead Ghosts of fallen Guardians, and each one provides a bit of history about the Great Disaster, an event in which thousands of Guardians fell to the Hive god Crota. Finding each one unlocks a lore Triumph that tells the story of what happened to the Guardians who perished on the moon years ago, in Destiny 2's backstory. It's a fascinating insight into the world Bungie has built.
There are at least eight dead Ghosts to locate, but they work differently than those in Destiny 1, which you could discover on your own. Shadowkeep's dead Ghosts involve acquiring a Lost Ghost Trace and then cashing it in with Eris for a quest to find a Ghost in a specific location on the moon. That in turns rewards you with a new lore book and Phantasmal Fragments.

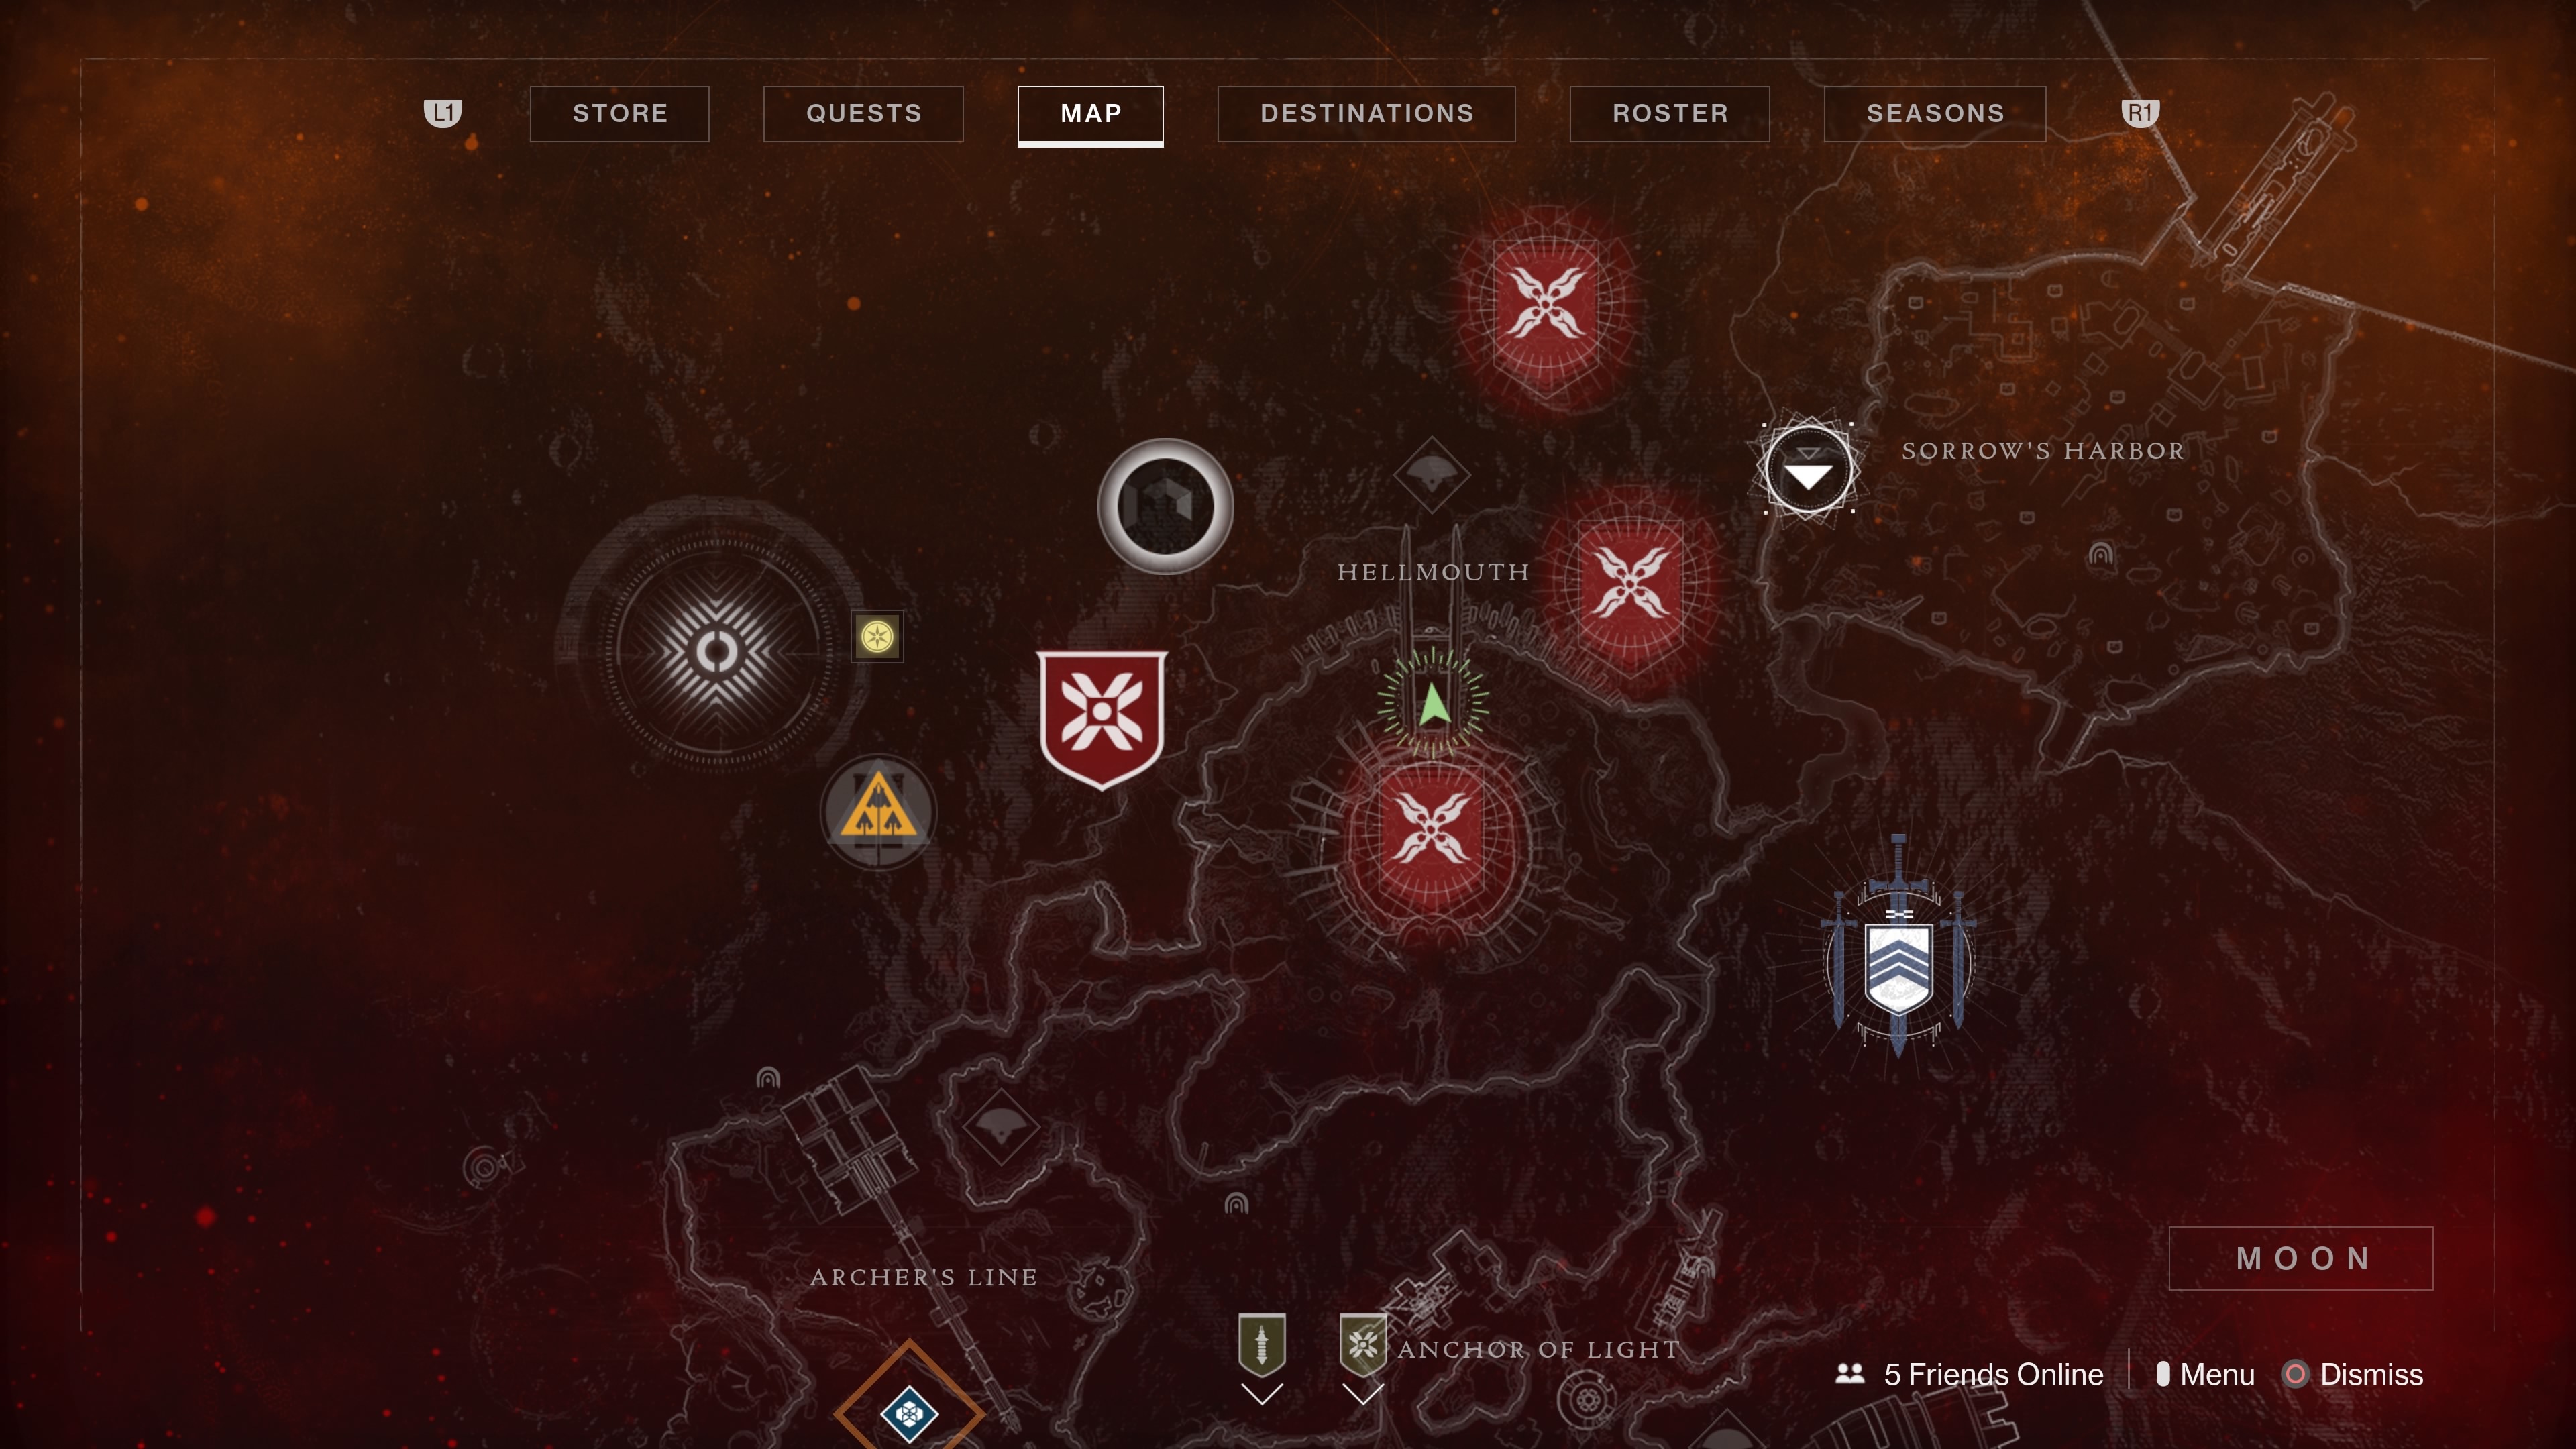
Below, you'll find a list of all of the dead Ghosts we know about, their listed locations, and--where possible--details on exactly where to find them. We'll continue to update this as we locate more. As you hunt for them, just know they have a slight glowing effect to help you track them down, but you won't receive any objective markers as you do with the items you hunt down for the Lectern of Enchantment's Essence quests.
Echo of the Great Disaster -- Archer's Line
Spawn at Sanctuary and head to the left, toward Archer's Line. Follow the path to the left when it branches, and you should then see it branch again just in front of a crashed truck. Follow it to the right a short ways until you see a jump. Stop there and turn right to face the large fissure in the ground. Just to the right, you should see a lower ledge. Jump down there and move forward to another lower ledge with a crashed truck and other wreckage. You'll find the dead Ghost nearby.


First Crota Team's Fallen -- World's Grave
Head to Anchor of Light and make your way to the east side of the area, looking for a path between the lunar colony buildings that leads to a winding canyon road. Follow that road to hit the Temple of Crota and head inside. Keep working down through the temple, past a couple of Hive seeders. You'll hit a big room with one last Hive seeder in it and a lot of enemies. Look for a door with green light coming out of it and head through there.


The path forward will take you into the World's Grave. Move through the first room into a rocky hallway with high ceilings and continue past the enemies, up onto the second level to find a door. Continuing forward, you'll next hit a room with a big round platform in it. Turn right and look for the big door with an orange-lit room just behind. Enter that room, climb the stairs, and turn left. You'll see another open door ahead of you. Enter it and look in the left corner of the small room beyond to find the dead ghost.
Adonna's Quest -- Shrine of Oryx
The Shrine of Oryx is accessed through Archer's Line. Spawn at Sanctuary and drive to Archer's Line, then make your way up the hill on the right side toward the dome building. Pass through it and follow a path down and into the Hive structure. Drop down and you'll soon hit the Hall of Wisdom.


Keep moving forward into the round room with the large, lit orange crystals hanging from the ceiling. Turn left and go through the door. You'll see a big round entrance with what looks like tubes or power cables heading into it. Head down that hallway to its end, then follow the curving path around the edge of the shrine until you reach the large room with a big structure in the center that you can enter. Head through the center doorway into the structure to find the dead ghost on the ground.
The Greatest Sacrifice -- Gatehouse
The Gatehouse is a location you'll find by traveling through the Hellmouth. In the northern section of the area, you'll find a hole in the side of the top of a structure. Head in there and then turn down the stairs, and follow the path forward to enter the Gatehouse. Keep descending through the halls, past the room with the black water and racks of swords (you'll recognize this is where you defeated the Swarm Princes in Destiny 1).

Turn right through the door and keep moving until you hit another round room with enemies inside. (If you hit the Circle of Bones or the path where you have to jump a gap, you've gone too far.) You'll also often find a Barrier Knight in this room. Check the right side of the room relative to where you entered to find a grated wall where white light is coming through. The dead ghost can be tough to spot because of the light, but it's lying in front of the grate on the ground.

Together Forever -- Circle of Bones
Make your way to the Gatehouse in the Hellmouth (as described above), then turn right to proceed through a set of tunnels and rooms. Keep descending through the Gatehouse area, and you'll come into an area with platforms hanging over a giant chasm; just jump to the left and proceed into the next set of tunnels to enter the Circle of Bones.

As you enter the Circle of Bones, you'll have paths stretching out to the left and right, and a large round room just ahead with enemies and a Wizard inside. Go straight forward and clear out the Hive in the round room. With your back to the way you came in, check the pillar on the right side of the room to find the Ghost sitting on the ground beside it.
A True Believer -- Summoning Pits
When you enter the Circle of Bones (see above), take the path to the left. Take a doorway to the left and proceed through this hallway, and you'll find a closed door you can open.

Step into the Summoning Pits and immediately turn 45 degrees to your right. You should see a long, thin platform ahead of and above you that runs along the edge of the room. The dead Ghost is sitting on that platform, right in the corner.
Dark Dreams -- Lunar Battlegrounds
The Lunar Battlegrounds are accessed by traveling from Sorror's Harbor toward the southeast. Spawn at the Sorrow's Harbor landing zone and head toward the southeastern exit, which takes you across a bridge. Head straight across the Hive fortifications of the next area to find a road on the far side of the small canyon. Keep moving forward to reach the Lunar Battlegrounds, which you might recognize as a big Destiny 1 Crucible map.

As you arrive, turn right and drive along the right side edge of the area, which will curve away from the wall toward some buildings. Look for what appears to be a downed orange of a spacecraft with a crater beside it. Your dead ghost is just behind it.
A Futile Search -- Anchor of Light
This is a named location on the map. Spawn at Sanctuary, hop on your sparrow, and follow the path to the right to get there. When you arrive, look for the big disc-shaped building in the center of the area. Head in through one of the doors and look around for a small room off the big round main room. The dead ghost is just inside and not hard to spot.
Misplaced Trust -- Hellmouth
Hellmouth is another named location on the map. From Sanctuary, follow the path to your right, move straight through Anchor of Light, and you'll hit the Hellmouth. Alternatively, start at Sorrow's Harbor and take the southwest exit near the landing zone. When you arrive, head around the edge of the Hellmouth to the north end of the area, where you can enter the Hive structure. This is the path you'd normally take to the Gatehouse, the Circle of Bones, and the Summoning Pits, among other locations.

As you enter the building, stairs will descend to your left with a few Hive enemies waiting for you. Go down to the bottom and head for the edge of the platform ahead of you (rather than turning right to go through the door). Spin around and face back up the stairs to find the dead ghost, which is secreted behind the half wall at the bottom of the stairs.
A Loyal Friend
The last of the Lost Ghosts is only available once you have access to the Pit of Heresy dungeon. Once that unlocks, you can turn in one last Trace to Eris to get the bounty. Head into the dungeon and work down to the second major encounter, in which you're running from a few giant invincible ogres. Work your way through the maze until you hit the edge of the area, where a cliffside and a large pit. Keep the cliff on your left and work your way down to the end of the area. You should spot the Dead Ghost on a platform at the far end of the room, which you'll have to reach by jumping. Grab it to complete the Dead Ghosts set and unlock the Lunar Memoriam emblem.
How To Get Lost Ghost Traces
Lost Ghost Traces appear to be random drops from activities on the moon, and you'll need one in your inventory to even see the dead Ghost quests offered by Eris. We've found them through various means, including the chest spawned by killing a barrier champion on the moon and completing the Scarlet Keep Strike and Nightmare Hunts.
Got a news tip or want to contact us directly? Email news@gamespot.com
Join the conversation