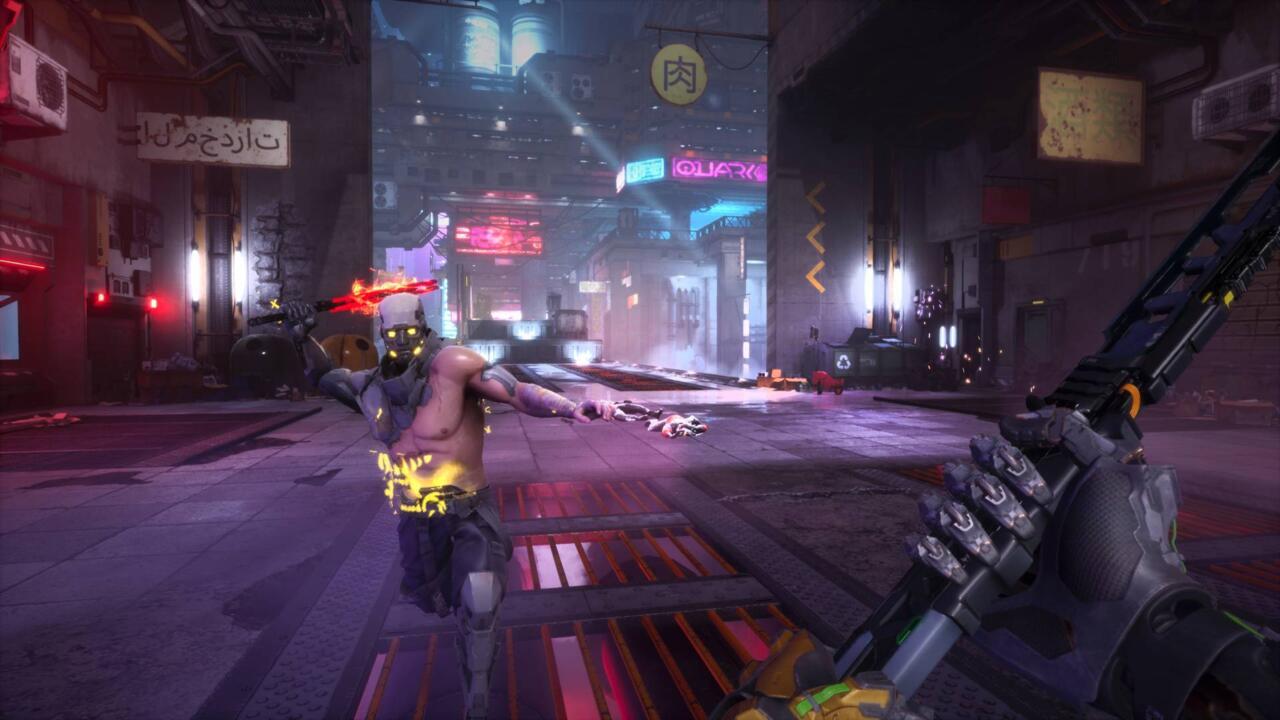
Best Ghostrunner 2 Upgrades And Skills
Here are the best upgrade chips to spend your memory shards on in Ghostrunner 2.
After you beat the Ghostrunner 2 intro--that is, the first two missions--and defeat Ahriman, you'll head to the Interface Council HQ for the first time. This is where you can find the GR Augmentation Unit and buy the best upgrades in the game. Known as Upgrade Chips, there are 48 upgrades in total, as more unlock as you progress through the game. Here is everything you need to know about the best Ghostrunner 2 upgrades and skills you should prioritize acquiring.
How to unlock upgrades
To unlock new upgrades, you must spend data, which you can earn more of by defeating enemies. Chaining together kills and increasing your combo will reward you with more data and you can buy more upgrades whenever you find an Augmentation Unit--usually back at the Council HQ, but sometimes during Ghostrunner 2 missions too.
Installing upgrades isn't as simple as just purchasing them, however, as you must have sufficient memory in your motherboard. Upgrading your available memory is as simple as finding memory shards during missions, which are the floating purple collectibles. There are a lot of them throughout the length of Ghostrunner 2, but you won't need to acquire them all to max out the motherboard. Collecting more memory shards will also upgrade the level of your motherboard, which in turn unlocks more upgrade chips and ultimate abilities.

Best upgrades to unlock
By the time you earn the ability to unlock all the upgrades in the game, you'll only have one or two missions left, so most of these upgrade recommendations can be acquired at least a couple of missions before the end of the game. With that in mind, here are the best Ghostrunner 2 upgrades and skills.
Smooth Moves
- Category: System
- Acquire cost: 4,000
- Install cost: 3
An absolute requisite if you want Jack to be the most badass Ghostrunner possible, there are so many enemies that will shoot at you from afar. If a single shot hits you, you'll die. Smooth Moves ensures projectiles are much easier to deflect, and the timing window for a perfect parry--almost essential for taking down the enemies that dual wield blades--is much bigger.
Smart Deflect
- Category: Sword
- Acquire cost: 8,000
- Install cost: 3
Smart Deflect goes hand-in-hand with Smooth Moves, because it ensures deflected projectiles automatically return to whence they came without you having to aim. This means you can focus on multiple enemies at once--if a foe is firing at you from afar while you deal with some enemies in melee range, all you need to do is block whenever a bullet comes flying in and it'll do the ol' return to sender.
Hydraulics Adjustment
- Category: Traversal
- Acquire cost: 5,500
- Install cost: 3
This is a pretty simple one--a core facet of your movement in Ghostrunner 2 is your ability to dash and Hydraulics Adjustment makes dashing use 15% less stamina, so you can dash more often. Note that if it's the last upgrade chip in its column, that buff increases to 25% less stamina.
Ultimate Booster I & II
- Category: System
- Acquire cost: 6,000 each
- Install cost: 3
This entry is rolling two upgrades into one as both do the exact same thing: They upgrade the tier of your ultimate by one. With both installed, your chosen ultimate ability is way more powerful. For example, Flux is the first ultimate you unlock, and at tier three, it has an instant charge. Alternatively, Sensory Overdrive allows you to slow down time at its base level, but at tier three, you can gap-jam to an enemy for two seconds after each dash. Speedy.
Tracking System
- Category: Shuriken
- Acquire cost: 8,500
- Install cost: 6
The Shuriken is the first secondary ability you'll unlock, and it's also the best because it's useful both in and out of combat. Sure, Shadow has its uses in some very specific puzzles, and Tempest is helpful against lots of enemies at once, but Shuriken allows you to hit enemies from afar then grappling hook or gap-jam to them if they're only stunned. Tracking System essentially means it's easier to hit your target, so you don't need to be quite as precise with your aiming.
Oiled Machinery
- Category: Shuriken
- Acquire cost: 5,500
- Install cost: 3
Taking into account the explanation for Tracking System, Oiled Machinery is a no-brainer to go alongside it. It simply makes each Shuriken cost 20% less energy, so you can throw more before you run out.
Rooting
- Category: System
- Acquire cost: 12,000
- Install cost: 8
This is the latest upgrade you'll unlock in this list, but it's also one of the best as it allows much more freedom within the motherboard itself. Prior to purchasing Rooting, upgrade chips can only be placed in the same motherboard column as others in the same category, but Rooting completely removes this restriction, which is also the only way to get more than four upgrades from one category.
Tactical Retreat
- Category: Traversal
- Acquire cost: 5,000
- Install cost: 5
Sometimes, you need to get the heck outta dodge, and the best way to do that is by retreating. Tactical Retreat makes it so whenever you dash backwards, you'll also leap in the air, allowing you to dodge any projectiles that would otherwise hit you on the ground, and soar over enemies behind you if you're being ganged up on.
Glass Vampire
- Category: Rootkit
- Acquire cost: 7,500
- Install cost: 4
Finally, we have Glass Vampire, which may not necessarily be one of the best upgrades, but it is one that is fit for extremely skilled players. There are lots of upgrades in this game that revolve around having a long combo on the go and being able to string together attacks, especially in the Flow category, but it is pointless having any of these if you do not also unlock Glass Vampire. This upgrade doubles your combo, but it disables blocking, so there is no point using this in conjunction with the aforementioned Sword category upgrades. However, if you're skilled enough where you can dance around enemies without needing to block, this is the upgrade for you.
Got a news tip or want to contact us directly? Email news@gamespot.com
Join the conversation