Baldur's Gate 3 - Gauntlet Of Shar Puzzle Guide
Many puzzles and trials await you in the Gauntlet of Shar in Baldur's Gate 3.
There are several dungeons in Baldur's Gate 3. One that you'll have to visit during the course of your playthrough is the Gauntlet of Shar. There, you have to complete a few tasks to obtain Umbral Gems, leading you deeper into its inner recesses. Our guide discusses the Baldur's Gate 3 Gauntlet of Shar puzzles, as well as the trials that you'll encounter.
How to Complete Gauntlet of Shar puzzles in Baldur's Gate 3
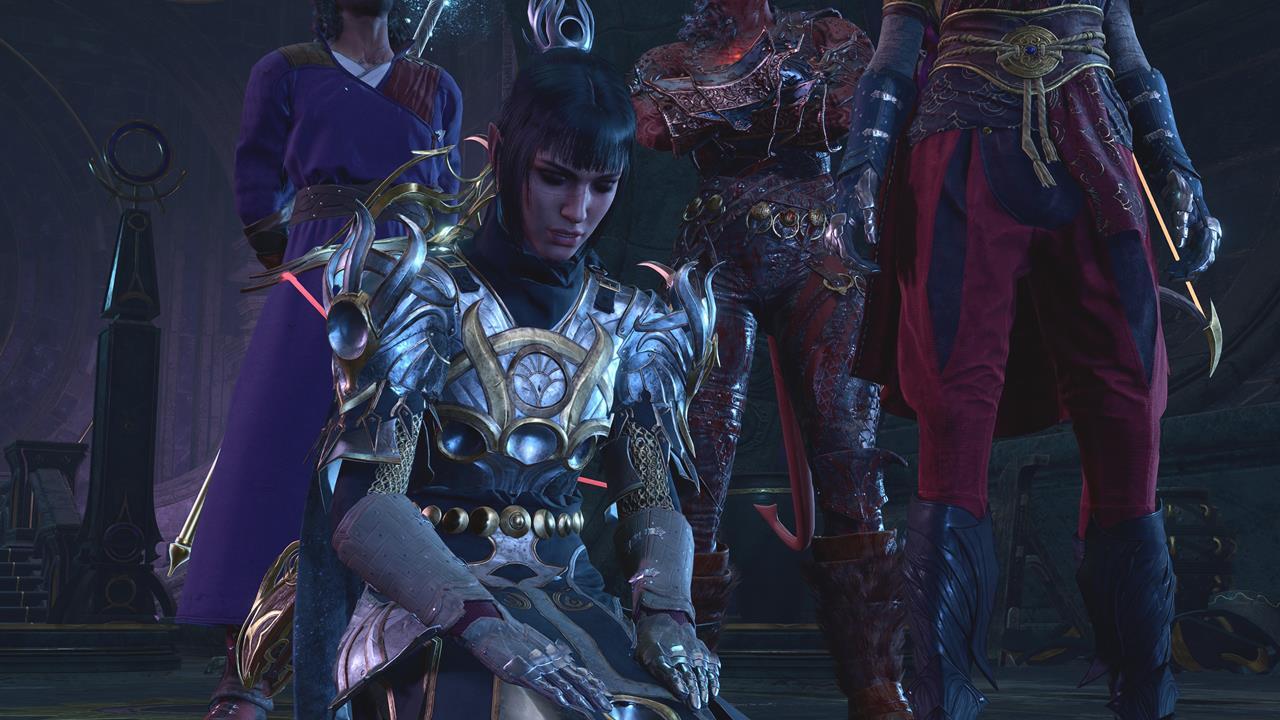
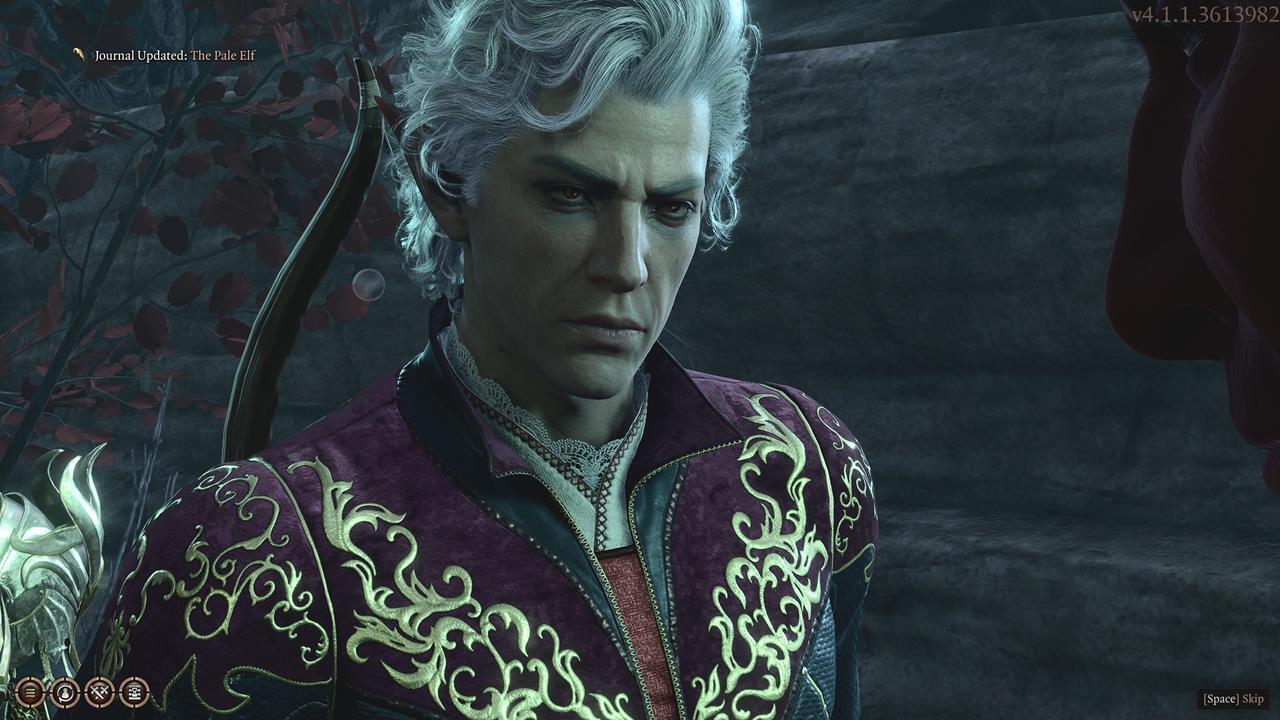
Before we delve deeper into the Baldur's Gate 3 Gauntlet of Shar location, it bears mentioning that this is related to Shadowheart's Daughter of Darkness quest, so you should definitely have her in your party. Moreover, one of the objectives is tied to Astarion's Pale Elf quest. Having him for the ride will be quite helpful, especially due to all the traps in the area.
In any case, you can find the Gauntlet of Shar in the underground section of Thorm Mausoleum. The crypt is located south of Last Light Inn. Simply follow the road and cross the river to reach Reithwin Town, then head north from there. Once you tag a waypoint past the graveyard, you'll meet with the devil Raphael, who has a proposition for Astarion. You need to defeat one of his rivals lurking in the dungeon.
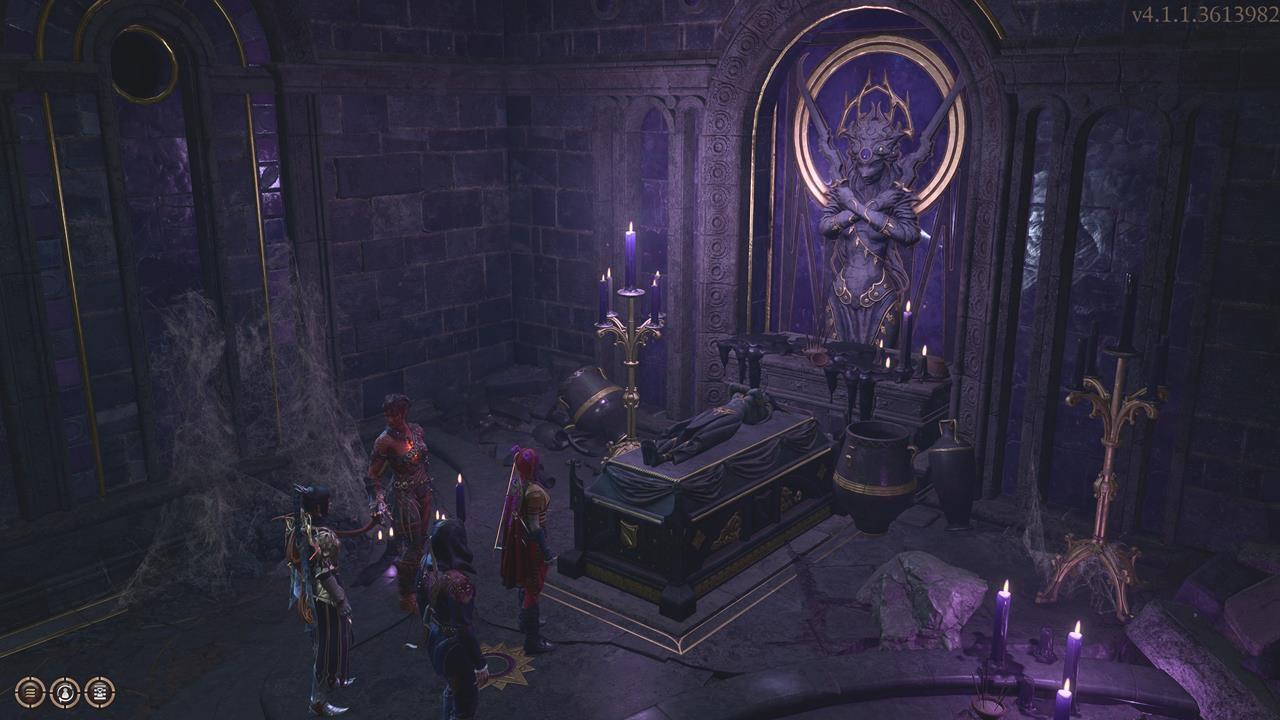
How to Solve the Mausoleum Puzzle
The first Gauntlet of Shar puzzle in Baldur's Gate 3 is actually in the Thorm Mausoleum. If you read a book, it says that one must walk in General Thorm's footsteps: "From splendor, to tragedy, to infamy."
When you reach the topmost chamber, you'll see a coffin and three murals. There are also several traps, so make sure you ungroup your party so Astarion can disarm them (assuming that he has the highest Sleight of Hand skill). You then need to interact with the murals in the following order:
- Splendor - The mural shows Moonrise Towers.
- Tragedy - It shows Thorm crying over his dead daughter.
- Infamy - Thorm sits upon a throne looking at his audience with ill intent.
Solving the puzzle opens the doorway. This lets you ride the elevator to the Gauntlet of Shar proper.
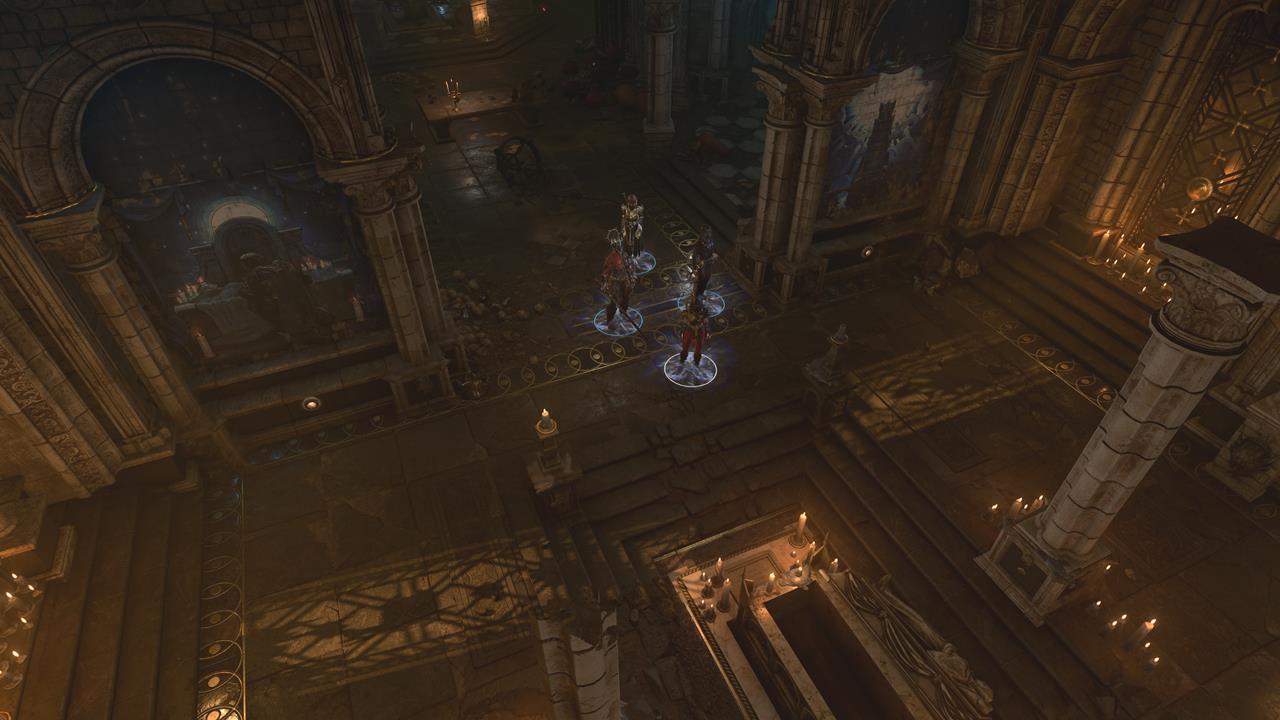
How to Solve the Statue Puzzle
In the initial chamber, you'll notice a statue holding an orb. You'll get pushed back if you attempt to approach it. Here's what you need to do:
- Check the side rooms and pull the levers to lower all the lanterns.
- Beware of triggering traps, as these cause clouds of darkness to appear. Characters will take damage when standing in these clouds as rats, which they can't target, will attack them.
- Once all the lanterns are lowered, interact with them to extinguish the light.
When the room is completely shrouded in darkness, you'll see a pattern on the floor. Use only one character to crouch-walk and avoid the glowing lines. This lets you touch the orb to unlock the doorway.
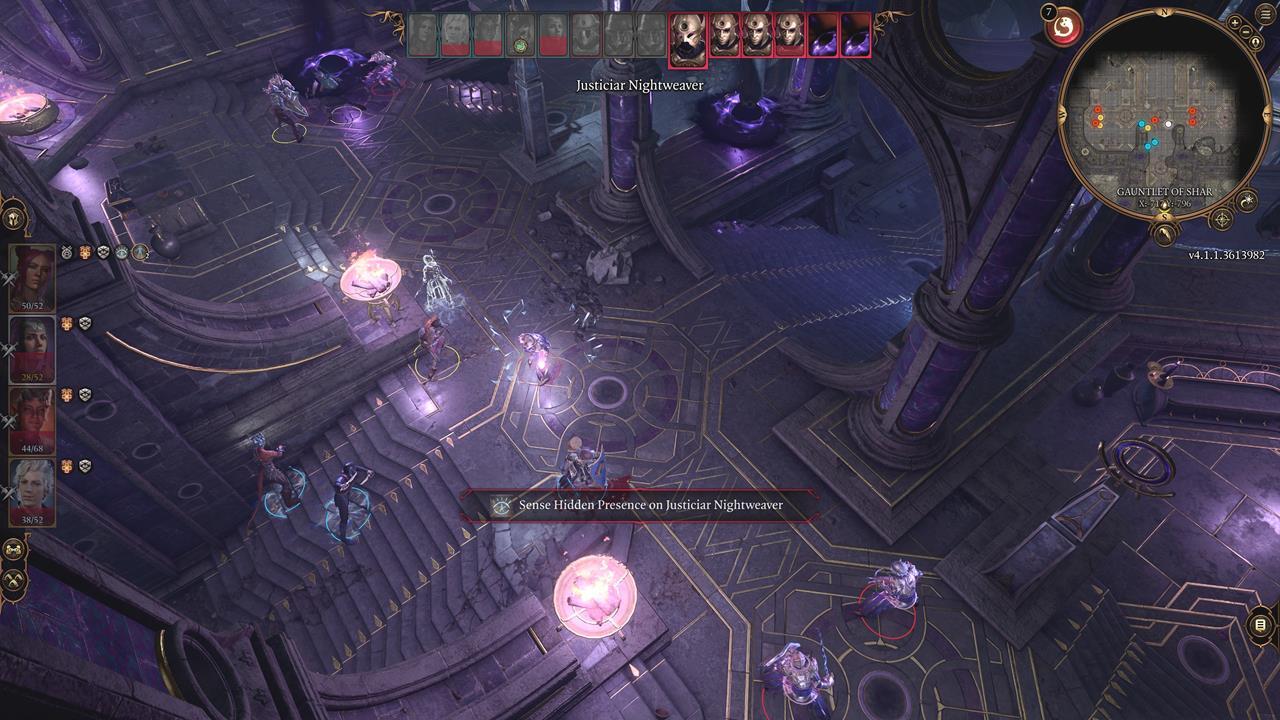
Balthazar and Battles
The next section in the Baldur's Gate 3 Gauntlet of Shar dungeon leads to a battle against several Justiciar undead. The ones you need to worry about are the Umbral Tremors, which look like black holes. If they're not destroyed, they'll cause another undead soldier to spawn.
After eliminating the hostiles, you'll notice another device and a platform, but you can't do anything about those just yet. Instead, make your way to the left to tag the waypoint. Further to the left is another fight against undead foes. There are also a few other rooms here:
- The locked room to the north has several treasure chests, one of which has an Infernal Iron for Karlach.
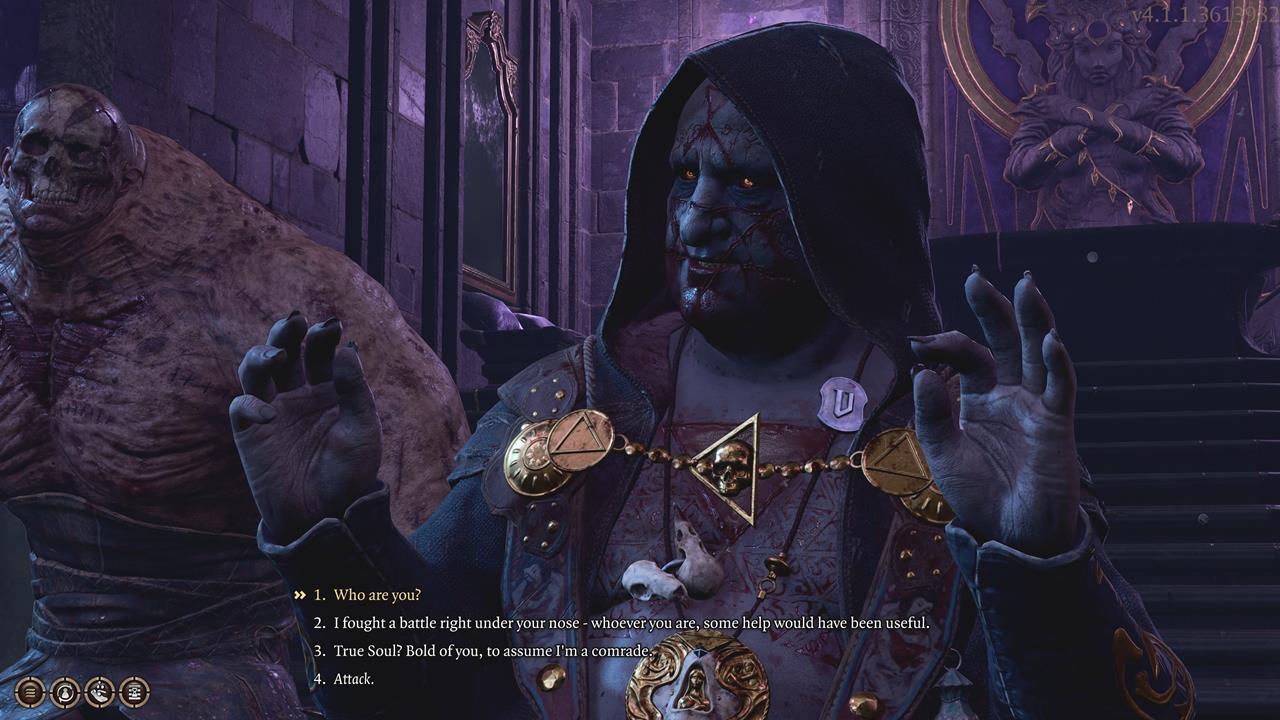
- The chamber to the left is Balthazar's lair. He wants your help, and he even gives you an item to summon a Flesh Golem.
- To the south, you'll see a statue of Shar that your characters can pray to. There's a Religion check that you must pass, and doing so grants a buff to necrotic damage resistance. Conversely, failing the check confers a penalty. We also advise you not to try this with Shadowheart, as it says that the action will cause her to give her heart and soul to Shar without any reservations. While we can't confirm it yet, this might affect the Shadowheart romance.
Where to Find the Orthon
To complete this part of Astarion's Pale Elf quest, you'll want to head to the right (from the waypoint). At the staircase, you'll spot a Displacer Beast. (We know that cats are awesome, but this one might be dangerous.)
Anyway, follow it to the antechamber that's filled with bones. This particular section of the dungeon, as well as the trial rooms, happen to have Umbral Gems. These are quest items that you need to power up the central device.
As you approach the throne, the demon Orthon will appear outta nowhere. It's been trapped in the dungeon for centuries and it wants to get out. If you fail to convince it, this will lead to a tough battle, since the hostile mobs are on a ledge above you. But, there's another method:
- Say that you can try to help it, then ask about its contract with Raphael. You need to pass a hidden Arcana check to discover that the contract was made to trick him.
- This will cause another Persuasion response to appear. You must say that his followers are still there, and they need to die. He'll immediately kill his lowly minions.
- If you succeed with the next reply, he'll be forced to kill his Displacer Beast pet. (Oh, no! The cat!)
- And, finally, you can say that he's still in the area, so he probably has to die, too.
If you can convince the Orthon to take itself out, or if you manage to beat it in battle, you can loot its ashes for an Infernal Iron and the Hellfire Hand Crossbow. The ranged weapon has the following features:
- +2 enchantment
- Hellstalker - Chance to apply burning when you hit a target while you're hiding or invisible.
- Scorching Ray Shot - Unlocked spell.

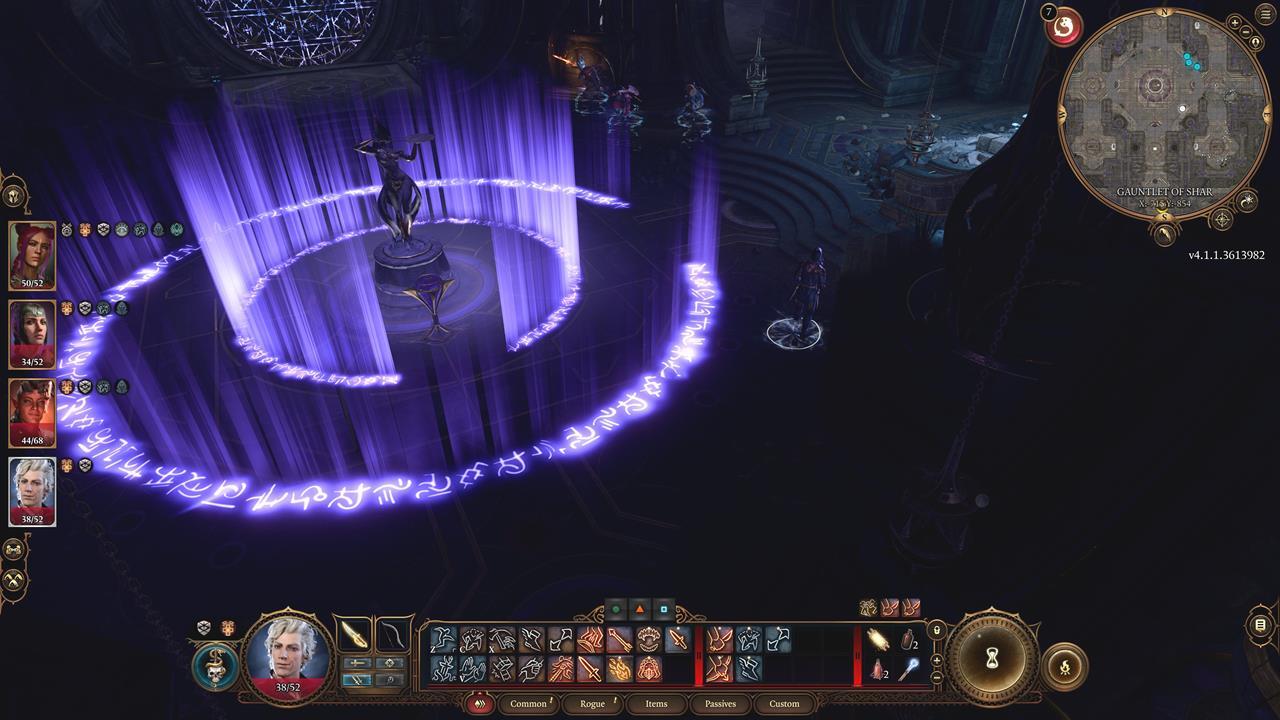
The Gauntlet of Shar Trials
Next up, we discuss the various trials in the Baldur's Gate 3 Gauntlet of Shar. You'll find these in the left-hand side of the dungeon along a corridor that's close to the waypoint. To start these activities, interact with the Shar altar and have Shadowheart spill her blood. Each trial you complete nets you another Umbral Gem.
Self-Same Trial
Upon entering the Self-Same Trial room, you'll face the doppelgangers of your squad. They'll use the same spells and skills, so watch out for their attacks. Ideally, you'll want each party member to target their duplicate. If they hit a different mirror image, their ability scores will be reduced until the next long rest.
We suggest just ignoring the debuff so you can take out your enemies at will, rather than picking specific targets per character. You can just take a long rest after this bout. You can also pick up the Killer's Sweetheart ring. This gives you a reaction where you can choose your next hit to be a critical after you've killed a target (refreshes after each long rest).

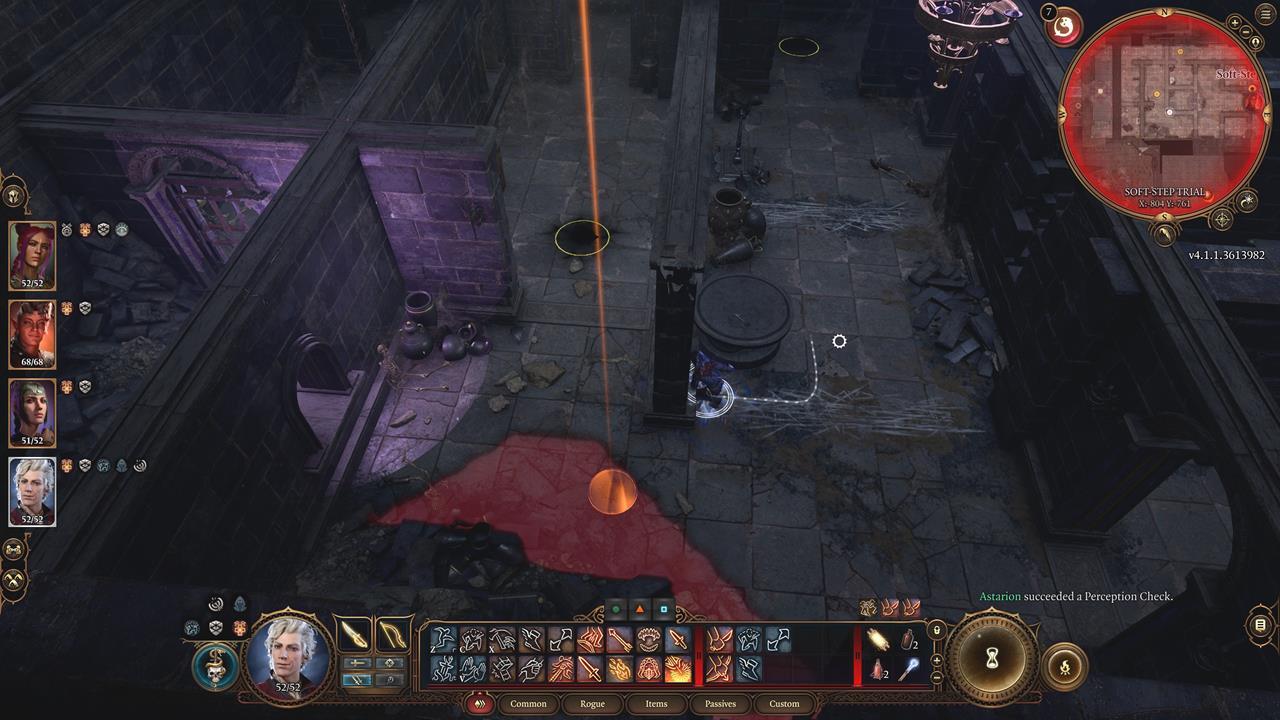
Soft-Step Trial
The Soft-Step Trial is a small maze that's being patrolled by a couple of Shadows. If you're discovered, you'll be teleported back to the entrance. We just used Astarion here to avoid detection, all while lockpicking gates and disarming traps.
Faith-Leap Trial
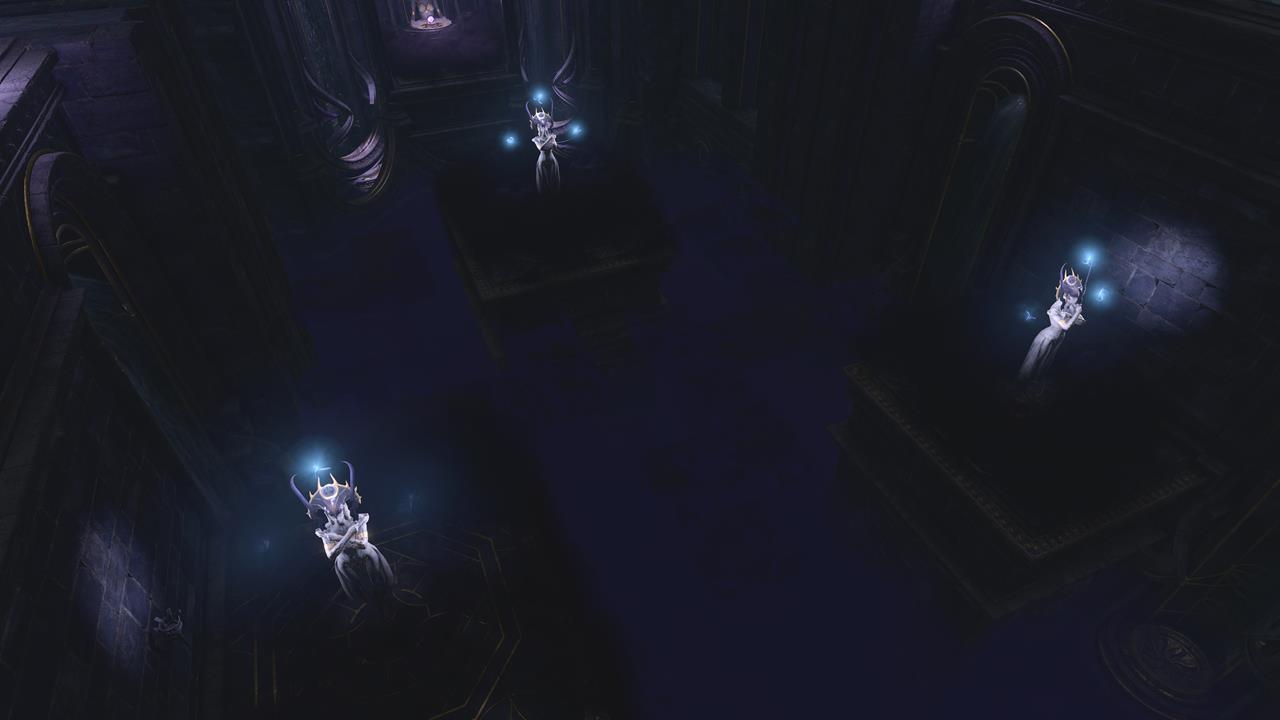
The third trial in the Baldur's Gate 3 Gauntlet of Shar takes place in a room that's quite dark. You should see the outline of ledges in the distance. But, once you get close enough, they'll disappear. Upon reaching the back-right section, you'll want to gingerly move closer to the center, then you can jump to the ledge with the statue. The lights will turn on and you'll receive the Umbral Gem.
We did include an image below, but we also suggest taking a screenshot so you can recheck the outlines as you're jumping and moving.
And that's it, you've done all the Gauntlet of Shar puzzles and trials in Baldur's Gate 3. All that's left is to place the Umbral Gems in the device. The first device only needs one, but the other further below requires the remaining three.
But, before you head all the way to the depths, we advise you to pick up a special weapon first. You'll find it in the Silent Library. Upon acquiring it, you should move onward to meet the Nightsong. Be forewarned that entering that realm is also a point of no return. As such, you might want to complete various tasks in Act 2 prior to venturing any further.
Baldur's Gate 3 is filled to the brim with activities and secrets. You'll no doubt be part of an adventure that can take countless hours to complete. For other tips, you can visit our BG3 guides hub.
Got a news tip or want to contact us directly? Email news@gamespot.com
Join the conversation