30 Items You Should Collect in Dark Souls 2 Before Your First Fight
Extra lifegems and homeward bones for the taking!
You will face plenty of hardships as you travel through the grim world of Dark Souls II. But did you know there are several important items just lying around the opening areas of the game that could make your early hours slightly easier? You can find everything from a handy shield to lifegems and homeward bones, so check out our guide to see what items you should search for in Dark Souls II before you even get into your first fight. For more help with Dark Souls II, consult our full game guide.
What's Become Of Batman Games? | Spot On Apex Legends: Official Upheaval Gameplay Trailer SteamWorld Heist II | Gameplay Deep Dive Trailer Best Fallout 4 Mods For People That Don't Care About Settlements LEGO Fortnite | Star Wars LEGO Pass: Rebel Adventure Official Explainer Video Fortnite - Official Star Wars Lands Update Event Gameplay Trailer Honkai: Star Rail - "If We Had Wings" | Myriad Celestia Trailer Wuthering Waves | Resonator Showcase | Lingyang — Debut RKGK | Official Release Date Gameplay Trailer Helldivers 2 - Warbond: Polar Patriots Unlocks Trailer | PS5 & PC Games V Rising - Official Launch Gameplay Trailer Goddess Of Victory: Nikke | Last Kingdom Full Story II Animated Cinematic Trailer
Please enter your date of birth to view this video
By clicking 'enter', you agree to GameSpot's
Terms of Use and Privacy Policy
1 Rusted Coin (temporarily boosts luck)
You can find this item near the start of the game. From where you first appear, head up the hill to where the strange monkey-like creatures are congregating. Turn to your right and follow the path around. At the end, you'll find a corpse with one rusted coin that you can pick up.

1 Gold Pine Resin (apply lightning to weapon)
Before you cross the drawbridge leading to the crones' house, you'll find a narrow path between some bushes to your left. Walk through the bushes and follow the path as it leads upward. You'll eventually come across a large cyclops with its back turned to you. In front of it is a gold pine resin that you can grab without having to get into a fight with the big one-eyed fella. Just dash in and grab it before he reacts. Easy.

1 Small and Smooth Silky Stone (?)
Look down and to the left as you're crossing the bridge to the crones' house. See that glow near the base of the waterfall? Believe it or not, it's pretty easy to grab. Simply head left once you're across the bridge and walk through the bushes. There's a short path leading down and to the left where you can pick up the mysterious smooth and silky stone.

1 Human Effigy (reverses hollowing)
Before you leave the three crones' house, check upstairs to find a chest with one human effigy enclosed within.

1 Soul of a Lost Undead (use to acquire souls), 1 Torch (lights your way)
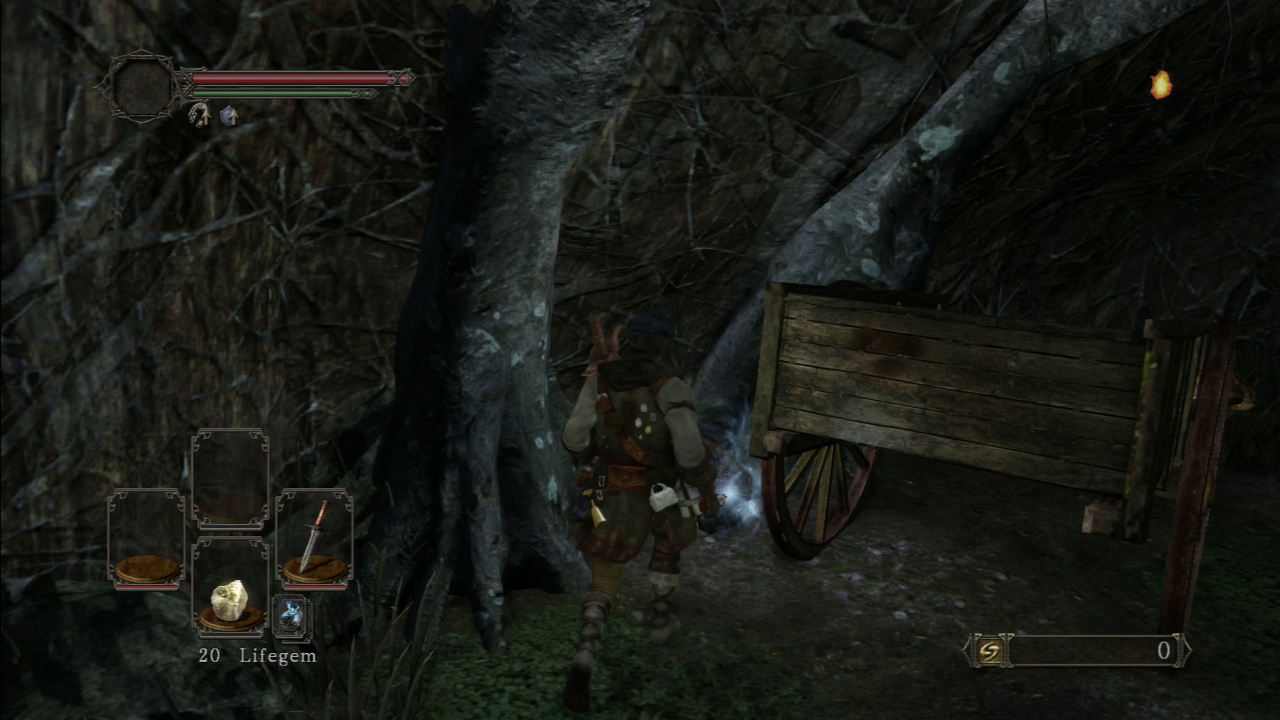
These are pretty easy to spot, being located just outside the crones' house (not the wooden bridge side, but the other side once you walk through). Destroy the wagon parked over these items if you want (although it's not required), and once you deal sweet justice to that inanimate object, the goodies are yours.
1 Divine Blessing (fully restores HP and cures all status effects)
Once you get through the narrow passageway beyond the crones' house, you'll find yourself in an area with several mists that you can walk through. Ignore all of these for now (most of them are "training" areas that are used to get you up to speed in Dark Souls II), and walk straight through to the other end, where you'll eventually find yourself on the path to the scenic--yet mainly desolate--coastal town of Majula. On the path heading down, make a left past some boulders, and you'll see a corpse with the telltale glow of an item.

3 Lifegems (slightly restores HP), 3 Homeward Bones (return to last bonfire rested at)
From the corpse you just picked up the divine blessing from, go up the hill, where you'll see another narrow path between some rocks. Head through the rocks and past the ruins until you come to a weary-looking warrior with a large sword sitting in front of a circular fort. Just past him on the left is another corpse with the lifegems and the bones.
If you want to avoid fighting for now, don't go inside the fort just yet. There are two enemies in there behind some wooden doors (in one of those rooms is an item called Lloyd's Talisman, which blocks estus recovery within a limited area). Turn around and head back to the path leading to Majula.

1 Rusted Coin
Once you're back in Majula, find the bonfire (it'll be to the right near the cliff). Along the cliff face leading back away from the bonfire is the entrance to some ruins. Walk in, and to your right on the other side of a shoulder-high wall should be a chest holding the aforementioned coin.

1 Human Effigy
Head further into the ruins. You'll quickly come to a small hallway to the left that features a large lever set into the wall. Pull this lever, and the large door in front of you will open. Head through this (be quick--it won't stay open for long), and you'll eventually find yourself in a cave. Walk across the wooden bridge, down the planks to the left, and open the chest on the tiny island to find a human effigy.

1 Homeward Bone, 1 Soul of a Lost Undead
Whatever you do, don't walk off the island toward the corpse with the glowing object, because you'll immediately drown. You can make it across by running and then leaping from the island, or if you're not confident, you can leap from above (near where you first entered this cave), but you will take some damage.
Once you grab the bone and soul, you'll have to keep moving forward. Follow the stream to the left, where you'll eventually find yourself in an open area with enemies. Unless you want to engage them, you can head back the way you came via a small path that leads back to the watery cave. Make your way back to Majula.

Your Estus Flask
Once you're back in Majula, hanging around the bonfire should be a mysterious woman. Talk to her to score your estus flask.
1 Soul of a Nameless Soldier (use it to acquire souls), 3 Lifegems
To the left of the bonfire is the blacksmith's house (and the blacksmith, who seems to have locked himself out). To the right of his house, you'll find three very handy lifegems and one soul for the taking.

1 Lifegem
Next to the blacksmith's house and in front of the cathedral-like building is a small tent leaning against a wall. Inside is a corpse that holds one precious, precious lifegem.

5 Homeward Bones
Before you enter the cathedral, head up the path that's to the right of it. At the top is a corpse next to Victor's Stone that has a load of bones just sitting there for you.

1 Crimson Parma Shield
Enter the cathedral, and you'll eventually find yourself heading down a winding staircase. About halfway down on the left is a chest containing a crimson parma shield, which is super handy if you're playing a class that doesn't have a shield as starting equipment (which is most of them). Head back up and into Majula.

1 Estus Flask Shard (grants additional estus flask uses)
Once you're back in the "town," look for a small well in front of a building that has a stone conveniently perched on top of it. Knock the stone down, and a corpse will be raised featuring a handy item that lets you increase the amount of health your estus flask regenerates. Be careful around this area, though: just around the corner are three small enemies that look like giant, hairless rats, and they pack a mean wallop considering their size.

1 Titanite Shard (reinforces equipment)
On the other side of the huge well-like hole in the ground is another hut, where the armorer lives. Go inside and climb up the ladder near the back of the hut. In a chest on the next level is a shard for the taking.

So what's that huge well?
In the middle of this hub area is a large circular tunnel that leads straight down. Peek into it, and you'll see some corpses, with items perched precariously on some wooden planks. The jump down to the first plank may look survivable, but it isn't. You'll have to get an item to survive that fall, so leave those mystery goodies alone for now.

And that's it! You're now ready and considerably better stocked up for the challenges that await. Did we miss any other goodies that can be obtained before entering the main combat areas? Let us know in the comments below!
Got a news tip or want to contact us directly? Email news@gamespot.com
Join the conversation