Army of Two: The 40th Day Walkthrough
Chest-bump your way through Army of Two: The 40th Day with our complete walkthrough, including hidden radio locations.
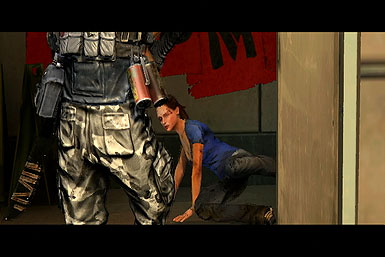
Listen up bro, we know you think this is all about fist-pumping and chest-bumping, but you're in the middle of an attack from a rival private military contractor, and it's going to really start cramping your style. You'll have to deal with massive amounts of enemy soldiers, collapsing buildings, attack choppers…and that's just in the first hour! Luckily, this here guide will walk you through every mission-objective and even help you track down the radios scattered about the city.
Here's what you'll find in GameSpot's Army of Two: 40th Day Game Guide:
- Walkthrough: Our complete walkthrough will take you step-by-step through every mission this game has to offer.
- Radios: Find all of the hidden collectibles in Army of Two: 40th Day.
- Achievements: Learn how to obtain all of Army of Two's achievements.
- Trophies: Want some PS3 trophies? Here's how to earn them!
Chapter 1
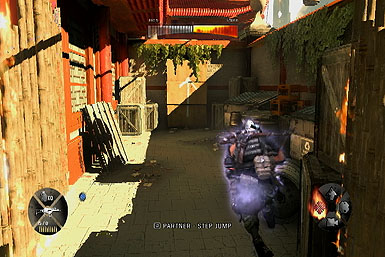
Meet Your Contact // Follow JB
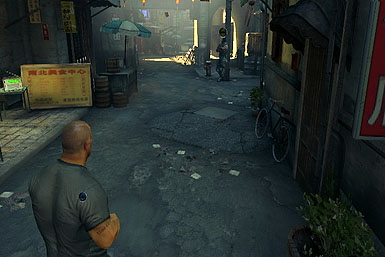
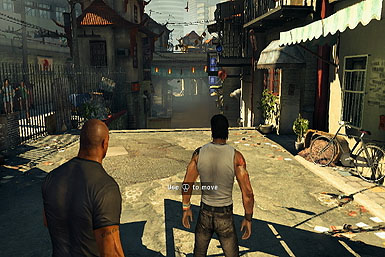
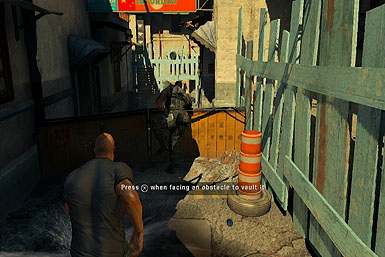
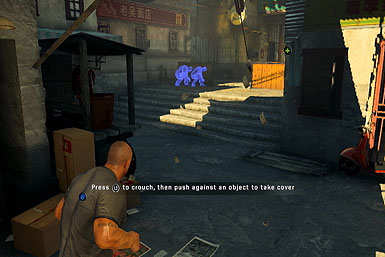
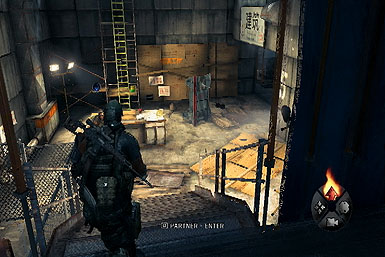
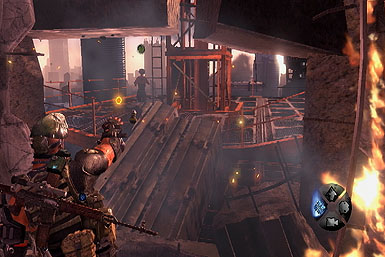
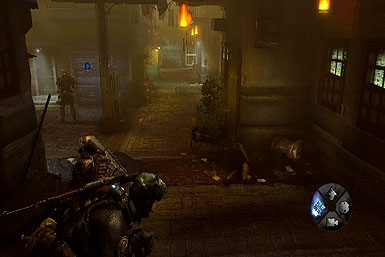
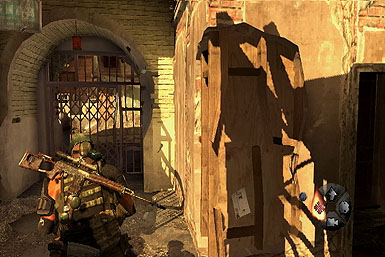
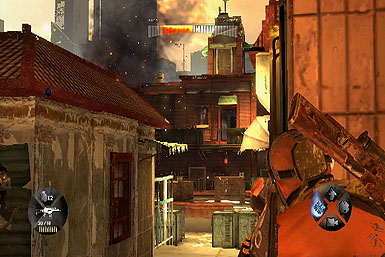
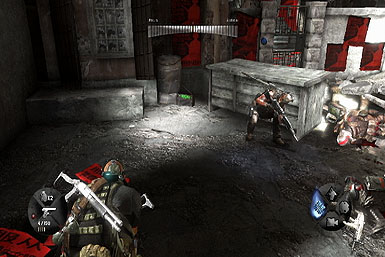
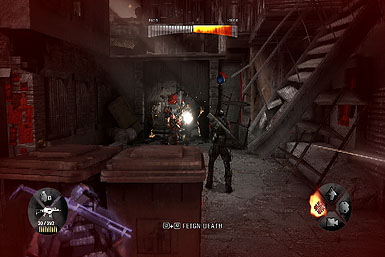
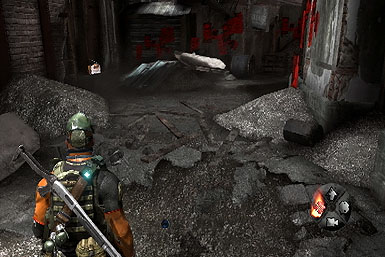
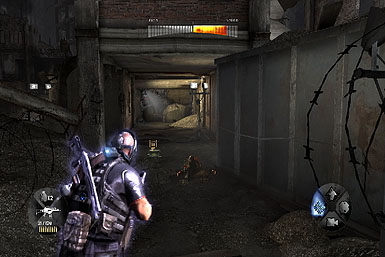
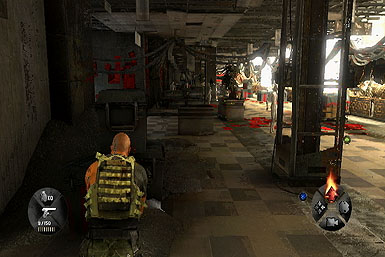
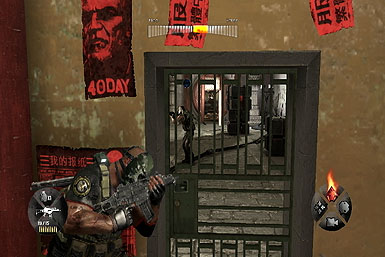
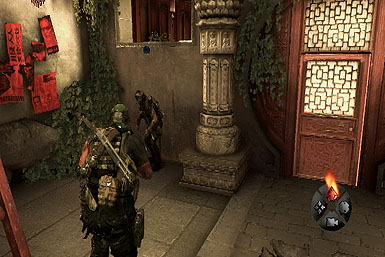
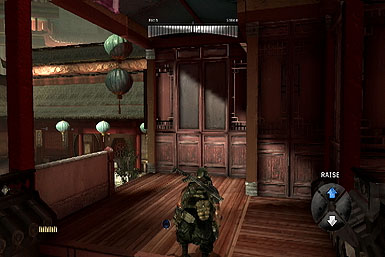
Proceed up the alley a short ways to meet with your contact. Follow him deeper into the city, vaulting over barriers and ducking under tight-space when necessary.
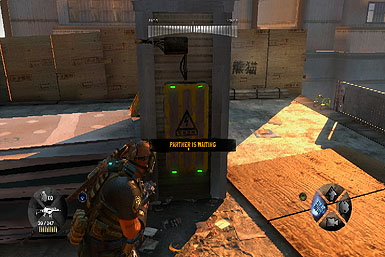
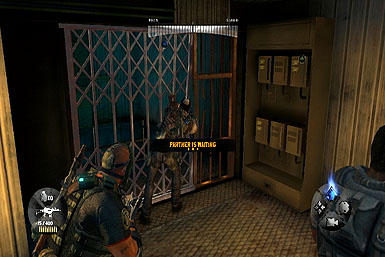
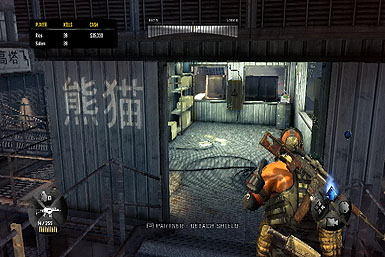
Upon reaching a closed gate, JB will instruct you to take cover behind the nearby wall, marked by two blue silhouettes. Crouch behind it.
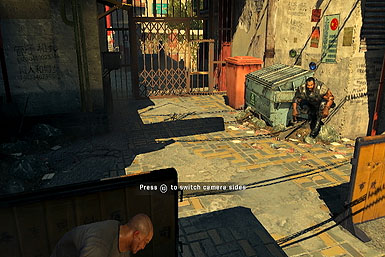
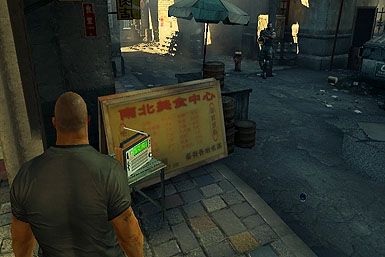
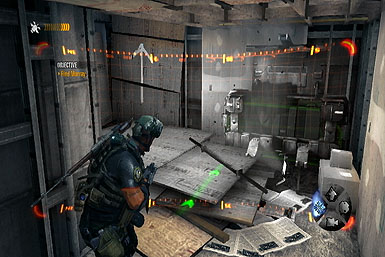
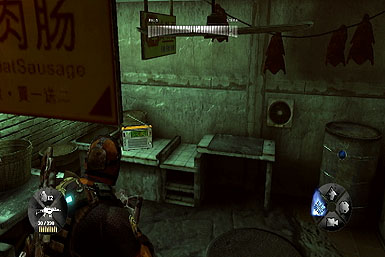
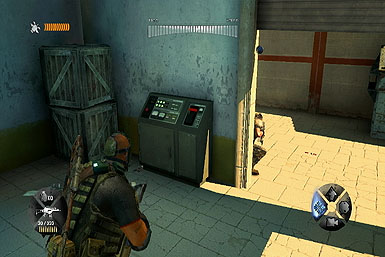
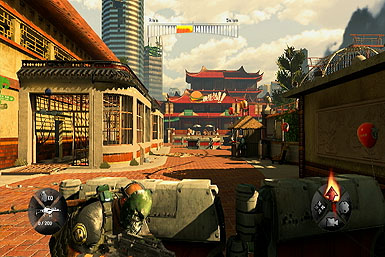
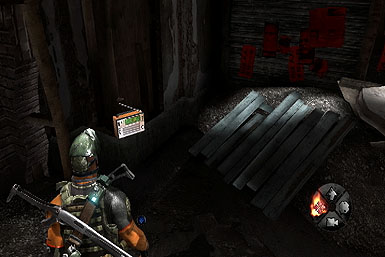
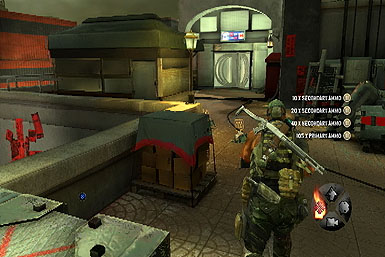
Plant First Locater Beacon
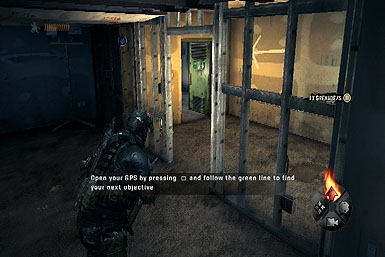
Plant the locater beacon on the control box, right next to your partner (on the right side of the courtyard). You may also want to try out your GPS now (by pressing "select" or "back") which shows a direct path along the ground to your target--this is useful for whenever you're not quite sure where to go next.
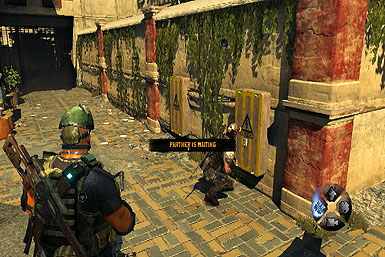
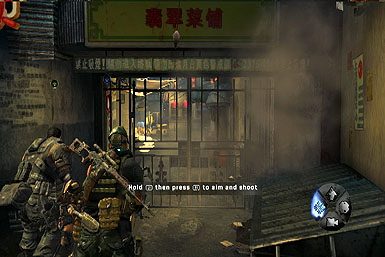
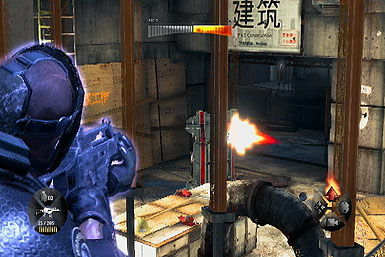
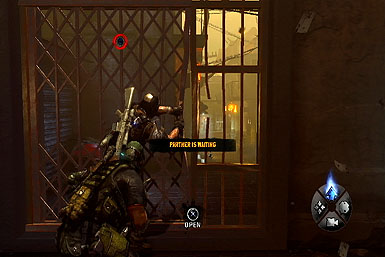
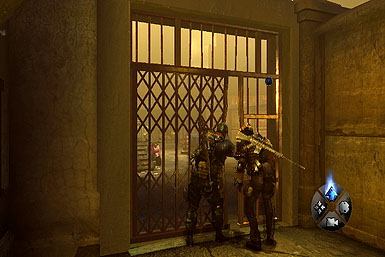
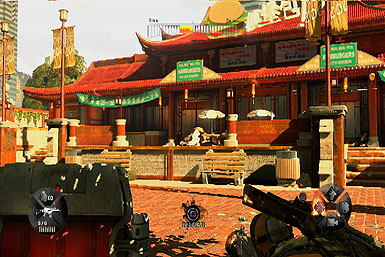
Shoot the Alarm Boxes
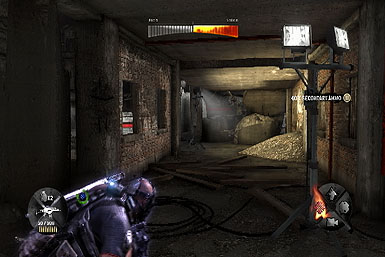
After planting the first beacon, wait by the gate ahead for JB to open the way. Follow him up to a second gate where you'll have to target two Alarm Boxes beyond. Ready your gun, place the reticule over the red, glowing boxes, and pull the trigger until both are destroyed.
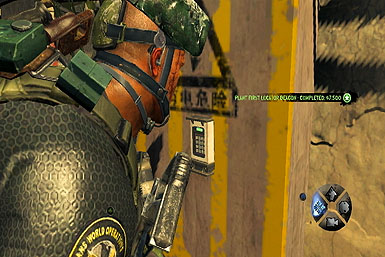
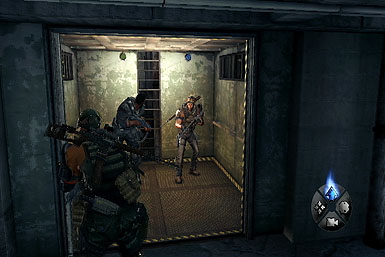
Plant Second Locater Beacon
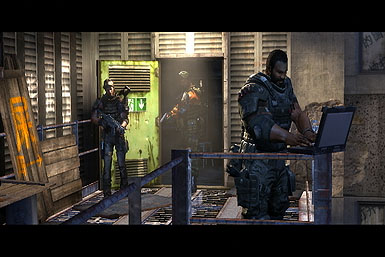
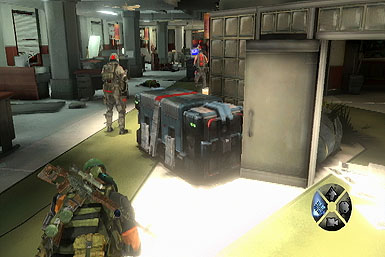
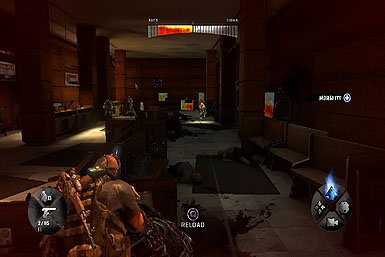
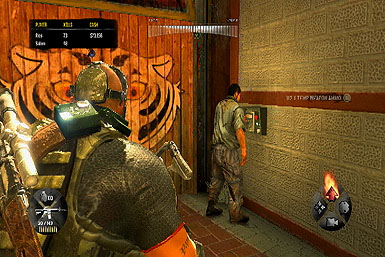
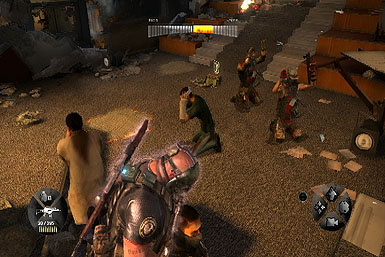
With the alarms destroyed, continue onward after JB opens the gate. Proceed into a parking garage and then onto an elevator, riding it to the next floor. After stepping off the elevator, you'll find three guards who have surrendered. You can do as you like with them, though you'll reap morality rewards for tying them up instead of killing them.
Climb the stairs afterward to find a couple more enemies. Luckily, the Officer is facing away, making it a trivial effort to grab him from behind, forcing his squadmate to surrender. Tie both of them up and then climb either ladder up to the roof. Once there, plant another locater beacon on either of the two control boxes while your partner handles the other.
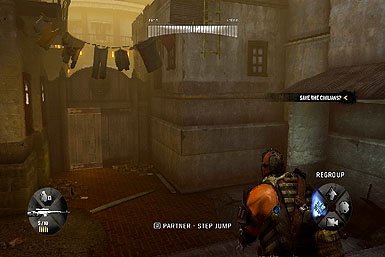
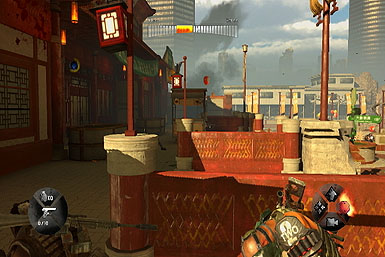
Regroup With JB
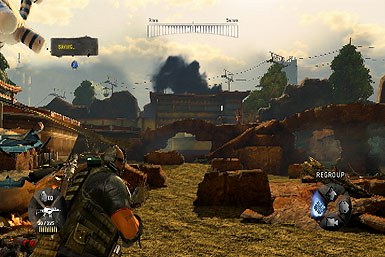
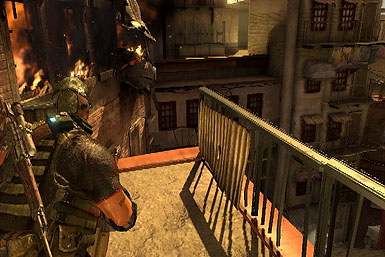
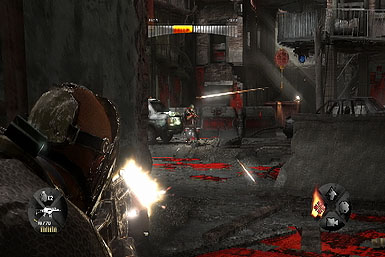
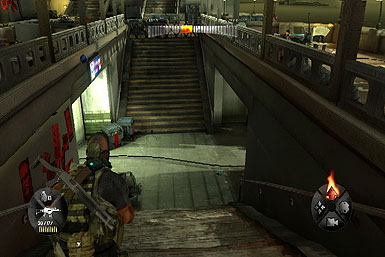
After planting the explosive, numerous soldier will begin to flood in below. Take cover behind the railing for cover and shoot the enemies beyond. You may also want to put your partner on "Aggro-Advanlce" to draw the enemies' attention away from you.
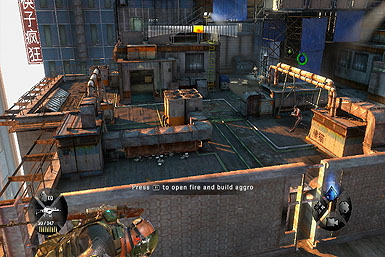
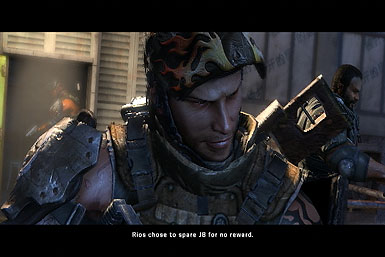
With the area cleared, climb down to it via the ladder on the left and head for the room on the right to help your partner open a gate. Shortly thereafter, you'll be given a new order from command: Kill JD.
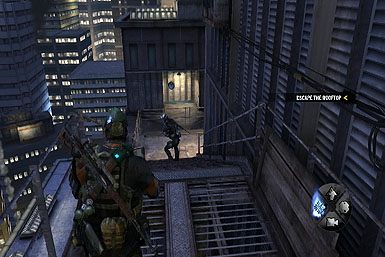
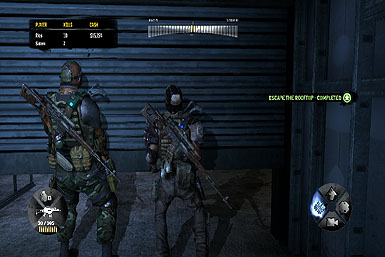
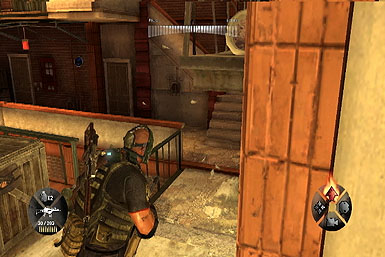
Escape the Rooftop
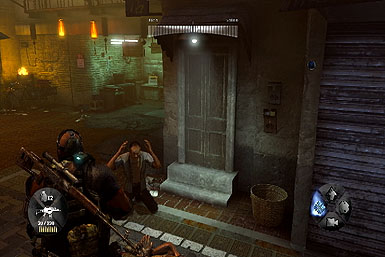
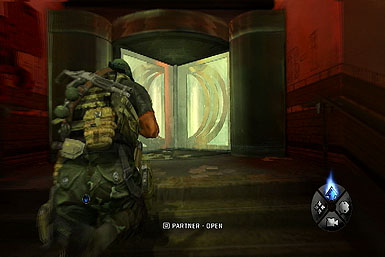
With JD long gone, clamber down the stairs and into the hallway where you'll find a door you'll have to help your partner open.
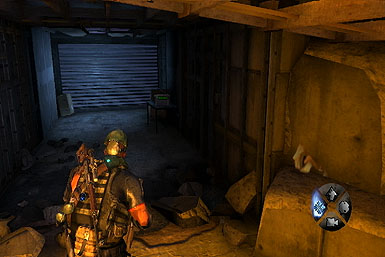
Find Murray
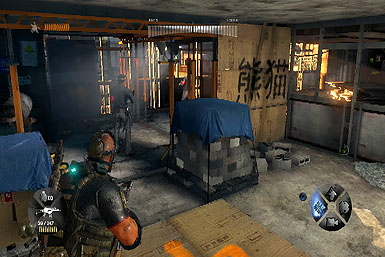
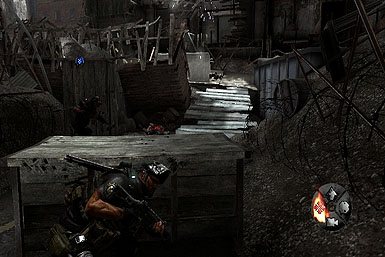
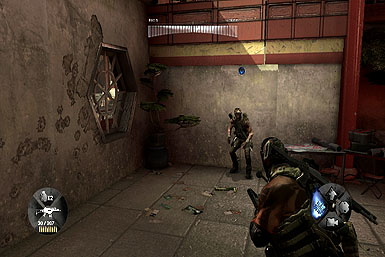
Once through the door, follow your GPS's path to a low wall on the right. Just beyond are several enemies, including a few more who'll storm from the hall ahead. Put your partner in aggro-advance to draw their attention, then pick them off from behind that wall. Once the coast is clear, proceed up the hall to find a Supply Case--these puppies can only be opened if you can dispose of any nearby guards without setting them on alert, netting you some free equipment. Open this one up, then team-up with your partner to climb the nearby wall.
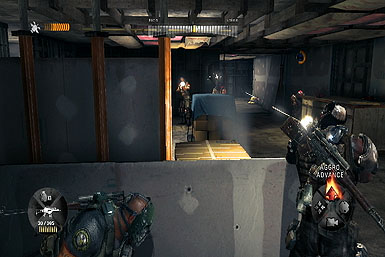
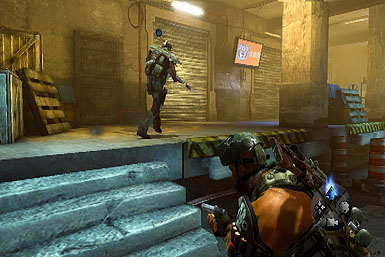
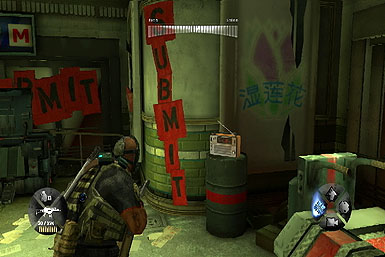
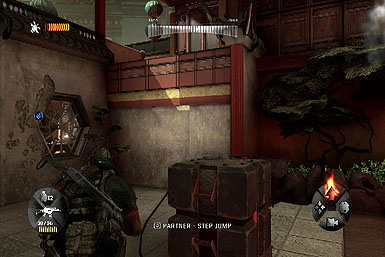
Almost as soon as you pull yourself up, several guards will storm in. Take cover behind the wall next to the port-o-potty and target them from here. Push forward up the corridor, using the columns if necessary to target whatever enemies remain.
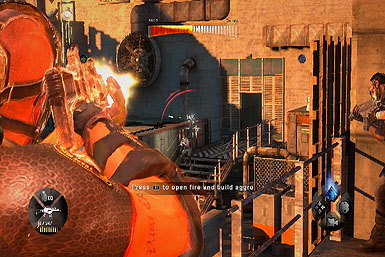
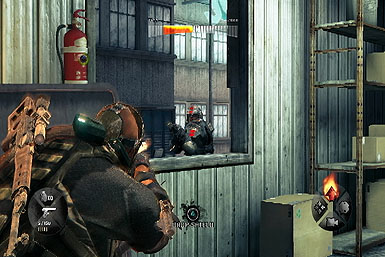
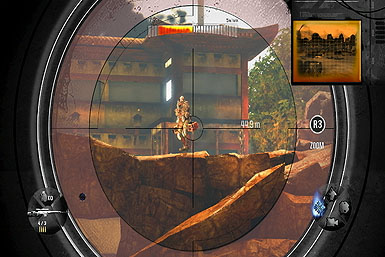
Continue down a long staircase (note: your squadmate may drop off a ledge instead--don't follow him) up to a low-wall with an orange stripe that can be used for cover. Sit tight and target the enemies both ahead and those emerging from a room on the left. Once things have calmed down, you'll want to focus on a mounted-gunner in the room on the left. To take him out, set your partner to aggro-advance to draw his attention, then when you turn blue, sneak up along the barred-windows and take him out with a head-shot from the side.
With the mounted-gunner down, enter that room and push forward to the next and seek cover behind the railing to clear out this one too. After doing so, take the stairs on the right down to the lower floor. Take cover by the low wall on the bottom floor, and be mindful of another mounted-gunner on the right. Again, you may want to set your partner to aggro-advance to draw their attention.
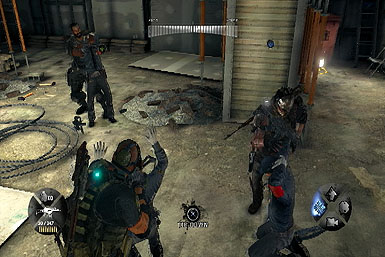
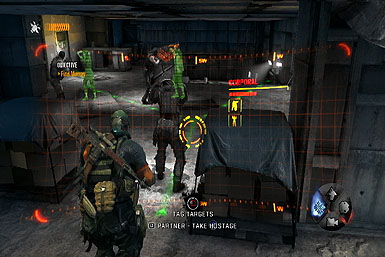
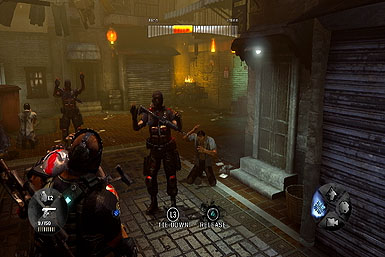
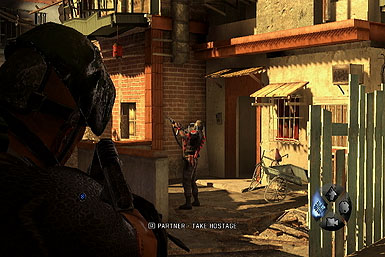
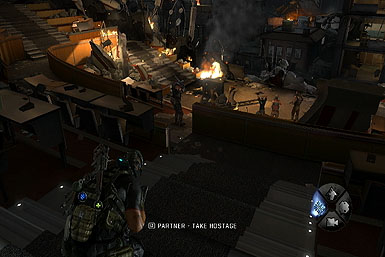
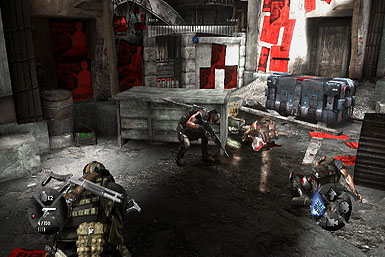
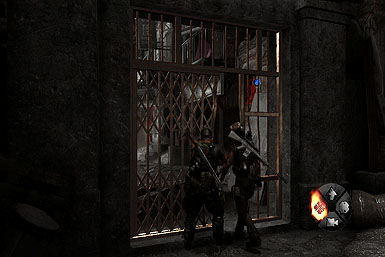
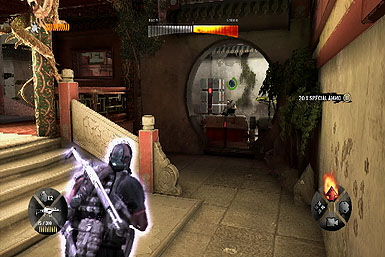
Once clear, follow your partner through a door on the right and help him open the gate beyond. Now around that corner are two civilians and three hostage-takers. If you can manage to capture the leader hostage, the other two will instantly surrender. To do so, you'll have to sneak up behind him by crouching and walking up to him at a moderate pace--once you're close, grab him and tie him up. As long as you didn't draw their attention beforehand, the other two will surrender without incident--tie 'em up too then save the hostages.
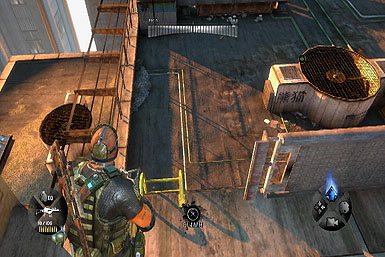
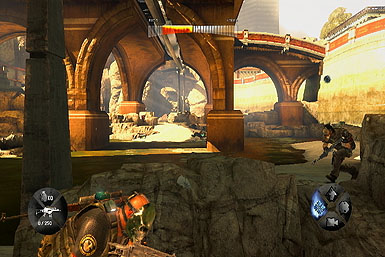
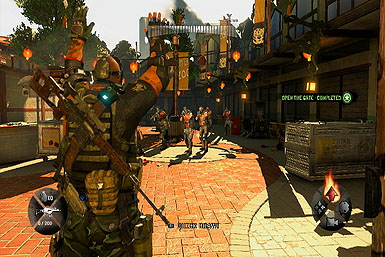
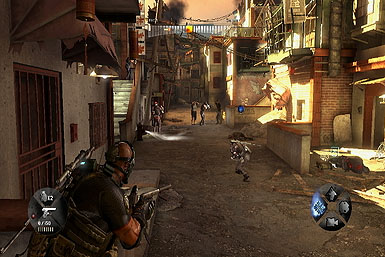
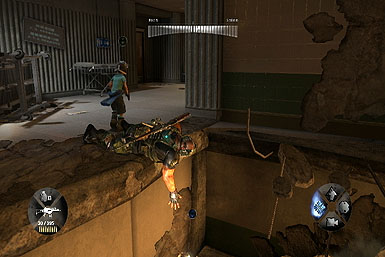
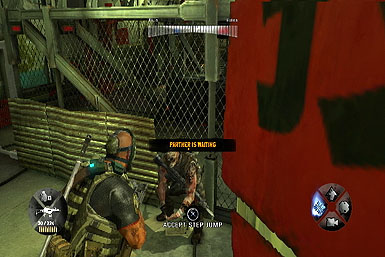
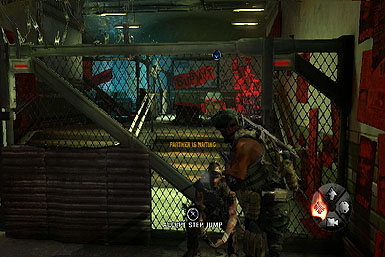
Continue through the door on the left leading out onto a bridge. Take cover by the low wall (adjacent to a ladder) and target the inbound enemies ahead. Now one or two of the enemies are equipped with a shield, making a frontal attack near impossible. Draw their attention away by setting your partner to aggro-advance, allowing you to target the shielded baddie when they turn away. Now follow the walkway to the right, using the walkway's railing for for cover as you target the enemies below, before working your way to the far staircase leading down to their level. Once on the ground-floor, head to the marked portion of the fence and toss your buddy over (while you can clamber over yourself, it's better to let your teammate do it, since he knows what to do).

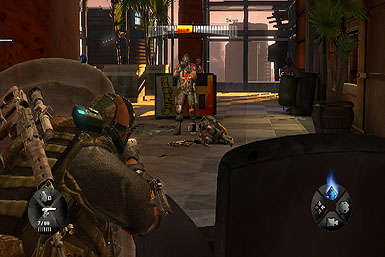
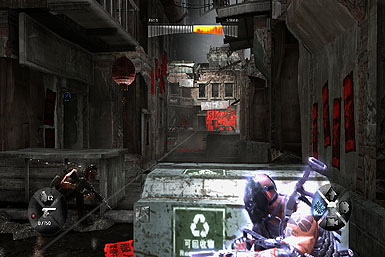
After tossing your buddy over the fence, wait for him to open the nearby gate, to the left. As soon as he has, dash into the control room and take cover by one of the windows within, enabling you to target the attacking soldiers. We also recommend aiming taking down the rocket-launcher visible out of the right window on a building to the left asap!
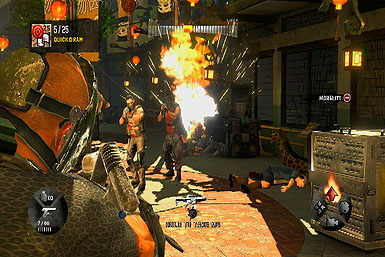
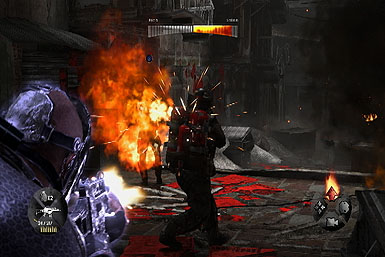
Once you've thinned the herd, a cutscene will show off a big, burly bad guy entering the fray. It takes several direct shots to the noggin in order to fell this guy, but first focus on quickly taking down some of his lowly companions. Once you have, rip off the control-box's cover to your left for a make-shift shield and get ready to target the big guy when he climbs the stairs and walks alongside the left window (the one just left of the control box). Your shield should provide adequate cover, enabling you to use your pistol to shoot his head at close-range. As soon as he's down, head for the area he came from and go through the door to complete the chapter.
Chapter 2
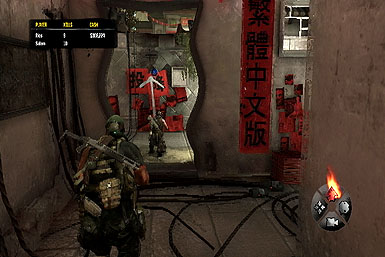
Find Another Way Down
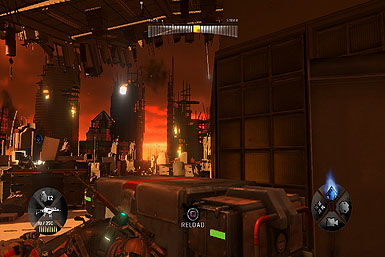
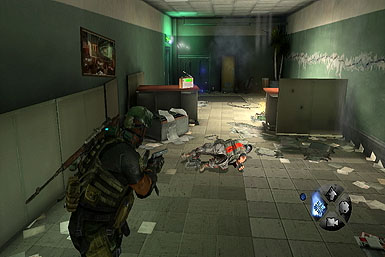
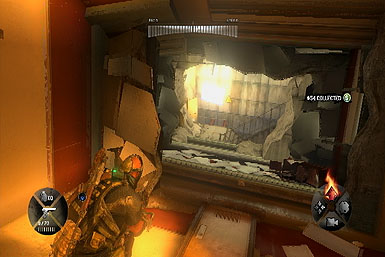
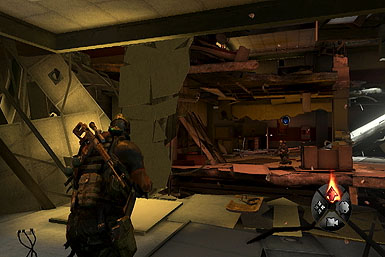
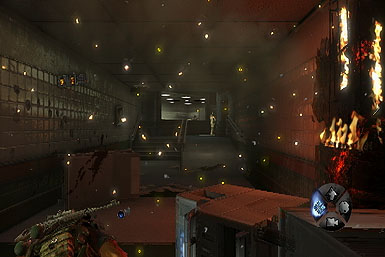
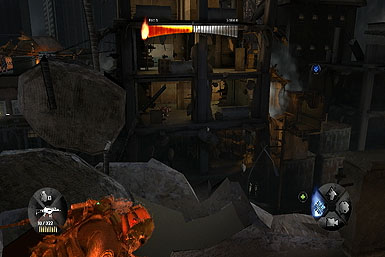
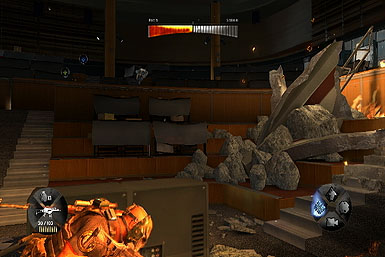
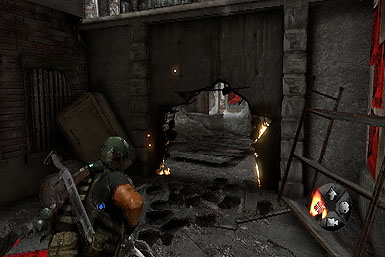
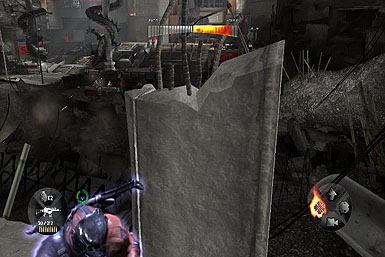
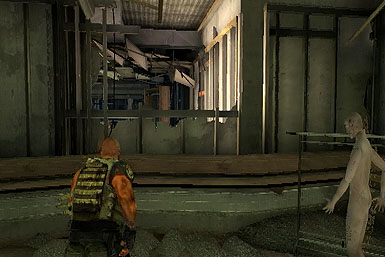
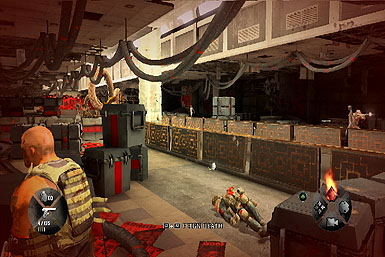
Head through the far left door, but hang back as you open fire on a couple of enemies ahead. Almost immediately thereafter, the building will start to fall apart! Don't worry, you'll be fine, but it'll distract and take out many of the enemies! Work your way through the fiery debris, taking out the enemies along the way (watch out for some injured ones crawling around), until you reach a staircase leading down to a closed gate that you can open.
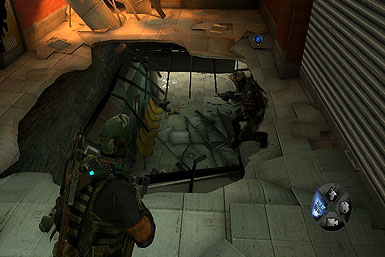
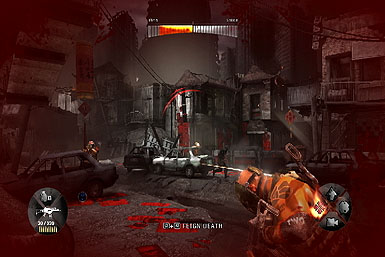
Drop through the large hole in the floor just beyond and turn the corner to find two enemies--you'll also learn of the "mock surrender" here. The mock-surrender allows you to pretend you're surrendering, luring the enemy closer, at which point you can then grab your gun and try to take them down in slow-motion. Try it out now!

Continue around the corner and up the buckled hallway, leading outside.
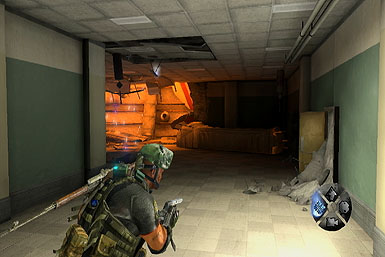
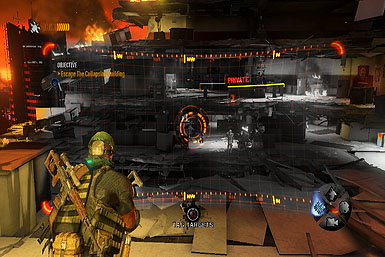
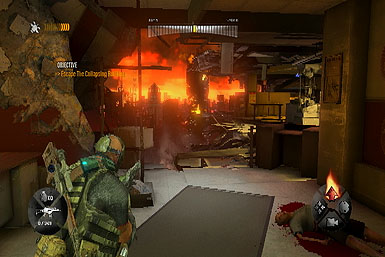
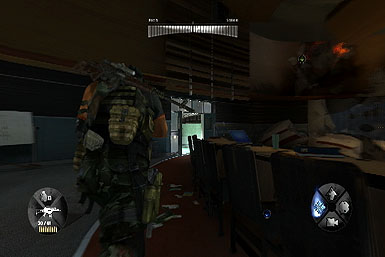
Escape the Collapsing Building
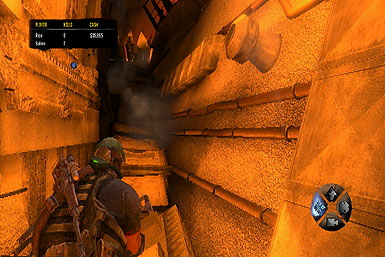
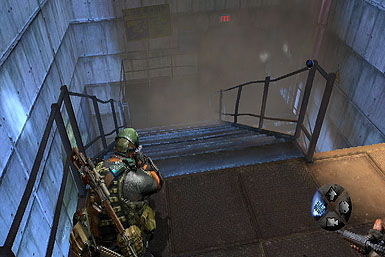
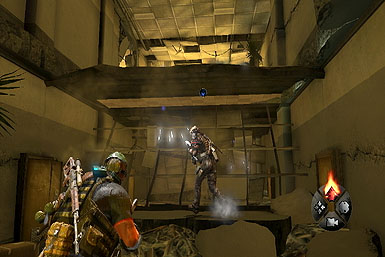
You'll have to work your way down the side of the fallen side skyscraper while taking down the enemies along the way. You have the choice of taking either the left or right back down the building--either way, the basics are the same: use the low-walls for cover and target the enemies beyond before pushing forward to the next low-wall and doing the same. We recommend having your partner on aggro-advance to draw the enemies' attention early and often, making things easier for you. Head through the hole in the wall at the base leading onto a tall staircase.
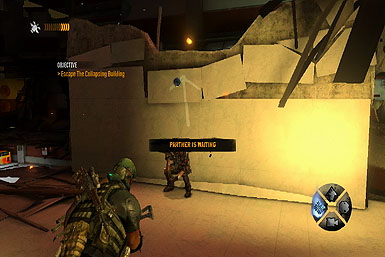
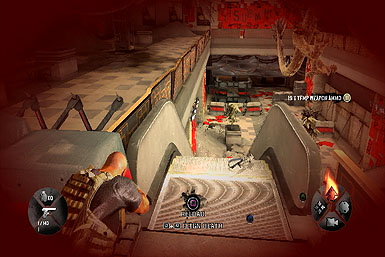
Clamber down the stairs through a hole in the wall at the base into a hallway. Open a door about halfway up on the right (your GPS will lead you to it) only to find yourself taken hostage by an enemy! But don't sweat it--your partner in crime will take him out. Now continue down through another hole in the floor and onward to learn of "tagging" during a hostage situation. Tagging allows you to mark enemies on your GPS allowing you to work with your teammate in taking them out. After tagging both, take him at once and take him out while your partner handles the other.
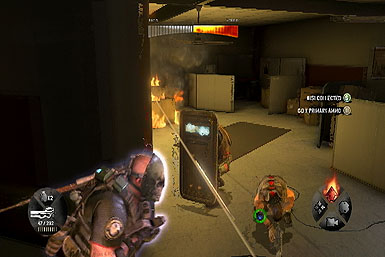
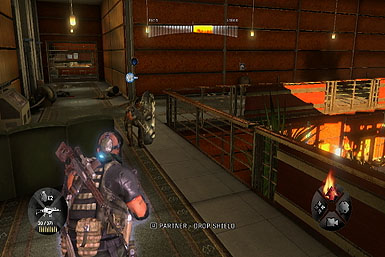
Climb the wall to the right with the help of your partner (although he'll fall through the floor immediately after, temporarily separating you two) and make your way down the destroyed building, using the desks and pillars for cover along the way. We recommend keeping your partner on aggro-advance the entire time (even if he's a floor below) to draw the enemies' attention away.
After descending a floor, be aware that a shielded-enemies awaits around a corner, just before the next ramp. If your partner hasn't already caught his attention, lure them out then have your partner (who should still be in aggro-advance) distract them, allowing you to sneak around him for an easy kill. Now grab his shield and carry it with you down to the next level, allowing you to easily pick off the enemies there.
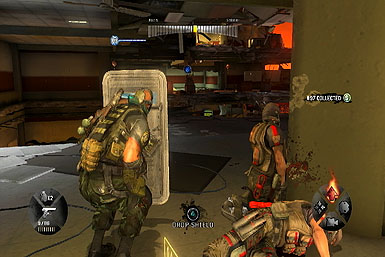
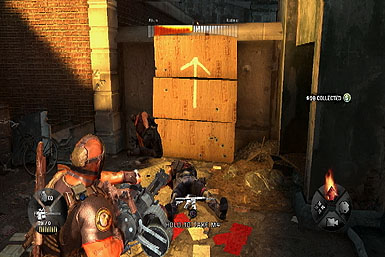
With the second floor clear, follow the ramp beyond to the floor below. We recommend staying on the ramp itself, near the base, so you can use it for cover as you look around it to target the enemies beyond, including a mounted gunner. Remember, keep your partner in aggro-advance to draw their attention away from you, which is particularly important for the mounted-gunner. There 's another shielded enemy or two just ahead, but you should be able to take them down like before--a grenade tossed just behind them works wonders too. Having cleared the area, look for a wall you can push down just across from your waiting partner, forming a platform you can use to access a hole in the left wall--head through now.
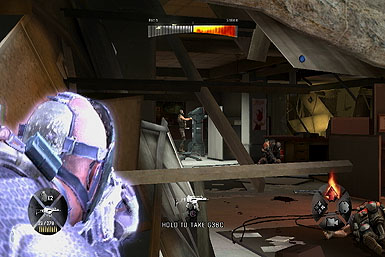
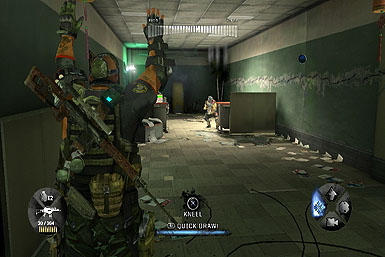
After going through the hole, work together to climb to the floor above at the end of the hall. Just ahead are a trio of guards that'll ambush you, providing the opportunity for another mock-surrender. Do it, then lay into into once they start coming for you--there's three in total.
Find Murray
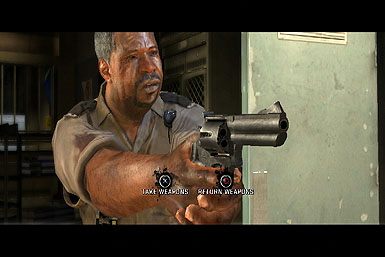
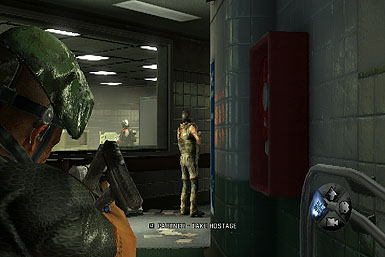
Continue onward up the stairs and through a lockeroom--a wandering security guard will come across you, presenting you with another co-operative choice.

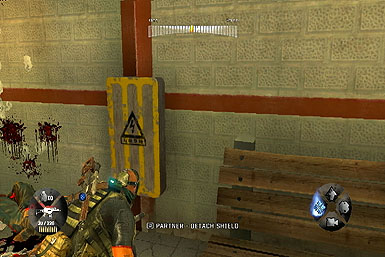
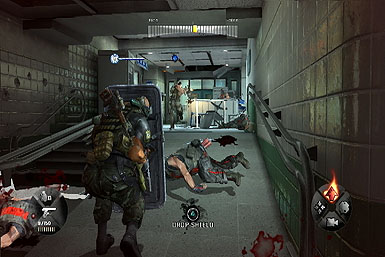
After the choice, follow your partner through the door and down a short corridor through another door leading into a room with a couple of hostage-takers. You should be able to sneak up and grab the enemy on the right, forcing the other to surrender. After tying them down, take cover behind the nearby bench to target some enemies who'll flood in from ahead, included a shielded baddie. Like usual, keep your partner on aggro-advance allowing you to easily take down the shielded baddie in the event your partner doesn't. Grab that shield and use it to push forward through the hall ahead up to the couch.

Use the couch for cover in case your shield is destroyed--once you've cleared the area, climb the staircase just ahead inside a room on the right. Follow the walkway to a gate ahead that you can open with the help of your partner.
Past the gate, a cutscene will show Murray being held hostage by a trio of guards, in the room at the end of the central hall. You may want to grab the shield on the right wall before venturing up the hall, just in case things go awry. At any rate, walk up to the far room and sneak up on the guard closest to the door and take him hostage, forcing the others to surrender. Tie 'em all up before freeing Murray.

Follow Murray
With Murray freed, take cover by either of the windows or the doorway (or use the shield, if you still have it) to target the enemies in the hallway you just came from.
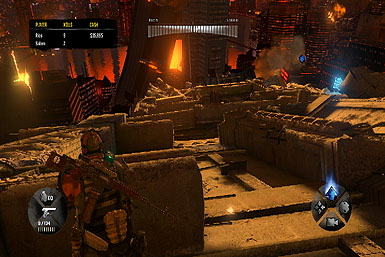
Once clear, follow her back into the large room you came through before where you'll spot a helicopter that crashes into the building, creating a hole on the floor in the opposite corner. Head for the staircase ahead and on the right and descend it carefully, making sure you don't run head-first into an enemy. When at the base, use the doorway for cover to clear out any nearby enemies, then you should be able to dash straight for the hole on the opposite side--take cover at the pillars along the way, if need be.
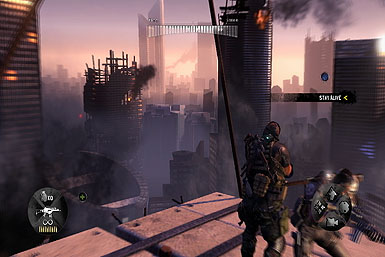
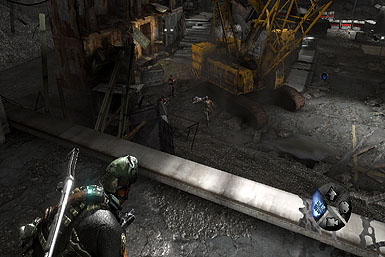
After dropping through the hole, follow Murray through a couple of rooms to emerge outside by a crane. She'll helm the controls, bringing the suspended platform over to you so you can ride it around while targeting the enemies in the surrounding buildings.
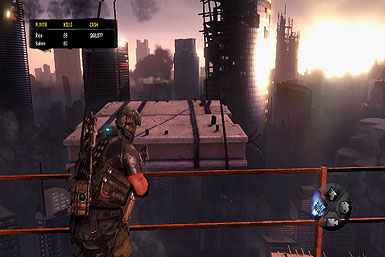
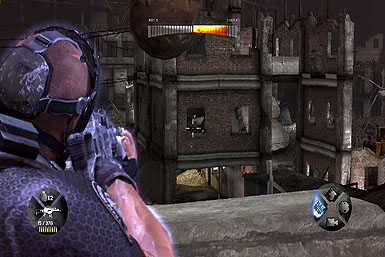
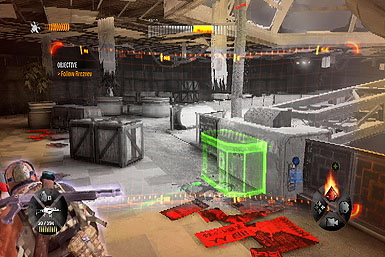
Stay Alive
Alright, so like the objective suggests, your partner cannot save you while on the platform, so you'll have to be proactive in taking down the enemy forces. Luckily, you've been endowed with infinite ammo, so don't hold back! Here's a few quick tips to get you through this section:
- Aim for the red explosive cannisters! There are several lying about and they'll take out any nearby baddies.
- Take down the rocket-launching baddies ASAP! Your teammate will alert you if any are nearby--find them and smoke them.
- If you're having trouble locating the baddies, simply aim where your partner is!
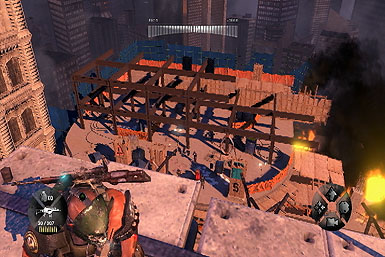
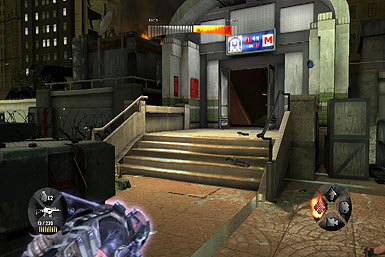
Eliminate the Invading Force
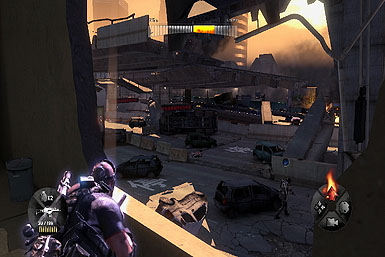
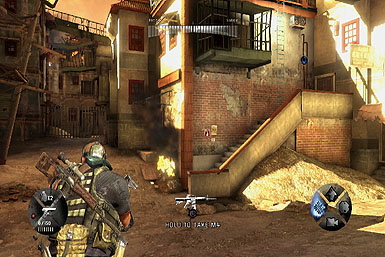
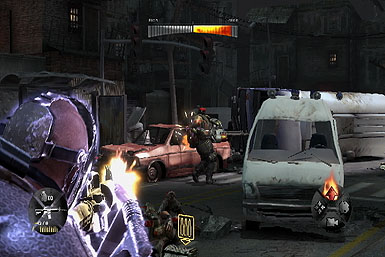
After riding the platform down inside a building, a hole will be blown in the left wall, creating a route outside. Hang back by the entrance for cover as you target the closest enemies visible through the hole. We recommend keeping your partner Aggro-Regroup, to keep him close and out of danger. Now push forward outside to the vehicles for cover. Work your way up to the overturned bus on the right for an excellent vantage point, then keep pushing forward up the street, through an empty shipping container.
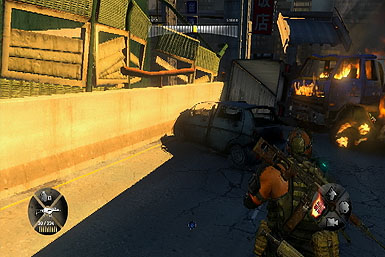
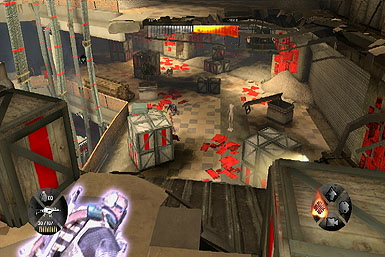
After dropping from the shipping container, turn around and take cover (such as by the semi-truck resting vertically) to target the enemies beyond--you may want to set your partner to aggro-advance to draw their attention. A shielded baddie up ahead can be tricky--try and take him out from the low-wall to his right while your partner draws his attention. You may also want to grab his shield.
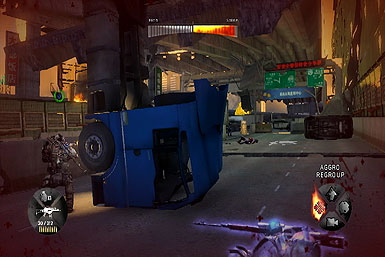
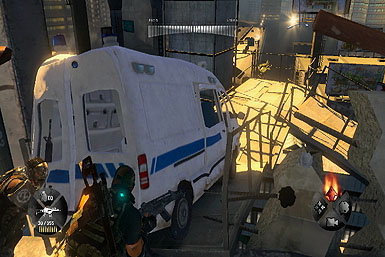
After clearing the area, you'll have to push a white van blocking a path on the left out of the way before continuing. Follow that walkway down to a lower street, using the cars for cover to clear the enemy presence.
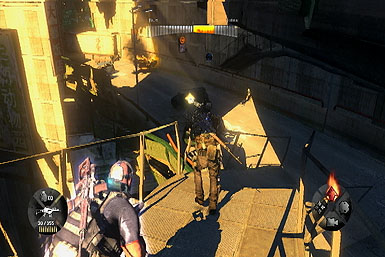
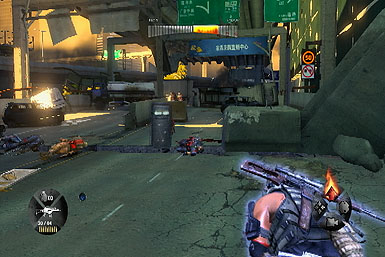
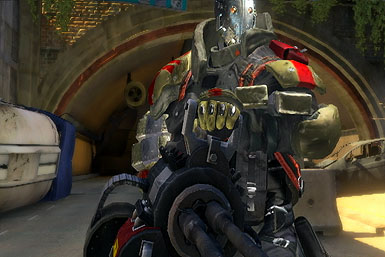
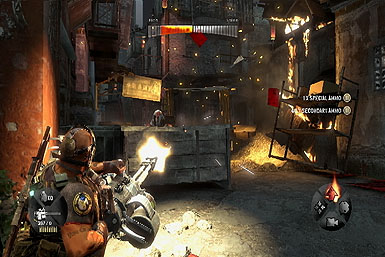
Just ahead, you'll be introduced to an enemy wielding a gatling gun. He's near impenetrable from the front, so you'll have to attack from the rear. Set your partner to aggro-advance to draw his attention, then sneak up behind him using the cars for cover. Once behind him, clear out any nearby henchmen of his first, then open fire on his back to quickly take him down. Now exit through a door on the right side of the tunnel to complete the mission.

Chapter 3
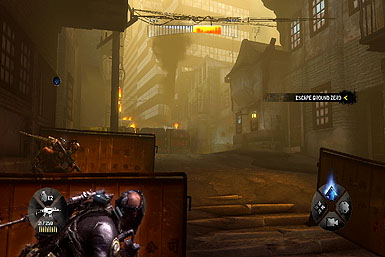
Escape Ground Zero
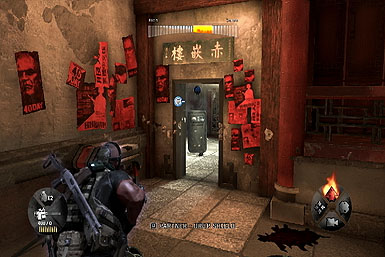
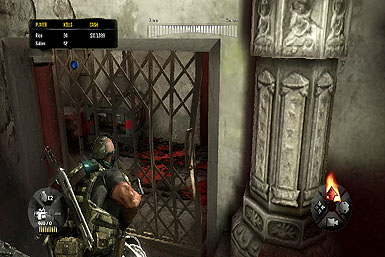
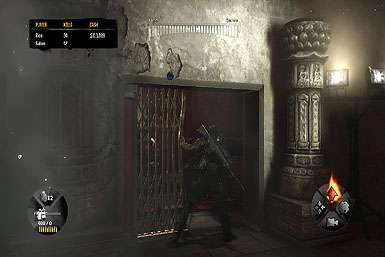
As you climb the staircase, some enemies will spawn up ahead. Hurry up to one of the low walls for cover and take them out. Once clear, proceed down at alley on the right, at the top, and help your partner open a gate at the end.
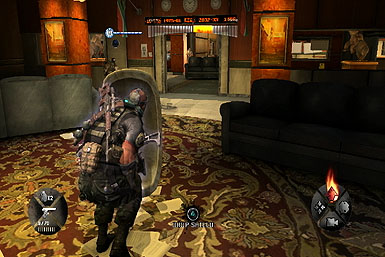
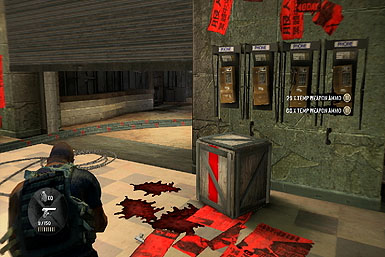
Past the gate, you'll encounter the first group of hostage takers--sneak up behind the closest one and tie him up to force the others to surrender.
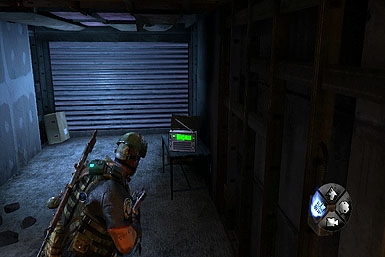
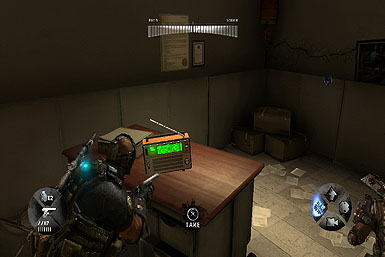
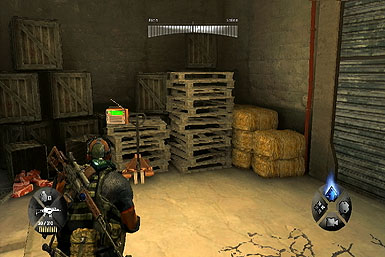
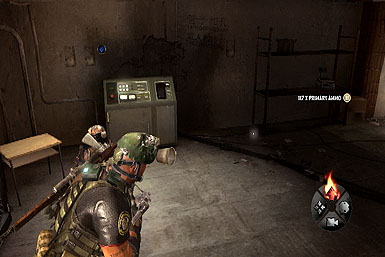
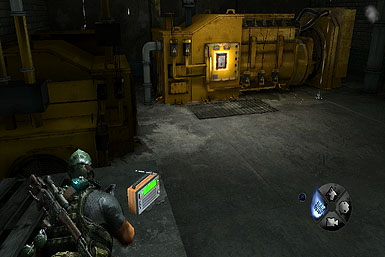
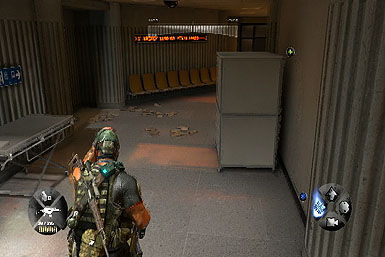
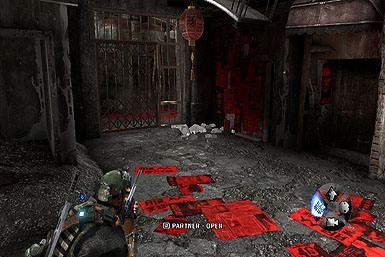
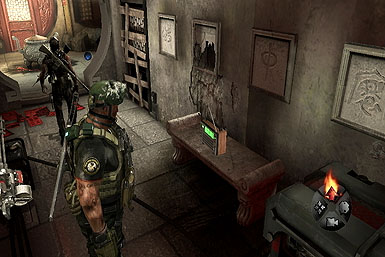
Radio #1 Just past the first gate and hostage situation, you'll find the radio on a table in the corner.
Continue up the street and toss your buddy up to a ladder on the right. From his vantage point, he'll mark two hostage takers, making them visible through the closed wooden door with your GPS--turn it on to spot them. Now shoot one of them through the door, while your partner takes care of the other, saving the hostages. Oh, and he'll open that door for you to afterward, because that's just the kind of guy he is.

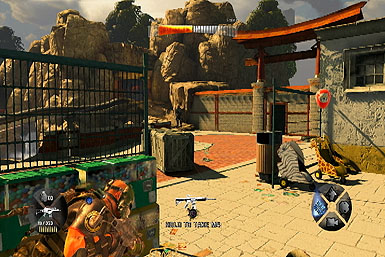
Stick to the main road while you let your partner take the stairs instead, providing him with a great vantage point in which to take down a couple of enemies ahead. When you encounter them, perform a mock-surrender, then open fire on them when they draw close. Subsequently, work with your partner to open another gate just ahead, leading to the zoo.

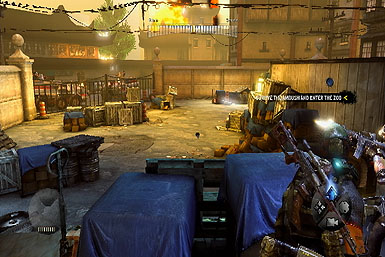
Survive the Ambush and Enter the Zoo
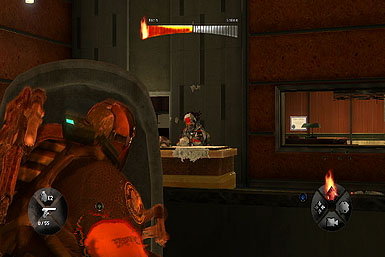
lUpon reaching the Zoo's loading dock, you'll find yourself under attack from some ambushing enemies. Immediately seek cover either behind the boxes or pillars by the doors of the loading-dock and remain here as you target the enemies scrambling over the walls, as well as a pair of mounted gunners on a truck beyond the fence. As long as you and your partner stick close together, you shouldn't have too much trouble.
Following the ambush, enter the loading-bay through the now-open door and head for the back of the room (opposite the entrance) where the door will eventually open, leading into the zoo.
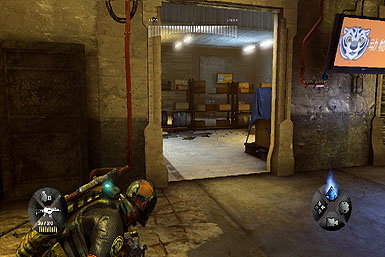
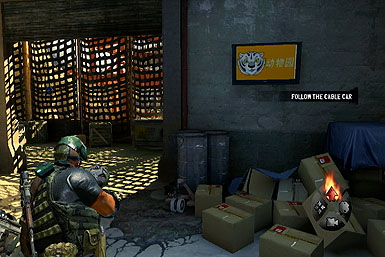
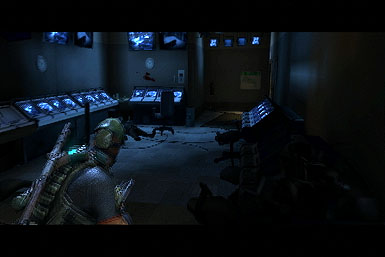
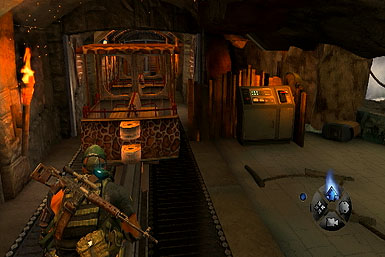
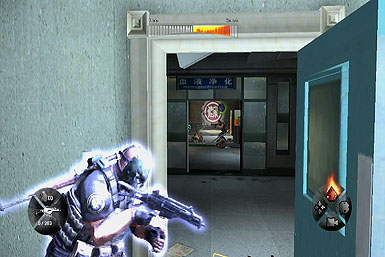
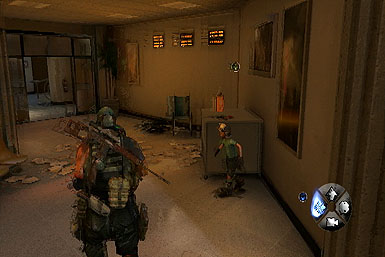
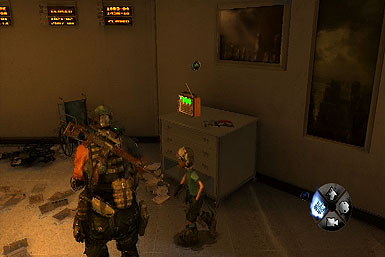
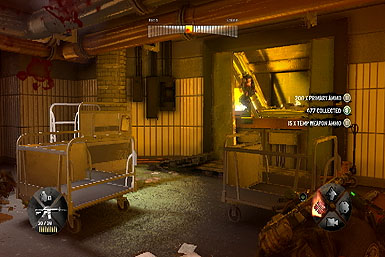
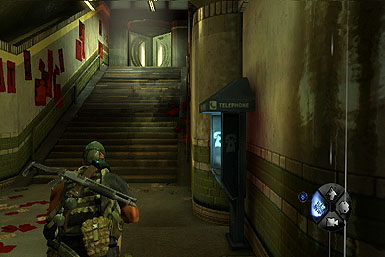
Radio #2 Immediately after the ambush, you'll find the second radio inside the loading bay that opens. Look for it in the corner, just across from the entrance.
Use your GPS to navigate through the zoo and up a staircase to a control panel you can interact with, causing the nearby tram to move. Follow behind it to a staircase on the left leading down to a door you can head through (you may have to wait a few moments for Chan's speech to conclude first).
Restart the Cable Car
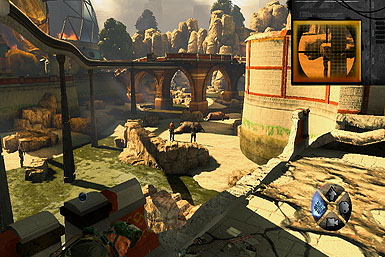
You'll emerge on a walkway overlooking a vast field full of enemies. Take cover by the low wall and work on clearing out as many as you can from here--the sniper rifle's a good choice for the distant foes. Once you've cleaned up a bit, drop into the field and push forward to the rocks just before the bridge, as numerous enemies are inbound--sit tight and take 'em out from here.
After clearing them out, push forward to a rock wall ahead, on the left, facing a ramp. Get ready to shoot a few foes who'll attemptto clamber over that wall (making them particularly easy targets) before climbing the ramp and ripping the control-panel cover from the wall for a make-shift shield.

With shield in hand, head across the bridge behind you, leading to the tram, and a host of enemies among the buildings beyond. For now, it's best to stay back from the railing, behind the tram, and keep the shield equipped as you target the enemies in the buildings beyond. You should focus on taking down a sniper or two from the rooftop on the left side, as well. Once you've thinned the herd, push forward to the railing to target the lower enemies ahead.
Having cleared the area, enter the open garage ahead and interact with the control panel to open the tram tunnel…unfortunately, several enemies will emerge from there as well, including one of the big brutes. Take cover by the fence (next to the gumball machines) and target them from here as they descend the hill--remember to aim for the big guy's noggin. Once they're down, proceed into the tunnel leading to the animal enclosures.
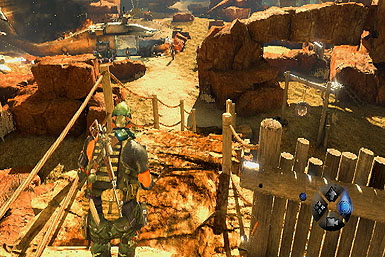
Disengage the Beacon
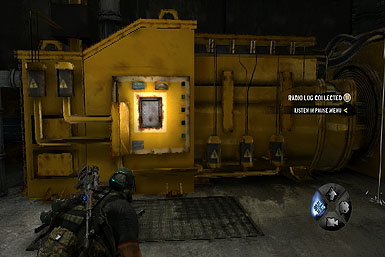
As you exit the tunnel, a cutscene will display several soldiers gathered around a crashed helicopter. Their leader is located just below the archway on the right--sneak up behind him by heading down the right ramp and approaching him slowly from behind. After gabbing him, walk him toward the others before tying him up, as they may open fire if you try to do so from a distance. With everyone taken care of, open the supply box for some goodies then disable the beacon found inside the helicopter.
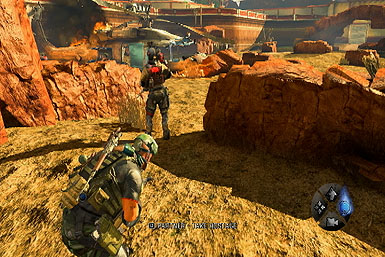
Clear the Animal Enclosure
After disengaging the beacon, a new, big baddie will roll in. This guy's armed with a grenade launcher and will fire three at a time your way. Thankfully, he's about as accurate as a Storm Trooper, so as long as you keep your distance, you can easily evade his shots. As for killing him: his weakness are the three grenade fanny packs around his waist. Use the sniper rifle to pick them off from a distance. Now the one around his back can be tricky--try to hit it when he's walking to the side. If that doesn't work, you'll have to sneak up behind him. To do so, have your partner go in aggro-advance distract him while you go for the rear. Oh, and he may be joined by a few minions: take cover behind the rocks and focus on taking them down first.
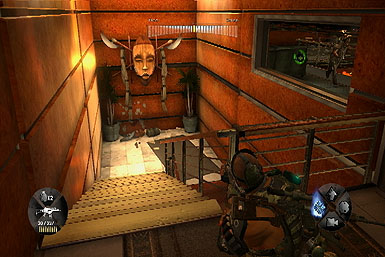
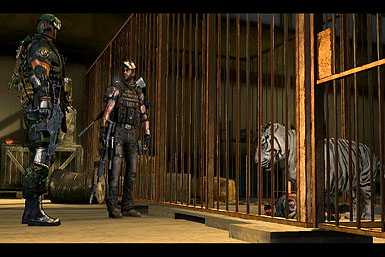
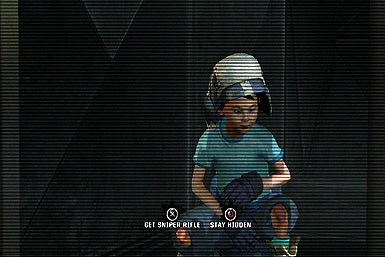
With the grenade launching baddie down, enter the tunnel beyond the helicopter and climb the stairs to find a co-operative choice involving a tiger.
Co-Operative Choice You can either save the tiger or murder him dead. Saving him nets you nothing, but killing him will reward you with several weapon parts.

Fight Your Way Out
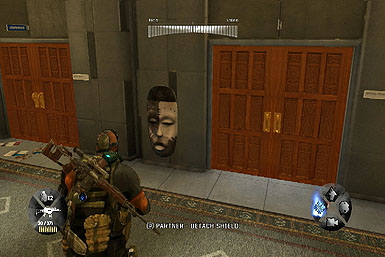
Head to the far corner where the hostage is being held (use the GPS if you get lost). Sneak up on the closest guard and take him hostage to force the others to surrender. After tying them up, open the cage and free the hostage. Now you'll have to escort him to the red door with the tiger's face--use the low walls and vending carts along the way for cover, moving up only when it's safe.
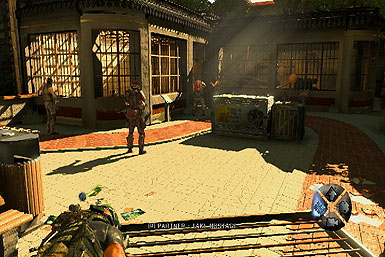
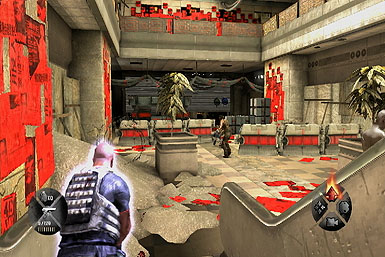
As soon as you step through the red gate, you'll find yourself face-to-face with a squad of enemies. Perform a mock-surrender, then take aim at the two explosive cannisters to clear most of them out, then pick off the stragglers.
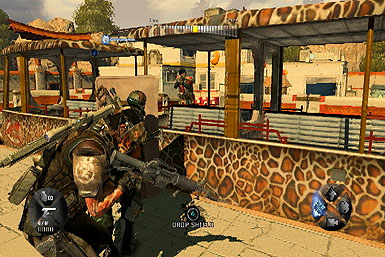
After the mock-surrender, use the corner ahead for cover to clear the enemies on the stairwell before clambering up them yourself. From the stairs, head straight-ahead (instead of left--there's a gunner there who'll tear you to shreds) and take cover by the Tiki hut on the right to target the enemies in the courtyard beyond.
Don't be fooled--once you've cleared the courtyard, more enemies will roll in, including another grenade-launching baddie. Stay back and use the sniper rifle if you have one to destroy his grenade pouches--if not, just lay waste to his waist with whatever you have available. Once clear, head through the gate that he came from on the right and climb up the wall to exit the area.
Alright, you're almost done! For now, stick to the raised walkway and use the corners of the red walls for cover. Aim first for the enemies further up on the walkway before turning your attention to those in the main area below. Once you've thinned the herd, go ahead and try to cross the bridge--we dare ya. A large vehicle will roll in with a mounted gunner. Distract him by having your partner on aggro-advance, then--while using the bridge railing for cover--aim for the gunner's head. With him down, four grenade baddies will roll in. Head back for the raised walkway and shoot at them from here.
With the area completely cleared, exit by climbing up the far wall, where the enemies came from.
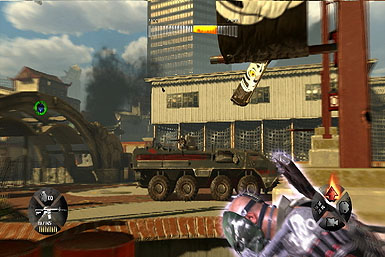
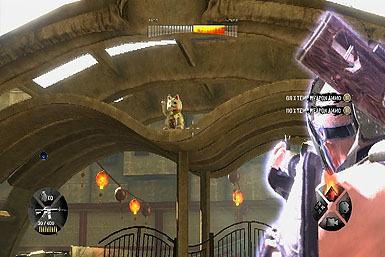
Lucky Cat Look for a Lucky Cat hanging out on the rafters of the structure
Chapter 4
Find the Comm. Tower
As you venture up the street, a vehicle will roll in ahead, complete with mounted gunner. Duck behind either the jutting wall on the left or the oven ahead for cover as you target the attacking enemies--you can pick off the mounted gunner by aiming for his exposed noggin. Continue onward through a gate to find a hostage situation.
This hostage situation's pretty tricky--first, use a silenced pistol to take out the closest soldier on the right. Now have your partner (or do it yourself) sneak up behind the closest guard on the left (below the one one the stairs) and take him hostage, forcing the others to surrender. Tie 'em up before freeing the hostages.
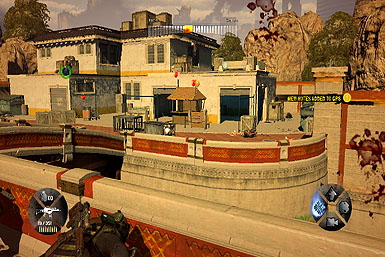
After dealing with the hostage takers, you'll have to climb to a walkway above via a ladder on either side of the street. For the purposes of this guide, we suggest climbing the right one. At the top, use the corner of the building for cover to target the enemies beyond, such as on the nearby balconies. Push forward to the next corner, by the bridge, to take down the enemies in front of the building beyond. Once they're down, move forward a few feet and use the corner of the small building on the left for cover as you peek around the corner to target the regaining enemies.
After clearing the rooftops, climb the stairs on the right up to Comm. Tower and interact with the control panel inside.
Keep Moving
Exit the room through the other door and then prepare to fall off a balcony.
Restart Generator
Let your partner toss you up to a level above. Up ahead are three soldiers holding a hostage--take out the one in the hall with a silenced pistol, then sneak up to the window and target one of the guards while your partner handles the other.
Push forward up the hall--as you near an open door on the left, prepare for a hostage and a soldier to emerge from it--take the soldier down as soon as you see him. Now head through that door and clamber down the stairs. Venture through the hall at the base, leading to the generator, which you can interact with.


Fight Access to Second Floor
After activating the generator, climb the stairs back up to the main floor. Use the doorway at the top of the stairs for cover as you target the enemies coming your way from the hall ahead, including a shotgun toting baddie--lay into his noggin as soon as you see him--and a shielded soldier. We suggest grabbing his shield and use it to push forward through the subsequent halls until you come across a small boy who'll climb up a ladder. Follow him up.
Having climbed the ladder, help the kid to the ledge above before climbing after him and then proceed through the corridor.
Before long, you'll encounter another hostage situation. Head left, then down toward the closest guard on the stairs. Instead of grabbing him yourself, have your partner take care of it as soon as the option appears. This will force the others to surrender--tie 'em up before saving the hostages. Unfortunately, once you have, a whole bunch of guards will storm the building across the gap and you'll be presented with a moral choice:
Co-Operative Choice Hiving the kid stay put will net you $30,000 shortly, whereas putting him in harm's way will net you the M107 Barrett rifle.
After the choice, take cover by the debris just across from that building to target the enemies within--aim for a rocket-launcher or two on the lowest level first, and watch out for a sniper to the left. Once you've cleared the house, a few enemies will spawn behind you, along the upper-walkways--use the nearby electrical boxes for cover as you target them. Once the coast is clear, climb back up the stairs and head right down the fall.
With the enemies down, head back to the top of the room and make a right into the hall. Watch out for a couple of baddies within, then slide down a ladder and go through a door to find a most menacing opponent.
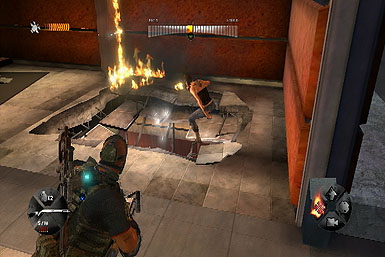
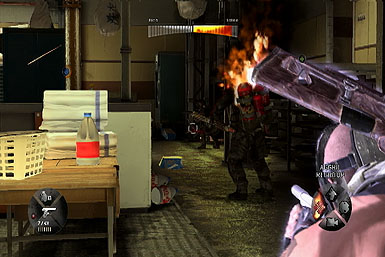
The Flamethrower Must Die
The room ahead contains a large bad guy armed with a flamethrower, who'll soon be joined by a second. As you may have guessed, their weak points are the red packs on their back. The best way to target is to set your partner to aggro-advance to distract them, enabling you to sneak around behind him, then open fire. Try and keep your distance so you can easily evade his flames if they do target you. If you do catch on fire, simply roll a couple of times to put it out. Do the same for the second one that appears, just be mindful of a couple of enemies that will storm in from the doorway you entered through shortly thereafter.

Fight Your Way to the Reception
With the flamethrowers taken care of, help your partner open the gate near the room's entrance. Once through, take cover by the pipes on the right as you target the enemies beyond, pushing forward only when things have died (heh) down. Take it easy as you turn the corner ahead, as there's an enemy waiting on the ledge you need to climb onto. Once he's down, pull yourself up to drop the kid off with the doctor.
Defend the Reception
You'll have to hold down the reception room from several waves of inbound enemies. Take cover behind the wide reception desk facing the two halls ahead--stay crouched, popping up only to shoot the enemies that'll emerge from both halls. We recommend keeping your partner on Regroup-Aggro to keep him close (so he can heal you should you go down), but also draw the enemies' attention away from yourself. Once you've cleared the first wave, you'll have a few moments to gather some ammo/weapons before the next wave hits.
After gathering your supplies, hunker down behind the reception desk again and prepare for some shielded enemies to attack from the far doors on either side of the room. You may want to switch your partner to aggro-advance briefly to better draw their attention away, so you can easily shoot them as they turn aside. Shortly thereafter, even more enemies will storm in from ahead, and snipers will appear on the balcony above--we recommend targeting them asap. That aside, so long as you remain behind the desk and keep your partner close, you should be done with them in short order.
Shoot Your Way to the Mall
Follow your partner through the revolving door on the left, then head up the ramp and through another door, leading outside. Once outside, take cover by the low wall on the right and remain here as you clear the streets below. Just be mindful of the periodic sniper that'll appear in the mostly-destroyed building to the left. After thinning the crowd, a gattling-gun toting baddie will approach through the gate ahead. Set your partner to aggro-advance to distract him, then get behind him and target the tank on his back--lay into it until he goes down.

We recommend collecting the dropped gatling gun and using it to storm through the alley that he originally came from, leading to a wall you can climb that concludes the chapter.
Chapter 5
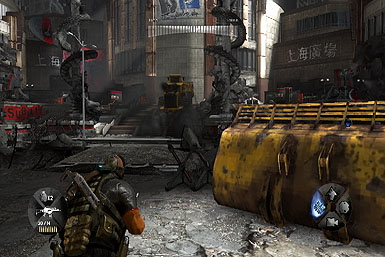
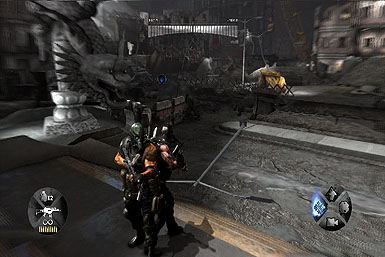
Fight Your Way to the Mall
Use the low walls for cover as you push up the first portion of the alley, to the first intersection. There, a flamethrower will approach from the left--set your partner to aggro-advance to draw his attention, enabling you to get behind him and light up his backpack (you can do this easily by running further up the street before the flamethrower emerges). Though any weapon will do, the shotgun is most effective. Shortly thereafter, a Shotgun-toting baddie will roll in from the same direction--just aim for his noggin whi;e backing away to keep your distance.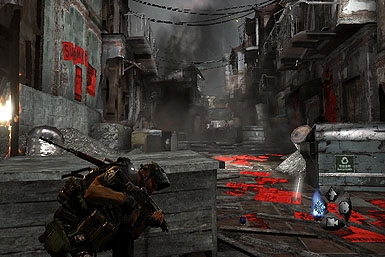

Radio #1 After passing through the first gate, you'll find a radio next to the Supply Crate in the 'mock surrender' area.
Radio# 2 Shortly after passing through the second gate (after taking down the gatling gunner), look for the radio in the corner to the left ahead.
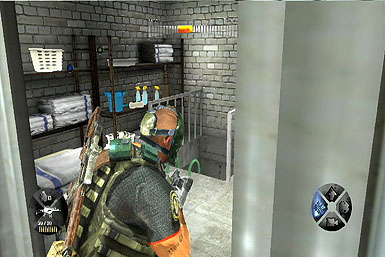
Escape Your Cell
To escape your cell, you can kill the guard outside your prison cell by sneaking behind him and pressing the button shown on-screen, then open the door.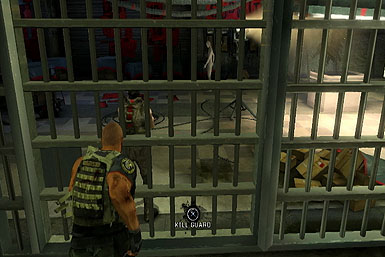
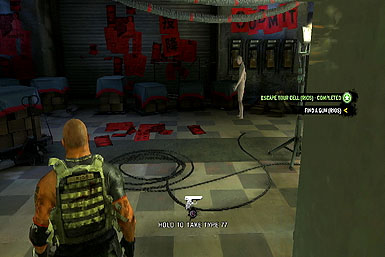
Find a Gun
Follow the large cable a short ways up the hall to a hole in the wall you can leap through. Sneak up behind the guard there, and grab his gun after killing him.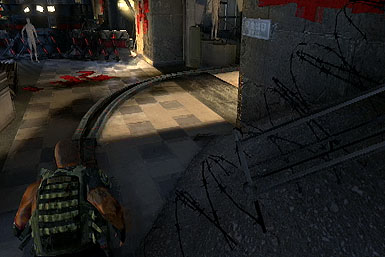
Regroup With Your Partner
Open the gate ahead and take cover by the stacks of boxes nearby as you target the guards beyond. Push forward to a low wall to clear out more before proceeding under the partially opened cargo-door at the end. Interact with the control panel inside to open another gate ahead. Hang a right and continue onward until you find more enemies--use the planter-boxes for cover.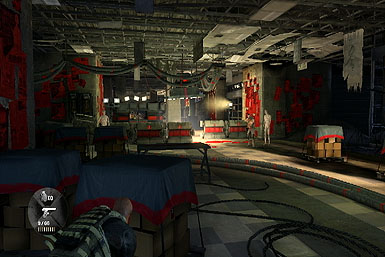
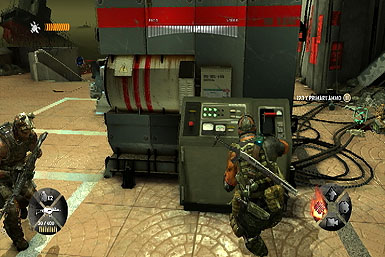
Plant Explosives
Alright, so your task is to carry and plant three bombs on the upper-floor. The tricky part is that you can't shoot while carrying a bomb--luckily, there's a loophole! Go ahead and grab any of the bombs and start working your way toward the upper-floor. This will trigger some enemies to appear--as soon as they do, set the bomb down and focus your efforts on clearing the enemies from the areas. Of course, use the low walls for cover and work your way around the floor slowly, staying as far back as you can to avoid drawing fire. Once you've cleared the area, carry the bomb to one of the three spots marked on your GPS, then return to the lower floor for the remaining two--to speed things along, grab one while your partner carries the other.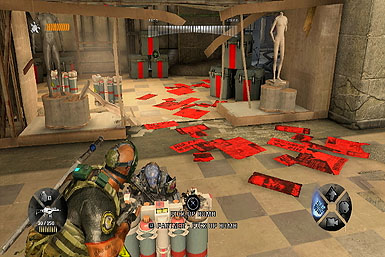
Shoot Your Way Out
After planting the three explosives, follow your GPS through a couple of gates to a ledge overlooking a floor below. Use the boxes for cover to clear out the lower enemies before dropping down. Make sure to stay here, even after the initial wave, as a grenade launching-heavy is inbound. Take him down from above, then drop down and continue onward to encounter a co-operative choice.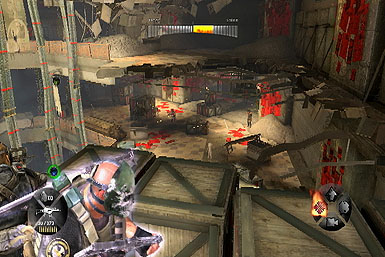
Co-Operative Choice Saving the girl nets you nothing, but letting your "friend" have his way with her will earn you $75,000
Chapter 6
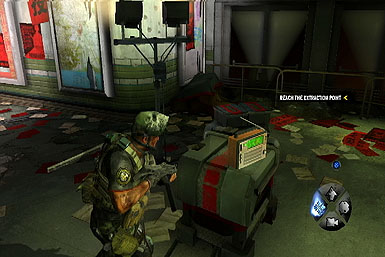
Reach the Extraction Point
Follow the corridor up to a revolving door you can push through, leading outside.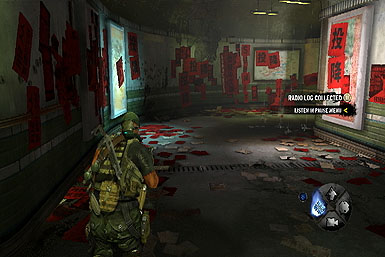

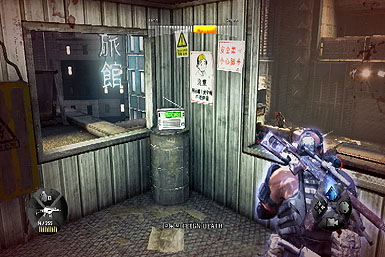
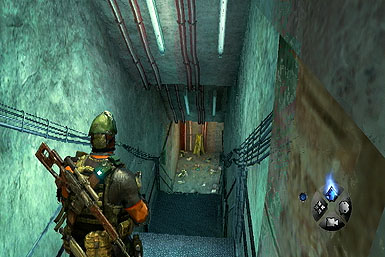
Radio #2 After heading back inside through the level's second revolving door, look for the radio on a barrel in the corner of the first room.

Destroy the AA Gun
Climb the stairs to the level above and take cover by the railing, providing a great vantage point of the dock. Remain here for a bit (and keep your partner nearby) until you've cleared all the visible enemies. Now drop down and work your way up the dock carefully--there's a mounted gunner not too far in. Have your partner distract him (set him to aggro-advance) and take him down from the side. With the dock cleared, plant some C4 on the box by the crane, then interact with the control panel nearby to drop it onto the ship, destroying it.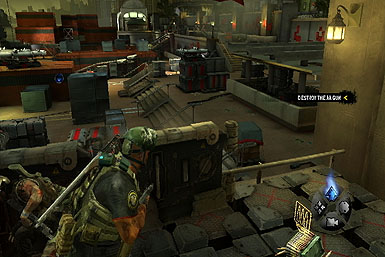
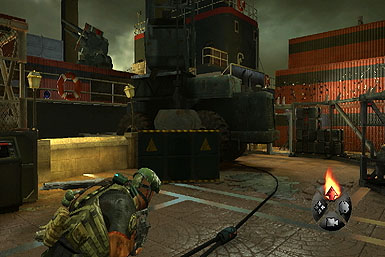
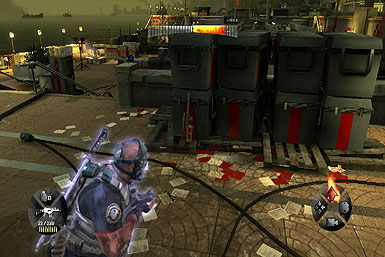
Reach the Extraction Point
With the ship exploded, more enemies will start attacking from behind the nearby fence, and the upper-walkways opposite of where the ship was. We recommend climbing onto the nearby shipping crates via the wooden ramps, take cover behind the boxes on top and open fire. Keep your partner close in the event that you do go down. And if you start drawing heavy fire, consider dropping back down to ground level and peeking around one of the shipping containers slowly, exposing only a single enemy at a time.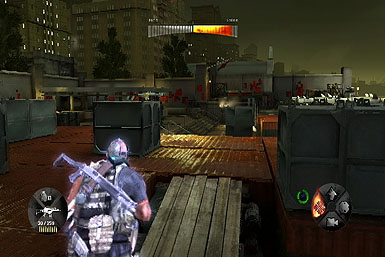
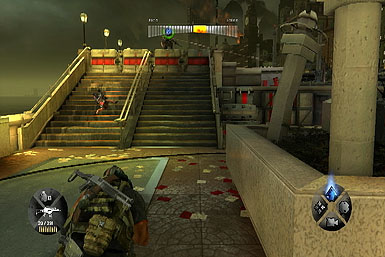
Disable Second the AA Gun
This part's pretty straight-forward. Just work your way up the boardwalk, using the various objects for cover. There are a few mounted-gunners along the way; distract them with an aggro-aggressive partner and take them down from the side. Work your way to the platform in the center where you'll find a control panel you can interact with, destroying the second AA Gun.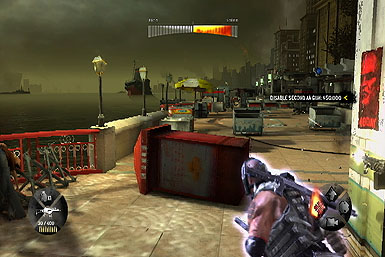
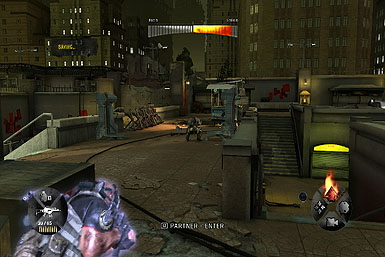
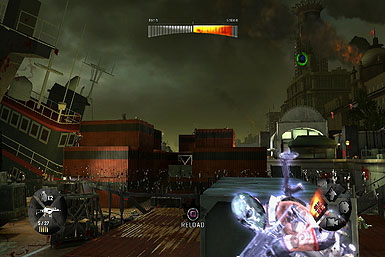
Defend the Landing Zone
Remain on the platform and take cover by the railing, giving you a great view of the boardwalk ahead. A vehicle's about to roll in and unload several soldiers, but you should be able to clear them out from here.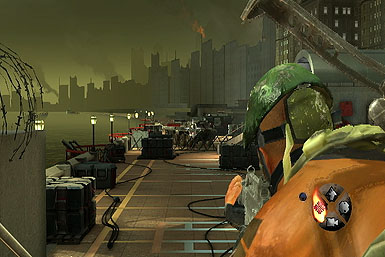

Escape
Uh-oh, your ride was destroyed. Well, no matter--the end of the chapter's just ahead. Remain where you are and clear out the soldiers you can ahead, then push forward to another point of cover, getting you close enough to take down the rest. If you spot a gap in the action, you can also try just darting into the far doorway on the right, ending the level.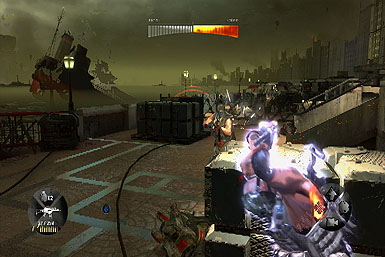
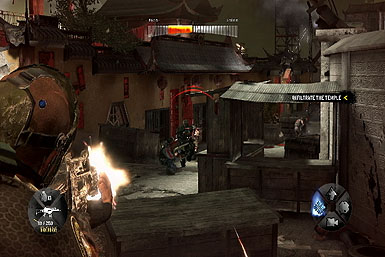
Chapter 7
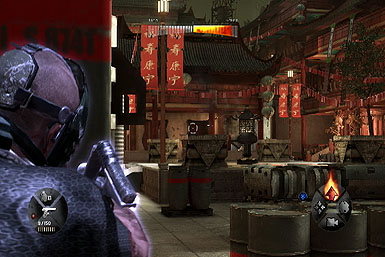
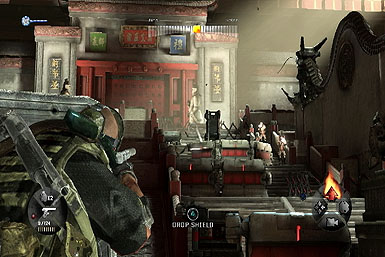
Infiltrate the Temple
A couple of guards and a Shotgun Heavy are just ahead. Take down the weaker of the trio first, then focus on the Heavy, by blasting at his noggin while backing away. There's a mounted gunner at the end of the street too--distract him with an aggro-advancing partner allowing you to get a shot off. Now you need to find a way into the courtyard--head to the cracked portion of wall, just left of where the Shotgun Heavy was. We we suggest giving your partner a lift over (instead of going over yourself), as we found it to e slightly easier.

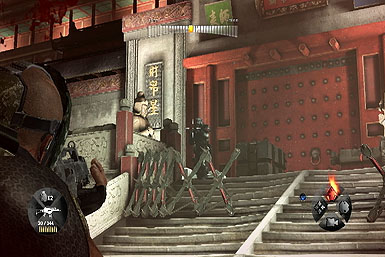
After boosting your partner over the wall, follow the gates alongside him, shooting any enemies you can spot. As long as you can prevent him from dying, he'll open the fourth gate for you--head on through and follow him into the room ahead, where you'll find a pair of guards, and a gate you can help him open. Follow the corridor to a wall that you two can climb together.
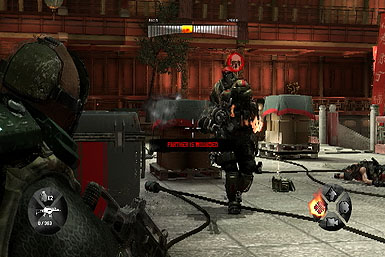
Neutralize Enemy Forces
After climbing the wall, you'll find yourself in a large courtyard where an even large battle's about to take place. Take cover behind one of the boxes to clear the area, pushing forward only when you have to in order to target the remaining enemies. Once you've cleared the first wave, a pair of shotgun-heavies will work there way down the a pair of staircases on the far side--back away and aim for their noggins from afar. Once they're down, grab one of their shotguns if you don't already have one, before working your way up that same set of stairs, just be sure to clear the enemies at the top first by targeting them from the base. You'll likely encounter a shielded enemy soon too--take him out if you can (grenades work wonders) and let your partner grab the shield--this is important. After clambering up the staircase, a gatling gun-Heavy will appear. Set your partner to aggro-advance (if you gave him the shield, he should be safe), then sneak up behind the gatling gunner (using the staircases for this work best) and lay into his backpack from behind. The shotgun is most effective, but any weapon will do.
Once you've taken down the gatling gun Heavy, head through the door on the right side and help your partner open a gate to continue on.
Find the Temple's Inner Sanctum
Follow your partner through a door ahead, then let him give you a lift by the left window. Although you can't climb through, this will allow you to shoot through it, clearing the room of soldiers before entering through the nearby door--make sure to kill the few on the floor above too (you may have to lower yourself using the control-pad in order to target them). Once inside, carefully approach the area where the turret is to shoot the guards beyond, including a pesky few on the walkway high above.
We recommend using the corner of this room for cover as you duck in and out of the street to target those further up. When clear, approach the circular window of the building ahead and take down anyone else inside. Finally, have your partner give you a boost up the nearby wall (near the window) to a small platform above.
After climbing onto the small platform overlooking a courtyard, take cover behind the low wall and open fire on the guards within, including the mounted gunner on the left side--remember its location, as you'll want to take control of it just a few moments. With the courtyard clear, drop in, then quickly take control of the mounted-turret, as a shotgun-heavy is about to appear. Look for him to approach just across from the turret to the left and aim for his noggin to take him down.
With the Shotgun Heavy down, open the gate on the left via the nearby lever, allowing you to reunite with your partner. However, this will also cause a ton of enemies to spawn in the courtyard--we recommend ducking through that gate and into the hall, then open fire on the enemies either through the doorway or one of the windows.
With the area cleared…again, open the door on the left side of the courtyard (coming from the hall)--hang back by the entrance and open fire on the visible enemies within. Once you've cleared the first few, push forward to the next section, where another Shotgun Heavy awaits. We recommend retreating to a low-wall by the entrance, thereby funneling him through the circular entryway, giving you an easy target. Once he's down, you may want to flip the mounted-gun ahead, allowing you to use it to clear the area of the remaining baddies. Once done, continue through a series of doors and rooms ahead until you emerge back outside, facing a staircase.
Find Jonah
This is the final battle--take cover by the low wall and open fire on the enemies clambering down the stairs; there's quite a few, so stay put for a while. Before long, a couple with shields will emerge--take them down and grab one of the shields first, then lend your partner the other. Keep them in hand to push up the stairs, taking down anyone in your path. You'll encounter a couple of mounted gunners as well--like usual, have your partner distract so you can target them from the side. Before long, a couple of Shotgun Heavies will work their way down the stairs--if they're distracted by your partner, target them as soon as you can. If not, retreat as far away as you can before opening fire.

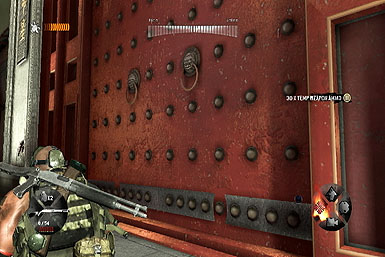
After climbing to the top of the stairs, prepare for a grenade-launching Heavy to come up after you. Like usual, distract him with your parter so that you can target the thee grenade pouches around his belt. Once he's down, plant some C4 on the large door then back away until it explodes, where you'll be given one final choice:
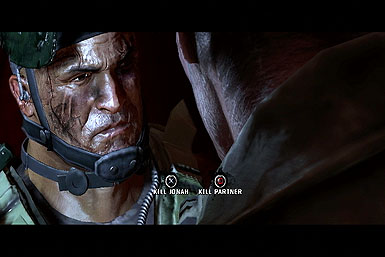
Co-Operative Choice This is it--the game's final co-operative choice. The decision you make reflects the ending you'll get. To get the good ending, you'll have to shoot your partner (note that the good ending changes depending on which character you're playing as). For the bad ending, shoot Jonah.

Radios
Chapter 1
Chapter 2
Chapter 3
Radio #1 Just past the first gate and hostage situation, you'll find the radio on a table in the corner.
Radio #2 Immediately after the ambush, you'll find the second radio inside the loading bay that opens. Look for it in the corner, just across from the entrance.
Chapter 4
Chapter 5
Radio #1 After passing through the first gate, you'll find a radio next to the Supply Crate in the 'mock surrender' area.
Radio# 2 Shortly after passing through the second gate (after taking down the gatling gunner), look for the radio in the corner to the left ahead.
Chapter 6
Radio #2 After heading back inside through the level's second revolving door, look for the radio on a barrel in the corner of the first room.
Chapter 7
Xbox 360 Achievements
Note that there are Spoilers on this list.
| Achievement Name | How To Earn | Reward |
|---|---|---|
| AU | Achieve a rating of Gold or better in all Events. | Bronze |
| A Decent Animal | You need to complete Chapter 3 on Any Difficulty Level | 15 |
| A Steep Descent | You need to complete Chapter 2 on Any Difficulty Level | 10 |
| Attention Grabber | You need to allow your partner to snipe 5 guys while in Mock Surrender | 10 |
| Chaaaaarge! | You need to charge through 20 enemies | 15 |
| Co-Op Sniper | You need to Co-Op Snipe 5 enemies | 10 |
| Emergency Room | You need to complete Chapter 4 on Any Difficulty Level | 20 |
| Full Arsenal | You need to collect All Weapons and Weapon Parts | 30 |
| Gone Shopping | You need to complete Chapter 5 on Any Difficulty Level | 25 |
| Grenadier | You need to kill 3 or more enemies with a single grenade | 10 |
| Hardcore | You need to complete the Game on Contractor Difficulty | 100 |
| Hate Monger | You need to customize a weapon to high aggro | 10 |
| Healer | You need to heal your partner 10 times | 10 |
| Humanist | You need to save every hostage | 30 |
| In Synch | You need to kill two enemies with simultaneous Quick Draws while in Co-op Mock Surrender | 10 |
| Loot and Pillage | You need to collect $1,000,000 | 20 |
| Meat Bag | You need to use 15 enemies as human shields | 15 |
| Not So Bad After All | You need to tie up 15 enemy combatants instead of executing them | 10 |
| Not What I Thought It Was | You need to complete Chapter 1 on Any Difficulty Level | 5 |
| Old Faithful | You need to kill 400 enemies with assault rifles, sub machinguns or shotguns | 20 |
| One Shot, One Kill | You need to kill 100 enemies with a sniper rifle | 20 |
| Open Hand Slap! | You need to kill 50 enemies with a melee or bayonet | 15 |
| Pistolier | You need to kill 150 enemies with a pistol | 20 |
| Pumpkin Patch | You need to shoot 2 enemies in the head with a single bullet | 10 |
| Quick Draw | You need to kill 25 enemies with a quick draw from mock surrender | 15 |
| Softcore | You need to complete Half the Game on Contractor Difficulty | 50 |
| Survivor? | You need to complete the Game on Any Difficulty Level | 30 |
| The Beast | You need to kill 6,666 people in Campaign | 50 |
| The Optimist | You need to make a positive coop morality choice | 5 |
| The Pessimist | You need to make a negative coop morality choice | 5 |
| The Truth Is Right Here | You need to listen to all of the Radio Broadcasts | 20 |
| Total Fistbump Deflation | You need to finish the game in a fractured friendship | 10 |
| Total FistBump Destruction | You need to finish the game as best friends | 10 |
| Touch Not a Cat but a Glove | You need to shoot all Maneki Neko cats in the game | 50 |
| Unbreakable | You must survive an entire level in one session without being downed on normal difficulty or above | 25 |
| All Guns Blazing | Versus: Kill a player with every weapon, including special weapons, in public matches | 30 |
| Big Game Hunting | Versus: Kill both members of a single partnership during a public match | 5 |
| Bound For Life | Versus: In a public match, survive an Extraction map without suffering a single death on your team | 30 |
| Death Dealer | Versus: Kill 10 players with headshots on a single map in a public match | 10 |
| DIY PMC | Versus: Create a custom facemask online (www.armyoftwo.com) and wear it in a public match | 10 |
| Fancy Meeting You Here | Versus: Invite a friend before joining a lobby to play a public match | 5 |
| Fresh Meat | Versus: Revive your partner and perform a partner reload during the same public match | 5 |
| Future Visions | Unlock all Potential Futures | 30 |
| Heartless | Make only negative choices | 20 |
| Job Seeker | Versus: In public matches, kill a player with the primary or secondary weapon from every weapon kit | 10 |
| King of the Hill | Versus: Win a public match on every map in Co-op Deathmatch, Control and Warzone | 30 |
| Power Couple | Versus: Earn the highest partnership score in a Co-op Deathmatch, Control or Warzone public match | 15 |
| Purist | Make only positive choices | 20 |
| Rock, Paper, Scissors | Beat your partner at rock, paper, scissors three times in a row | 5 |
| Scavenger | Build a gun using 3 homebrew parts | 15 |
| Survival of the Fittest | Versus: Complete all 16 rounds of an Extraction game in a public match | 50 |
PlayStation 3 Trophies
Note that there are Spoilers on this list.
| Achievement Name | How To Earn | Reward |
|---|---|---|
| AU | Achieve a rating of Gold or better in all Events. | Bronze |
| A Decent Animal | You need to complete Chapter 3 on Any Difficulty Level | Bronze |
| A Steep Descent | You need to complete Chapter 2 on Any Difficulty Level | Bronze |
| Attention Grabber | You need to allow your partner to snipe 5 guys while in Mock Surrender | Bronze |
| Chaaaaarge! | You need to charge through 20 enemies | Bronze |
| Co-Op Sniper | You need to Co-Op Snipe 5 enemies | Bronze |
| Emergency Room | You need to complete Chapter 4 on Any Difficulty Level | Bronze |
| Full Arsenal | You need to collect All Weapons and Weapon Parts | Silver |
| Gone Shopping | You need to complete Chapter 5 on Any Difficulty Level | Bronze |
| Grenadier | You need to kill 3 or more enemies with a single grenade | Bronze |
| Hardcore | You need to complete the Game on Contractor Difficulty | Gold |
| Hate Monger | You need to customize a weapon to high aggro | Bronze |
| Healer | You need to heal your partner 10 times | Bronze |
| Humanist | You need to save every hostage | Silver |
| In Synch | You need to kill two enemies with simultaneous Quick Draws while in Co-op Mock Surrender | Bronze |
| Loot and Pillage | You need to collect $1,000,000 | Bronze |
| Meat Bag | You need to use 15 enemies as human shields | Bronze |
| Not So Bad After All | You need to tie up 15 enemy combatants instead of executing them | Bronze |
| Not What I Thought It Was | You need to complete Chapter 1 on Any Difficulty Level | Bronze |
| Old Faithful | You need to kill 400 enemies with assault rifles, sub machinguns or shotguns | Bronze |
| One Shot, One Kill | You need to kill 100 enemies with a sniper rifle | Bronze |
| Open Hand Slap! | You need to kill 50 enemies with a melee or bayonet | Bronze |
| Pistolier | You need to kill 150 enemies with a pistol | Bronze |
| Pumpkin Patch | You need to shoot 2 enemies in the head with a single bullet | Bronze |
| Quick Draw | You need to kill 25 enemies with a quick draw from mock surrender | Bronze |
| Softcore | You need to complete Half the Game on Contractor Difficulty | Silver |
| Survivor? | You need to complete the Game on Any Difficulty Level | Silver |
| The Beast | You need to kill 6,666 people in Campaign | Gold |
| The Optimist | You need to make a positive coop morality choice | Bronze |
| The Pessimist | You need to make a negative coop morality choice | Bronze |
| The Truth Is Right Here | You need to listen to all of the Radio Broadcasts | Bronze |
| Total Fistbump Deflation | You need to finish the game in a fractured friendship | Bronze |
| Total FistBump Destruction | You need to finish the game as best friends | Bronze |
| Touch Not a Cat but a Glove | You need to shoot all Maneki Neko cats in the game | Silver |
| Unbreakable | You must survive an entire level in one session without being downed on normal difficulty or above | Silver |
| All Guns Blazing | Versus: Kill a player with every weapon, including special weapons, in public matches | Bronze |
| Big Game Hunting | Versus: Kill both members of a single partnership during a public match | Bronze |
| Bound For Life | Versus: In a public match, survive an Extraction map without suffering a single death on your team | Silver |
| Death Dealer | Versus: Kill 10 players with headshots on a single map in a public match | Bronze |
| DIY PMC | Versus: Create a custom facemask online (www.armyoftwo.com) and wear it in a public match | Bronze |
| Fancy Meeting You Here | Versus: Invite a friend before joining a lobby to play a public match | Bronze |
| Fresh Meat | Versus: Revive your partner and perform a partner reload during the same public match | Bronze |
| Future Visions | Unlock all Potential Futures | Silver |
| Heartless | Make only negative choices | Bronze |
| Job Seeker | Versus: In public matches, kill a player with the primary or secondary weapon from every weapon kit | Bronze |
| King of the Hill | Versus: Win a public match on every map in Co-op Deathmatch, Control and Warzone | Silver |
| Power Couple | Versus: Earn the highest partnership score in a Co-op Deathmatch, Control or Warzone public match | Bronze |
| Purist | Make only positive choices | Bronze |
| Rock, Paper, Scissors | Beat your partner at rock, paper, scissors three times in a row | Bronze |
| Scavenger | Build a gun using 3 homebrew parts | Bronze |
| Survival of the Fittest | Versus: Complete all 16 rounds of an Extraction game in a public match | Silver |
Got a news tip or want to contact us directly? Email news@gamespot.com
Join the conversation