Exploring the World of Zelda: Twilight Princess
We get our first hands-on time with the latest and possibly greatest Zelda game on the GameCube.
Design by Marty Smith
The Legend of Zelda: Twilight Princess Preshow Hands-on Feature
E3 2005 is upon us, and with it has come our very first opportunity to get hands-on with what's sure to be one of the biggest games of the year, The Legend of Zelda: Twilight Princess. Nintendo has the game on display at its sizable booth, and we've wasted no time whatsoever in seizing a controller and putting the game through its paces. The first area you'll visit in Twilight Princess is the small village of Toaru, where Link grew up. In his younger days, it would seem that Nintendo's hero was employed as a ranch hand looking after goats, and that's exactly what we had to do when we finally got our hands on the E3 demo version of the game.
Link the Goatherder
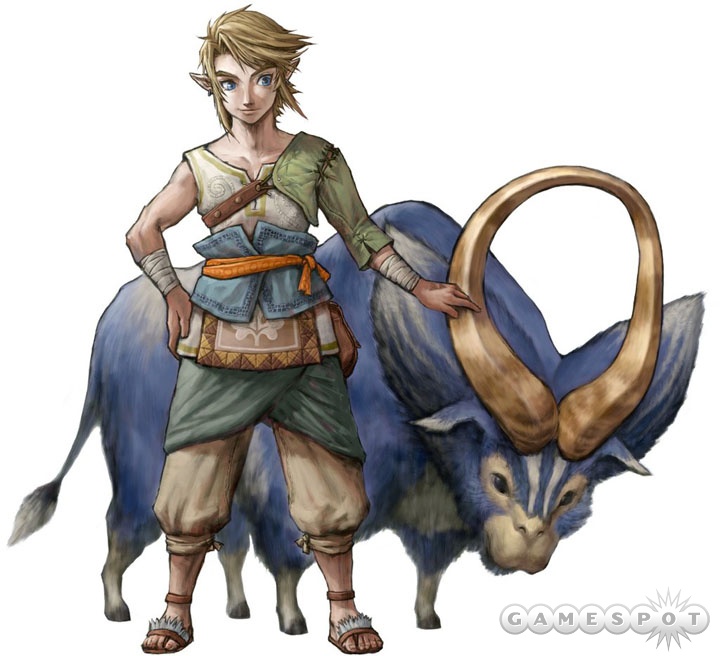
Specifically, once we'd picked a piece of horse grass and used it as a whistle to summon Link's mount, Epona, we were asked to herd 20 goats that were grazing in a field back into a barn. The task, which we were asked (but not required) to complete within three minutes, gave us a chance to both familiarize ourselves with Epona's handling and try out the first of Link's context-sensitive controls: pressing the A button to whoop "Yee-Haw" and alarm the herd. Epona's handling was realistic in so much as she had a wide turning circle and couldn't be stopped on a dime. However, getting around the field was actually quite simple. The goats reacted in a completely believable manner when we approached and whooped at them, and we were generally only able to manage up to four of them simultaneously.
Our overuse of the whoop button on one occasion resulted in one of the goats flashing red with rage as it turned the tables and chased after us. When the irate goat caught up with us, it charged straight into Epona, sending us to the ground and costing us valuable seconds as we climbed back on. When all the goats were safely inside the barn (our best time was around two minutes), we were thanked by Link's boss, and then the context-sensitive controls were changed so that we were no longer able whoop but were able to have Epona "dash" toward and jump over the fences surrounding the field, affording us a route into town.

On our way into town we met the mayor, who explained that Link had been chosen to represent Toaru Village in Hyrule City and that he'd have to ride all the way to deliver a gift to the royal family from the Toaru community. A young girl named Ilia also showed up, and before we could object, she'd yelled at us for injuring Epona's leg as we were jumping fences. She then took the horse away to a healing fountain. The only other thing that happened before we were given the freedom to explore the village was that an escaped goat charged toward Link as he spoke with the mayor. We were given a split second to hit the A button to presumably stop the goat in its tracks. We didn't manage this feat, unfortunately, and we haven't seen anyone else pull it off yet either.
Link the Problem Solver
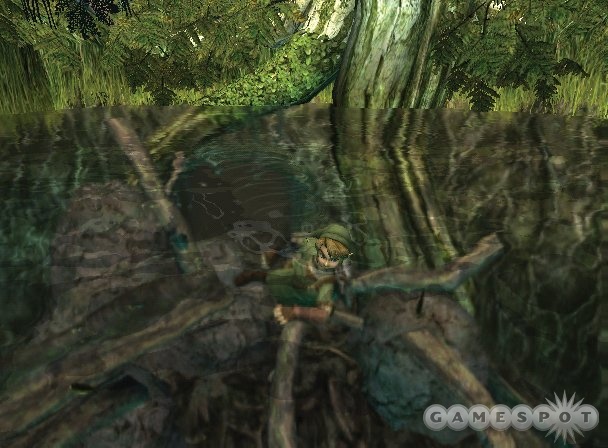
As we sauntered into town, we found a handful of locals to talk to, and almost all of them were in need of Link's help in some way. The woman that we spoke to first, for example, had somehow managed to drop her baby's cradle into the river. So she asked us if we could retrieve it. We were able to swim in the river, and there was even a canoe nearby that we were able to commandeer, but there didn't appear to be anyway to go underwater. To retrieve the cradle, we simply had to push it toward the riverbank by swimming toward it so we were able to pick it up once we were back on dry land.
The other tasks we were able to help Toaru natives with included rescuing a cat from a rooftop and knocking down a bees nest for a young boy who wanted some honey and had already been chased off by a swarm after his first attempt to dislodge the nest with a rock. Both tasks were completed with the help of a trained hawk, which we were able to summon only after we located, picked, and made a whistle out of a clump of hawk grass. The hawk was controlled in much the same way as Link's boomerang in previous games (and in this one), meaning we would target objects that we wanted the hawk to interact with using a first-person camera, and then we would hit a button to release it. Grabbing the bees nest and dropping to the ground was no problem for the hawk, and the cat quickly managed to find its own way down from the rooftop when it saw the bird of prey approaching.
Making our way up the mountain where Ilia was healing Epona's leg meant climbing some vines and jumping across some gaps, both of which we were able to do without the pushing of any buttons. When we got to the healing fountain, we were alarmed to find that Ilia had been joined by a nasty-looking enemy who made short work of us when we tried to intervene. If it weren't for the fact that Link's limp body fell into the healing fountain, Nintendo's hero would surely have been in no fit state to pursue the bad guy as he made off with Ilia and a young baby from the village. And pursue is exactly what he did in the next level we were able to get hands-on with.
On Horseback We Ride
The next section of the Twilight Princess demo focused on one of the game's most anticipated new features: combat on horseback. This level picked up not long after the Toaru Village section left off, with Link having undergone a costume change into his traditional green tunic-and-hat outfit. He'd also gained his trusty sword and shield by this time, which was fortunate, considering he was up against a marauding band of angry orclike creatures riding beefy battle boars. Link's target was the band's leader, a big green armored guy who carried the kidnapped child tied to a large pole.
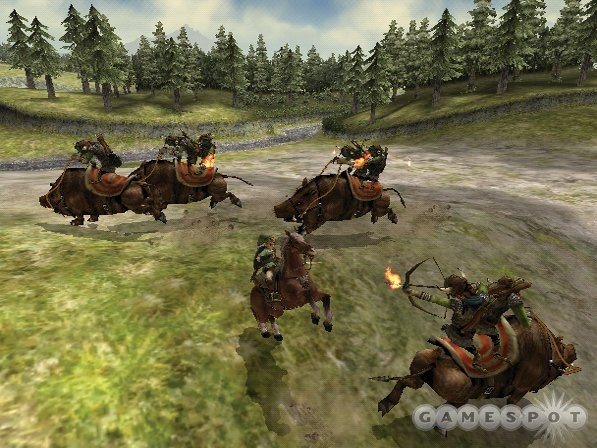
Riding Epona in combat was similar to the goat-herding section, but it afforded us more control of our speed in the interest of catching up to our quarry. You have a limited number of dashes to use, represented by a row of icons on the bottom of the screen, that will replenish slowly over time. These dashes were entirely necessary, for a couple of reasons. That armored boss guy we mentioned earlier apparently picked the fastest boar in the litter, because without dashing consistently and maneuvering to cut him off, it was nearly impossible to get in range to hit him. His minions caused us some major trouble, too, as they had a habit of bunching up around us and keeping us away from the boss. They were quite sturdy themselves, so it wasn't a simple matter to just brush past them and barrel onward toward the prize.
Even while engaged in this new gameplay style, the control was as easy to use as in the rest of the demo (and indeed, in the other 3D Zeldas, too). The lock-on feature was especially handy in fixing the camera on a particular enemy so we could ride up alongside him and take him out. We could knock one of these smarmy bastards right off his mount if we managed to connect with our sword, though it didn't seem possible to actually kill any of them, because they'd keep getting back up, remounting, and continuing to make our life difficult. The only way to actually get through this sequence, we found, was to go after the boss. So that's what we did.
Controlling Link in Mounted Combat
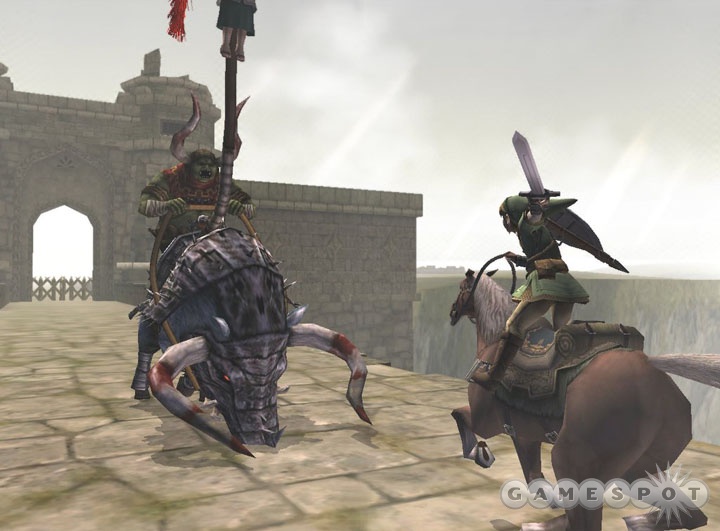
The mounted controls in Twilight Princess aren't the most forgiving we've ever used, though that's not to say they're stiff, or bad, or anything like that. Rather, they seem to approximate what it would be like to actually ride a horse in combat, since you have a very wide turning radius and can't make changes of direction in just an instant. After we got a feel for this section, it became easier to cut the boss off and actually score a hit here and there. Every time we did so, he lost a piece of his armor, until finally he was hurting so badly that he abandoned his crew and tried to take refuge on a long bridge inside the walls of an old, seemingly abandoned castle.
At this point, Link and Epona entered the ruins to both dispatch the dastardly fiend once and for all and rescue the kidnapped child. Fortunately, he set the wooden barricade at the entrance on fire, keeping his posse out; this was not so fortunate for us, as that meant we had to square off with him on the bridge in a joust to the death. The controls in this section were basically the same as in the open field: We started at one end of the bridge, and then we began to run to meet our foe. We hit dash as we picked up speed to hurtle ever faster toward the confrontation. At the last second, the game popped up controls onscreen that instructed us to hit left or right to dodge while simultaneously hitting B to slash with our sword. Easy as that might sound, the timing was crucial and unforgiving. If we were too early, we would veer too far to the side and would miss the swing entirely; if we were too late, we would run right into the orc boss, who would send us plummeting into the deep chasm.
Once we got the timing down just right, we picked up a good rhythm and managed to teach that damn orc king a thing or two, slicing him up good without ever taking a hit ourselves. While the fundamental gameplay here wasn't much different from what we saw out in the open field, it had a sort of minigame-like feel to it that was both unexpected and a nice change of pace. We can't wait to see what other such variations on the standard Zelda theme Twilight Princess has in store for us.
A Whole Lot of Monkeys
The next two levels of the demo were focused on interior adventuring, with Link sent to explore the inside of an temple, where he would face off against a monstrous plant boss. The first interior level of the demo found Link exploring a vegetation-filled forest temple that was populated by both familiar and all-new enemies. The first part of the temple was a small space peppered with some grass that led to a sealed door. Moving toward a set of stairs leading to the door triggered the appearance of deadly fauna, eager to chomp on Link. Thankfully, Link was armed with his trusty sword, which kept the killer plants from being too much of a pain.
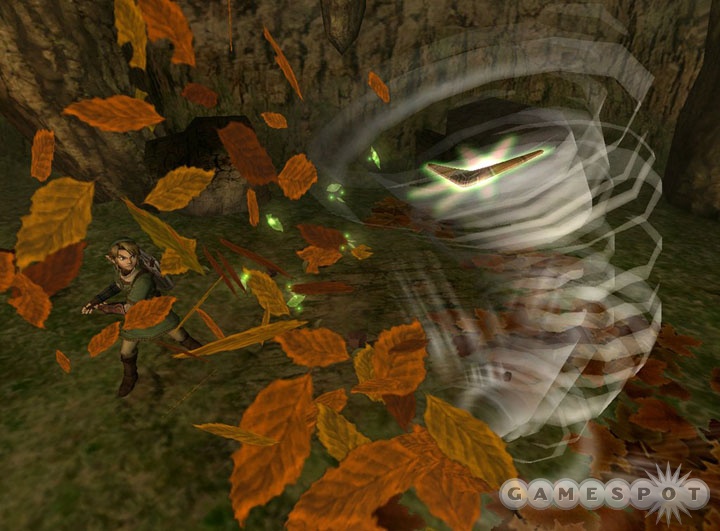
A bit of exploration through the area yielded a boomerang imbued with elemental power, called the gale boomerang. The weapon features the same lock-on functionality as its predecessors, including acquiring multiple targets. The level showcased a new facet of the boomerang's capabilities, an elemental infusion of wind that manifested itself in several ways. If you throw the boomerang normally, after targeting an object, it will find its mark. However, if you hold down the button you've assigned it to, you'll charge the weapon. When you let it fly at your target, it will fly with the force of a small tornado. Besides looking exceptionally cool, the powered-up boomerang can interact with objects in a variety of ways. In some cases, you'll be able to solve puzzles by turning door locks with it; in others, you'll have to rely on the boomerang to retrieve faraway objects or have it carry objects toward a target...if you've locked on to them in the right order. Another significant addition to Link's arsenal is the lantern, a light-giving accessory you'll have to fuel with oil to make functional. The light-giving vessel comes in handy for the caves you'll find that are devoid of light sources.
Good Monkey!
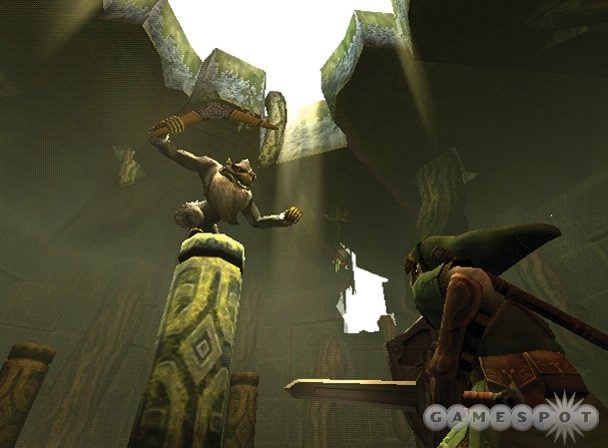
Exploring the temple some reveals that although the structure has been abandoned, it is hardly unoccupied, thanks to the presence of a gaggle of monkeys. Yes, monkeys. We're proud to say that Twilight Princess promises to be the most simian-infested entry in the Zelda saga to date. You'll first meet up with the little scamps when you enter one of the rooms that you'll access off one side of the main room. He offers the universal pantomime for "Yes, I see. You require help. I do as well. Come. Let us work together!" He then beckons you to follow him out to the main area, where he becomes a living swing and helps Link get across a previously impassable gap so he can access another side room.

Once you get to the next room, you'll realize that one of the homies is indeed in trouble. However, before you can do the Good Samaritan thing, you'll have to deal with some lizafols, familiar faces for those who played through Link's Nintendo 64 adventures. The eellike enemies didn't prove to be much of a threat, thanks to Link's familiar array of moves. Once you've mopped the floor with the lizafols and have freed your second monkey, you'll be able to access more of the temple until you find the all-important area map, which kicks you out of the demo. Your monkey friends are a helpful bunch of folk who don’t think twice about helping you across wide gaps.
Bad Monkey!
During your exploring, you'll discover one of the temple's dark secrets, namely a foul-tempered monkey who's different from the others and has a predisposition for taunting you and smacking his butt while doing so. (Thankfully, we weren't witness to feces flinging, so it's all good). In talking with Nintendo reps, who remained cagey on the game's plot, the history behind the temple story is that as the land has grown corrupted, people haven't ventured too far from home. This has resulted in the temple being abandoned, presenting a nice squatting opportunity for the local monkey population. Unfortunately, the same evil that spooked off the people has affected the monkeys, even causing one of them, the foul-tempered burly one you encounter, to be overcome and changed. How much the schism between the good and bad monkeys will affect your time in the temple remains to be seen, but we're already looking forward to seeing just how many helper monkeys we can amass.
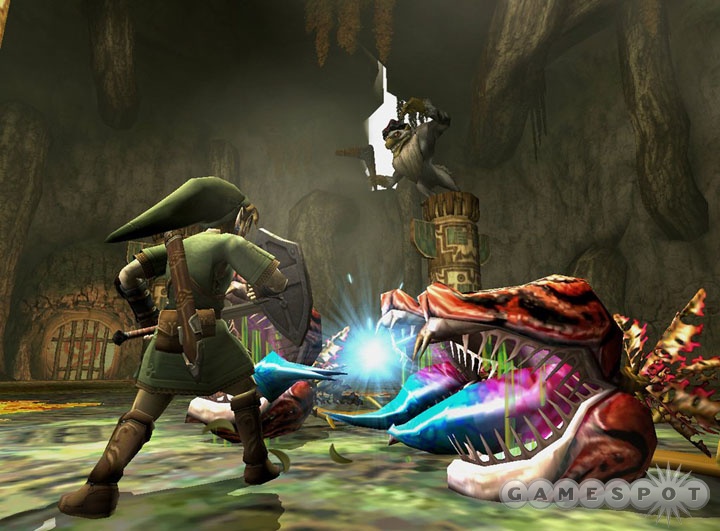
The second demo, still set in an the interior of the temple, saw Link facing off against a massive plant that was surrounded by two minions on either side. While this sounds like your standard boss fight, there's a surprising monkey-fueled twist to it. As if dodging the assorted heads and projectiles that come your way isn't bad enough, you'll have to contend with the evil monkey turning up to cause trouble for you. How you manage three evil plant heads and one surly monkey armed with only a sword, shield, and an elemental boomerang is up to you...and it forms the basis for a puzzle to solve.
Throughout all the above, Link's handling feels very comfortable, for the most part. The classic Zelda mechanics are all here and now include a few new tricks, courtesy of some context-sensitive actions. Combat feels mostly good, and it has a better overall feel than the last game.
Visually, the game is already looking very sharp, despite its work-in-progress state, so it will likely offer just what the doctor ordered for fans jonesing for an epic fix. The panoramas and sense of scope on display as you make your way around are great. Although the textures aren't as sharp as we'd like to see, the graphics are still among the best we've seen on the GameCube.
Overall, the four demo levels provided a solid primer on the basics in Twilight Princess. The adventure has all the proper ingredients for an outstanding Zelda game, and that's before you factor in the wolf craziness shown in the latest trailer. If you factor it all together, you have the makings of an outstanding game that should please longtime fans of the series.
Got a news tip or want to contact us directly? Email news@gamespot.com
Join the conversation