Zelda: Breath Of The Wild How To Solve The Lost Woods Puzzles
GameSpot may receive revenue from affiliate and advertising partnerships for sharing this content and from purchases through links.
Lost In The Lost Woods
The Lost Woods returns in The Legend of Zelda: Breath of the Wild, and it's just as difficult to navigate as past games. To help you overcome the forest's labyrinthian pathways, we've compiled details on how to navigate it, as well as special items and quests you can find when you reach what lies within. Be wary, there are potential spoilers ahead.
Breath of the Wild is out now for both Nintendo Switch and Wii U. And even after you finish the game, there'll be more to play: Nintendo has announced a $20 DLC Pass for Breath of the Wild. For more about the game, check out our full review, our guide roundup, or our feature detailing everything you need to know about it.
How To Get To The Lost Woods
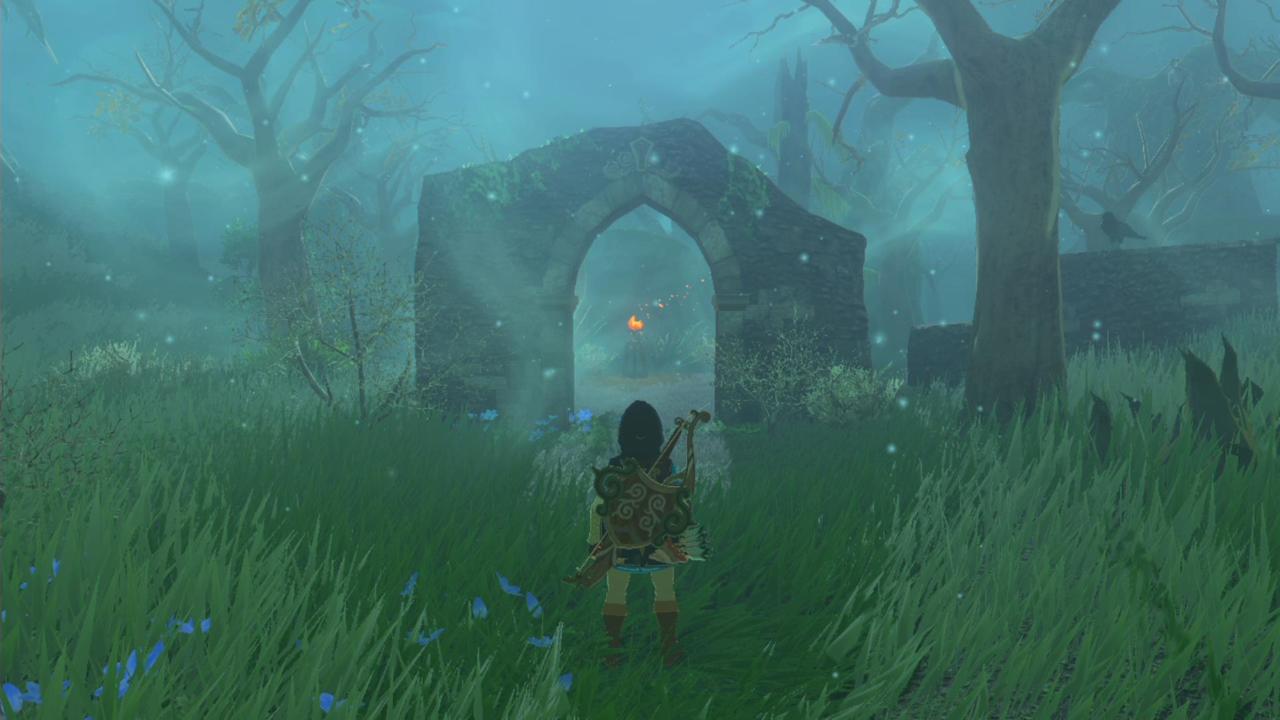
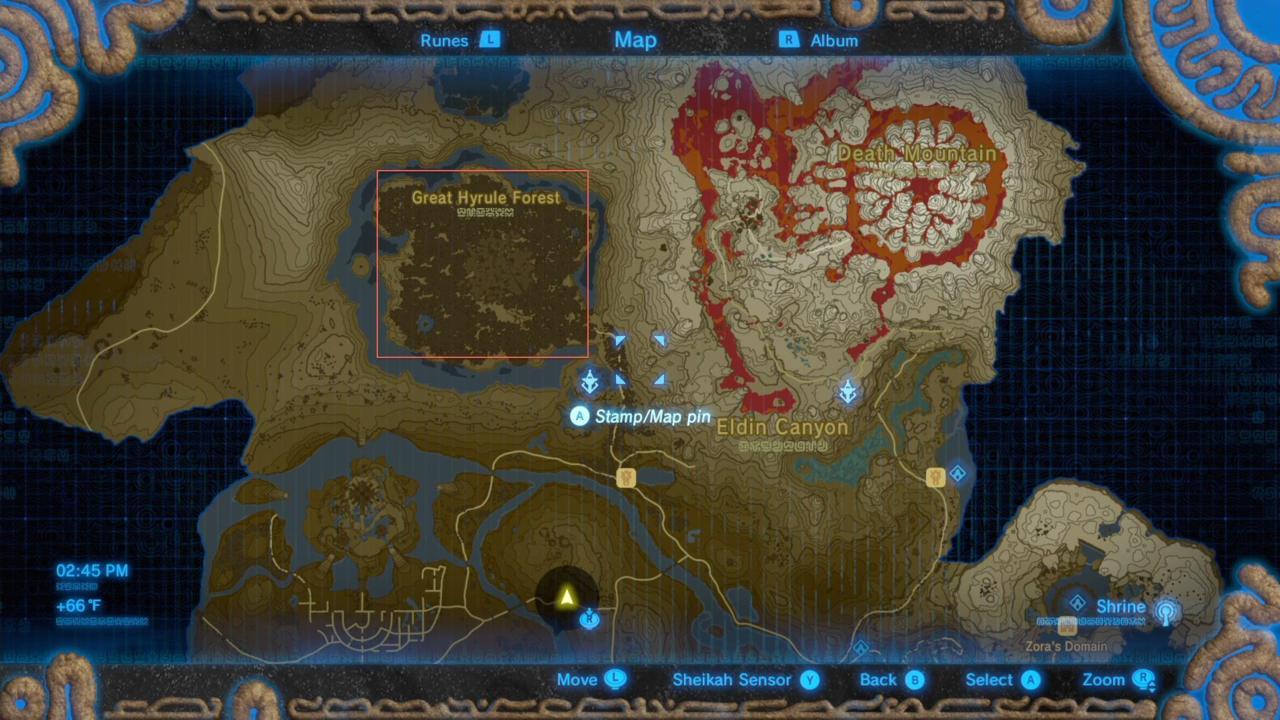
To get to the Lost Woods, follow the path through Mishi Woods located northeast of Hyrule Castle, just before the Death Mountain region. You'll know you're on the right track when you pass by the Woodland Stable. Look at the map above for reference.
Traversing The Lost Woods
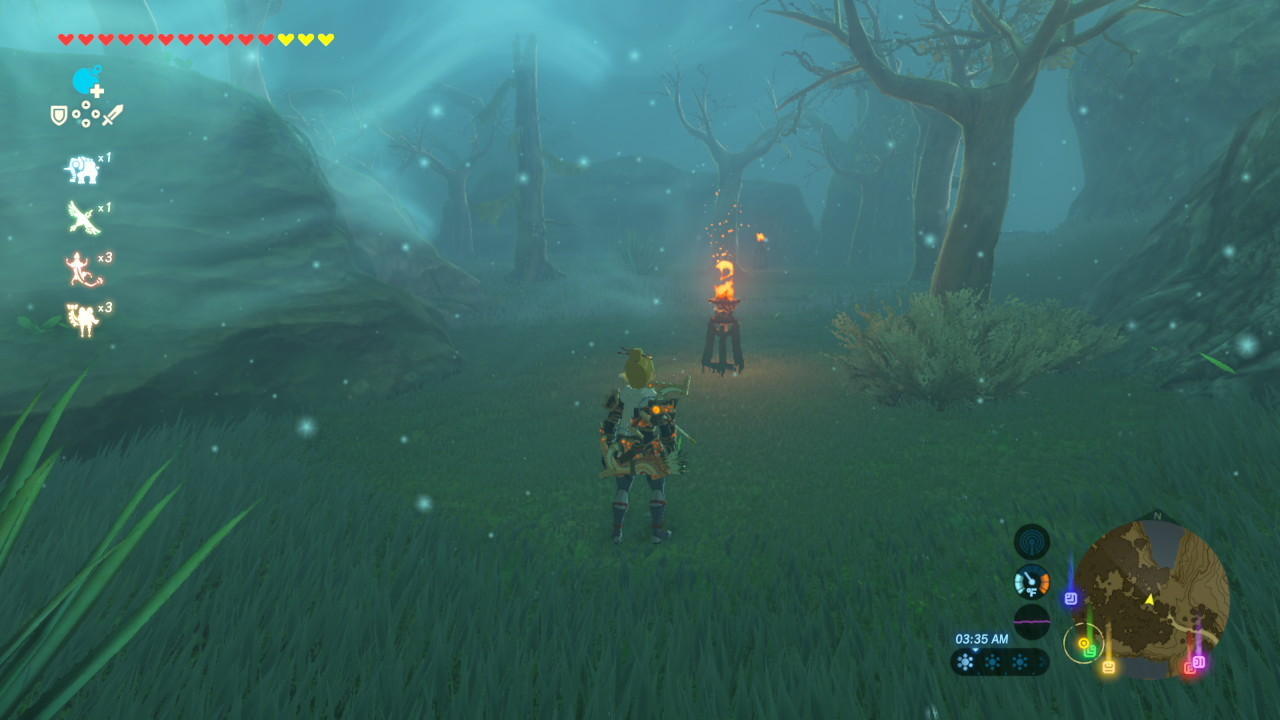
Navigating the Lost Woods is confusing at first; if you run through it mindlessly, a thick fog consumes you and brings you back to the entrance. To avoid this, simply follow the flow of the particles moving in the air. Its direction changes often as you progress, so make sure to keep an eye on when it shifts. If you're having trouble following the wind's flow, use a lit torch to make it easier to track.
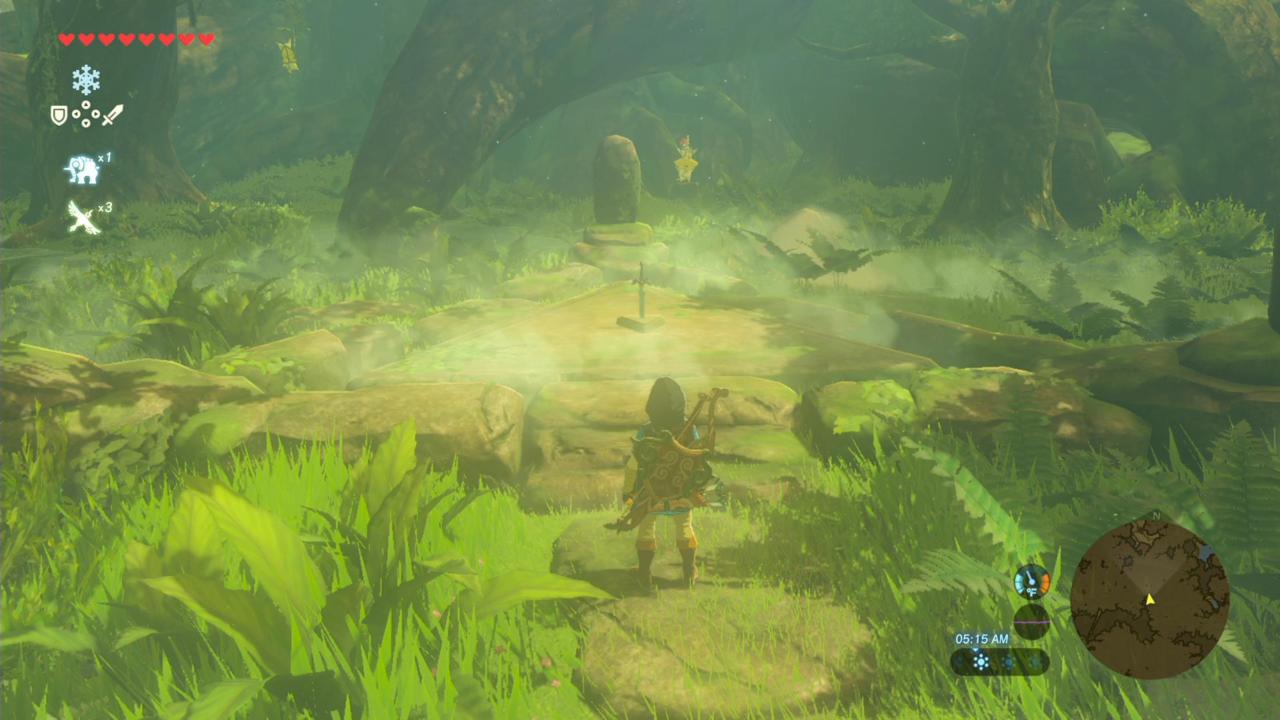
The Master Sword
Successfully navigating through the Lost Woods leads you to the Korok Forest, which is the home of the Master Sword. You're free to approach the sword and press A to begin pulling it from its resting place. However, you can only do so successfully once you have at least 13 hearts. Otherwise, you won't survive the pulling process. Keep in mind, temporary hearts do not count towards the required amount.
For more on how to get the Master Sword, check out our in-depth guide.

Hestu The Korok
If you've triggered the inventory-expanding Hestu to return home, he can be found in the forest on a mound to the right of the Master Sword. If you haven't talked to Hestu, he can be found on the road to Kakariko Village. Completing his sidequest unlocks the ability to increase your inventory space slots.
For more on Hestu, check out our slide about him in our in-depth guide on the things the Breath of the Wild doesn't tell you.
The Korok Trials
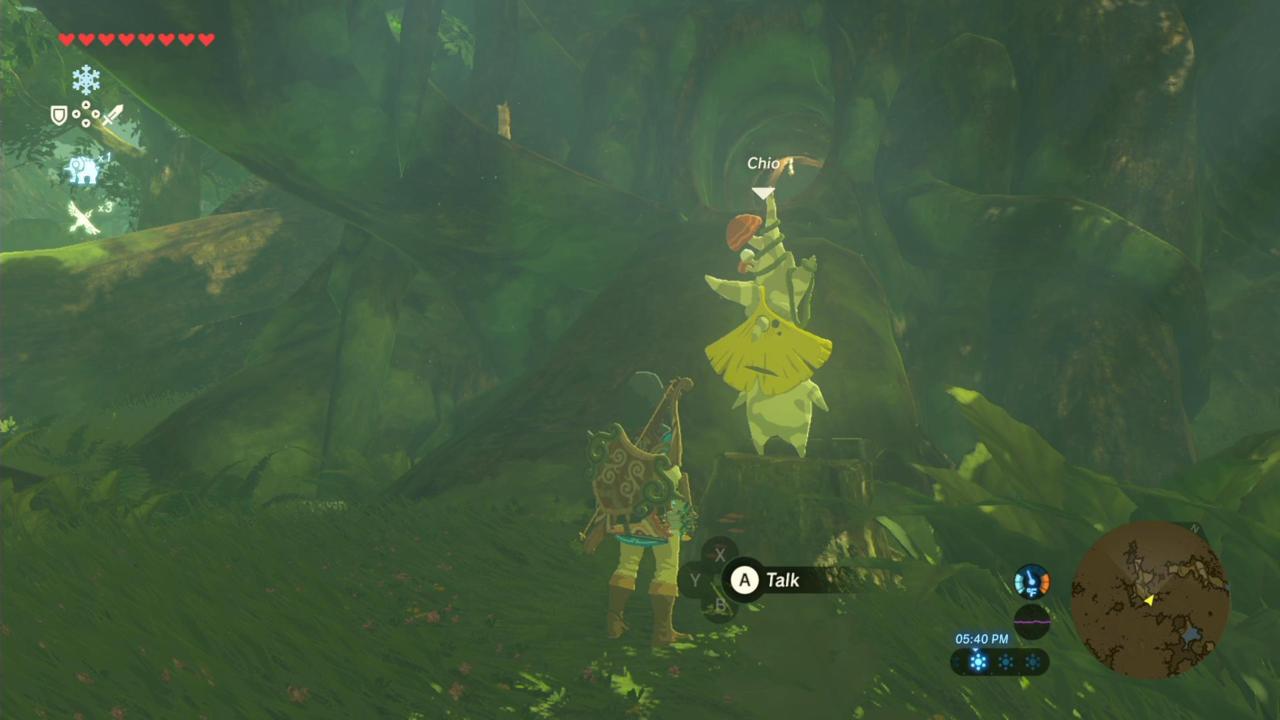
There's much more to see of the Lost Woods than your initial journey through it to reach the Korok Forest. If you talk to Chio, the Korok near the entrance to the shops, he'll challenge you to complete three trials that each take you to other areas of the Lost Woods. However, these areas also present their own navigation challenges.
Trial 1: The Lost Pilgrimage
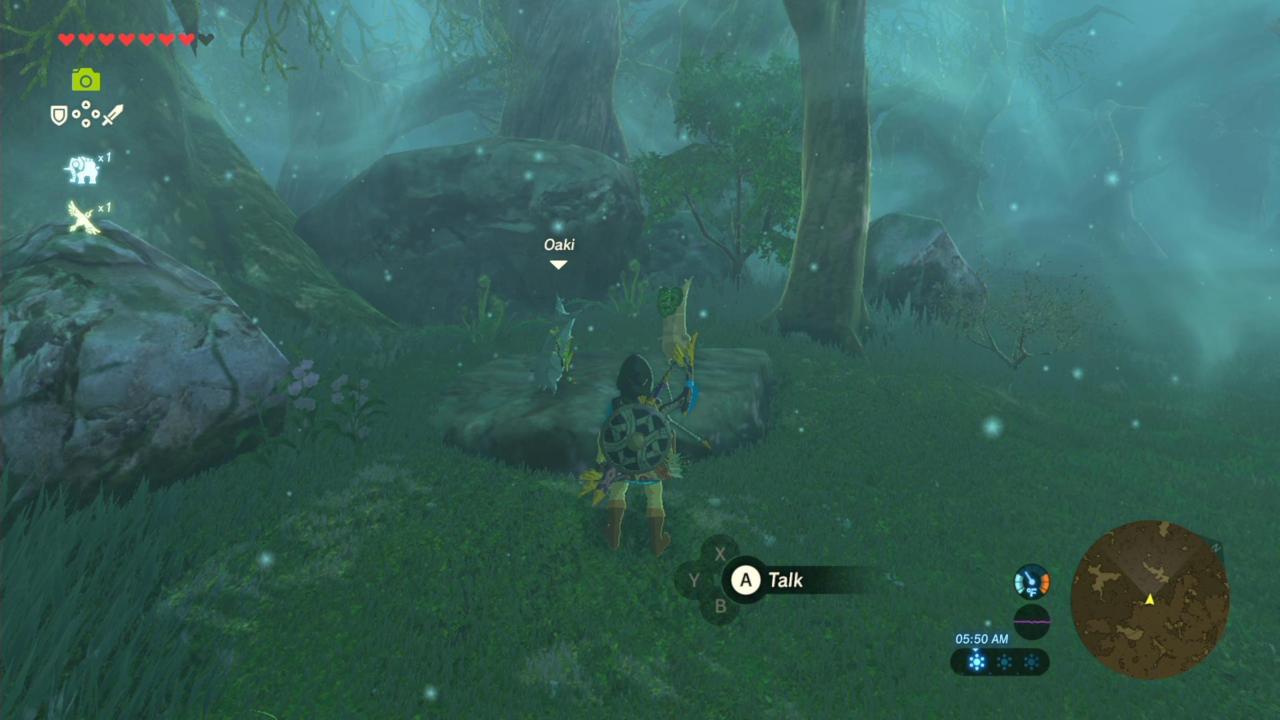
This trial is located down the path of the northwest exit of the Korok Forest. Talk to Tasho, and he'll tell you to follow a small Korok named Oaki without being detected.
Before moving forward, make sure to crouch-walk and consume any stealth-bonus foods or elixirs you have on hand. Also, equip the Sheikah armor if you have it. Oaki will often look behind him during his trek, so maintain your distance, stay close to cover, and keep an eye on his movements. Also, don't stray too far from the beaten path or else a thick fog will throw you back to the beginning.
It's important to note that during the tail end of the trek, a wolf emerges from bushes to frighten Oaki. If the wolf sees you, the enemy encounter theme will play, effectively throwing you off the trail. To prevent this, simply remain at a safe distance when you hear the howl and wait until Oaki reaches the Daag Chokah Shrine and begins to celebrate. If you lose track of Oaki, activate your Magnesis or Stasis mode to get a clearer view of the environment.
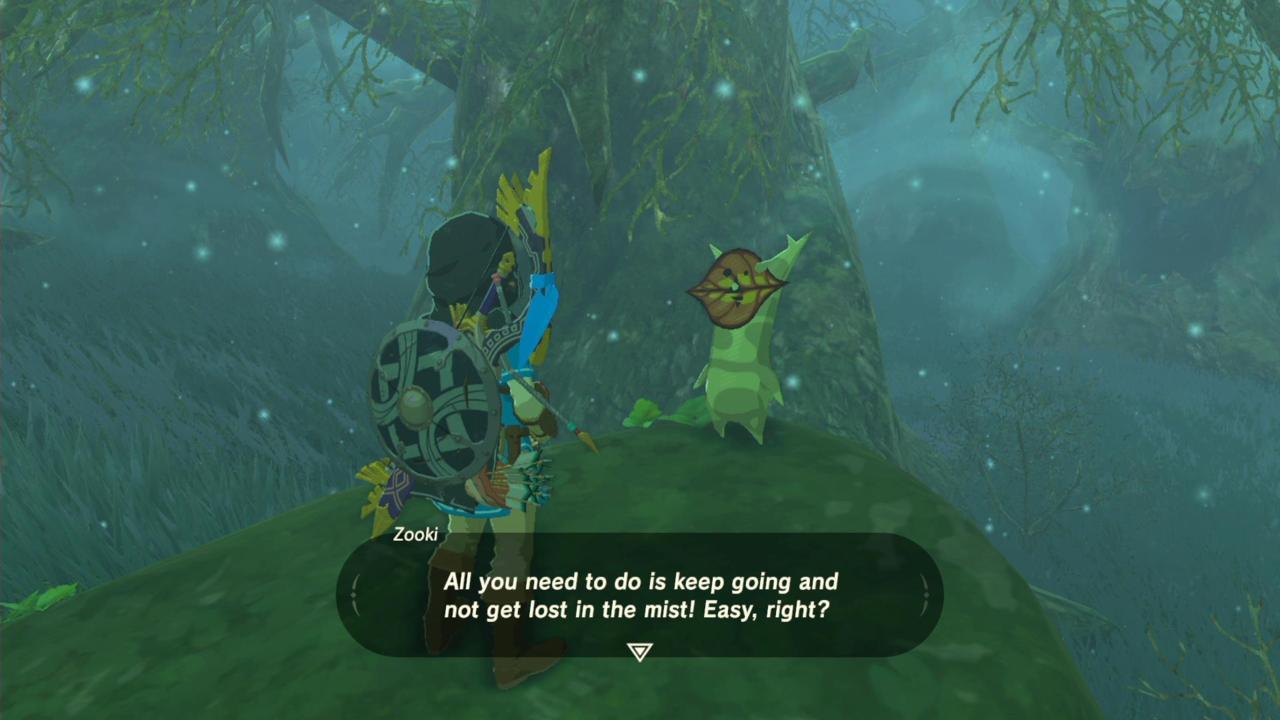
Trial 2: Trial of Second Sight
This trial is found by the southwest exit of the Korok Forest. Speak to Zooki, who you find standing on a rock to your left. He tells you that in order to pass his trial, you need only proceed down the path without getting caught by the fog. He imparts onto you a cryptic hint: "The hungry trees will show you the way. Spy their iron to win the day." This means to look out for beast-like trees with giant iron boulders in their "mouths."
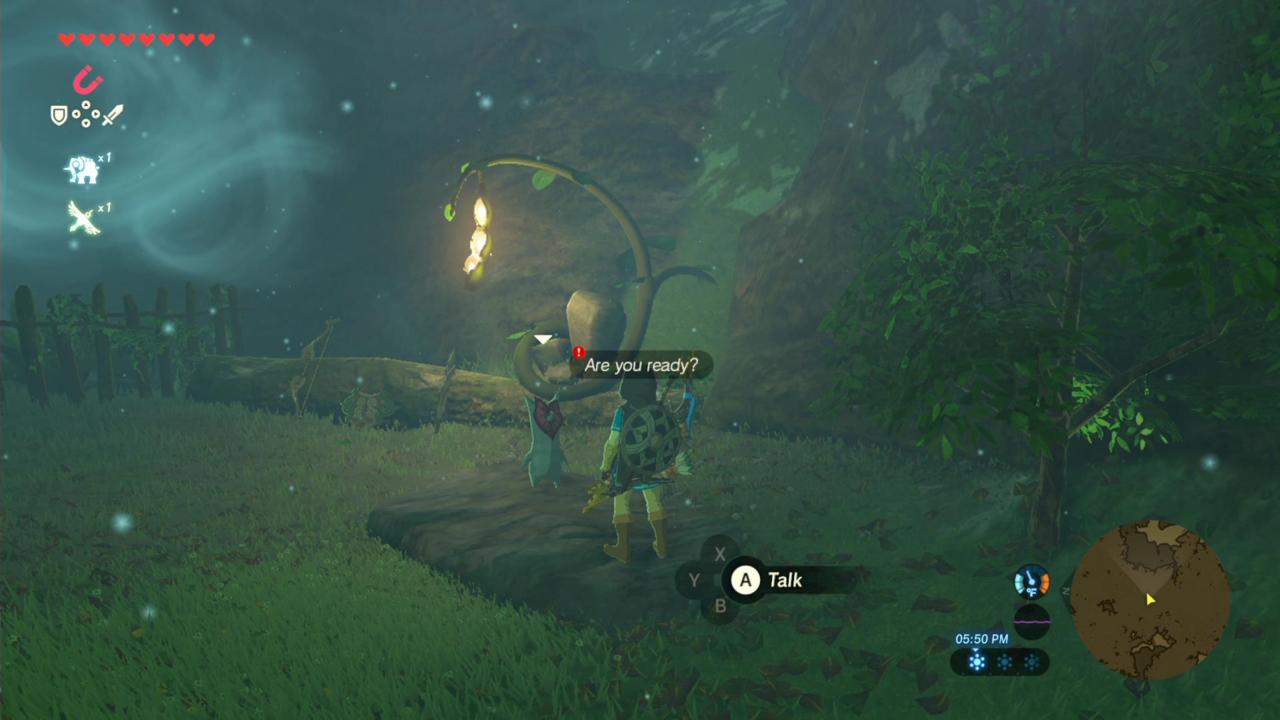
When you start running down the trail, activate either your Magnesis or Stasis rune to improve your ability to see the iron boulders. Follow the path until you reach a clearing with a rusty shield at its center. Grab the shield with Magnesis and place it inside the mouth of the tree with a stone tablet at its base. This triggers the appearance of a treasure chest.
Grab the treasure chest with Magnesis and take it with you across the river, either by using the docked raft or the Cryonis rune. Place the chest in the mouth of the tree ahead to trigger the appearance of the Kuhn Sidaji Shrine.
Trial 3: The Test of Wood
This trial is triggered by talking to Damia, who can be found at the eastern exit of the Korok Forest. He tasks you with reaching the shrine at the end of the path without breaking a single piece of the Korok equipment he gives you. However, the road ahead is packed with enemies at every turn. This trial demands resourcefulness; use your weapons sparingly and make sure to run from encounters whenever ever possible.
Be cautious when you reach the large area of bog, as a single misstep will take you straight back to the beginning. Use your Cryonis rune to quickly cross through. Your journey ends when you reach the Maag Halan Shrine.
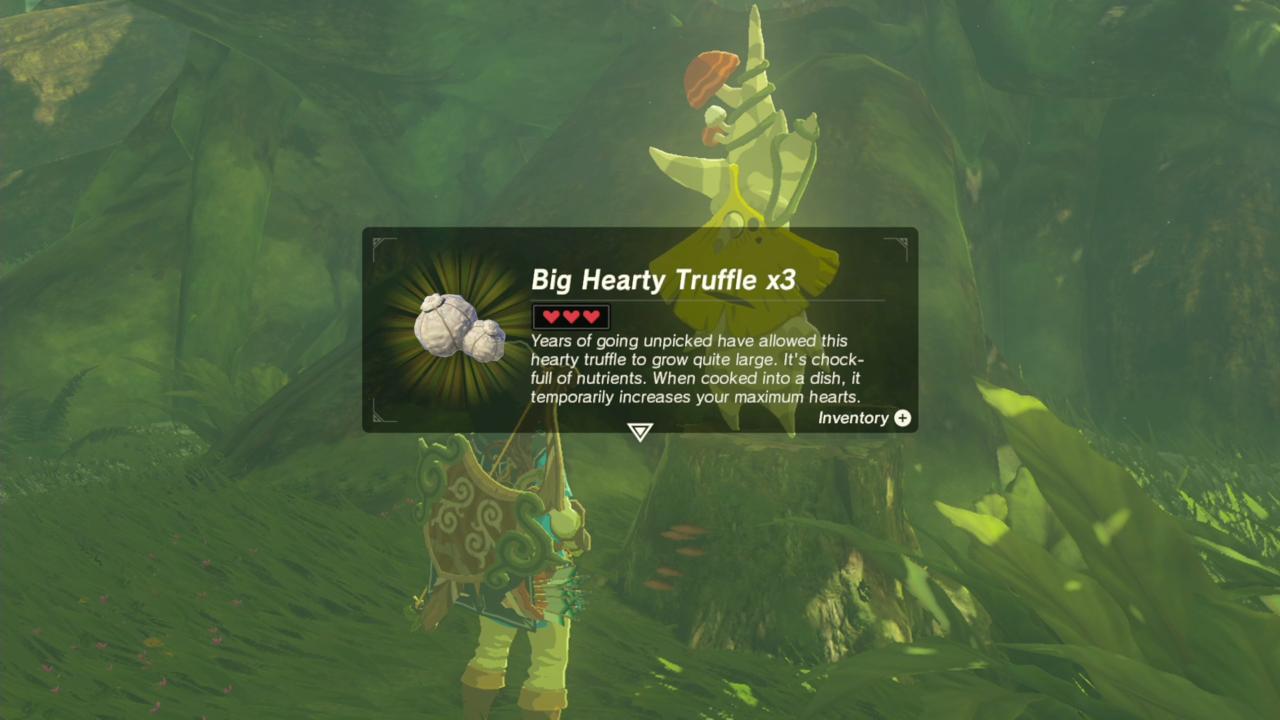
Trial Rewards
When you complete all three Korok trials, return to Chio for your reward: three Big Heart Truffles. Cooking these ingredients result in dishes that add a wealth of temporary hearts to your health bar.