Zelda: Tears Of The Kingdom - Mayamats Shrine Puzzle Guide
Here's how to solve the "A Route for a Ball" puzzle in the Mayamats Shrine.
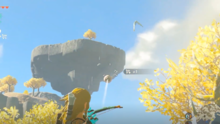
In The Legend of Zelda: Tears of the Kingdom, Hyrule is filled with puzzles for you to solve, some of which come in the form of Shrines. Some Shrines are harder than others, like the Mayamats Shrine, located on Rutimala Hill, in the southwestern part of Gerudo Highlands. This Shrine features the "A Route for a Ball" puzzle, here's how to solve it.
How to solve the Mayamats Shrine Puzzle in The Legend of Zelda: Tears of the Kingdom
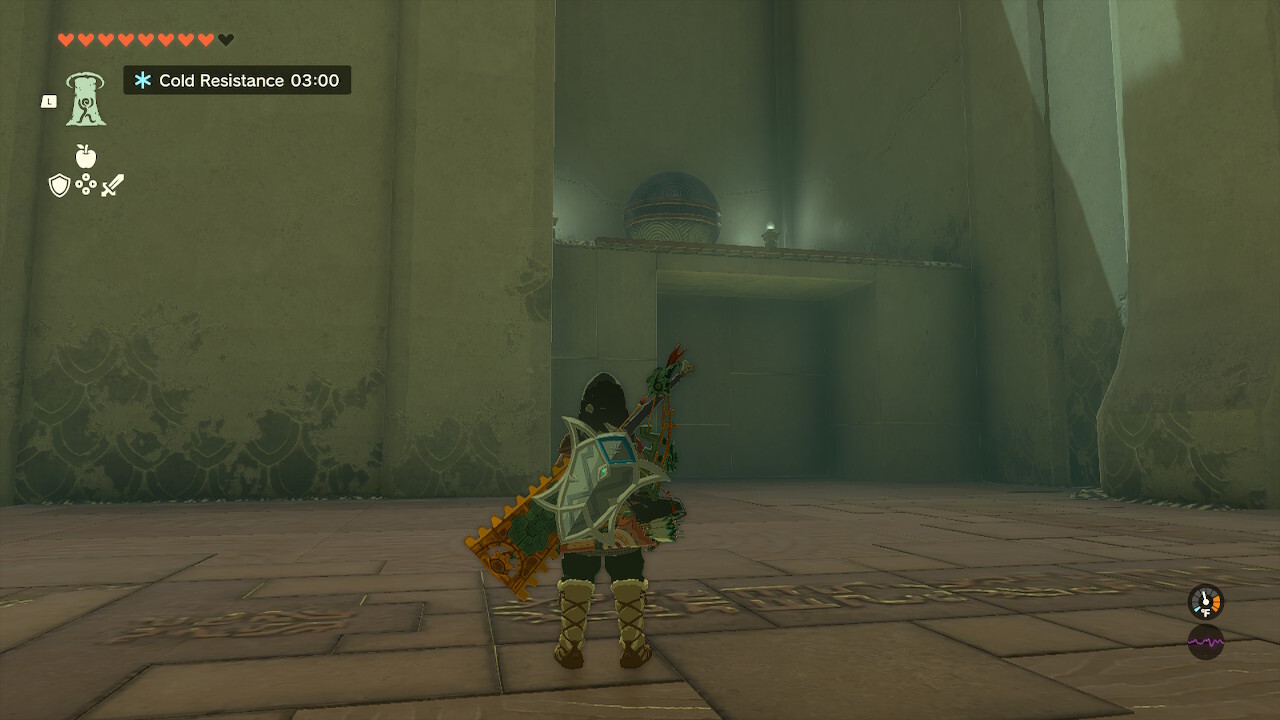
Upon entering the Shrine, the door to the exit will be directly in front of you, which can be unlocked by getting a large ball into the hole next to it. Off to the left is a chasm, with fans to propel you to the other side.
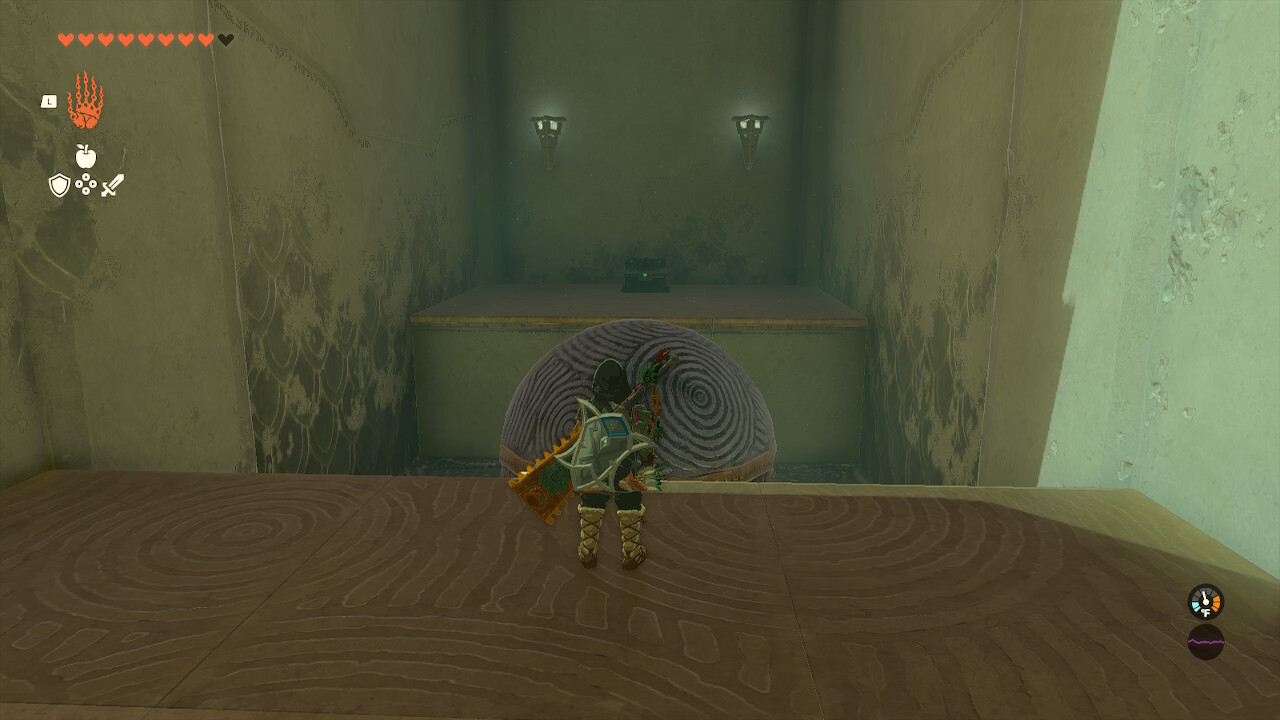
Glide across to find yourself in a new section, with the large ball to the left, the optional chest directly in front of you, and another area off to the right that isn't accessible yet. The large ball to the left is not the ball needed to unlock the door, that would be a small ball we will find later. Use Ascend to reach the ball and bring it to the metal rails that are going over the chasm you cleared. First, place the ball in the small gap in front of the optional chest and jump across to access it.
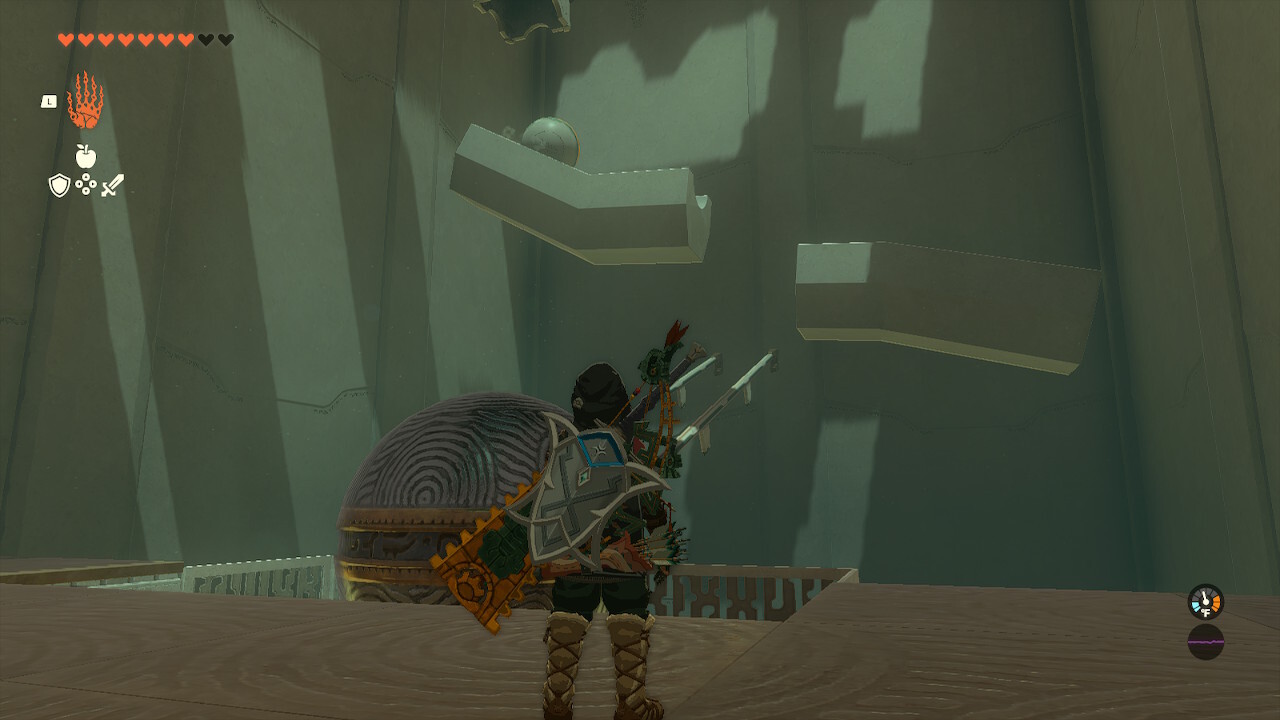
Next, we will access that other area off to the right. In order to get there, place the big ball in the funnel space in the wall, so you can Ascend up through the ball and into the new area.
Here, there is a smaller ball getting dropped onto two platforms, heading from left to right. In front of that is a small set of rails heading perpendicular to those platforms. To get the ball, pick up the larger ball and use Ultrahand to slowly move it up the rails towards the smaller ball. Bring it back slowly and jump on top of it.
Use Recall to make the big ball move on the path you made, and while the ball moves in closer, use Ultrahand to grab the smaller ball and place it back on the previous platform.
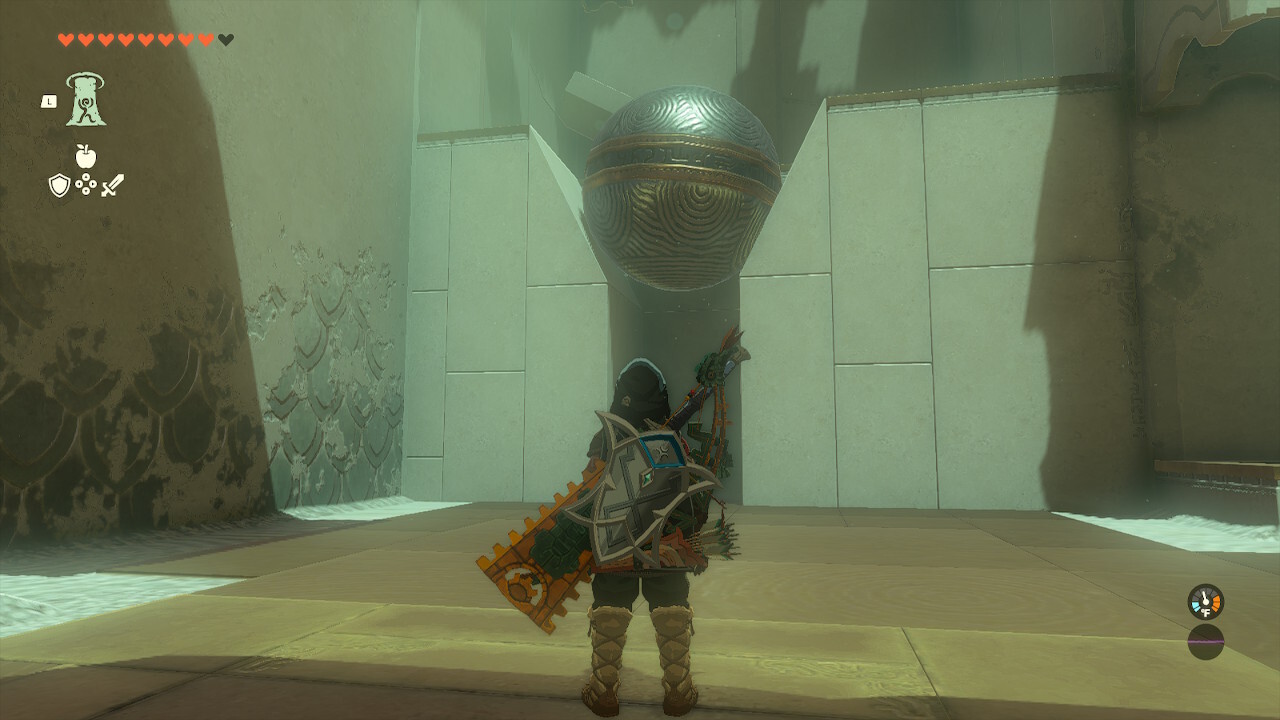
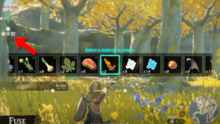
Now fuse the balls together and turn back towards the first chasm. Place the larger ball on the metal tracks, with the smaller ball moving along with it. The rails aren't wide enough to send the small ball by itself. There is a hole at the far end of the rails, so quickly glide back over and grab the ball with Ultrahand. Place the small ball in the designated hole and complete the Shrine.

We have many more guides in our Tears of the Kingdom guides hub, including a map of all Shrine locations and many more individual Shrine puzzle guides.

Got a news tip or want to contact us directly? Email news@gamespot.com
Join the conversation