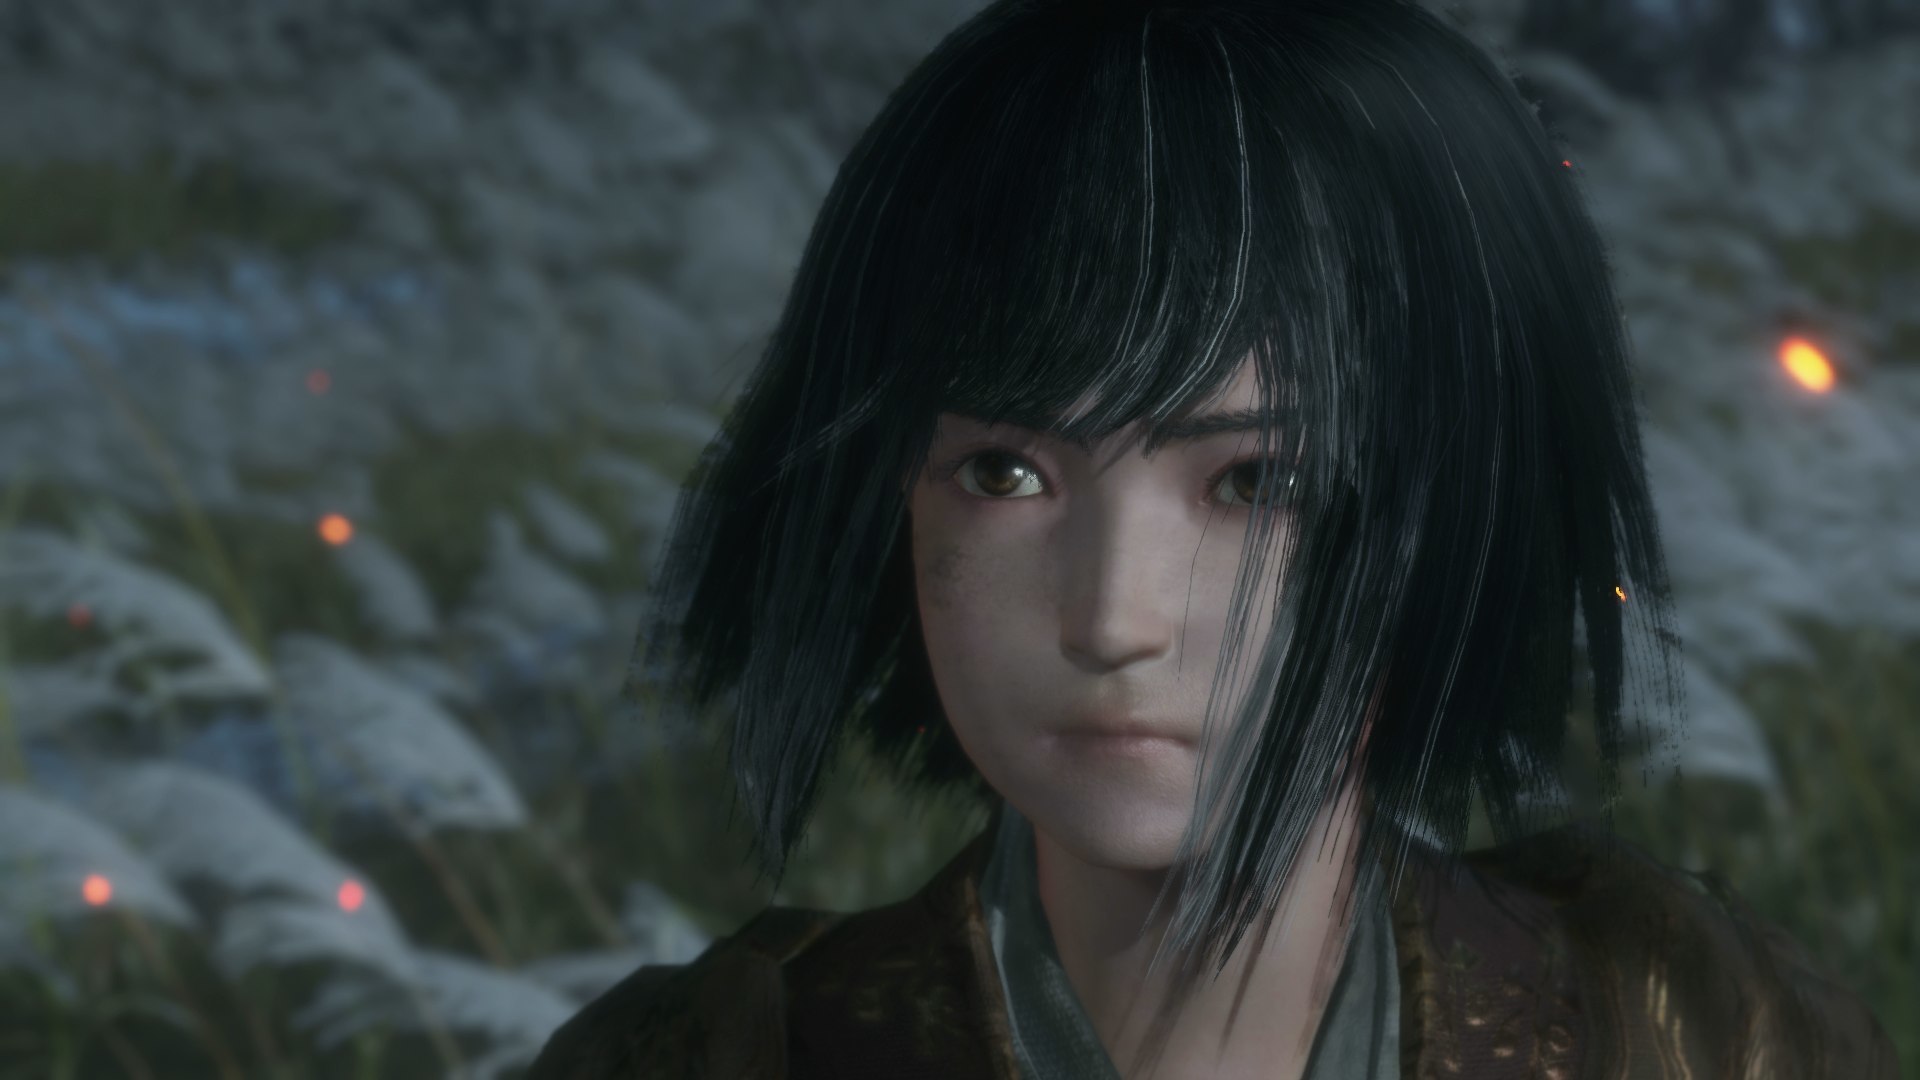
Sekiro Guide: Here's How To Unlock The Four Endings
There are some fates worse than death for shadows.
Sekiro: Shadows Die Twice features multiple endings that are accessible through a variety of means. Some rely on key decision points, while others require you to go on lengthy sidequests that can be hidden or obscure.
It's difficult to see all four, but well worth the effort. They don't just show you a different possible conclusion for the game--they also give you more insights into its overall story and lore, suggesting things about who's behind the attack on Ashina, what the deal is with the Sculptor, and how things got to be the way they are in the country. Plus, one ending lets you get some payback on that giant white snake.
All the information you need to see all four of Sekiro's endings is in the guide below. We walk you through what each one requires. Some of the steps can be completed before you do your first boss fight at the top of Ashina Castle, so feel free to explore; but make some cannot be completed after you've finished the Fountainhead Palace, so keep that in mind.
Spoilers beyond!
Shura Ending
The first and easiest ending to nab is also what might be considered the "bad" ending--it's certainly the darkest. You can kick it off when the game sends you back to Ashina Castle for the second time. After you battle through a mess of Shinobi, you'll head to the top of the castle, where you'll run into someone you thought was dead: Owl, the Shinobi who found and trained Sekiro as a child.
You last encountered Owl in the Hirata Estates level, where he seemingly died in the attack. But it turns out that Owl orchestrated the attack on Hirata and Ashina Castle. When you find him atop Ashina Castle, Owl commands you to join him and follow the Iron Code, turning against the Divine Heir. If you choose to help Owl, you'll face some new boss fights you won't get in any of the other endings, but the game is pretty much over right here, so you might want to save this one for a second playthrough.

Immortal Severance Ending
This one's the most straightforward of the endings, requiring you to follow the Divine Heir's instructions to complete the game. When Owl asks you to obey the Iron Code, instead choose to remain loyal to the Divine Heir. You'll have a boss fight with Owl, and then finish the Kuro's plan to sever his immortality.
That requires you to go on to the Divine Realm and retrieve Dragon Tears. It all culminates in another battle in the Silvergrass Fields near Ashina Reservoir, the same place you fought Genichiro at the start of the game. Complete the boss fight there to kick off the ending.
Purification Ending
The path to the Immortal Severance ending includes some dialogue about another item you need to save Kuro from the Dragon's Heritage: an Everblossom branch. Unfortunately, as you'll learn from Emma, the tree in Ashina that produces the blossom has withered. There's seemingly no way to get it.
You can, in fact, track the blossom down, but the steps are intricate. It requires getting some information and triggering a handful of conversations with various people. Start by refusing Owl in Ashina Castle, then talk to Kuro about gathering the Dragon Tears. When you leave, head to the watchtower where you met Isshin Ashina after defeating Genichiro. You'll see Emma there--from outside, eavesdrop on their conversation.
Head back to Kuro (you might need to rest at the nearby idol) and talk to him again. He'll give you a rice ball, and if you read the description, you'll get the suggestion that something's weighing heavily on Kuro's mind. Go behind the screen at the back of the room and you'll get the chance to eavesdrop on Kuro as he talks to himself.

If Emma's in the room, talk to her, and if she's not, rest until she shows up again. She'll suggest that you need to do something for Kuro, to which you should agree; rest and talk to her again, and she'll again bring up the Everblossom. Emma mentions the nobles who brought the Everblossom to Ashina to ruminate on how to solve the problem.
Rest again and head down to the Old Grave location in Ashina Castle. You can get there by going inside the castle and dropping down (there's now a Chained Ogre where the Sabimaru was, so be aware of that), where you'll open a door that leads to out behind the castle. If you've been back here before, you would have found Blackhat Badger, a merchant from whom you can buy the Iron Fortress umbrella prosthetic.
Head left from the exit door to find the graves. Talk to Emma again here, then use the Sculptor's Idol to travel to the Dilapidated Temple. Emma will be here, talking to the Sculptor. Go around behind the temple to get another chance at eavesdropping.
Now talk to Emma again and she'll give you another offering bell, which you can use to get back to Hirata Estate by using it on the Buddha statue in the temple.
Fight your way through the Estate again--you'll deal with some tougher versions of fights you saw earlier, including Juzou the Drunkard. When you get to where you fought Lady Butterfly, you'll have another battle on your hands: the Owl. He'll be a lot tougher than the version you fought on Ashina Castle thanks to being younger. If you defeat him, you'll get the Everblossom you need.
After that, continue through the rest of the game until you reach the final fight in the Silvergrass Field. When prompted, use the Everblossom on Kuro at the end of the game to unlock the ending.

Return Ending
This is the ending that requires the most stuff, but also seems to be the best available option. Note that you need to complete all the steps before defeating the Divine Dragon in the Fountainhead Palace. Once you do that, you can't get everything you need for this one.
First, you'll want to complete the Senpou Temple area. You can get to the very end of the level before fighting Genichiro, and you do that, you'll find the Temple's leader sitting in front of the large Buddha statue inside. Talk with him and he'll give you the Holy Chapter: Infested text. If you have already defeated Genichiro, the monk won't be in the temple, but you can still find the text in a pond in the Temple Grounds area. You'll need the ability to dive underwater to get it, though, so continue through the game until you defeat the Corrupted Monk in Mibu Village.
Take the text to the Inner Sanctum of the Senpou Temple, where you met the Divine Child (if you haven't beaten Genichiro at Ashina Castle yet, go do that, then progress through the story for a bit). Take the rice she offers and eat it (or give it to the Old Woman you'll find in Senpou Temple and Sunken Valley).
Once you've taken a couple of batches of rice, you'll tire the Divine Child out, and she'll ask you for a persimmon. You can buy one from the Memorial Mob merchant in the Shugendo area near Senpou Temple, or earn one by killing the enemies in the Senpou Temple area. You'll also get one as a reward for completing Kotaro's sidequest--he's the guy you find when you first enter the Senpou area, who asks for a white flower, and then asks for you to spirit him away. If you hit him with the Divine Abduction prosthetic, you'll find him in the Hall of Illusion, and he'll give you the Taro Persimmon.
After the Child has a persimmon, talk to her again. She'll give you more rice, and if you keep prompting her, she'll give you rice for Kuro. Take it to him and he'll make a rice ball out of it, which you can then eat or save for later. Return to the Inner Sanctum and you'll find the Child is gone; find her in the Hall of Illusion and talk to her again.
Now the Child tells you that there was another text that went with the Infested text you brought her earlier. She says the leader of the Senpou Temple has it, and you can find him in the cave behind the temple. Head into the cave until you hit the part where you can drop down. Pull a 180 and swim beneath the wall where you just dropped down, then follow the path to the end. You'll see a bunch of gray statues that look like skeletal monks, plus one who's still wearing vibrant clothes. Check that last one to find the text the Divine Child was referring to, which you can bring back to her.
Rest and talk to the child again and she'll tell you what you need: two fruits from the Great Serpent. That's the giant snake you've dealt with a few times. Attaining the fruits will take you off the beaten path a bit, and you'll need to have earned the Puppeteer Ninjutsu kill by working your way through the story.
First, head to Senpou Temple, near the entrance to the Abandoned Dungeon, where you talk to Kotaro. If you head down and to the right from the entrance, you'll find a crank with a kite and a diminutive Senpou assassin--one of those short guys with the round hats. Use the Puppeteer skill on the little guy and he'll crank out the kite for you. Now head up the mountain to where you find the huge tree. Climb up on it and you'll see the kite, which is now a point you can grapple to, carrying you across to the far side of the ravine.
If you're facing where you just came from, look for spots where you can climb down to the left (you should see snake skin hanging from trees along the way). Keep moving until you hit a cave entrance with a Sculptor's Idol. Push through until you hit the other side, where you'll find a big wood beam that you can walk out onto. If you look down, you should see the Great Serpent coiled around an outcropping (if you don't, keep progressing the story until you've found the snake in the Sunken Valley). You'll get a prompt to target it; jump down and perform a deathblow and you'll grab the Fresh Fruit.
The Dried Fruit can be found in the Sunken Valley, near the Memorial Mob merchant there. Start at the Riven Cave Sculptor's Idol and head out onto the snowy cliffs, where you start to see the statues. Jump down and grapple on a tree below; you're headed for the valley floor to the right, where you'll find a big flat stump and a cave entrance that houses the merchant. Continue into the cave, past the snake's body, until you can't progress any further; you'll be blocked by the Great Serpent searching for you, and you can hug the wall of a stone pillar nearby. From here, drop down on the left side of the area, where the snake isn't looking. Keep moving forward until you find a monkey here. Backstab it with Puppeteer and it'll climb up and dance around to get the snake's attention, allowing you to quickly grapple over and run into the temple beyond. Inside is the Dried Fruit.
Take both fruits back to the Inner Sanctum and give them to the Divine Child. You'll need to let some time pass, so rest, check the door, and rest again. The Child will now have the Frozen Dragon Tear to give you. From here, you're set to continue on to the Fountainhead Palace, then complete the rest of the game as usual, through the fight in the Silvergrass field. When prompted at the end, use the Frozen Tears to unlock the Return ending.
If you're looking for more on Sekiro: Shadows Die Twice, check out our guide roundup--it includes explainers for things like finding and taking down Headless, beating Lady Butterfly, Genichiro, and the Guardian Ape, locations for all the Shinobi Prosthetics and Gourd Seeds, and more.
Got a news tip or want to contact us directly? Email news@gamespot.com
Join the conversation