Sea Of Thieves The Shrouded Deep Guide
The third Sea of Thieves Adventure is its most elaborate yet. Here's every step you'll need to follow to come out victorious against the Shrouded Ghost.
Sea of Thieves Adventure 3 has arrived. In The Shrouded Deep, you'll be going meg hunting for not just several variants of the mythic shark, but also to eventually summon and defeat the Shrouded Ghost, the game's most elusive boss battle. This multiple-chapter story mode will be available until May 12, so make sure you get in there and finish off all Deeds to earn the exclusive cosmetics before they're gone forever. Here's everything you need to know to complete The Shrouded Deep.
Step 1: Talk to Larinna, then travel to map grid location M12
Larinna is once more the liason between you and the latest Sea of Thieves Adventure, so speak to her right outside of the tavern when you load into the game. She'll give you a piece of paper that reveals famed shark hunter Merrick is back aboard his once-sank, still-legendary ship, The Killer Whale.
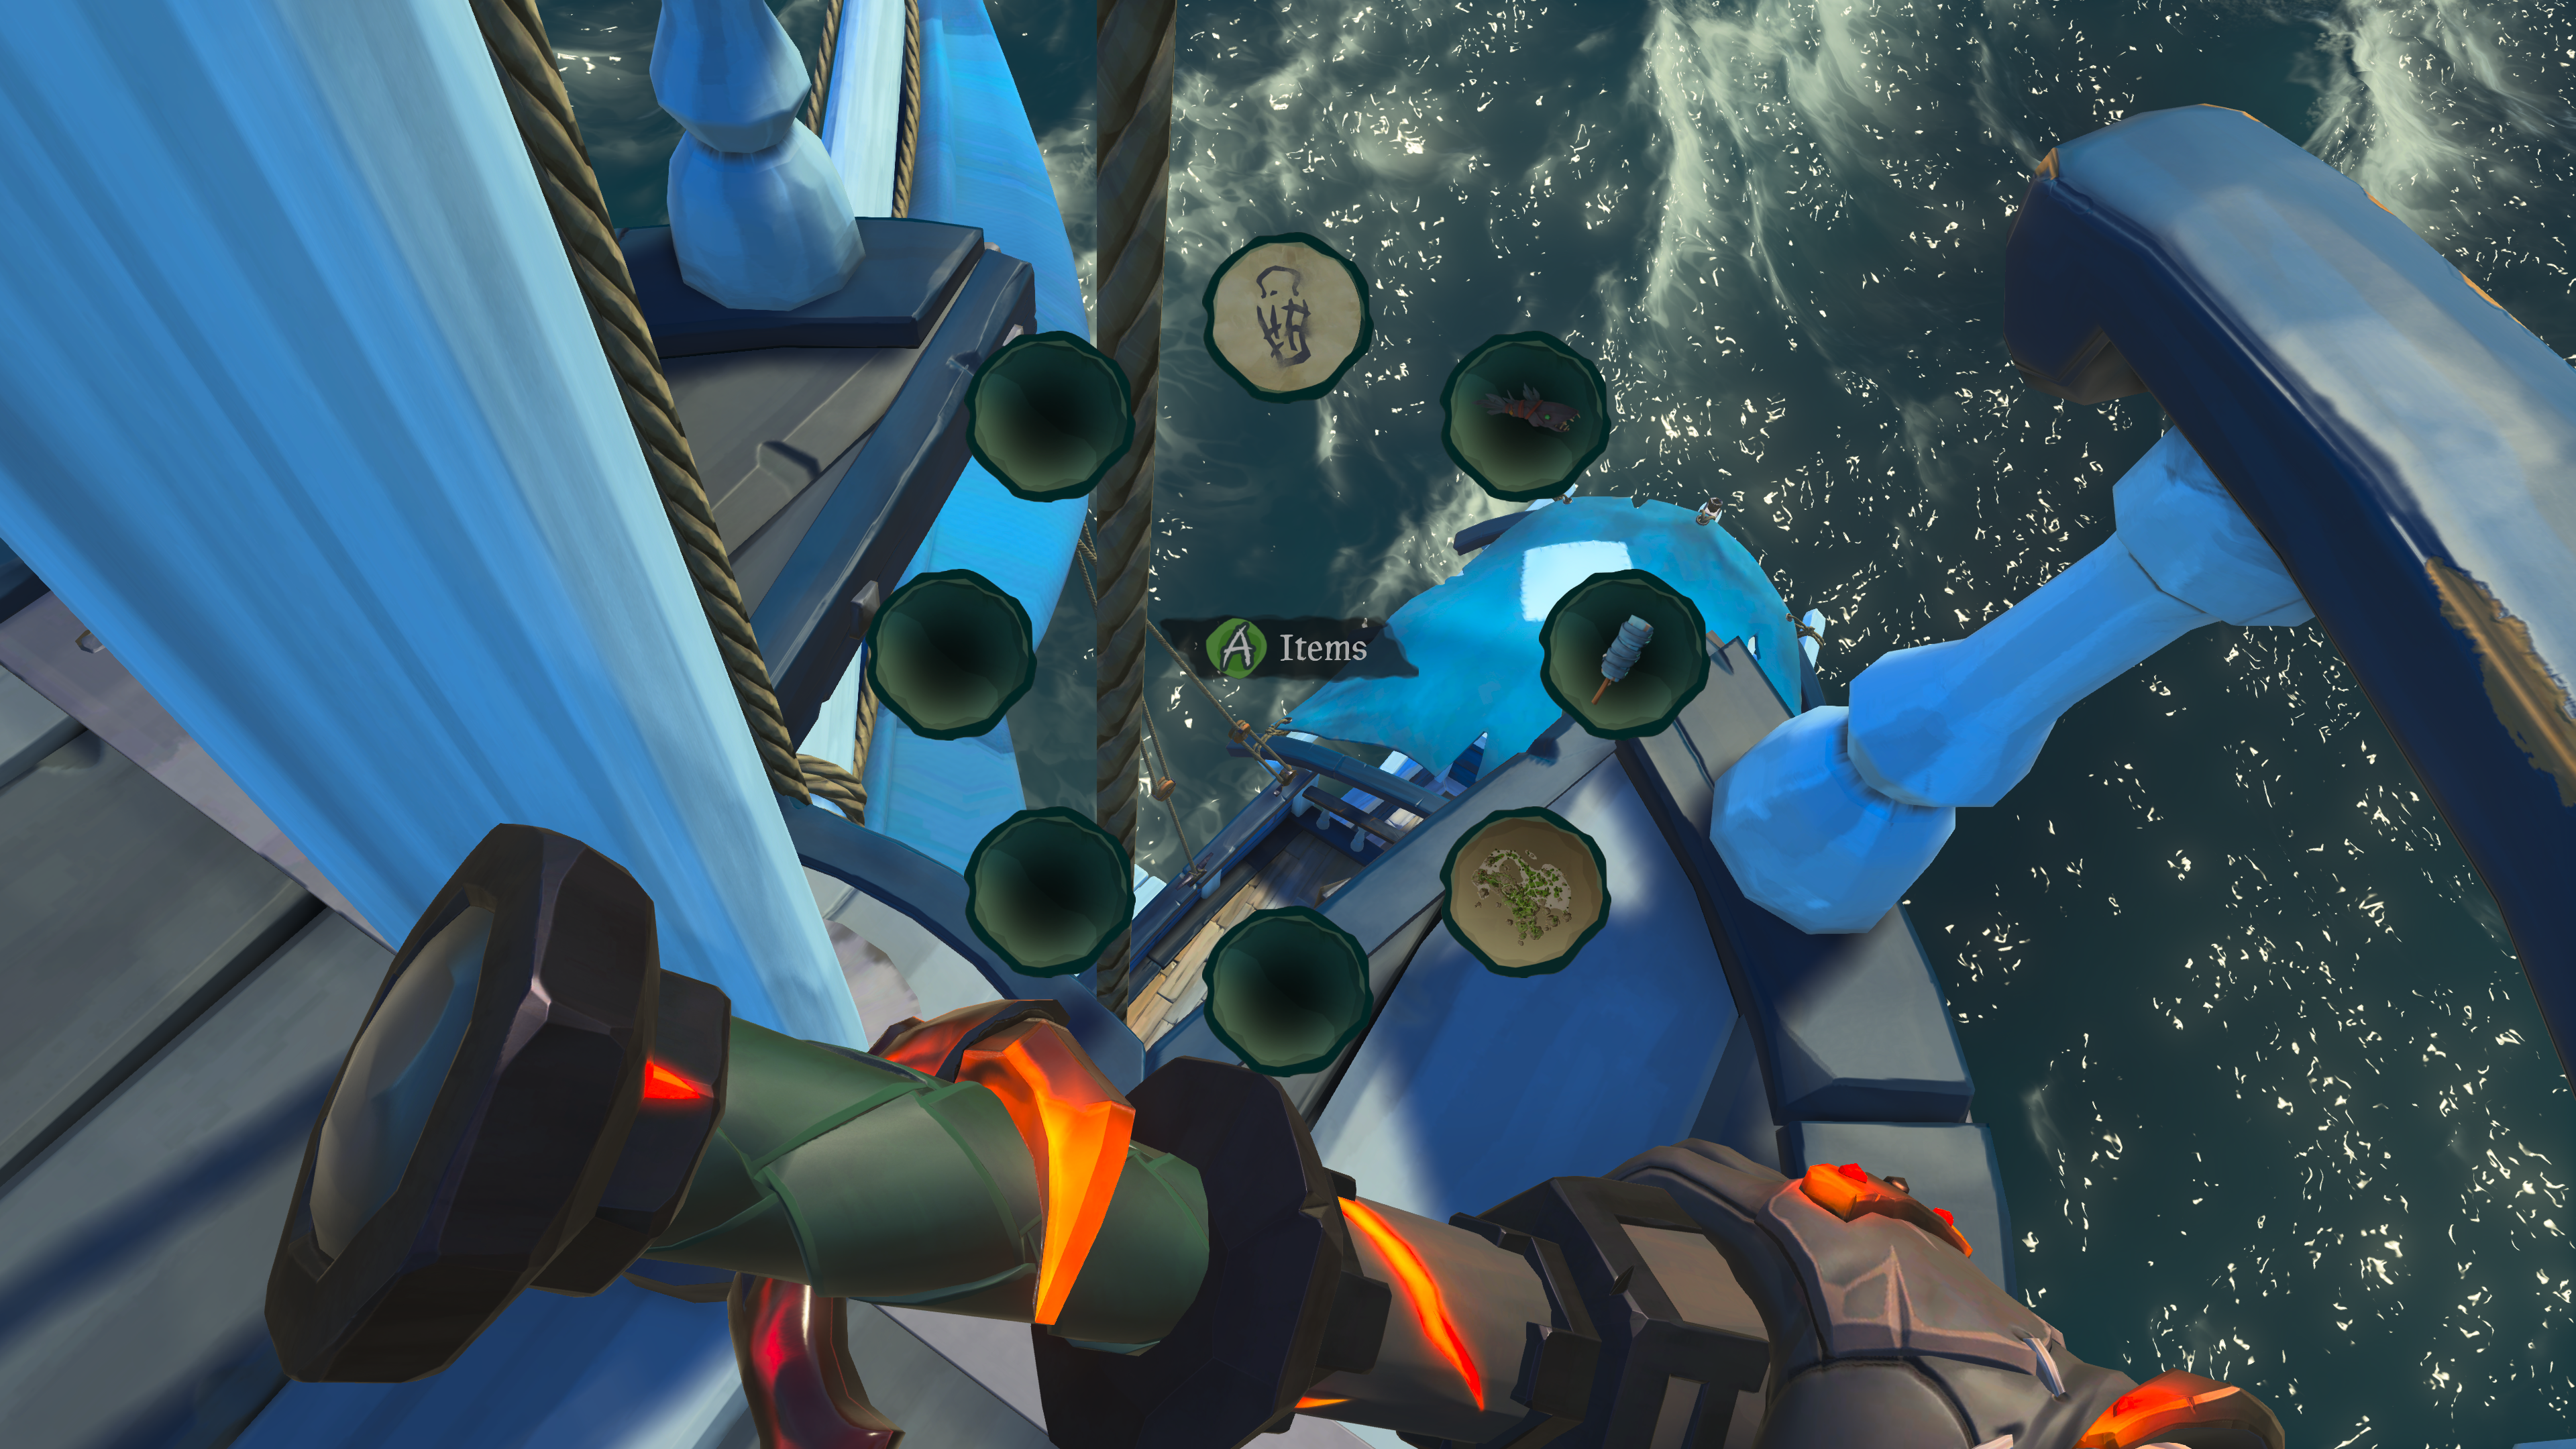
Before you leave the outpost, you'd be wise to stock up on wooden planks and cannonballs by purchasing them in full crates from the Merchants Alliance representative on the dock near your ship. You're going to need a lot of wood and cannonballs. Trust us.
The Killer Whale is wrecked on some rocks at map grid location M12--just south of Shipwreck Bay--so head there to speak to Merrick and Belle. It's Belle's dialogue option to "continue adventure" you'll need most of all. This will start you onto the second chapter of the story.
Step 2: Defeat four Megalodons using the special summoning tools you'll receive
Typically, a meg encounter is a random event, but in The Shrouded Deep, you'll be able to deliberately spawn and defeat all five variants of the super shark. You can take on the first four in any order, and they all demand the same sort of process. You'll travel to a specific location, fire a special signal flare, then defeat the meg and bind its soul to an effigy before placing that effigy on the table aboard The Killer Whale. You'll receive an effigy, a unique summoning flare, instructions on where to go, and a map of the specific cannon to use for each of the first four megs.
Here's where each megalodon will be summoned:
- Hungering One - Mermaid's Hideaway (map grid B13)
- Shadowmaw - Ruby's Fall (map grid Y16)
- Ancient Terror - Thieves' Haven (map grid M20)
- Crested Queen - Marauder's Arch (map grid Q3)
You may notice these locations will take you to all four regions of the map. It would be quite a journey if handled entirely alone, and while you can do that, it also won't be necessary. Like in the game's first-ever live event, 2018's The Hungering Deep, you can't summon the final boss without at least five pirates. That's one more than the fullest possible team, meaning The Shrouded Deep is designed to be played in co-op with other crews.
Your best bet for that is to bring a full crew of your own and seek out other pirates who may be interested in teaming up. You could even designate someone to stay at The Killer Whale, as surely other players will be descending on it throughout the three-week event. Should you be in a team, you'll be able to handle these meg fights much faster by dividing up the workload so no single team needs to fight all four preliminary sea creatures itself.
At The Killer Whale's summoning table, empty plates will eventually be filled with the soul-binded effigies you and others in your instance of the game collect, even if others aren't on your team. You need not enter into an alliance officially using the game's flag system to reap the benefit of this. If any of the effigies have been placed by crews in your instance of the game, you can skip taking on that shark yourself. The color code for each of these effigies is as follows:
- Blue-feathered effigy - Hungering One
- Red-feathered effigy - Shadowmaw
- Yellow-feathered effigy - Ancient Terror
- Purple-feathered effigy - Crested Queen
Even if you haven't allied yourself with these other crews, you may well need them in the end to take on the Shrouded Ghost, so it'd be best to stay friendly if and when you come upon other ships while on this adventure.

Step 3: Summon the Shrouded Ghost using the special shanty
Just like in 2018, you'll then need to gather five or more pirates at The Killer Whale to play a special shanty. Choose your musical instrument and play "Summon The Megalodon" by selecting it from your shanty playlist while you have an instrument equipped. If you had been struggling to recruit enough pirates up to this point, luckily the summoning table will now be lit with a vibrant green light that shoots up into the sky, calling for the help of other pirates in the instance.
After a moment of everyone playing the tune together, the Shrouded Ghost will emerge in epic fashion. The fight you may have been waiting years for will finally be underway! This boss battle consists of four phases, with each phase getting progressively harder. If by chance your ship does sink, The Killer Whale makes for a good back-up plan, as its cannons still work.
However, remember that if you die, you'll respawn on your ship which itself will have respawned on a different island after sinking, demanding that you sail back into the fray from a random location. Therefore, it's best to try and keep your own ship afloat.
First phase
At first, your fight with the ever-elusive shark will unfold quite like any other megalodon battle. Cannonballs are best here, though gunfire and tridents work, too.
Second phase
In the second phase, the meg will stay hidden as Flameheart's fleet takes you on in a ship battle. Again, cannonballs are best here.
Third phase
In the penultimate wave of attacks, a sturdier ghost captain's ship and the Shrouded Ghost will team up to battle you at once. This is why having multiple ships and allies is very important for this adventure.
Final phase
In the last phase, the entire Flameheart fleet will re-join alongside the special shark for one last fight to the death. Defeat the lot of them to emerge victorious over the Shrouded Ghost--for most players, it'll be the first time ever.
Step 4: Speak to Belle on The Killer Whale
While the action will be behind you, don't forget to speak to Belle once more and choose to complete the adventure in her dialogue options. A story twist we won't spoil here gives us a hint as to what's next for Sea of Thieves' time-limited Adventure saga. Expect the story to continue in May.
The Shrouded Deep - Deeds and rewards
There are six Deeds, or challenges, to complete during The Shrouded Deep, You can, of course, replay the story mission if you miss any--like if another team places an effigy on your behalf. The Deeds include:
- Add a Hungering One Effigy to Belle’s Ritual Table
- Add a Crested Queen Effigy to Belle’s Ritual Table
- Add a ShadowMaw Effigy to Belle’s Ritual Table
- Add an Ancient Terror Effigy to Belle’s Ritual Table
- Take part in the Shrouded Ghost summoning ritual
- Defeat the summoned Shrouded Ghost
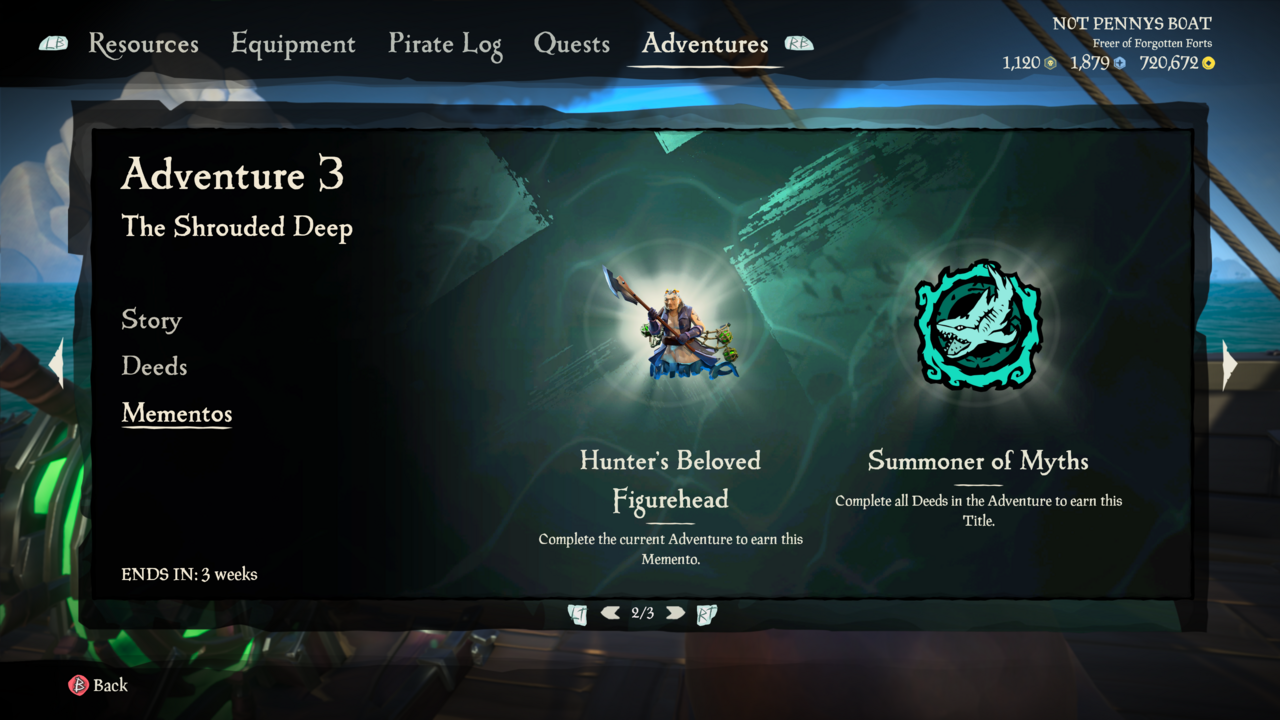
Completing the event once will grant you the Hunter's Beloved Figurehead, which is a ship cosmetic featuring the likeness of Merrick's dear wife, Serick. For completing all six Deeds, you'll unlock the exclusive player title "Summoner of Myths." While this guaranteed Shrouded Ghost encounter won't count toward other long-standing commendations regarding the sea monster, this player title should make a nice trophy for those who have been waiting nearly half a decade to even witness the creature just once.
Got a news tip or want to contact us directly? Email news@gamespot.com
Join the conversation