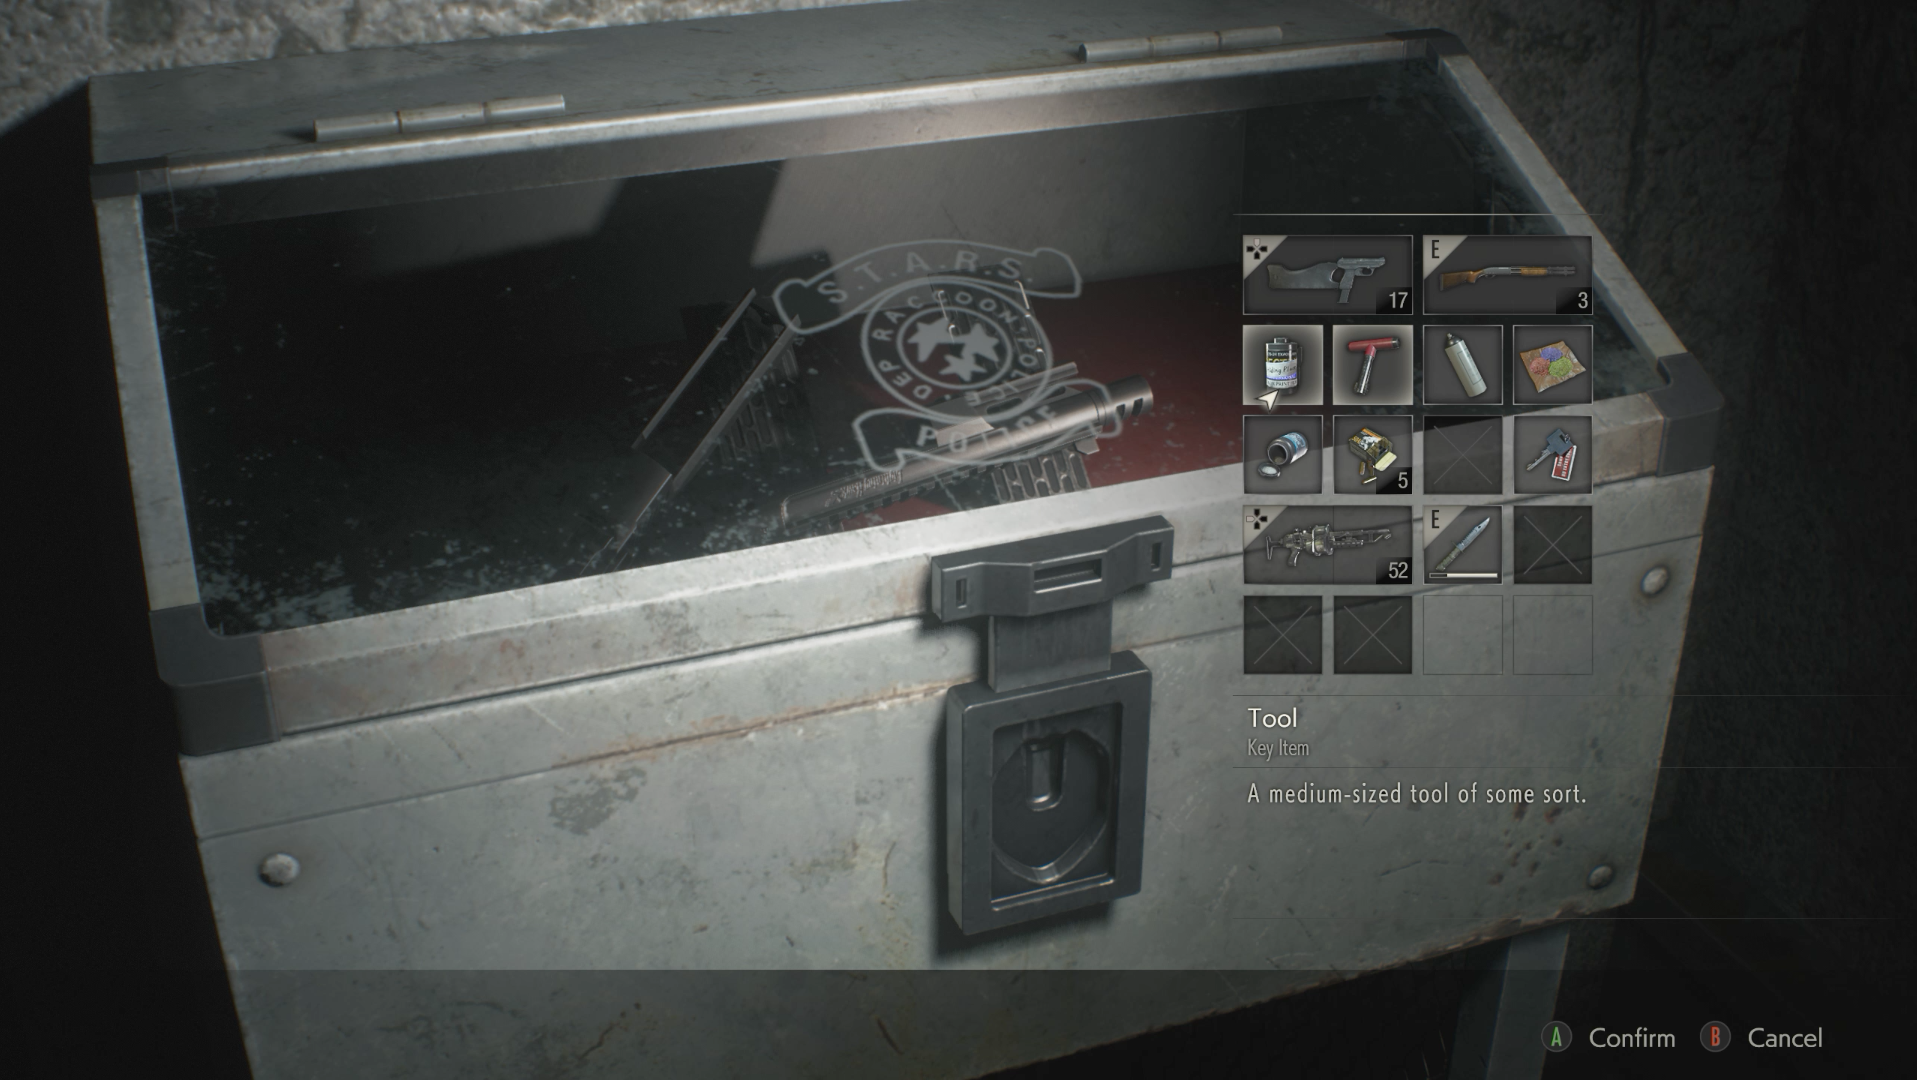
There are a bunch of items and resources in Resident Evil 2 that are completely optional, such as hip pouches that expand your inventory space or ammo for some of your most powerful guns. These are typically hidden inside safes or lockers with letter dial locks. You can find the combinations for these either in memos or even scribbled somewhere on a wall.
Whether you're playing as Leon or Claire, the solutions remain the same and can be accessed without grabbing the memo that hints at their solution. The only exception to this are the items you grab by developing film rolls--though, there is a minor exception even to that. Regardless, below you can find details on all the optional items locked behind safes, lockers, or hidden in the environment.
For more guides, be sure to check out our beginner's tips, as well as our gun upgrades location guide. Otherwise, be sure to read our Resident Evil 2 review. The game is out now on PS4, Xbox One, and PC.
Safes
There are two safes in the RPD--one in the West Office and the other in the Waiting Room. Both yield valuable resources well worth grabbing. We won't spoil what's inside each here (spoiler: they're all useful items), but we will reveal how to open them. The safe solutions are found in memos scattered around the building, which we've detailed the locations of for all of you completionists out there.
West Office (RPD 1F)

The West Office safe's combination is as follows: 9 Left, 15 Right, 7 Left. If you're curious where to find the memo containing this solution, you can find it in Captain Wesker's office in the S.T.A.R.S. Office on the second floor.
Waiting Room (RPD 2F)

The Waiting Room safe's combination is as follows: 6 Left, 2 Right, 11 Left. If you're inclined to grab the memo associated with this safe, you can find it in the Observation Room on the first floor.
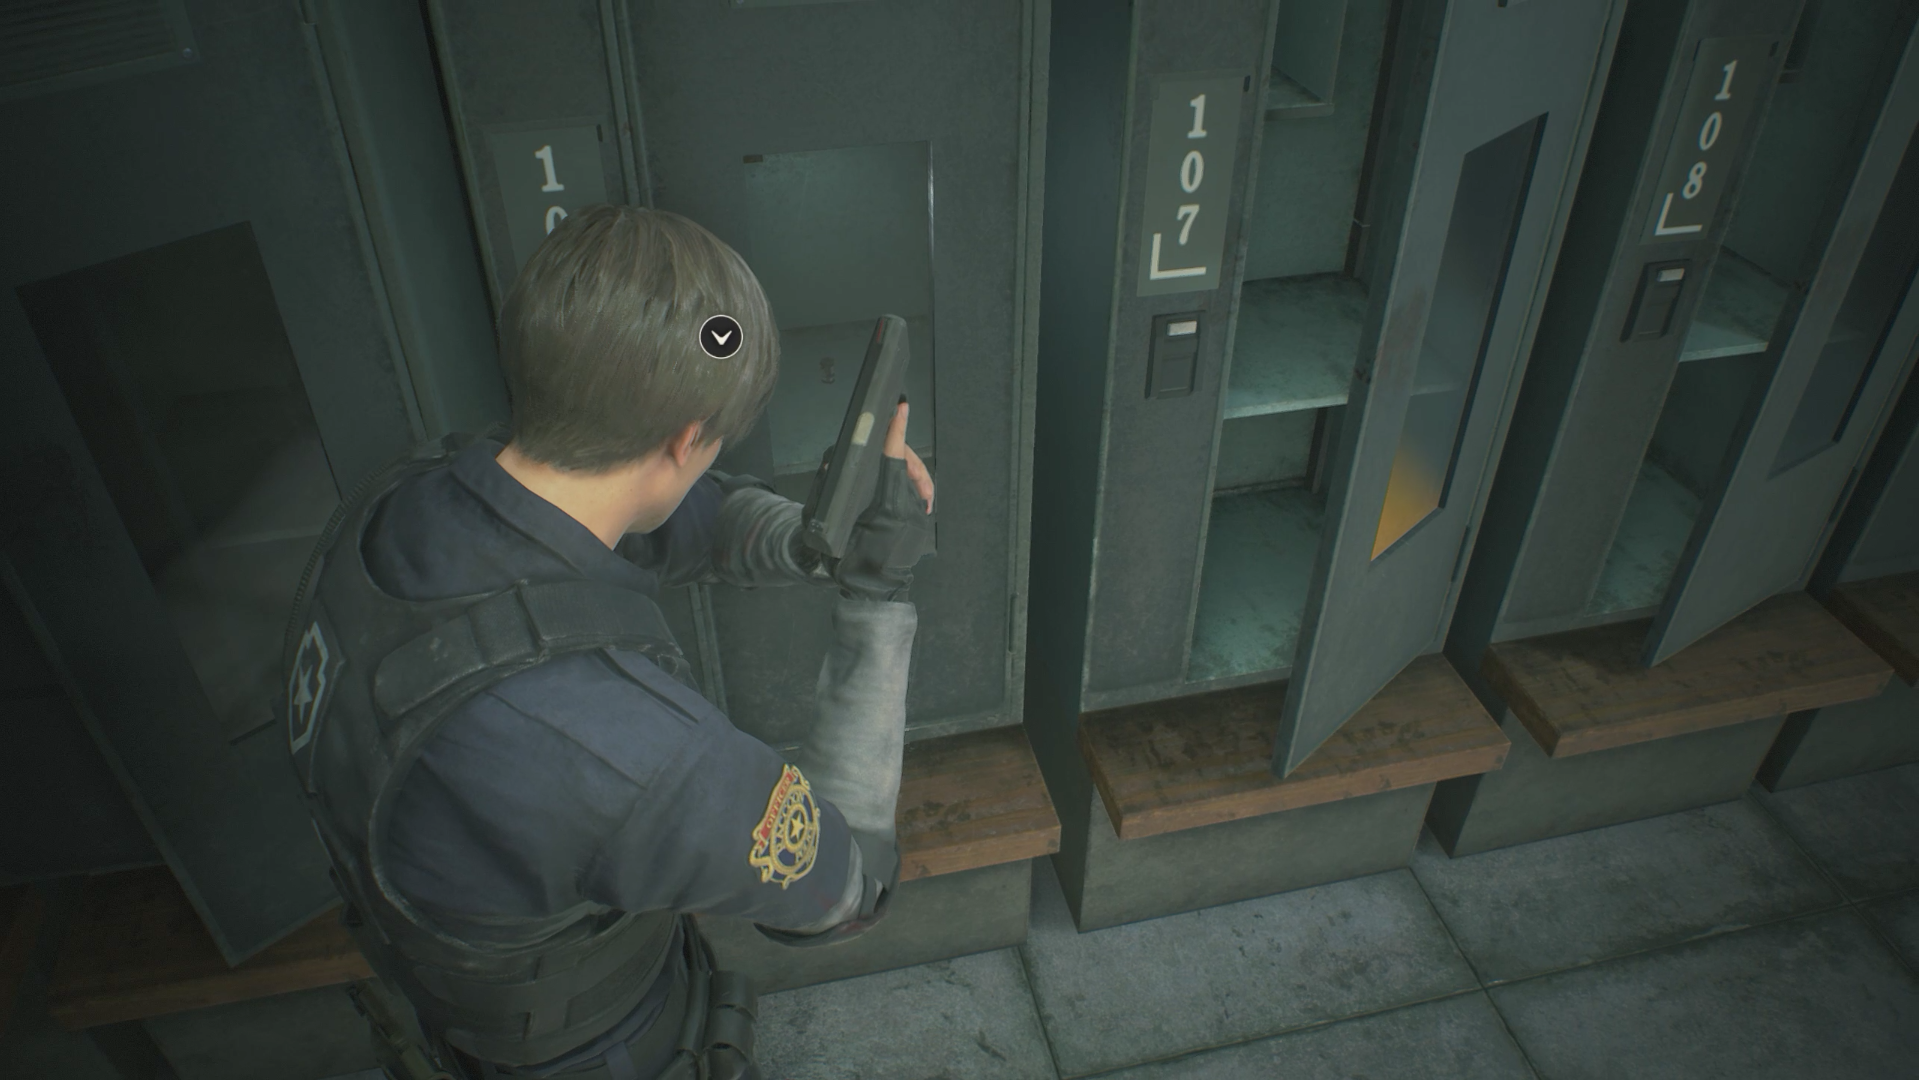
Dial Locks
There are three lockers in the game that are sealed by letter dial locks. Each hold valuable ammunition for your more powerful guns that you don't wanna miss.
Shower Room (RPD 2F)

The Shower Room's dial lock combination is CAP. Interestingly enough, you can find this solution written on a whiteboard in the connecting room between the Operations Room and the Records Room on the first floor.
West Hallway (RPD 3F)


This locker is located in a hallway you can reach by getting to the third floor from the western side. It's right beside the broken wall and the mannequin shadow. The dial lock combination is DCM. This is the only film roll item that doesn't require you to first develop the film to get (more on this later).
Control Room (Upper Sewers)

The Control Room locker is located in the Upper Sewers by a desk. The dial lock combination is SZF. If you're curious where this solution was found, it was on a Jazz festival flyer found in the Workers' Break Room.
Film Roll Items
Other optional items don't show up until you've developed a film roll with photographs that point you to their locations. Whenever you find a roll, develop it in the Dark Room on the western side of the police station. The resources you gain by completing these are typically more lucrative, so try to set aside time to complete these item hunts.
Commemorative Photo
This film roll is interesting in that it doesn't point you to the location of resources; rather, it points you to an item you can use to gain some valuable stuff. Located in the Safety Deposit Room, grab the film roll by keying in the proper code to unlock the locker its sealed in. Though, you're by no means required to develop the film roll to get the items its photograph hints towards, but it does help direct you towards what you need to do

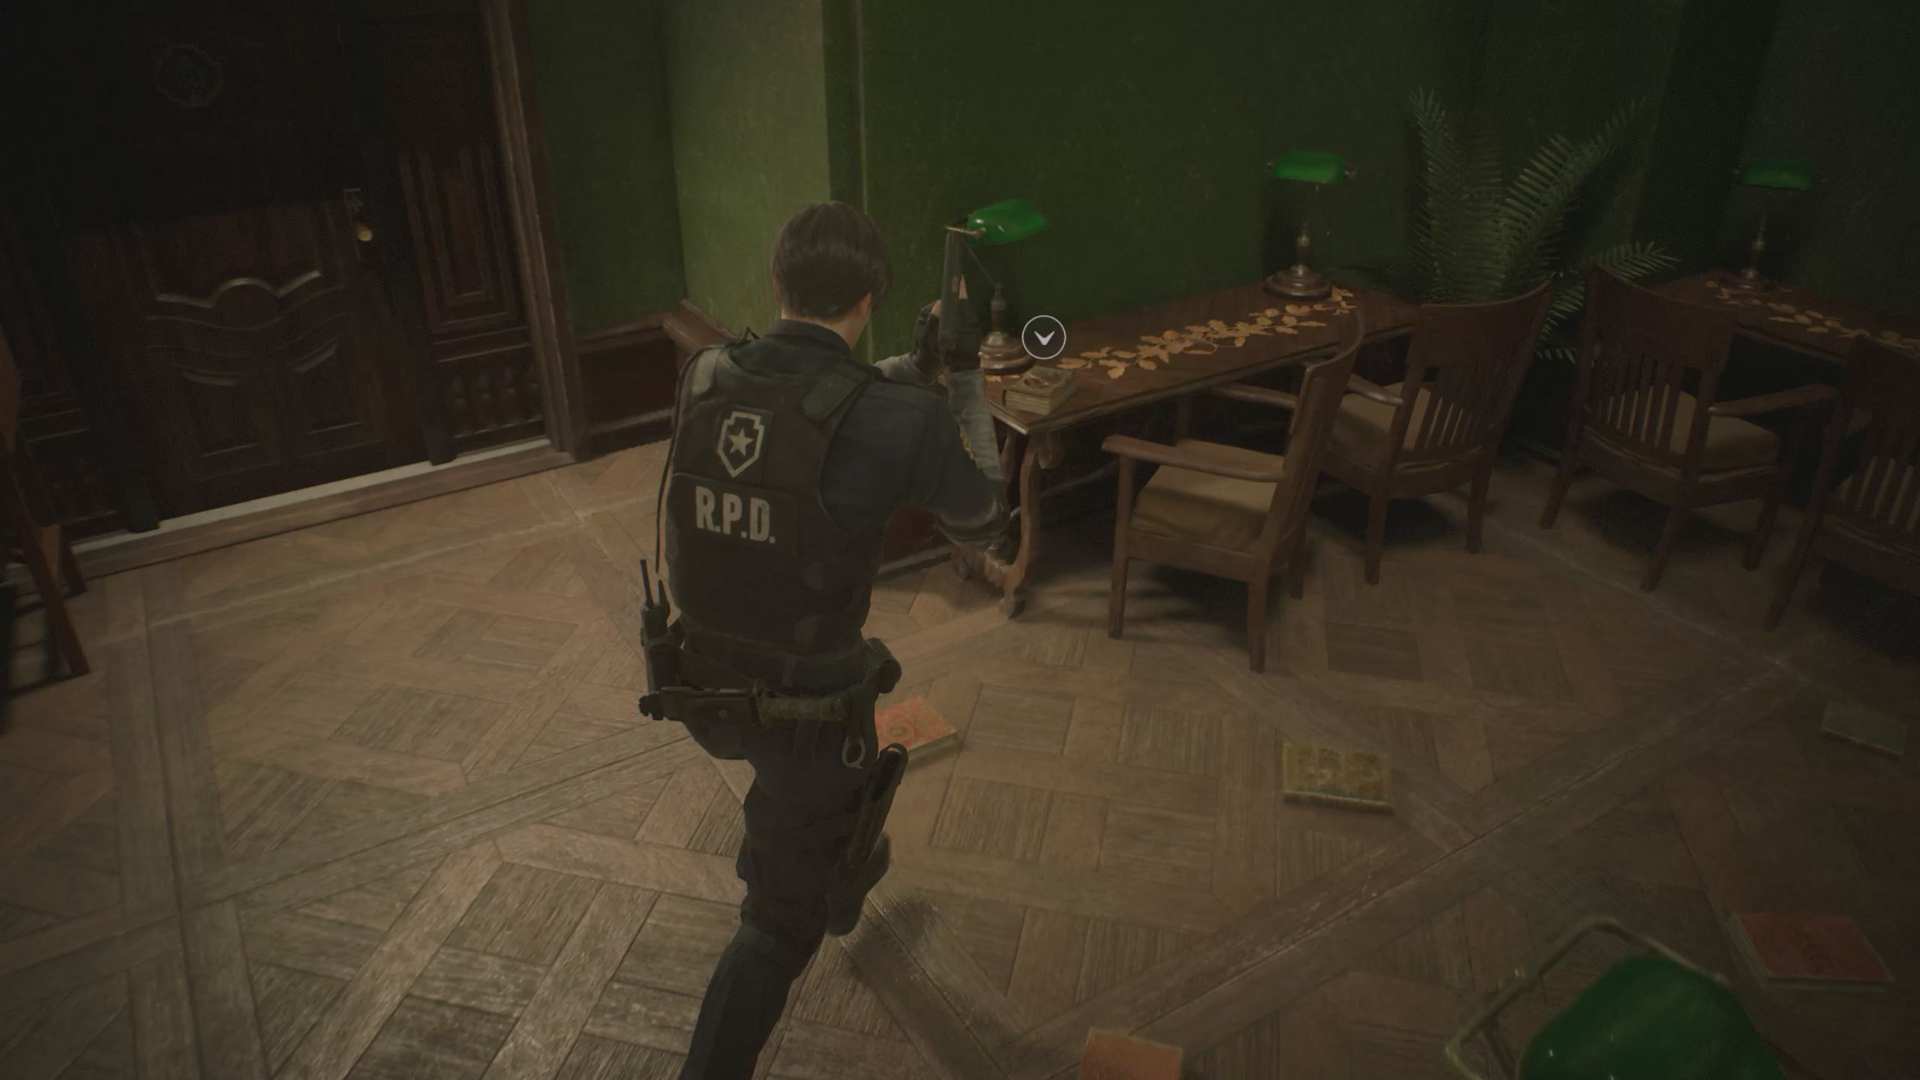

When you develop the film roll in the Dark Room, it reveals a photo of a statue found in the Art Room. Before you go there, you'll need to grab the Red Book in the Library by the door with the Spade insignia on the second floor. Once you've got this, head back to the Art Room, grab the stone arm beside the statue and combine it with the Red Book. Then take the arm and insert it back into the statue to unlock the scepter from its right hand.
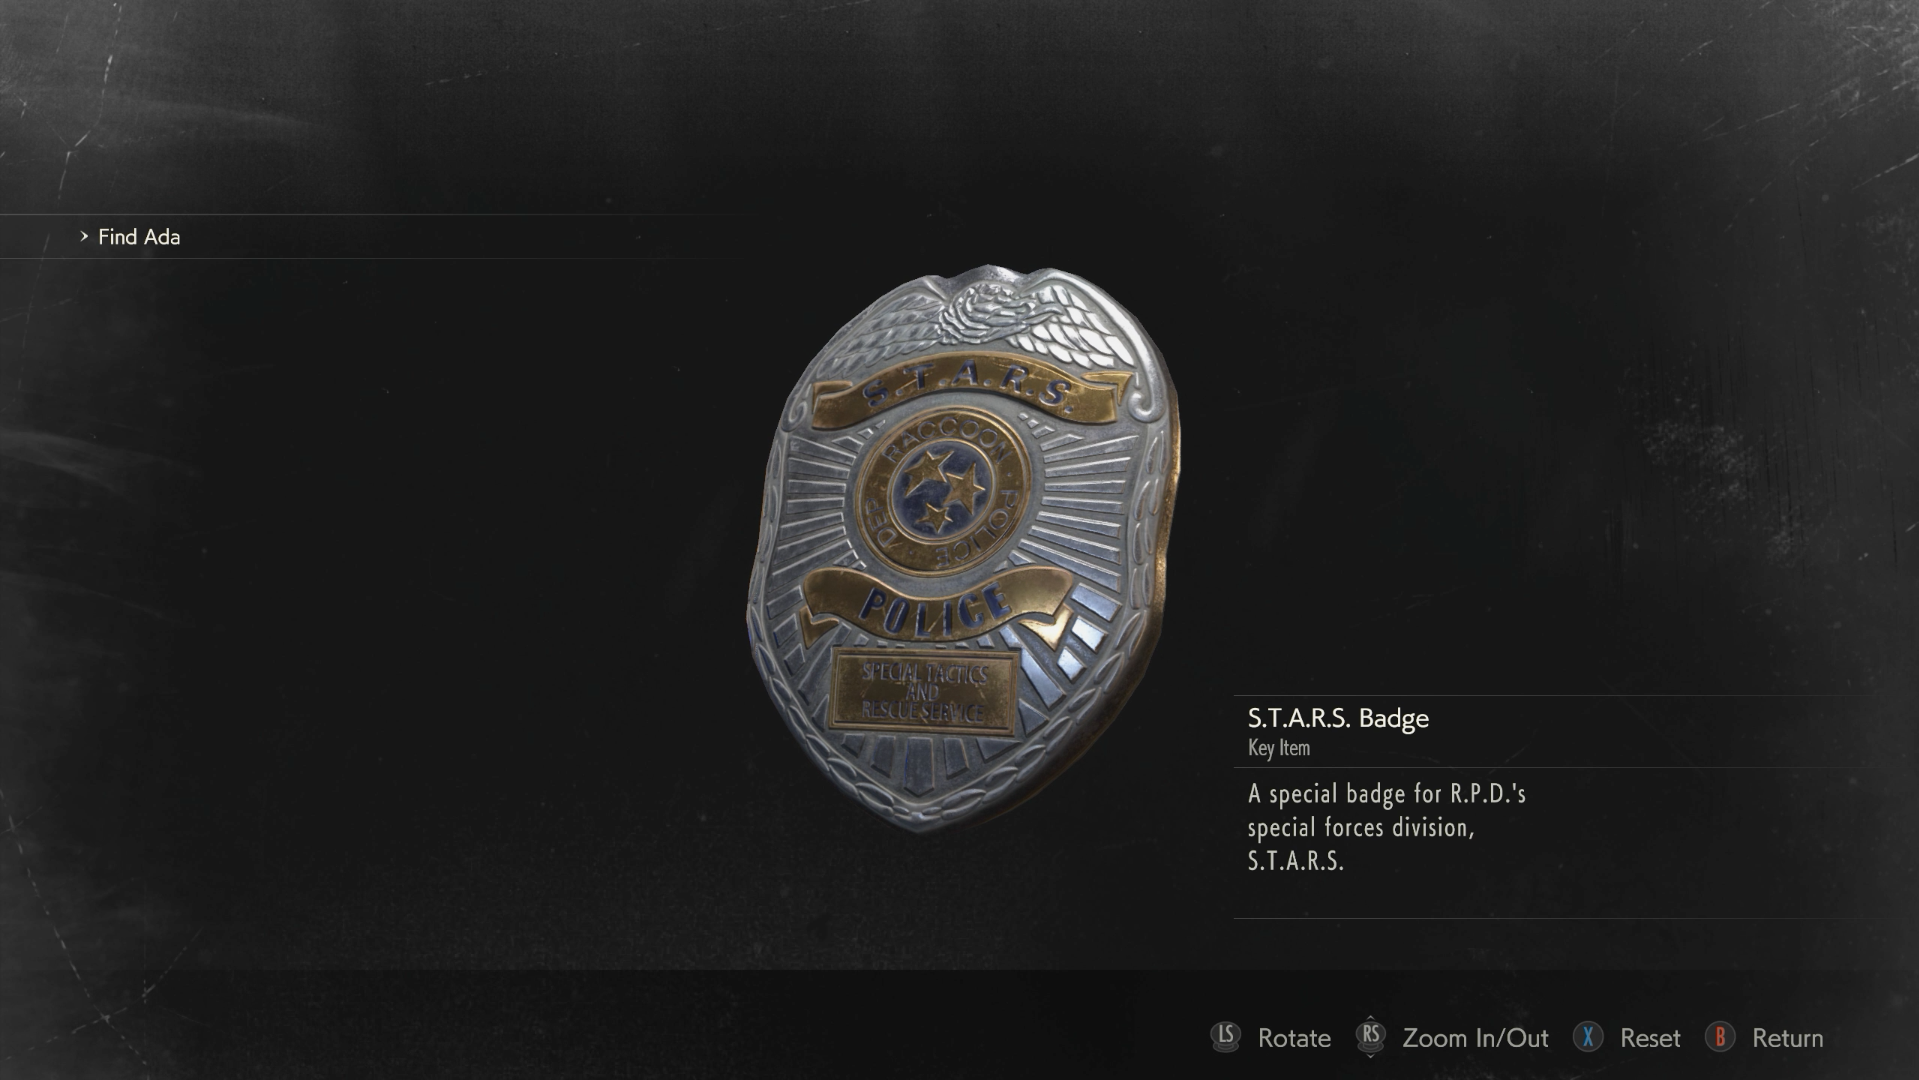
Examine the scepter to obtain the Red Jewel. This goes into the Bejeweled Box, which you can get in the Interrogation Room. Accessing this area requires the Club Key, so if you don't have that yet, keep progressing the story until you get it. Once you've got the Bejeweled Box, combine it with the Red Jewel to get the S.T.A.R.S. badge. You can use this item in two locations: the Underground Stairs in the Middle section of the Underground Facility, and the S.T.A.R.S. Office.

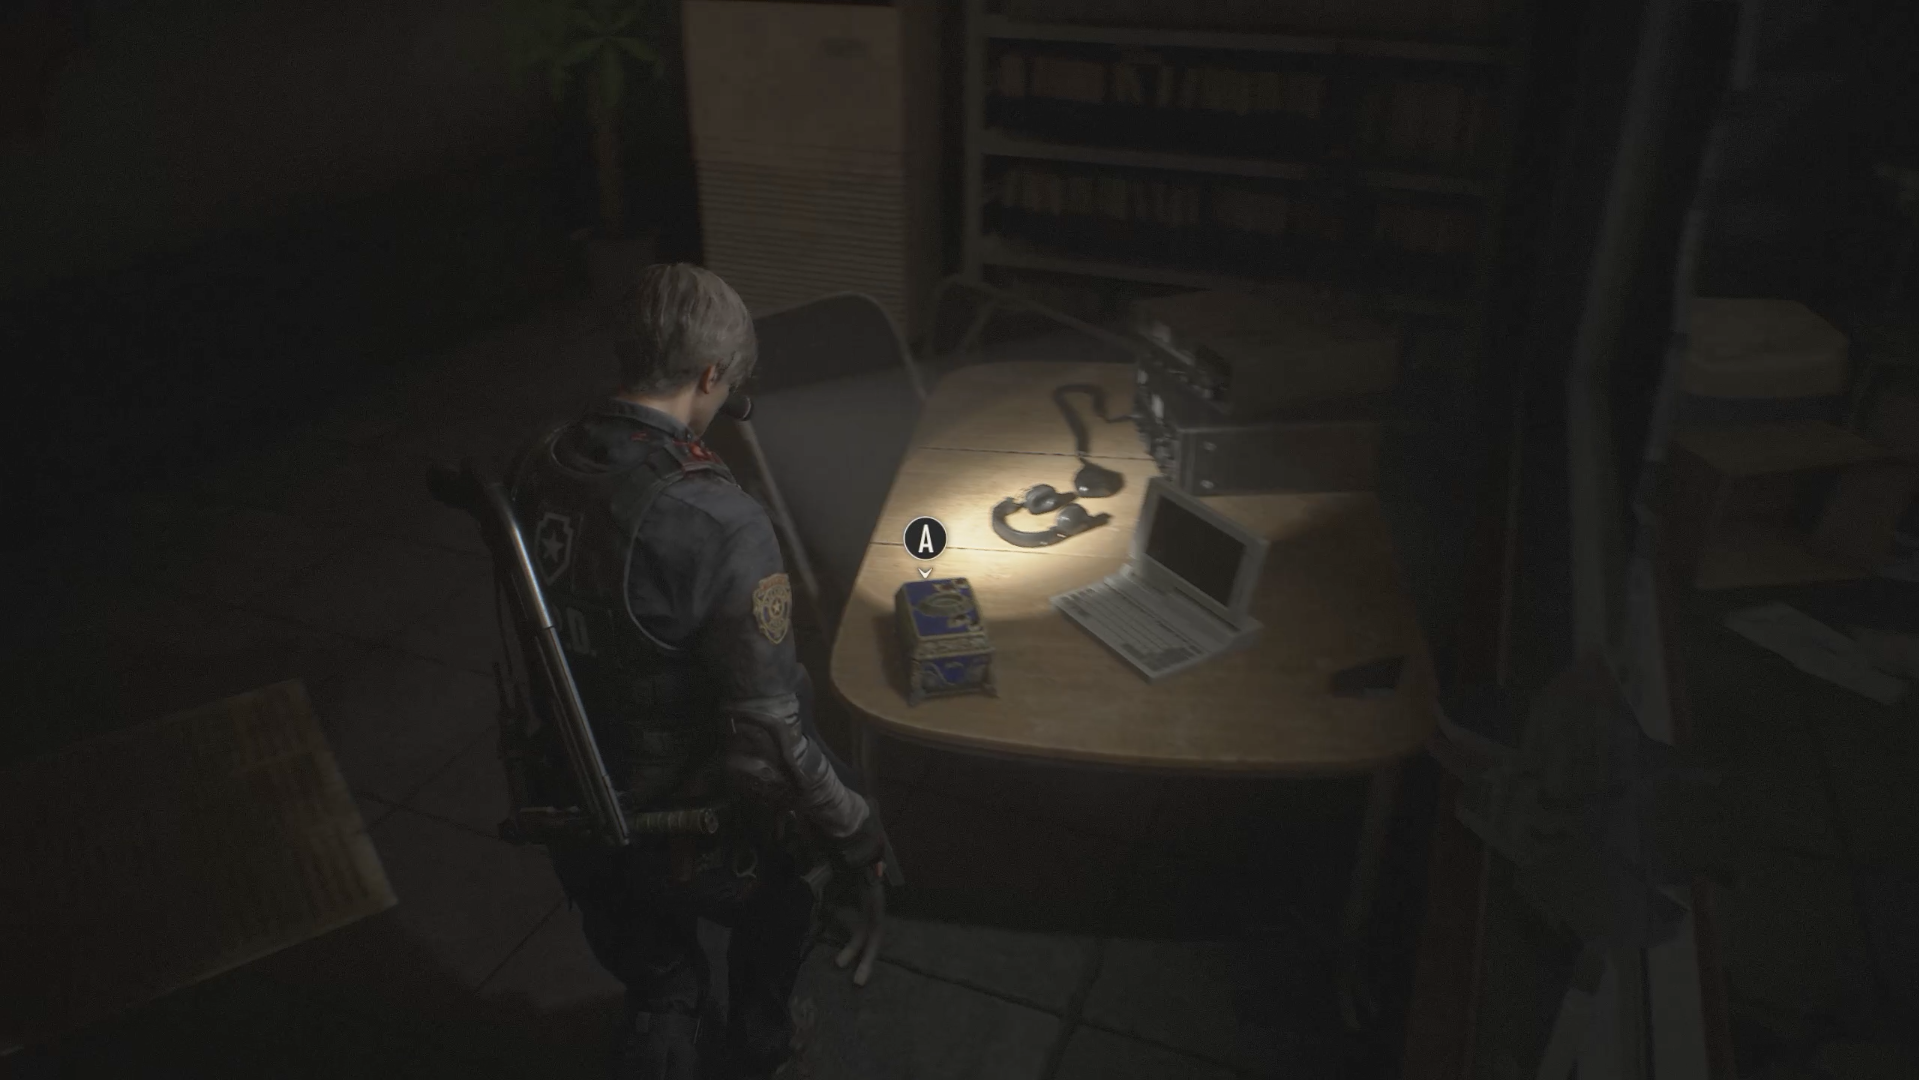
The badge serves as a key to unlock the white holding case holding the gun parts for either Leon's Magnum or Claire's Sub-machine Gun in the Underground Stairs. These are good to grab, as you'll be following up to use the badge in the S.T.A.R.S. Office to get the weapons themselves. But before you combine the badge with the computer tower, examine the badge's backing to reveal a hidden USB. This can then be used to open the armory.
Hiding Place Photo
This film roll is found in the Work Room in the Upper section of the Sewers; you'll see it in-between a cardboard box and tool kit on a small table. Develop the roll in the Dark Room back at the RPD to reveal a photograph showing you two locations--that you might recognize if you've got a keen eye.


The first photograph points to Captain Wesker's desk in the S.T.A.R.S. Office on the second floor. Open the drawer to get a wooden box containing a gun part.
The second photograph points to a boombox found in the Press Room on the RPD's first floor. Open the drawer to nab the treasure.
Pocket Safes
The RPD's Safety Deposit Room is packed with useful resources, but not all of them are accessible at first. To get everything in those pesky electronically sealed lockers, you'll need to get two replacement keypad keys. These can be found inside Pocket Safes scattered throughout the police station. To open a Pocket Safe, simply examine it and then input the correct button pattern. This require a little bit of trial and error to find out, but keep at it and you'll unlock it in no time. Below you can find details on where each Pocket Safe is located.
Shower Room

You're likely to find this Pocket Safe first. It's located in the Shower Room on the second floor of the RPD. When you enter the room, turn right and you'll see it on top of a shelf beside some lockers.
Linen Room

The second Pocket Safe is found in the Linen Room on the second floor. You won't be able to open this room without the Diamond Key, so if you don't have the means to access it, simply progress the story until you do.

