Mauer Der Toten Guide: How To Pack-A-Punch And Turn On Power In CoD: Black Ops Cold War
Here we guide you through your first objectives on Black Ops Cold War's Mauer der Toten Zombies Map.
Call of Duty's Season 4 Reloaded update for Black Ops Cold War's Zombies adds the new round-based map Mauer der Toten, and like most traditional maps, you'll need to turn on the power to unlock other areas and turn on machines. This guide is to help you get started with your first objectives on this new Berlin-based map, including turning on the power and activating the Pack-a-Punch machine.
Like the two previous Cold War maps, Mauer der Toten starts with pretty straightforward objectives. You'll first be tasked with turning on the power, and then you'll be given orders to investigate the Pack-A-Punch machine.
How To Turn On Power
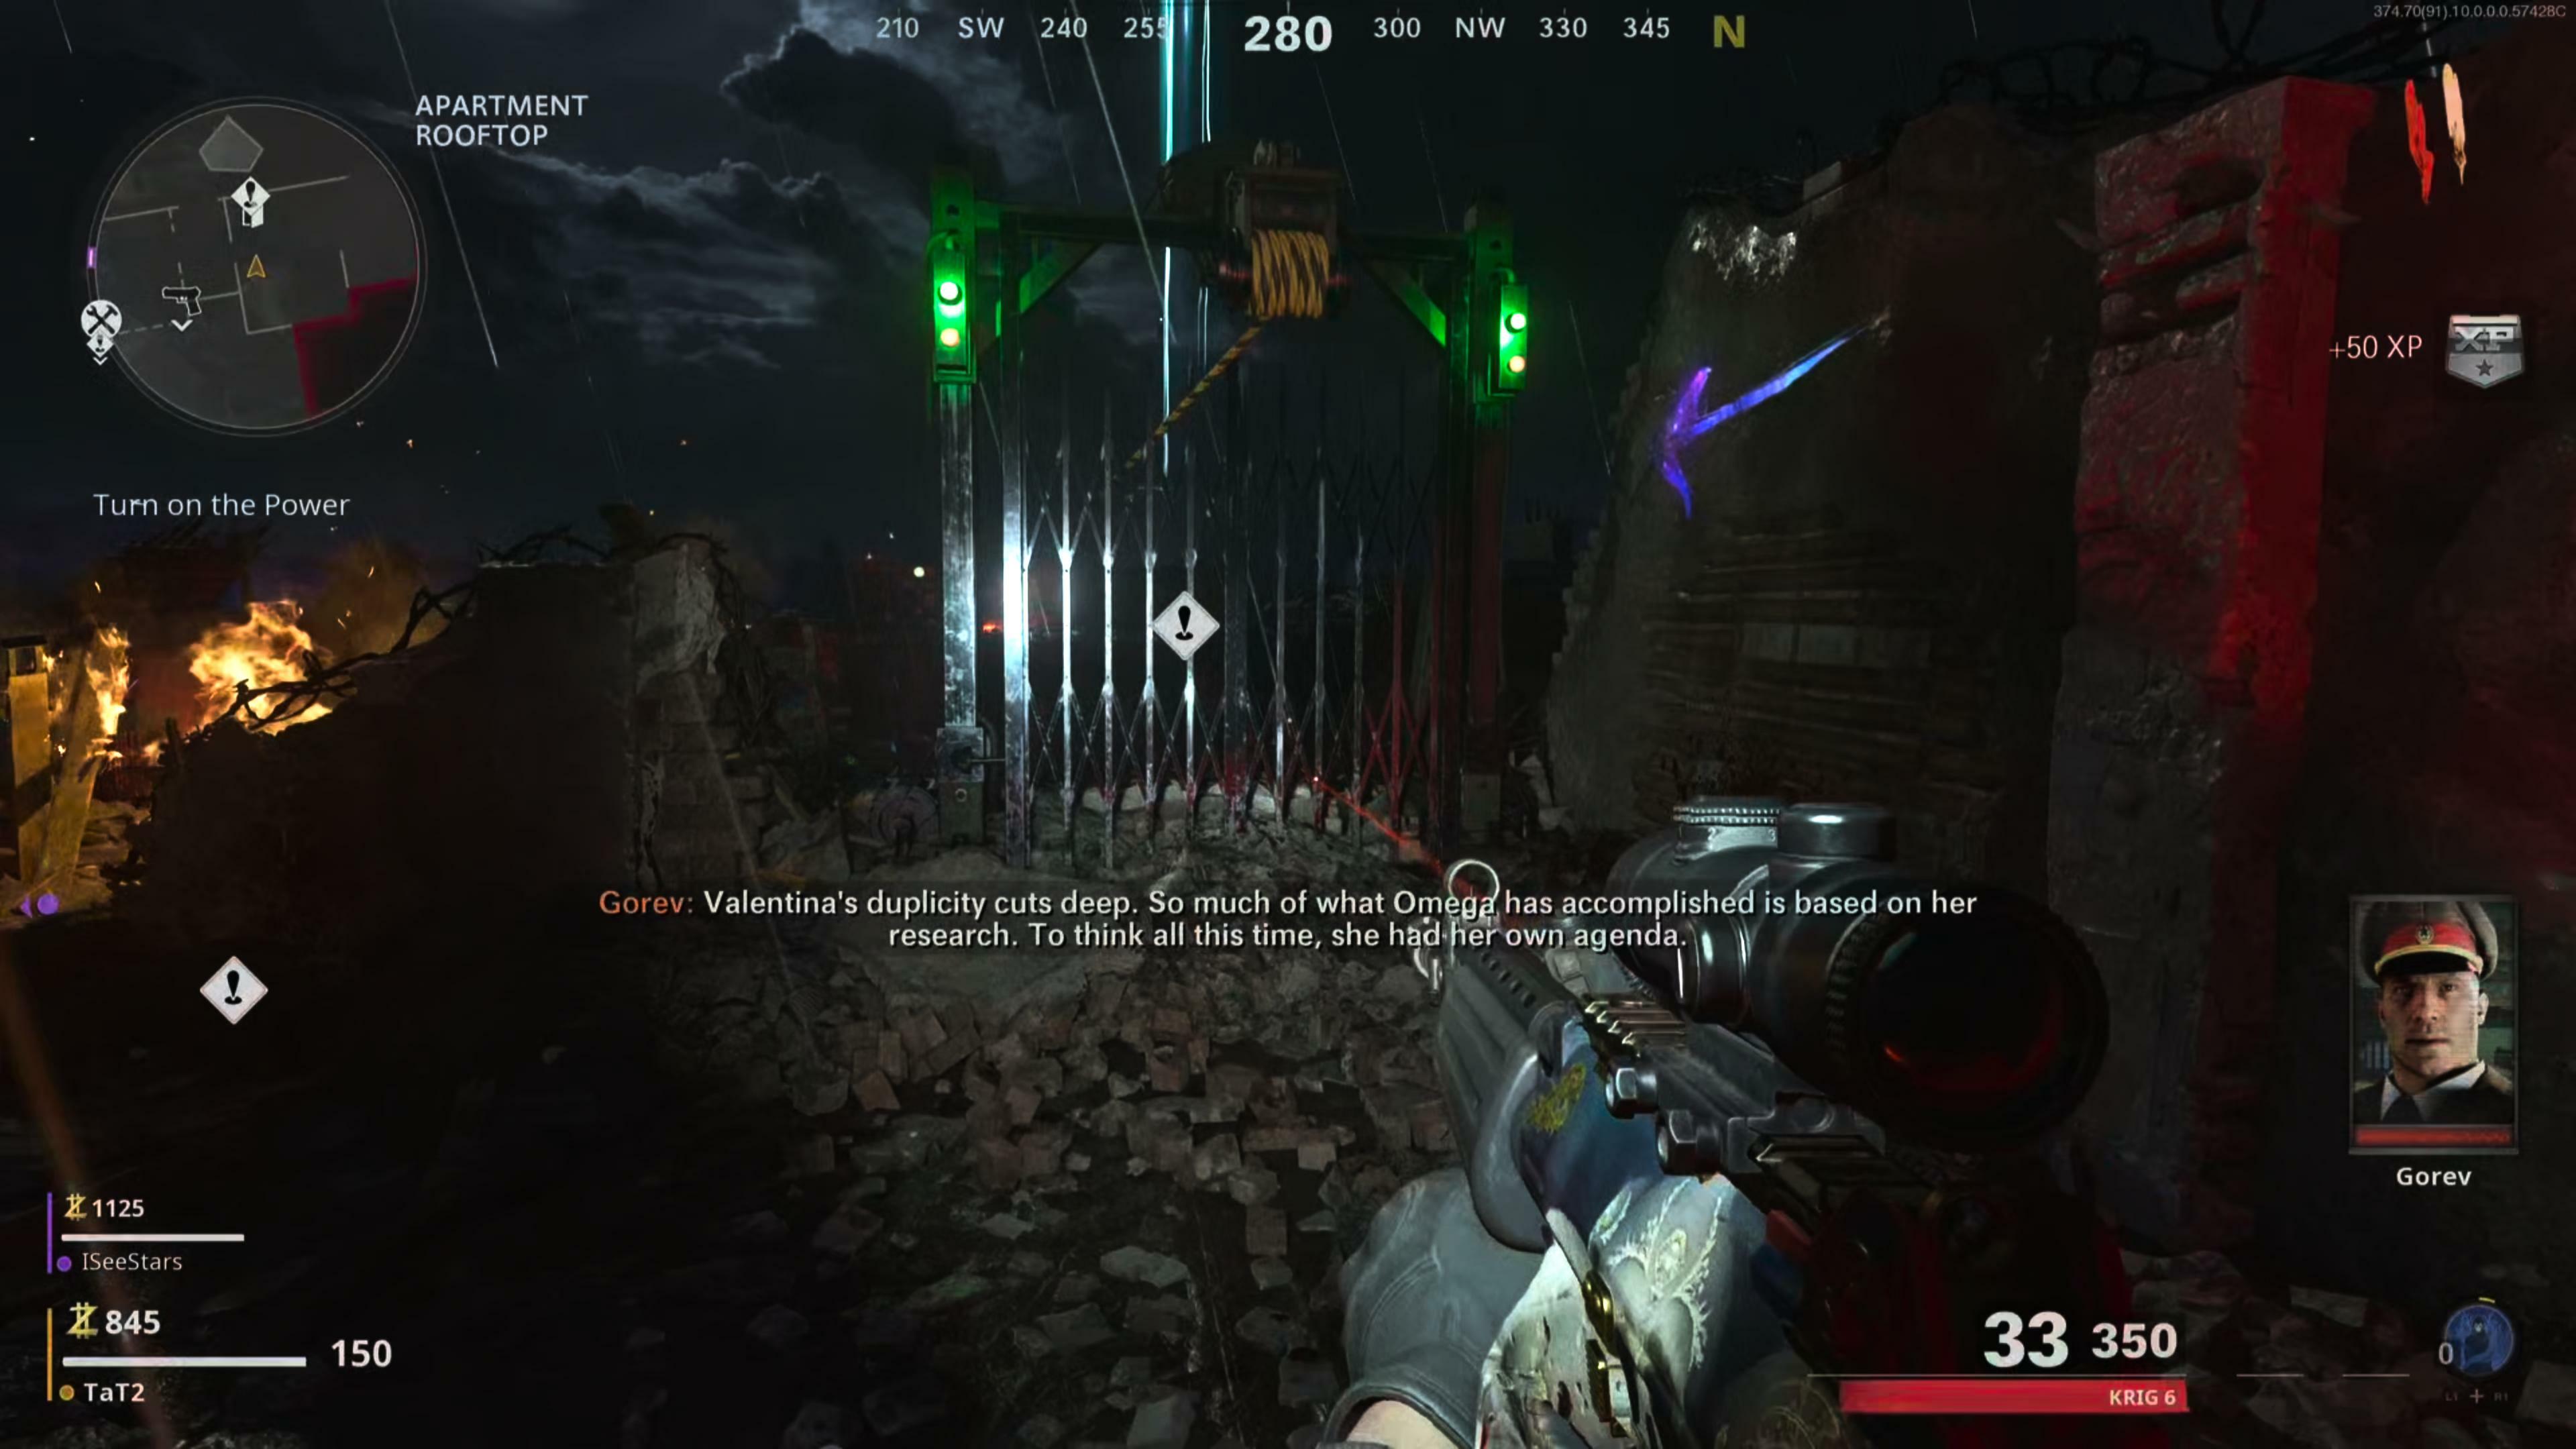
Turning on the power is generally the first priority in a standard game of Zombies, and this is your first official objective of the match. Points are required to unlock new areas, so you'll spend the first few rounds earning enough to open the necessary doors. You should be able to power up the map by about round 5 or 6, assuming you don't spend any extra points.
When turning on the power, your objective markers will give you two different pathways to choose from. Both pathways cost the same amount of points to reach the power switch location, and neither seems to be more difficult than the other, so this can be based on personal preference.
For my playthroughs, I generally chose the rooftop zipline as my first pathway to unlock. This could be a safer option for solo players, as the Quick Revive perk is also located in that area. Quick Revive can be purchased in the beginning of your game before turning on power, but it's 2,500 points to grab it. It will just take you a little while longer to build up the points you need to continue.
A total of five doors must be unlocked to access the Power Room on Mauer der Toten, and this will cost 8,000 points total in multiplayer. The cost is 6,500 when playing solo.
Doors and Barricades
There are two different ziplines in your spawn area, and the cost is 750 in co-op or 500 in solo for either path you choose to take. (Again, I took the rooftop zipline. You'll find Quick Revive and a Mystery Box spawn location once you zip to the otherside.)
So, choose either the 5th Floor Apartments zipline or the Apartment Rooftop, and zip across to the other side of the street.
Once you zip over to the other side of the map, you're met with another door to open.
Depending on your chosen path, you'll need to unlock either the Hotel Hallway entrance or Destroyed Penthouse entrance for 1,000 in co-op or 750 in solo.
Regardless, either pathway will lead you to the Korber Rooftop. From here you'll have access to the Garment Factory. The next doorway inside this factory costs 1,250 points in co-op or 1,000 solo to unlock.

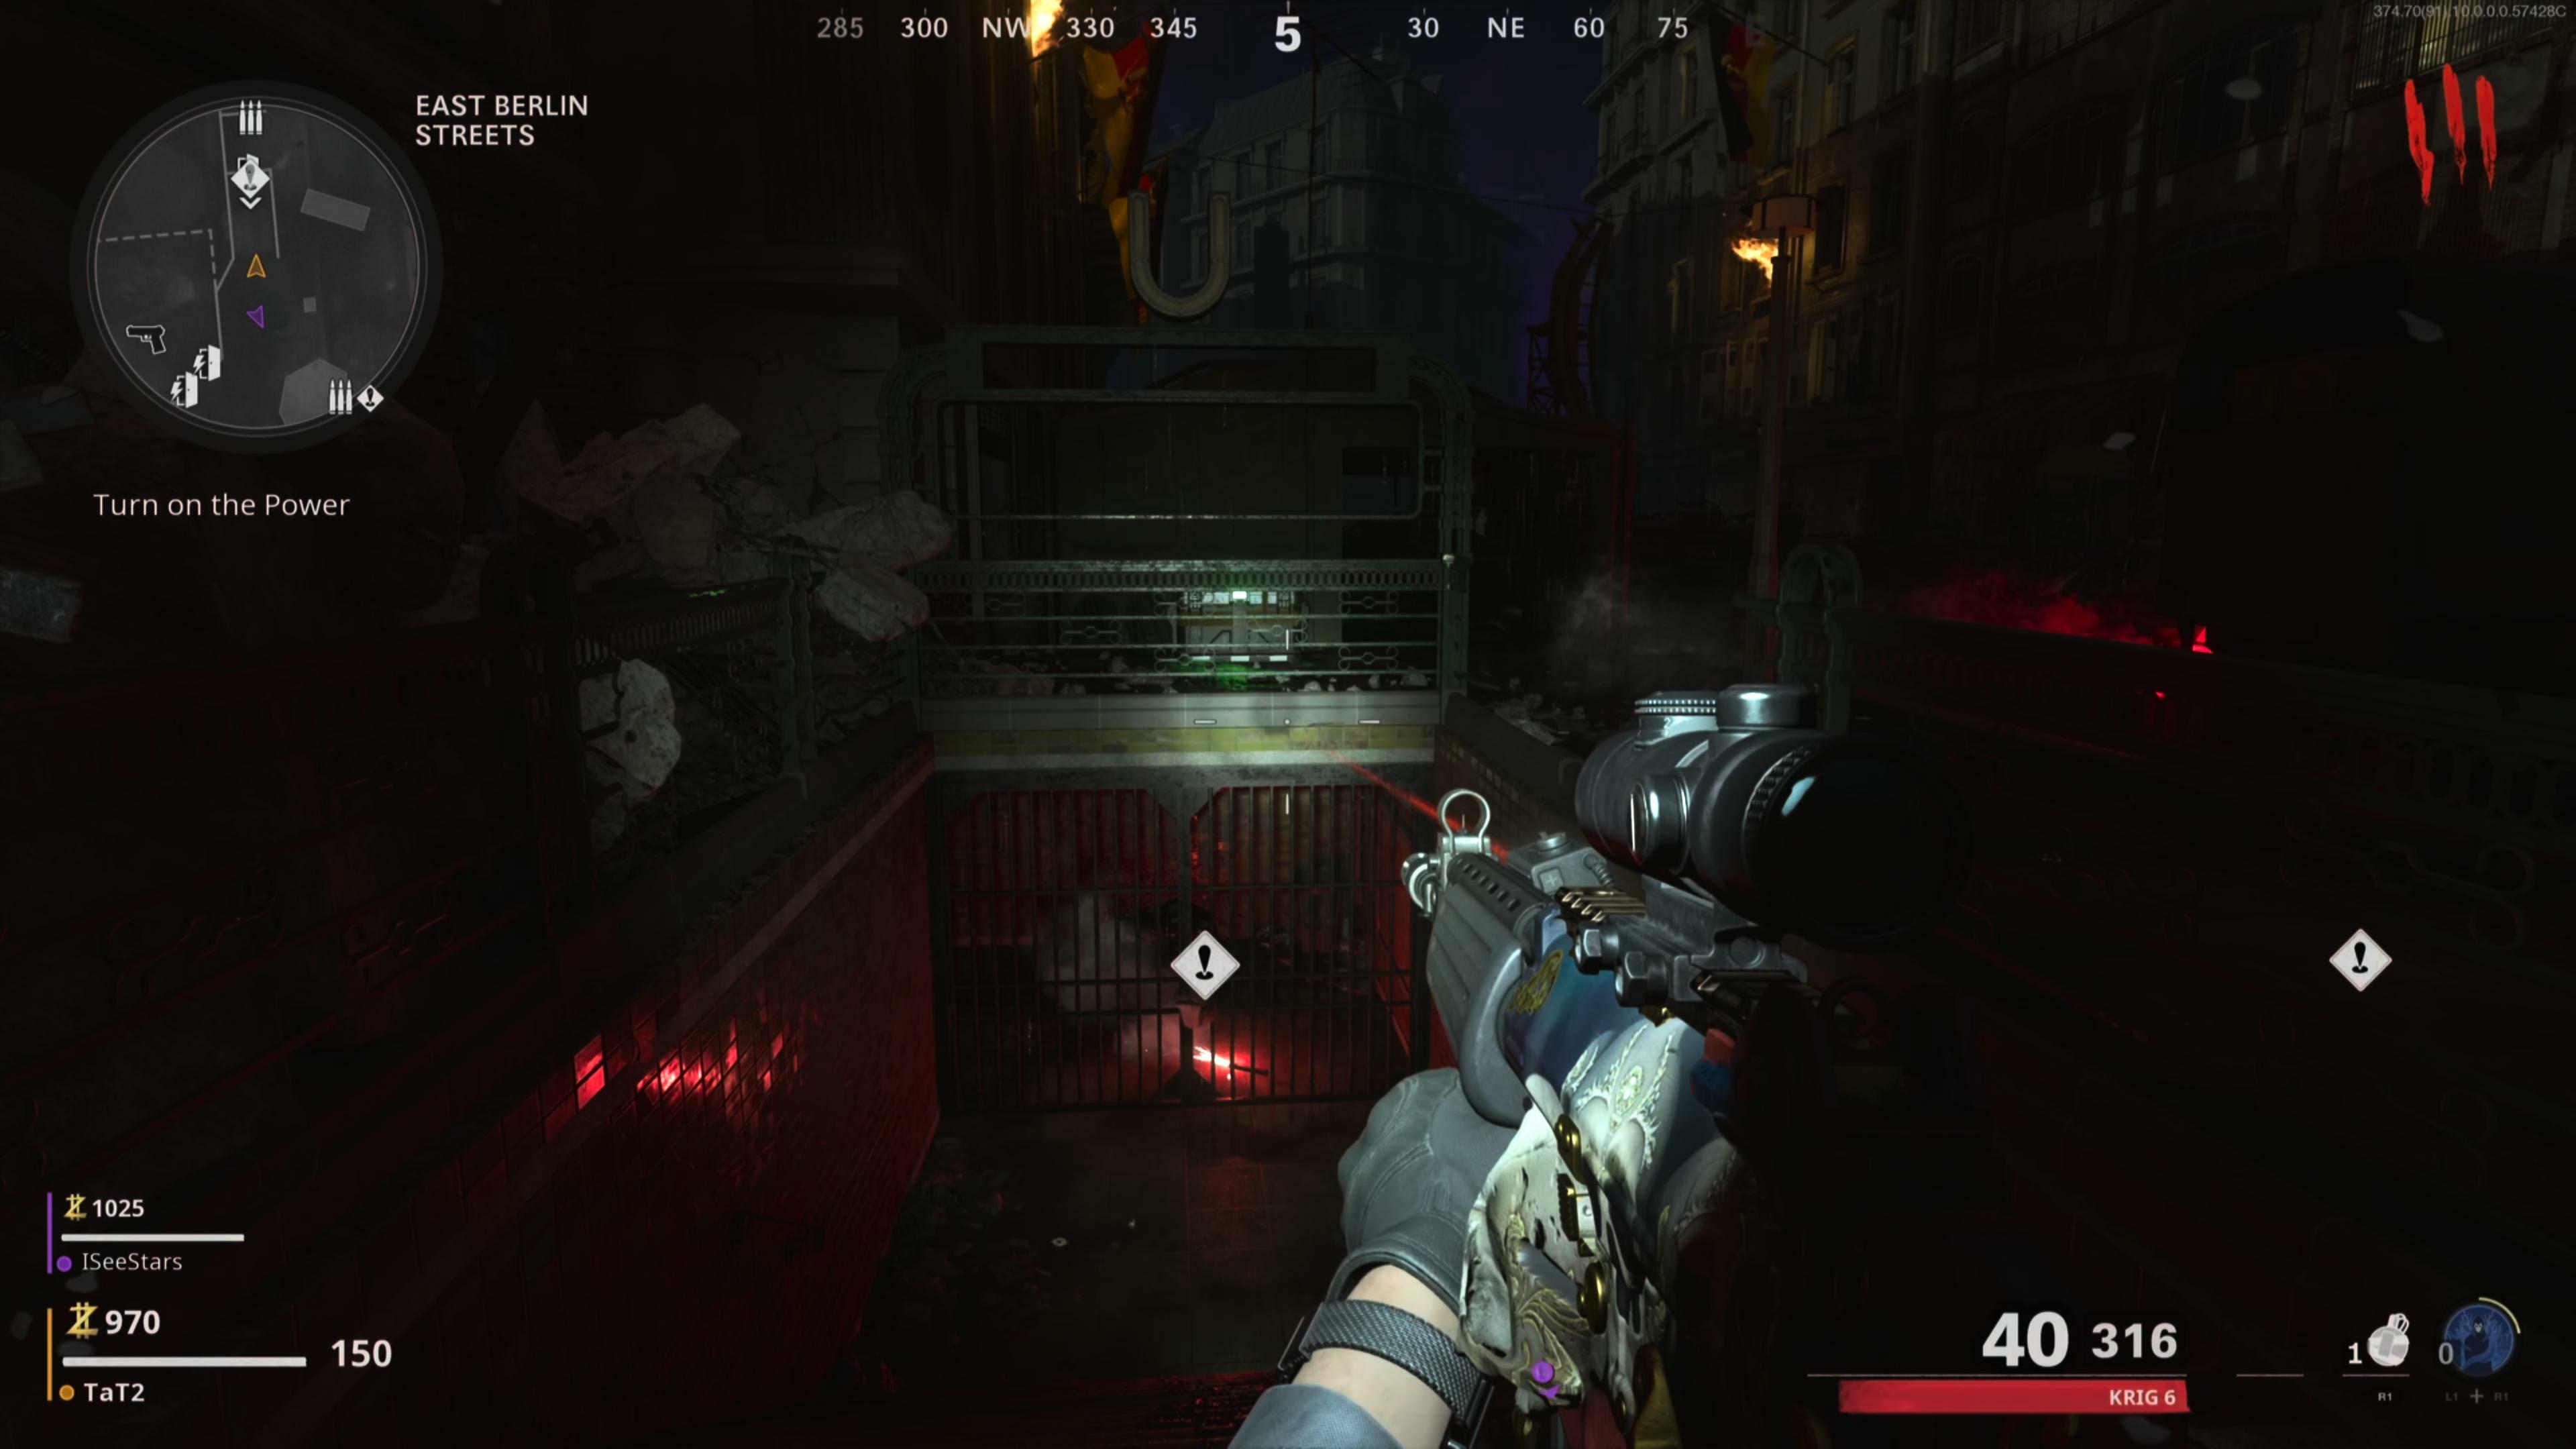
From the Garment Factory location, you'll follow the path down to the street level of the city, which is marked as East Berlin Street. Here you can take either the Subway Entrance or Sewer entrance. Either path is 1,500 in co-op or 1,250 in solo.
Either choice will lead you down into the subway, but proceed across the subway tracks with caution. A train car of flaming zombies will randomly cruise down the tracks, and it will easily run you over. If you hear a bell dinging, that means a train is about to speed down the tracks, but don't cross yet, because a second train is not far behind. It's easy to think there's just one train coming and get run over. It's instant death unless you already have Quick Revive or a friend to revive you.
Safely cross the tracks to the Ghost Station entrance, which you'll want to unlock at 1,750 in co-op or 1,500 in solo. You'll proceed through the area until you come to one final door blocking your path to the Power Room. The Maintenance Tunnel door is 1,750 in co-op or 1,500 in solo to unlock.
This leads into the Power Room, where your objective marker takes you to a power switch. Flip the switch, but you'll quickly find you need fuses to repair the power box.
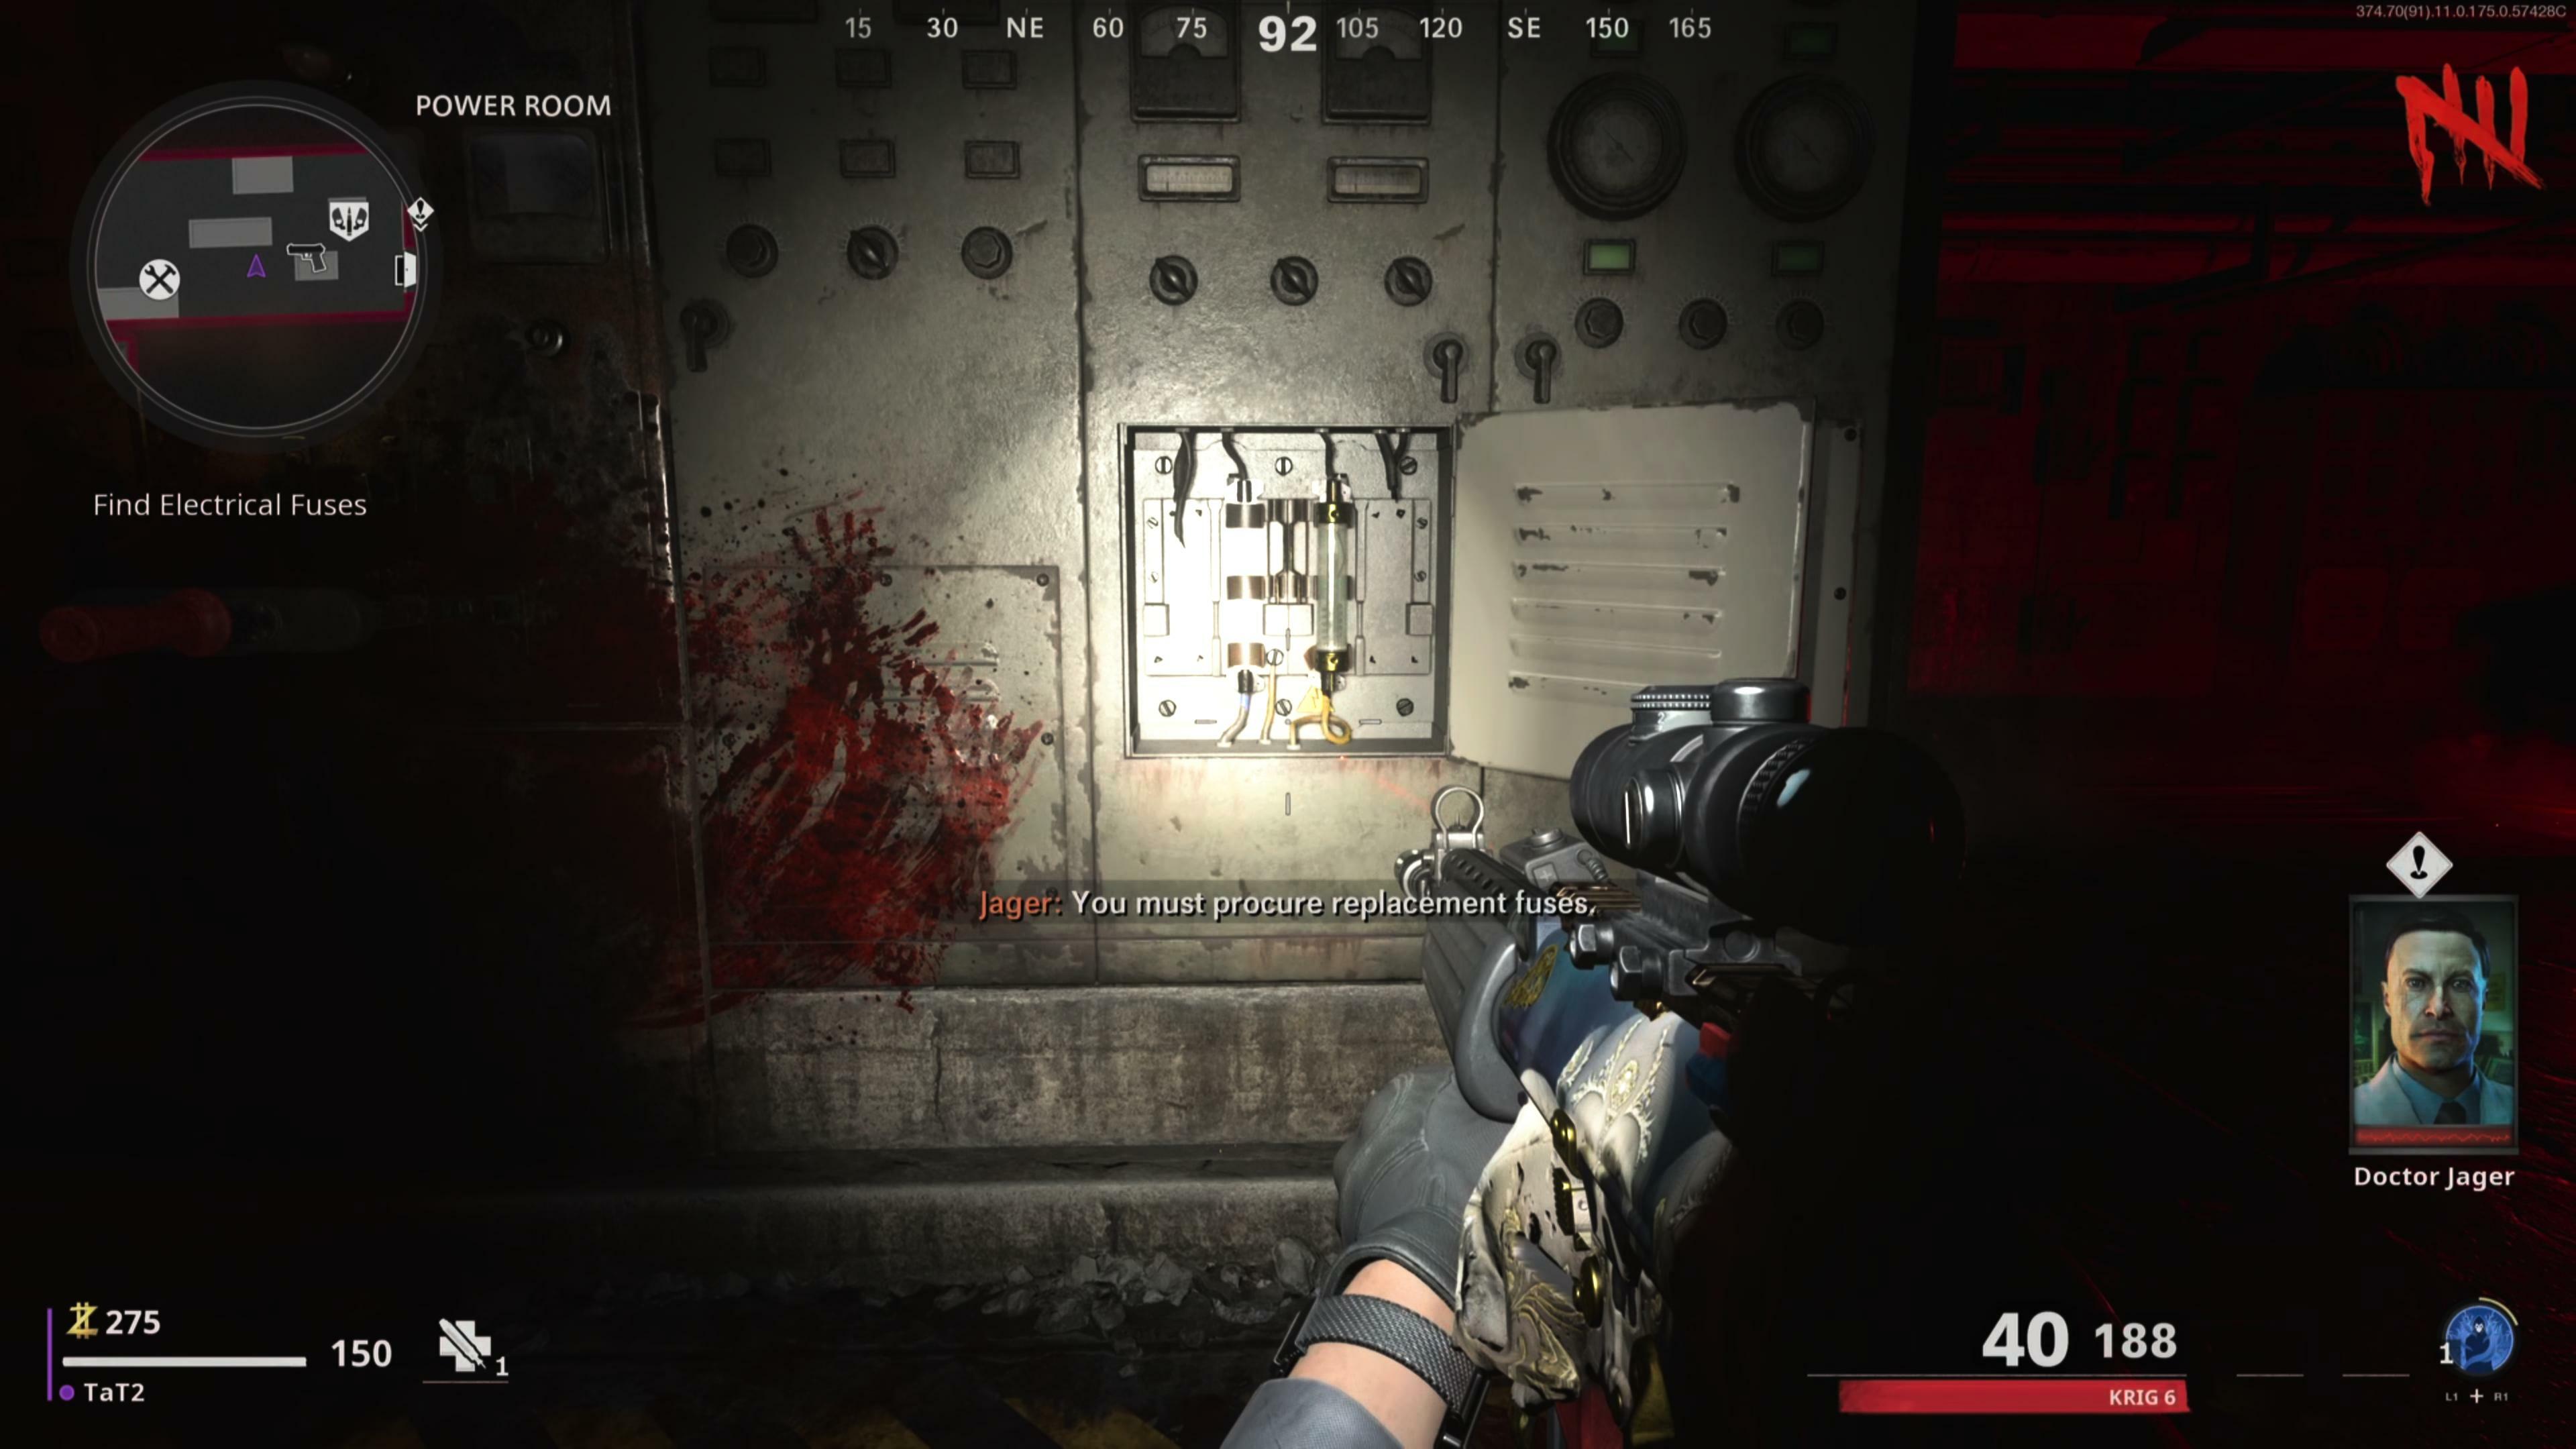
Opening the locked entrance inside the Power Room will cost 1,750 in co-op or 1,500 solo, leading you to one of the fuses in the Sewer Access area. Here you'll find Cold War's electrified elite enemy, the Tempest. Kill the Tempest to pick up the fuse.
You can now go back the way you came to avoid paying an extra 1,750 in co-op or 1,500 in solo to open the next door, but either way you'll be traversing back through the subway and out to East Berlin Street again.
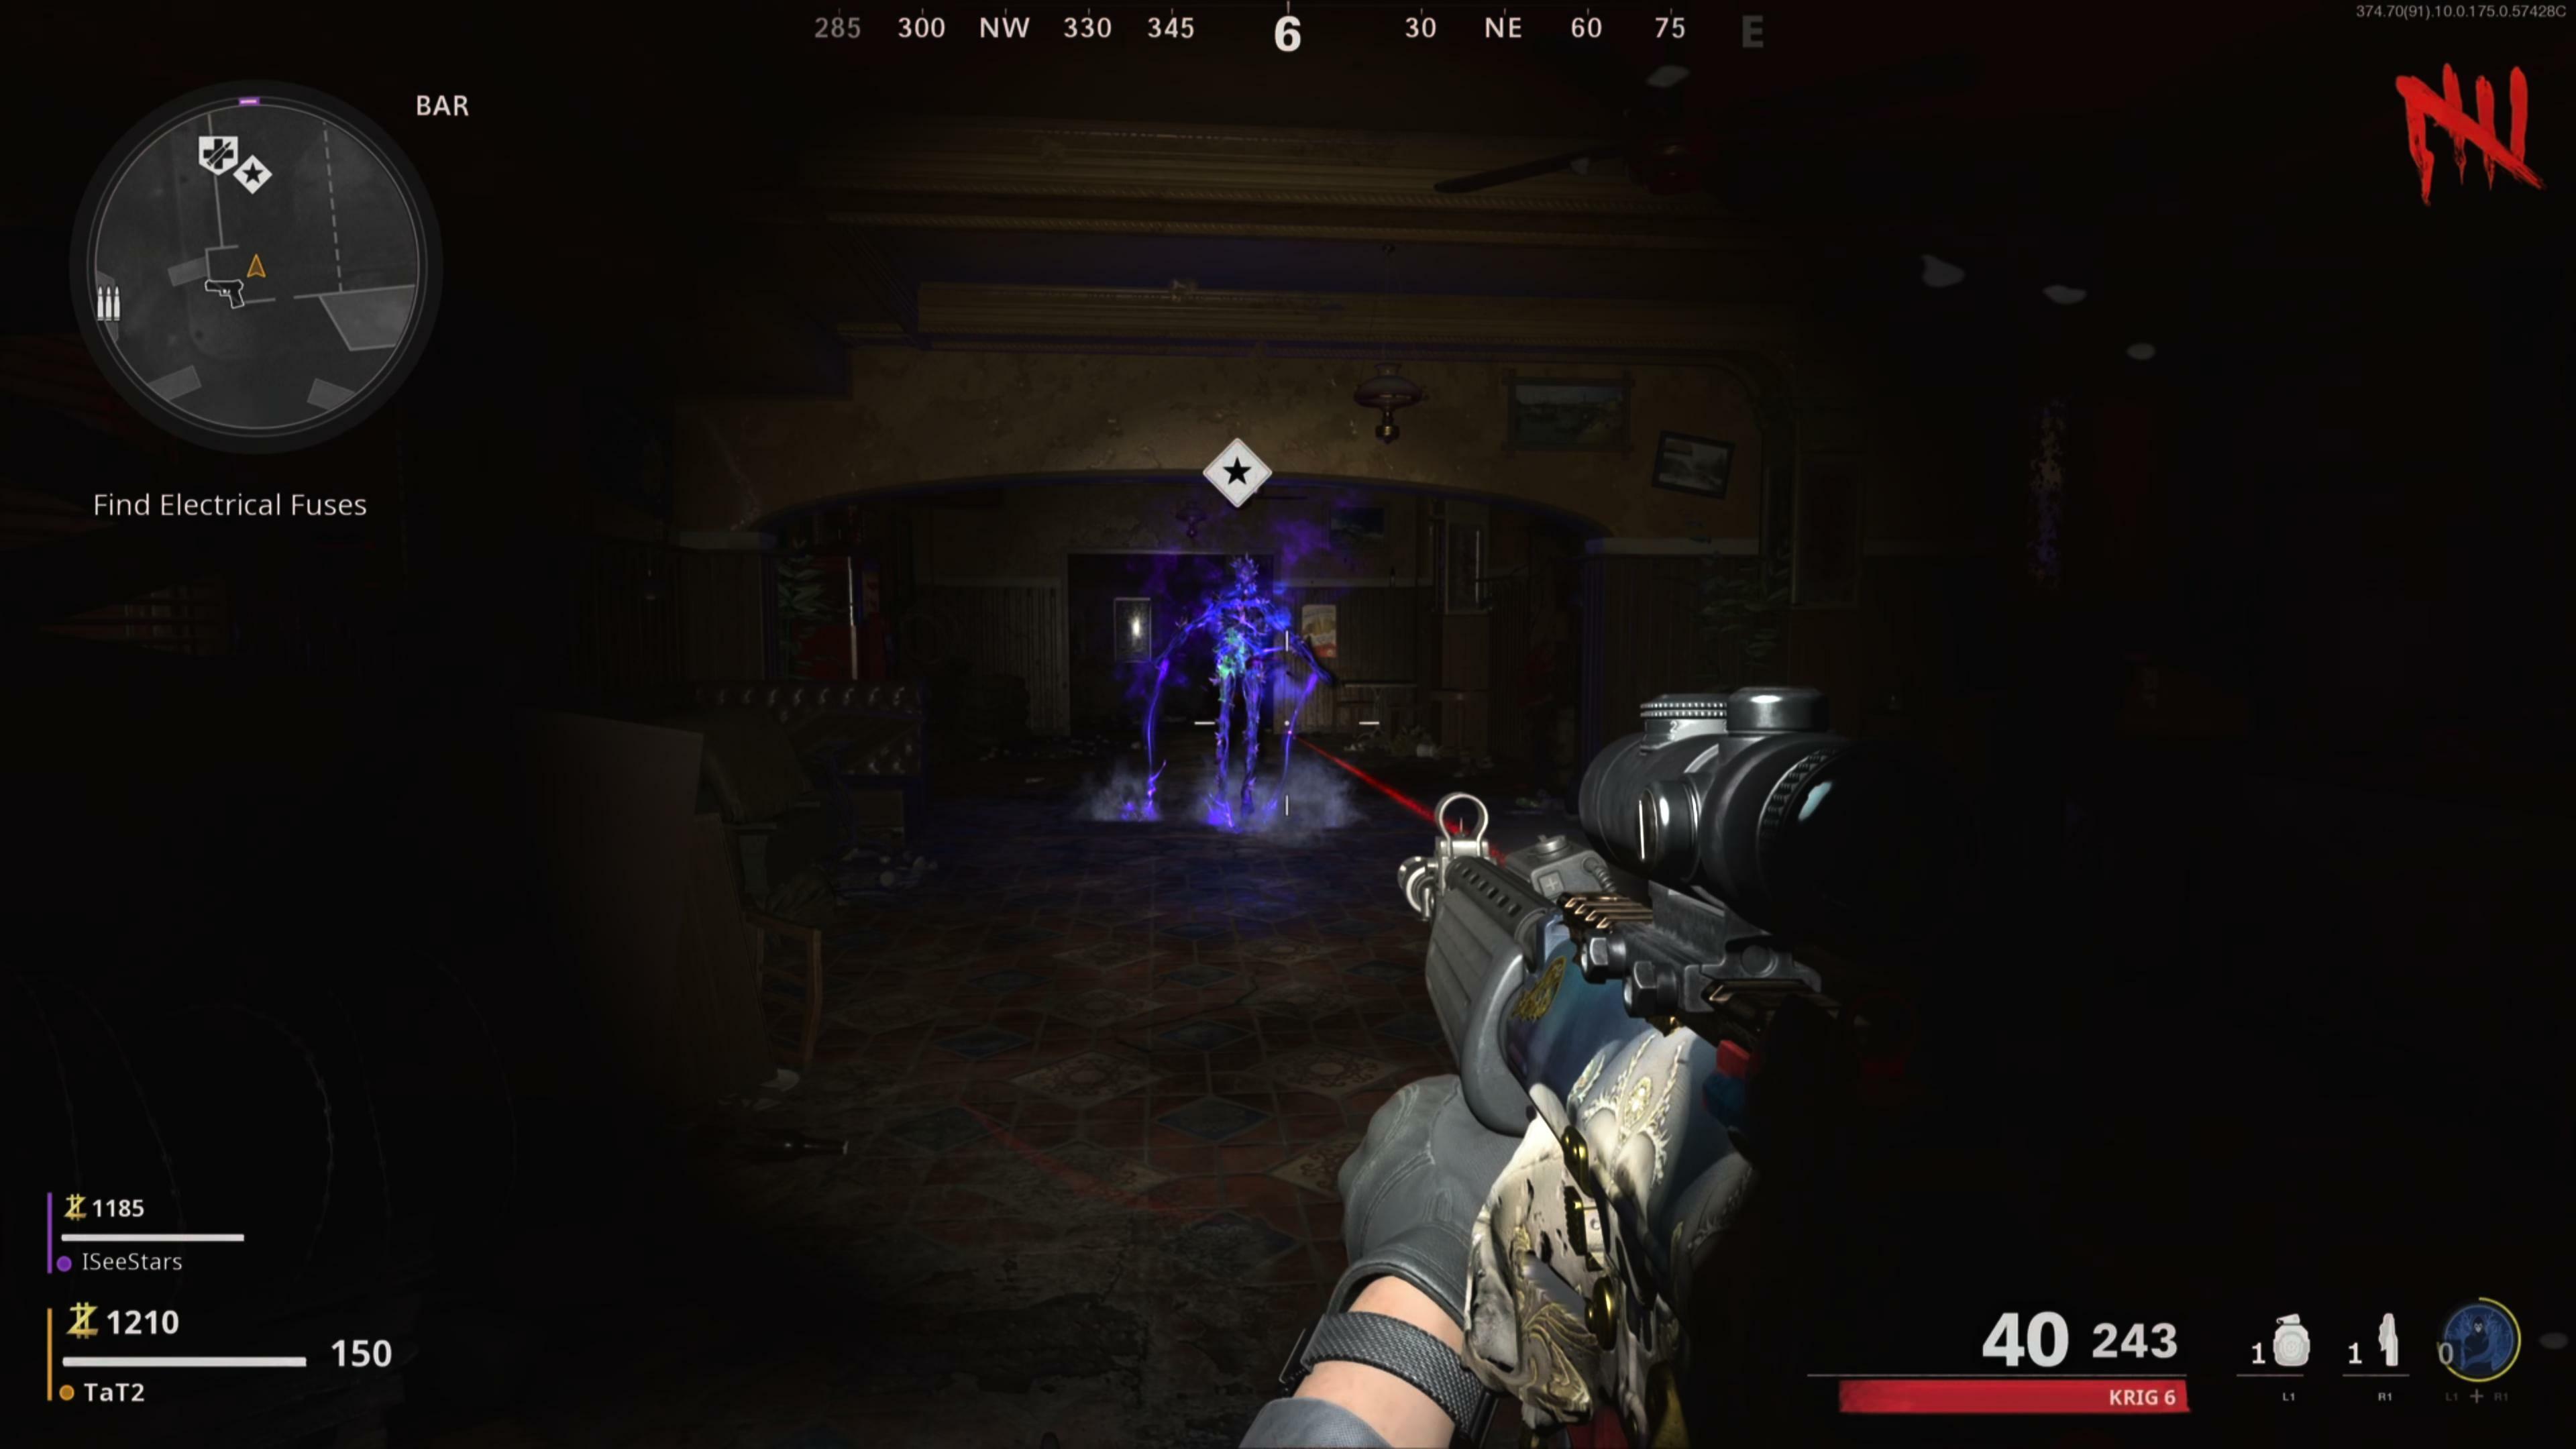
Now you'll have access to the final fuse located at the Bar, and there's another Tempest you'll need to kill in order to pick it up.
Take the same path back to the Power Room to avoid any additional costs, and install the fuses in the fuse box beside the power switch. There's also the odd chance that you'll run into a Tempest outside of doing this objective. A Tempest randomly spawned into my match at round 4, which was before I even made it down to the Power Room, and it dropped a fuse for me. So, I had one fuse ahead of time, and I only had to go searching for a second fuse.
Activating Pack-A-Punch
With the power on, you'll be instructed to investigate the PAP Machine aka Pack-A-Punch.
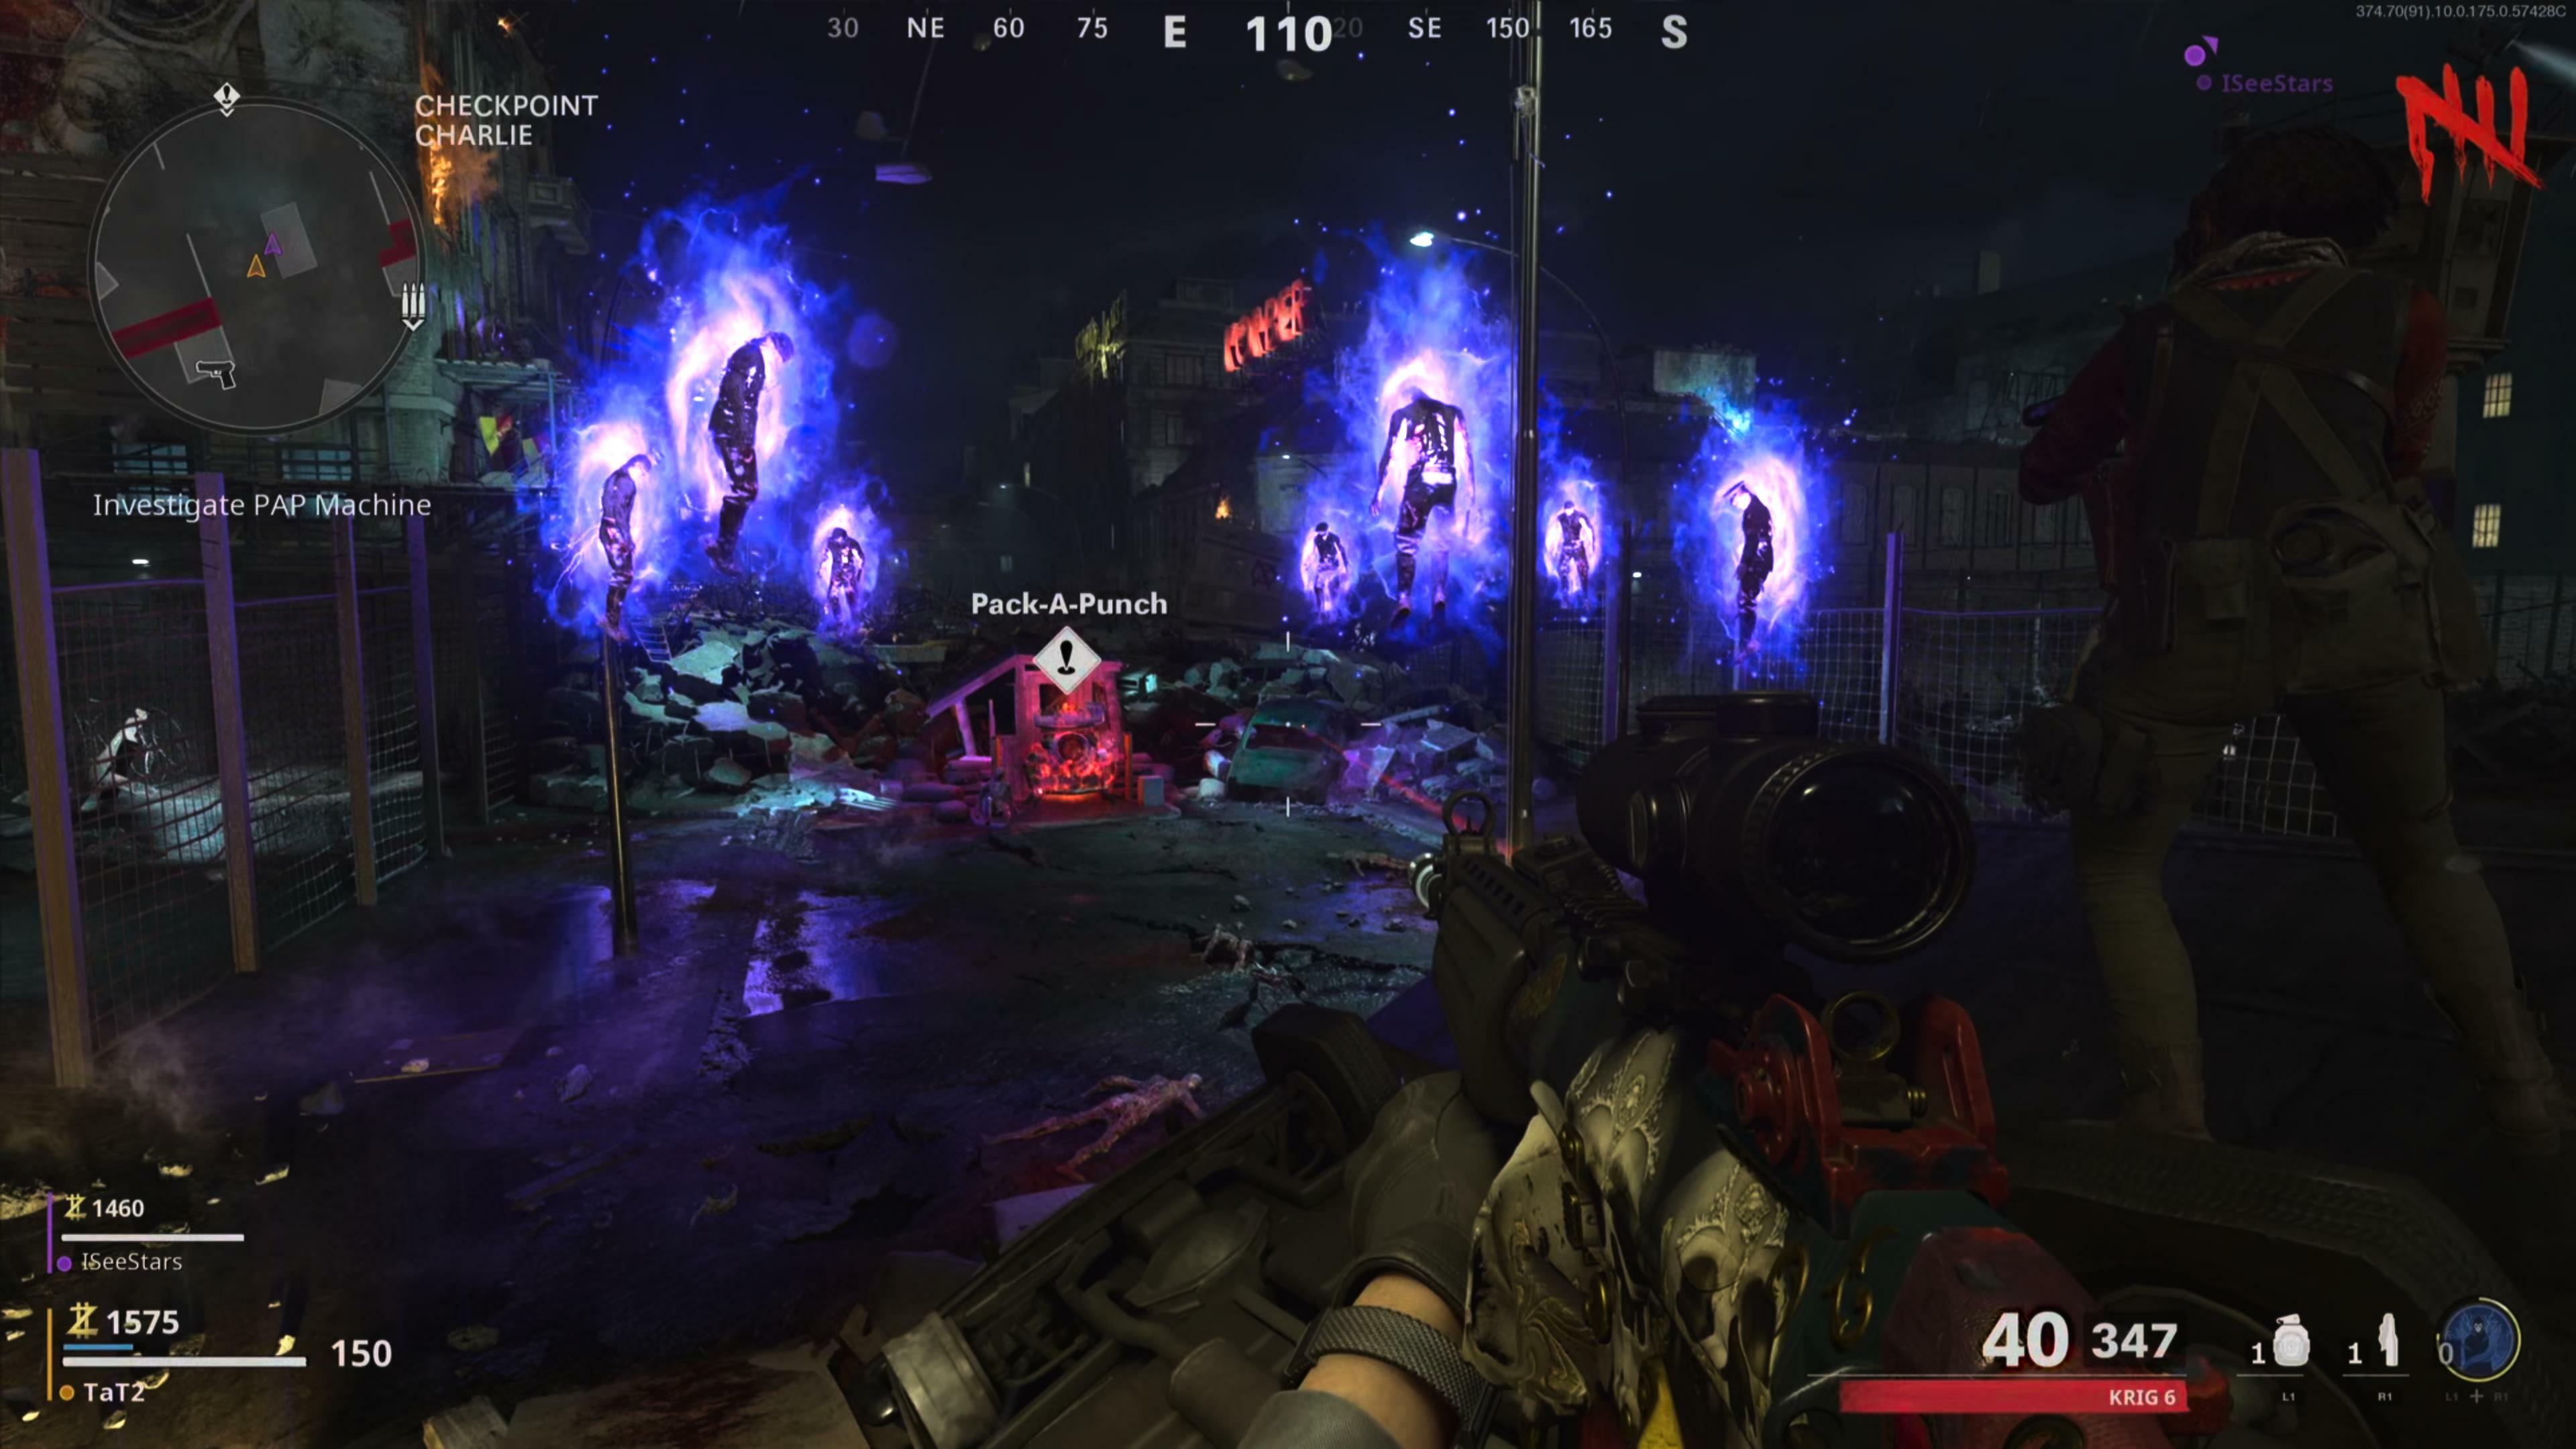
Again, you'll have two separate paths you can take. Following either objective marker will lead you to a rappel, which will zip you back up to the street at no cost. Your objective marker leads you to the Pack-A-Punch machine, where you'll basically just need to interact with it and complete a "trial" of sorts. Zombies will spawn along with an elite enemy called the Disciple. It's pretty easy to take down the zombies and Disciple. I survived this on round 6 without Juggernog. Once you complete the trial, Pack-A-Punch is available to use.
From here, your main objectives are done and you can explore freely and investigate any secrets and Easter eggs.
Got a news tip or want to contact us directly? Email news@gamespot.com
Join the conversation