Kane & Lynch: Dead Men Hands-On
We fight our way through the streets of Tokyo as we get our hands on Io Interactive's upcoming shooter.
During a recent meeting with Eidos we had an opportunity to spend some quality time with a pre-alpha (early work-in-progress) Xbox 360 build of Kane & Lynch. The version of the game was the same one that we saw a couple of months ago, but on this occasion we were allowed to play for ourselves and took in a different level. The "Tokyo Streets" level that we played through directly follows the "Tokyo Highrise" level that we saw last time, and sees Kane, Lynch, and their crew leaving the skyscraper and making their way to a getaway van that's parked behind a bus terminal a few cop-filled blocks away.
The Tokyo Streets level picks up right where the previous level left off, with Kane and Lynch leaving the elevator that they fought so hard to reach on their way down through the upper levels of the skyscraper. Innocent civilians attempting to flee the building fill the lobby, and it doesn't take too long for the police who are posted there to recognize and open fire on your crew. There are plenty of columns to take cover behind in the lobby, and the way that you back up against objects automatically simply by walking toward them works well. The columns are destructible up to a point, but not so much that you'll ever have to worry about one toppling to the ground in front of you.
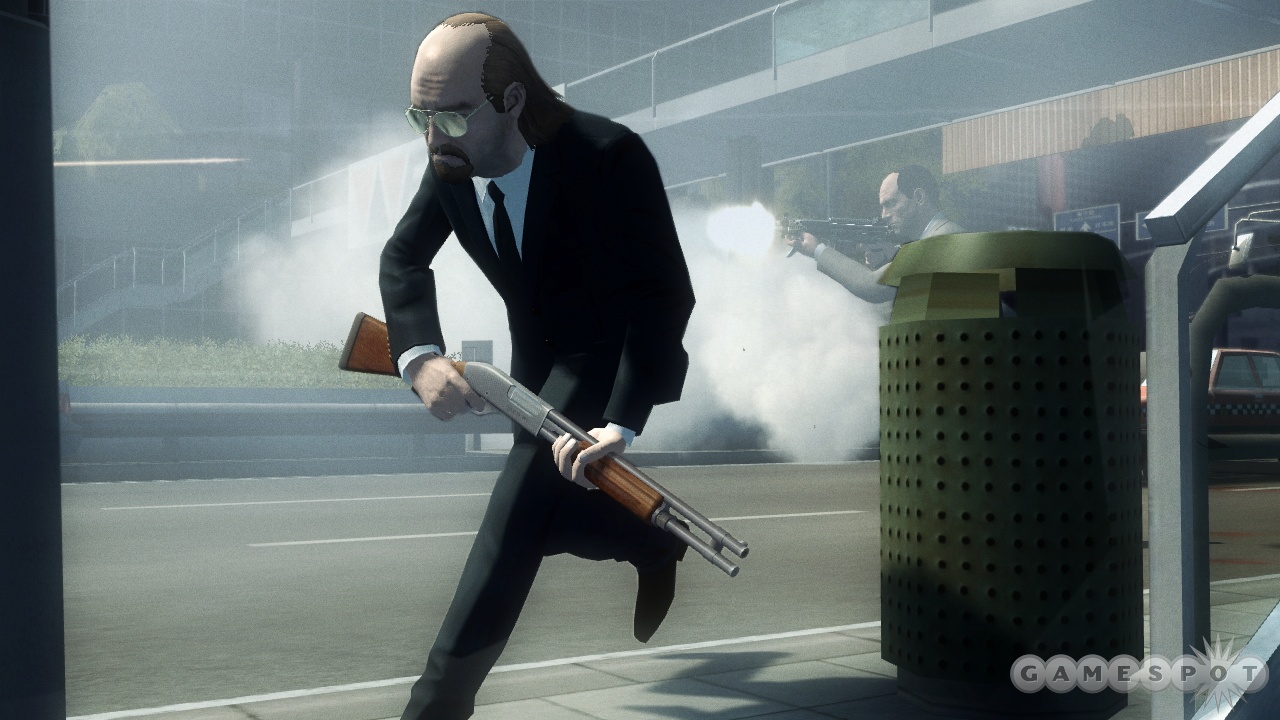
Similar columns are located outside the main entrance, and you'll need to put them to good use if you're to stand a chance against the small army of police that's waiting for you out there. The cars that the police are using for cover are much more destructible than the aforementioned columns, and with a couple of well-placed grenades it's possible to really make a mess of things for the local law enforcement. The enemies in Kane & Lynch: Dead Men are intelligent enough to look for new areas of cover, of course, and they're less likely to poke their heads out if they know that your entire crew has its weapons pointed at their position. Enemies running between areas of cover aren't always easy to hit, so the trick is to get them focusing their attention on other members of your crew while you--and maybe a colleague or two--attempt to flank them. This is more challenging on the street than in the highrise, because as soon as you leave the relative safety of the building's entrance area behind you, you'll find that you're in a wide-open area with enemies attacking from all sides.
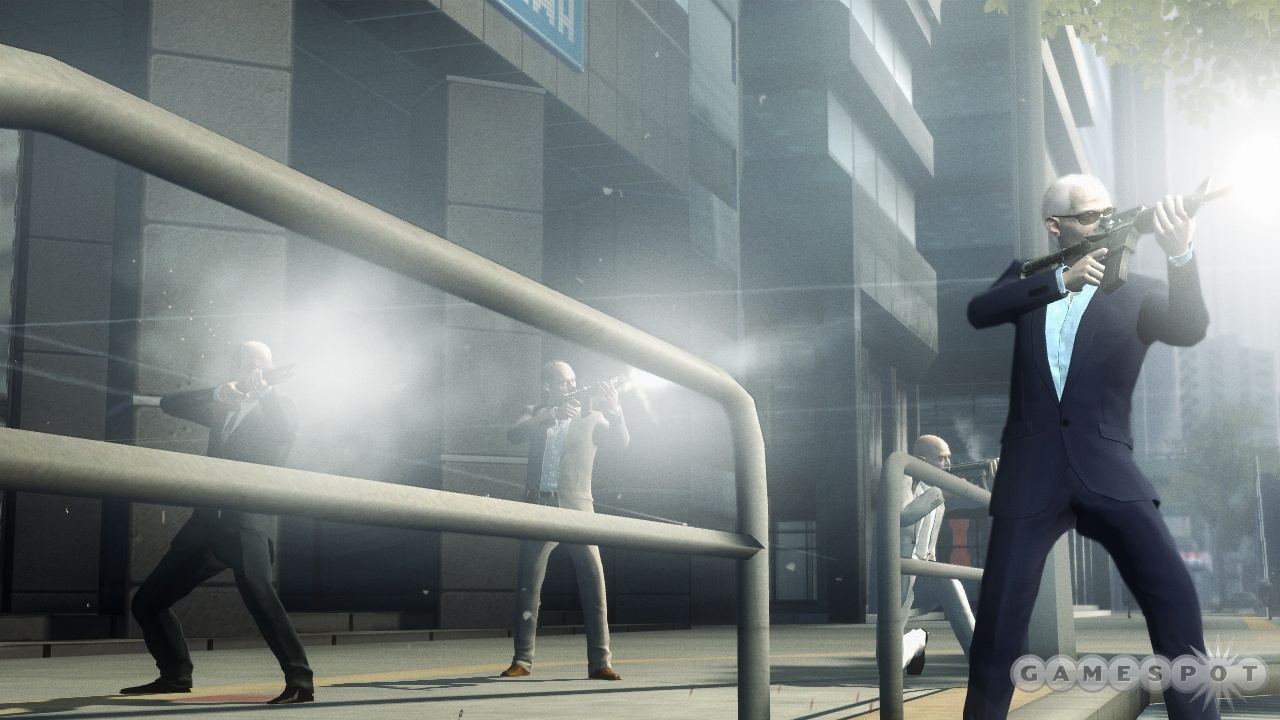
The police waiting for you outside the building are only the beginning. There are more taking cover behind civilian cars directly across the street, a group taking up positions behind barriers to the left, and incoming squad cars on a street to the right, where police snipers have already taken up positions overhead on bridges and such. The sniper rifles in Kane & Lynch are very powerful, and as a result you'll often come under fire from enemy snipers long before you've even noticed them. All of the bullets in the game leave visible white tracer lines in the air, which makes enemies a little easier to locate, but with so many bullets flying in so many directions the tracers aren't always as helpful as they might be. The fact that one of your number (Lynch) is a little trigger-happy at times doesn't help, either, and on more than one occasion we became convinced that there was an enemy taking potshots at us from behind only to turn around and find that it was Lynch unloading into a nearby dead body for kicks.
Eidos and Io Interactive still aren't ready to show off the cooperative gameplay that'll see a second player assuming the role of the schizophrenic Lynch, but we're pleased to report that the uncomplicated squad commands in the single-player game afford you plenty of control over your disgruntled crew. Your guys will complain and call you names as you give them orders, but they'll get the job done and, based on our experiences with the game thus far, they're intelligent enough to interpret your orders and adapt to changing situations if they come under fire while carrying them out, for example. The three basic squad controls that you'll have at your disposal are follow, stay, and move to/attack. By tapping or holding down the face buttons that those commands are assigned to you can choose to issue the order to either an individual or to the entire crew, and using left and right on the directional pad you can choose which individual you want to give the order to. It's possible to have everyone on your team do something different, then, but there are definite advantages to having your team stick close together, including the fact that when team members "die" (that includes you), any nearby colleagues can bring them back to life if they're quick enough.
Having allies nearby also gives you the option of exchanging weapons with them, which is achieved simply by calling up your extended inventory wheel when you're close to a colleague and highlighting the weapon you want. You can also pick up the weapons dropped by slain enemies, which on this occasion included a smoke grenade launcher and a sniper rifle. Smoke and tear gas grenades definitely have their tactical uses in Kane & Lynch, and on a similar note we noticed that the thick black smoke from a burnt-out police car did a great job of keeping us out of an enemy sniper's sights at one point. A window replicating the enemy sniper's view appears in one corner of the screen anytime you're in his sights, and we learned the hard way that you really need to keep an eye out for it so you can react accordingly. The sniper who caused us no end of problems on this occasion was standing on a road bridge so far away from the action that, without the aid of our own sniper scope, he was extremely difficult to see even after we figured out where the shots were coming from. When using the sniper rifle the left trigger--which is used to fine-tune your aim with all weapons in the game--pulls up the scope and then, using up and down on the directional pad, you can switch between varying degrees of zoom.

As we neared the bus terminal, having taken care of most of the police at the scene, enemy reinforcements arrived in the form of a SWAT team armed with riot shields. Tear gas grenades proved effective at getting the SWAT guys to lower their shields briefly, but we also found that switching to our pistol (which tends to be more accurate than machine guns and the like) and targeting their somewhat exposed legs worked well. Failing that, you can always count on a couple of grenades to get the job done and, at least in the work-in-progress build that we were playing, the way that the bodies of the enemies flew through the air after the explosion was very satisfying, if a little exaggerated.
The bus terminal that marks the end of the Tokyo Streets level is big and, although there are plenty of SWAT police there waiting for you, civilians are still milling around trying to go about their business. You'll approach the terminal from an elevated position that affords you a great view of the whole place, alerting you to the fact that it's essentially a labyrinth of parked buses over which a number of police are patrolling on raised walkways. Not a good idea to rush down to ground level, then, and even less clever to do so without instructing your crew to go with you--that's another lesson we learned the hard way. We unfortunately weren't carrying a sniper rifle when we arrived at the terminal, but since one of our crew was, we were still able to deal with most of the visible enemies before making our move. We could've taken our colleague's sniper rifle from him but, on this occasion, we took the opportunity to try out the game's targeting system. Like all of the other squad controls, telling your men to target specific enemies is very simple--you just look at the enemy, decide which colleague(s) you want to target them, and then hold down one of the controller's face buttons.

After moving down into the bus terminal itself, we found that enemies were lying in wait around practically every corner. The terminal is large enough that it's possible to wander off in the wrong direction for a good distance, and after doing just that we somewhat reluctantly resorted to checking out the in-game map, which gave us a very clear indication of where we were in relation to our getaway van objective. We had to reach the van with our whole team in tow to complete the mission, and when we managed that, our first hands-on session with Kane & Lynch: Dead Men came to an end. When we'll have another opportunity to play this one remains to be seen, but one thing's for sure: It can't come soon enough. We'll have more information as soon as it becomes available.
Got a news tip or want to contact us directly? Email news@gamespot.com
Join the conversation