All Possible Mystery Solutions In Dartmoor
Last Edited: May 25, 2021 07:05 PM PDT
There are multiple ways to "solve" the mystery in Hitman 3's Dartmoor mission. You can find the actual culprit and turn them in to Alexa, or provide other solutions, including framing someone who's not responsible. To get those solutions, however, you need to have enough evidence to back up your theory and give a convincing speech when you report your findings. That means finding lots of clues. To solve the murder mystery, you'll need to knock out the private detective who arrives at Thornbridge at the same time Agent 47 does, and steal his clothes to make your disguise. We've run down all three possible solutions to the murder mystery plot, how to earn them, and what opportunities they provide for you in the guide below.
Find The Murderer
The most straightforward solution to the case is the one provided by the Means, Motive and Opportunity Story Mission, but you'll still need to uncover a lot of clues to access it. Here's everything you need to do.
Search Zachary's Room
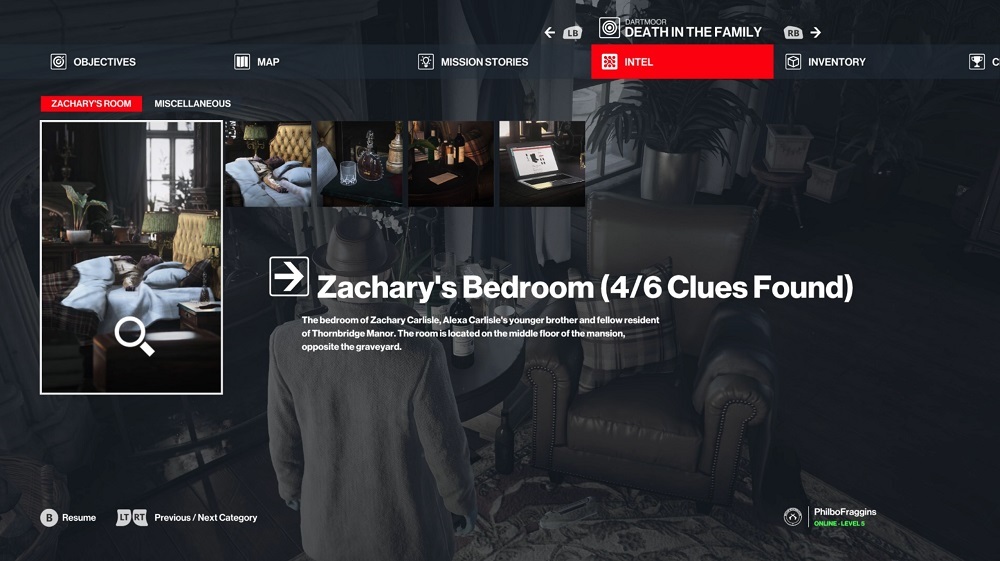 In all cases, you need the evidence found in Zachary's room to kick off your investigation.
There are six clues to find in Zachary's room. Note that some clues have to be scanned with your camera; if you're having trouble locating them, look for the Camera icon on your map or minimap.
- Zachary Carlisle's Body (Camera Scan)
- Nightstand Whiskey Bottle (Camera Scan) -- right side of the bed when standing at the foot.
- Zachary's laptop -- near the window to the left of Zachary's bed
- Suicide Note (Camera Scan) -- on the table under a window to the left of Zachary's bed
- Hidden Room -- pull the interactive book on the bookshelf on the wall, to the right of Zachary's bed
- Mansion floor plan -- inside the hidden room near the two-way mirror
Search Emma And Gregory's Room
 In order to figure out the true murderer, you need the most clues of any of the possible solutions.
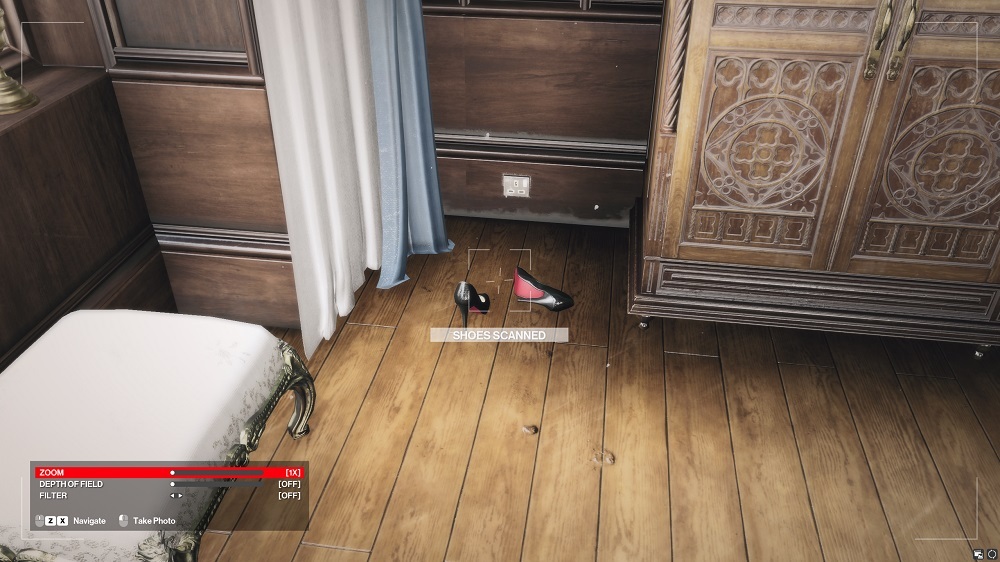
On the second floor, find the room that Emma and Gregory are staying in near the Library. If you don't have a key, you can get in by climbing out the window in the bathroom and shimmying around the outside of the building to reach the room's balcony. Inside, you need to locate four clues:
- Bulldog cane -- beside the fireplace, right next to the door (take this item with you, as you'll need it later)
- Greenhouse keychain -- right next to the folding screen beside the fireplace, on the side closest to the bed
- Muddy Shoes (Camera Scan) -- to the left of the fireplace
- Letter from Emma's Mother -- on the nightstand on the right side of the bed
Check The Sitting Room Terrace
 The footprints can be easy to miss, but they're right outside a window near the sitting room.
Head outside, just north of the sitting room, and check the stairs. With your camera, you'll find some muddy footprints you can scan with your camera.
Search The Greenhouse
Now head outside to the north of the manor, to the greenhouse at the back of the grounds. Without the key, you'll need another way to get in; either wait for Emma to head out to the greenhouse after the family meeting and let her open the door for you, or grab the crowbar from behind the greenhouse and use that to pop open the door.
Inside, you need to check for two clues, although you'll unlock one just by looking around.
- Broken Lab Equipment
- Poison Dosage Table (Camera Scan) -- on the table beside the lab equipment
Accuse The Murderer
If you've found everything you need for this solution, Diana Burnwood will tell you over the radio that you've got enough evidence. Find Fernsby to present your discoveries to Alexa Carlisle. Accuse the real murderer to complete the A Matter of Justice Challenge. You can ask for the Arthur Edwards file as payment; afterward, Alexa will head out to the balcony, where you can easily shove her off. If you don't, she'll continue to go about her business throughout the mansion, so you can follow her and pick her off somewhere else.
Blame The Butler
It's possible to frame someone else for the murder if you find the right clues. You can determine that Fernsby didn't do it, but with the right information, you can convince Alexa that he's responsible.
Search Zachary's Room
For this solution, you need information about both Zachary and Fernsby in order to concoct a story that makes sense. You'll need the six clues listed above to advance.
Search Fernsby's Office
Next, you'll need dirt on Fernsby, but getting into his office requires either a tool or a key. The easiest way in is to grab the crowbar from behind the greenhouse, as mentioned in the last solution. There's no one near enough to his office that you'll be heard breaking in. You need three clues from the room (and you can find the Thornbridge Master Key inside as well):
- Fernsby's List -- on the desk
- Zachary's Half-Burned Diary -- in the fireplace
- Mr. Fernsby's Pills -- on the windowsill
With this information, you should be able to accuse Fernsby of murdering Zachary, unlocking the A Matter of Loyalty Challenge. Completing the mystery with this solution can get you the Arthur Edwards file as a reward, while also giving you a special opportunity to complete your assassination--by letting the real murderer do it for you.
Another Death in the Family
To complete the Another Death in the Family Challenge, head into the Greenhouse. Find a wrench (there's one in the garden near the fountain) and use it to repair the Poison-Making Equipment you find there. That'll give the real murderer the opportunity to make more poison to use on Alexa. From here, all you have to do is sit back and wait for the murderer to strike again.
Claim Zachary Committed Suicide
The third and final solution to the mystery has you implicating Zachary in his own death. To do this, you have to find some extra bits of information that are off the beaten path. However, this path has the added benefit of making eliminating Alexa Carlisle very easy.
Search Zachary's Room
As always, you'll need the info from Zachary's room in order to get the investigation going.
Search Fernsby's Office
Next, you'll need the burned journal from Fernsby's fireplace, which, paired with the suicide note, starts to give you some plausible evidence for Zachary's suicide.
Search Emma and Gregory's Room
You need just one item from Emma and Gregory's room--the English bulldog cane. You'll find it leaning up against the fireplace.
Find The Letter In The Library Hidden Room
Finally, head to the second story of the Library with the cane in-hand in the corner of the room nearest Emma and Gregory's room, you'll find a small switch on the floor. Use the cane on it to activate a hidden door that leads into another secret room. Inside, grab Montgomery's Long-Lost Letter off a stack of books. That should be enough evidence for the suicide theory.
Another Suicide
Return to Fernsby and set up your meeting with Alexa Carlisle. If you tell her that Zachary committed suicide, she'll become despondent about the whole situation. This presents you with a unique kill. Once you have your payment from Alexa, she'll head out to the balcony and take care of your contract herself. At that point, you're free to exit the mission.
Previous
How To Find Every Clue In Dartmoor
Next
How To Find And Open The Dartmoor Secret Rooms
Log in to comment