Halo Infinite Boss Battle: How To Defeat Harbinger
This may be Halo’s toughest boss of all.
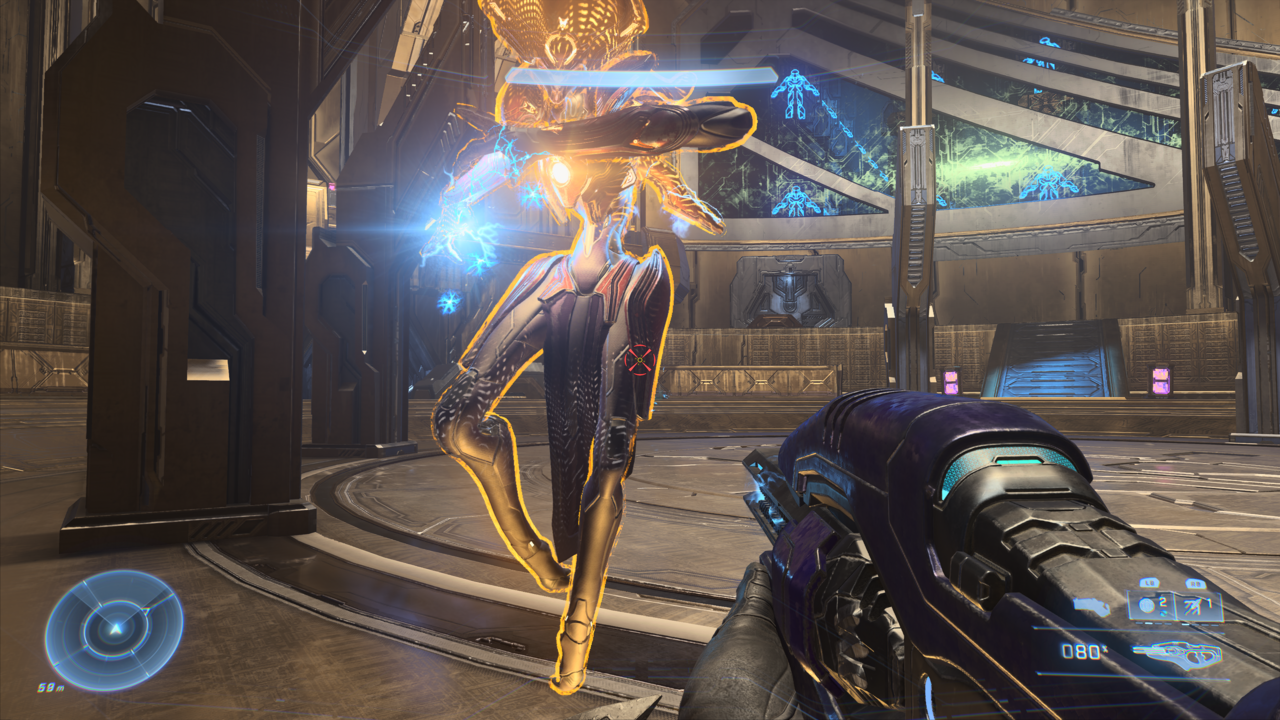
So you’ve made it to the Halo Infinite final boss, Harbinger. After a hard-fought battle to get to this place, your final showdown takes place in a massive arena, much larger than any other indoor boss battle in the game. But all that space isn’t yours alone. Harbinger summons a horde of Banished and others to try and take you down. You’ll need all you can muster to defeat her. Here’s how to defeat Harbinger in Halo Infinite.
Halo Infinite Harbinger boss battle
The harbinger boss battle works backward from the traditional boss battle formula you’re likely used to. She opens the fight inside an impenetrable shield, and before you can ever lay a finger on her, you have to fend off countless Banished forces of all shapes and sizes. Clear out enemy after enemy until she finally pauses what she’s doing inside her shield--we won’t say it here in case you’re reading this before you’ve seen all of the story so far.
With her shield down, she’ll be vulnerable to attack, so lay it on her with whatever you’ve got. This stadium-like arena is packed full of weapons and grenades, and like a lot of boss battle phases, you’re free to whittle down her lifeforce until a predetermined spot, at which point she will re-enter her shield and sic more Banished at you.

This process will continue for several phases, and it’s a mostly by-the-book boss showdown that anyone who plays games would be used to. But we do need to emphasize one point: each phase is markedly more chaotic than that or those before it. This means when Harbinger is nearly defeated and retreats into the shield once more, brace for an onslaught like nothing else in Halo Infinite. Every enemy class you’ve seen in the 15+ hour game to that point will be headhunting at once.
Keep your distance from the charging Brutes, dispatch the flying Sentinels, and watch for cloaked assassins, firing grunts, and more. It’s a buffet of bullets, so stay nimble--ideally using the Grappleshot, but in this instance, a well placed Drop Wall might just save your life too, especially if it’s been upgraded to be bigger and stronger.
There’s really no specific science to this battle other than one simple adage: Don’t stop moving. To stand still is to die in the Harbinger showdown. But if you can get her before she gets you, you’ll get to enjoy a final cutscene with some more reveals--and stick around for the post-credits scene too.
Got a news tip or want to contact us directly? Email news@gamespot.com
Join the conversation