Final Fantasy 7 Remake Walkthrough Chapter 6: Light The Way (Spoiler-Free)
Here's how to navigate the semi-confusing series of pathways in Chapter 6 of FF7 Remake for PS4.
Another mission awaits Cloud and Avalanche in Final Fantasy 7 Remake as you head into Chapter 6. This is one of the more labyrinthine areas of the game, and there are some important items along the way that are easy to miss--including one of the best Materia orbs you can find in the whole game.
We're here to help guide you through that big rotting pizza with our Chapter 6 guide, taking you through every boss fight and helping you find every item, weapon, Materia, and collectible. And if you need more help, check out our FF7 Remake guide roundup for every guide we've got.
- Chapter 1
- Chapter 2
- Chapter 3
- Chapter 4
- Chapter 5
- Chapter 7
- Chapter 8
- Chapter 9
- Chapter 10
- Chapter 11
- Chapter 12
- Chapter 13
- Chapter 14
- Chapter 15
- Chapter 16
- Chapter 17
- Chapter 18
Chapter 6 Walkthrough: Light The Way
After the opening cutscene kicking off the chapter, Tifa and Barret will head down the ladder to your left. Before you follow them, take a breather at the nearby bench and purchase whatever supplies you need from the vending machine behind you to the right. If you haven't purchased any Leather Bracers yet, now's a good chance to stock up to give your party additional Materia slots. Afterward, climb down the ladder, and then turn the opposite way from Barret and Tifa to open a chest with a hi-potion.
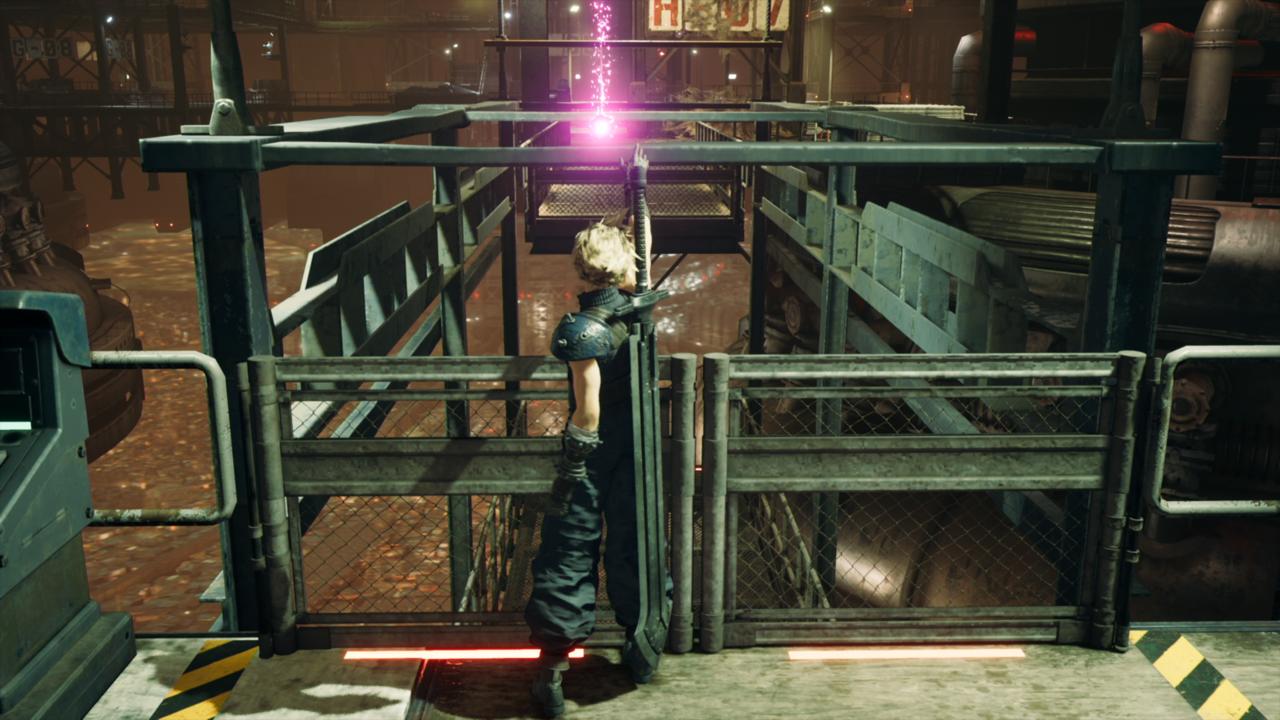
Continue to the gate, which you'll find needs power. When you head up the ladder to turn off the sun lamp, turn left from the console to find another chest, which contains three potions.
As you head forward into section G-03, you'll pass by some powered down sentry guns up above. Ahead in G-04, you'll see stairs that lead down. Head around behind the staircase to find a chest with Hazardous Material, an item you can throw at enemies to poison them and deal damage.
Moving on, the walkway to section H-07 will fall away ahead of you, blocking the way to a new Materia--more on that below. Head back the other way, where you'll find a staircase and then head across into section G-08. Deal with the Grashtrikes, then check the northwest corner of the pillar in the center to find a chest with a remedy inside.
Back up the stairs in G-05, you'll find a chest containing two antidotes just across from the walkway that leads you forward. As you keep moving, you'll fight a new fish-like enemy called a Blugu. These guys are weak to Lightning and Wind magic, but be careful, as they'll put your characters to sleep and then deal big damage to them with Water attacks.
Move ahead and you'll get to a section where you're crossing in front of some ventilation fans--Tifa will spot a Materia behind one that you can't reach yet. To advance the story, you'll need to disable the rest of the lamps to send more power to a nearby cargo platform, but there's a gondola nearby that can take you back to the ventilation fans that also needs power. You'll need to turn off one more sunlamp to power it, however.
Final Fantasy 7 Remake News
- Final Fantasy 7 Remake Intergrade Review - Materia Improvements
- Final Fantasy 7 Remake Dress Guide: How To Get Every Dress In Wall Market
- What Would Suit Tifa Choices: Final Fantasy 7 Remake Dress Guide
- + Show More Final Fantasy 7 Remake News Links (2)
- Final Fantasy 7 Remake Guide: Corneo's Secret Stash Locations
- Final Fantasy 7 Remake Materia Guide: Essential Materia You Might've Missed
The Second Sun Lamp
Head to H-02 to reach the first second, and once you arrive, check to the right of the switch to find a chest with a phoenix down inside. With the lamp powered down, head back to the console and activate it to move the catwalk. First, push it all the way to the right to open a path that gets you behind some cargo containers. Go around the back of the containers to find a chest with a turbo ether.
After connecting the catwalk, push on to fight a new enemy called a Terpiscolt. These are weak to Ice attacks, but will start spinning when you interrupt them, making them pretty dangerous and tough to hit with melee attacks without taking damage yourself. Switch to Barret and use Overcharge to knock them out of the spin, then follow up with Cloud and Tifa to stagger them and finish them off.
Head down the ladder and you can take a gondola back toward the beginning of the area. That also means that the gondola near the cargo platform is operational, and you can get that Materia Tifa spotted behind the fan.
Materia Backtrack: Inside The Ventilation Fan
With two sunlamps powered down, return to H-01 and the beginning of this section to use the gondola that will take you back toward the ventilation system. On the far side, take the ladder up to a service room where you can access a vending machine that holds the Electric de Chocobo Music Disc. You can also buy MP Up Materia here, but it's better to hold off, as you can get one for free shortly.


When you activate the console, you'll have one minute to enter the next room, kill all the enemies, and press a button on another console. Don't worry if you fail to kill everything within the time limit, though. You can double back out of the room and hit the console again to start a new, easier fight with some weaker enemies. Once you activate the other console, you can head into the fan corridor and snag what you discover to be a Chocobo and Moggle Summon Materia.
Materia Backtrack: Collapsed Passageway
Return on the second gondola to the area you entered when you climbed down the ladder from the second sun lamp. Go around the cargo containers to find a ladder down, as well as a chest containing a Moogle Medal.
Take the ladder down to another platform where you'll fight two Queen Grashtrikes. Dispatch them, then use the control panel to lower the walkway ahead. Don't align it with the gate so you can cross; instead, keep lowering it until the MP Up Materia sitting on top of the frame is low enough for you to grab. Now put the walkway in place so you can cross it. Head to the far end of the next platform to grab the Elemental Materia.
The Final Sun Lamp
Okay, time to wrap up! Return to the ladder that brought you down here and follow the path ahead to reach the third sunlamp. When you climb up to its catwalk, check around to the right to find a chest containing a Mesmeric Armlet. Return to the cargo platform and take it across. You'll fight a bunch of automated defenses, so take them out the only way you know how.
In the next area, Plate Partition - Interior, climb up the ladder and once up top, turn right to find a chest with a Moogle Medal inside. When you reach Biggs, note that you'll get a new weapon for Barret--the Light Machine Gun.
Continue with our spoiler-free walkthrough in Chapter 7: A Trap Is Sprung.
Got a news tip or want to contact us directly? Email news@gamespot.com
Join the conversation