FF7 Remake Corneo's Secret Stash Locations: Chapter 14 Side-Quest Guide
One of the side missions in Chapter 14 of Final Fantasy 7 Remake has you running all over the slums for some big rewards.
There's a big batch of side-quests to wrap up in Chapter 14 of Final Fantasy 7 Remake, and a few of them are pretty involved. One that will run you all over the slums is "Don Corneo's Secret Stash," and even with the clues as to where to look for the hidden stashes, tracking them down can be tough.
If you play it right, you can find each of the stashes as you're accomplishing other goals in Chapter 14, but you'll need to do some prep work. Here's everything you need to know to find all three stashes and complete the "Don Corneo's Secret Stash" side-quest.
Check out our Final Fantasy 7 Remake guide roundup for a ton more information about FF7 Remake!
Don Corneo's Secret Stash Walkthrough
There are nine side-quests in Chapter 14, and several of them dovetail together. To start Don Corneo's Secret Stash, talk to Damon the reporter on the road north of Sector 5's Central District. You should also drop by the Sector 5 Train Station and speak to Johnny to get the Tomboy Bandit quest.
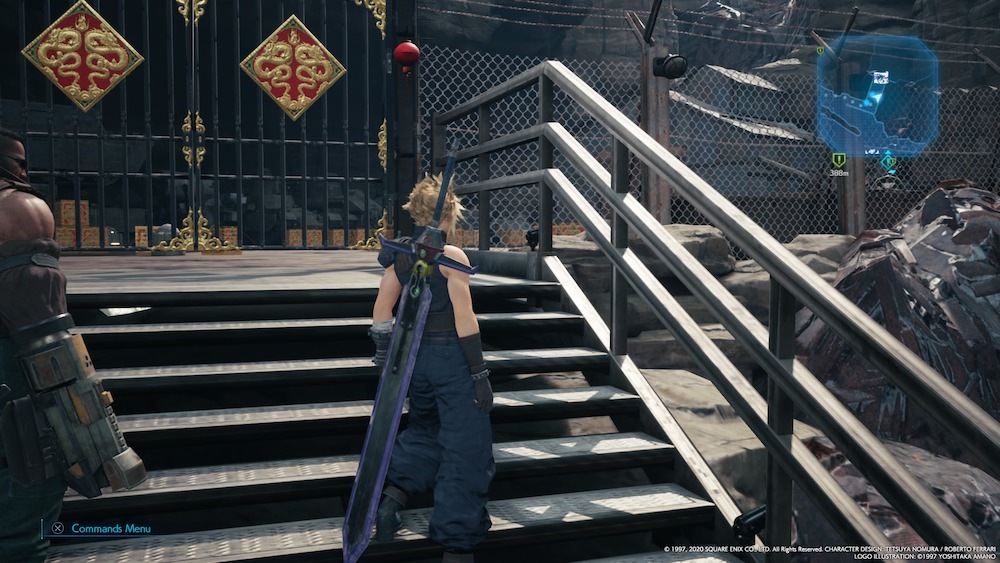
From where you found Damon, go northeast up the path into Nuts 'n' Bolts Hills and Steel Mountain, toward Lookout Point. Talk to Mirielle, then pick up the Corneo's Vault Note key item on the ground behind her.

Next, find Kyrie in the church where Cloud met Aerith. After talking to Kyrie, you'll need to go to Wall Market's coliseum to fight a battle for her.
Final Fantasy 7 Remake News
- Final Fantasy 7 Remake Intergrade Review - Materia Improvements
- Final Fantasy 7 Remake Dress Guide: How To Get Every Dress In Wall Market
- What Would Suit Tifa Choices: Final Fantasy 7 Remake Dress Guide
- + Show More Final Fantasy 7 Remake News Links (2)
- Final Fantasy 7 Remake Guide: Corneo's Secret Stash Locations
- Final Fantasy 7 Remake Materia Guide: Essential Materia You Might've Missed
Coliseum Fight: The Beastmaster And The Hellhound
In the Coliseum, you'll face the Beastmaster again, but with a new enemy working with him: the Hellhound. The Beastmaster is easy enough to deal with--hit him with melee strikes and Fire spells to knock him out in no time. The Hellhound is a tougher customer, but if you have the right spells handy, you can make quicker work of it.
The Hellhound is a two-headed monster, and each side of its personality has a flame that helps it generate powerful fire-based attacks. Extinguishing one or both of those flames with magic spells drives up its stagger meter in a hurry. You can use Ice spells to extinguish the Hellhound's red flame, or Cure spells to extinguish its purple flame. Either set of spells will knock the Hellhound down so you can close the gap to do more melee damage. Keep up a barrage of magic and melee and you should take the beast out with little difficulty.
Tracking Down The Stashes
Once you have the key, head to the Collapsed Expressway to open your first stash--it's just inside the entrance, to the north, and will give you two Moogle Medals and the Diamond Tiara key item.

The second stash is in Steel Mountain, north of the Sector 5 Undercity. Head east from the Sector 5 Train Station to reach it easily, as you approach Lookout Point. It contains a Prayer Materia, a Circlet accessory, and a Ruby Tiara key item, among other things--including a whole bunch of Moogle Medals.
To get to the last stash, you have to re-enter the Sewers. You'll do that when you visit Don Corneo's mansion as part of the main quest in Chapter 14. (If you've already done the Sewer section of the Chapter 14 story, you can return there from the Urban Development District near Don Corneo's mansion. Look for a side path and a ladder back down.)
The stash itself is in the Former Disposal Area in the Old Trunk Line - Control Section; if you look around the corner from the flooded waterway, you'll find a passage filled with water that you can't enter.
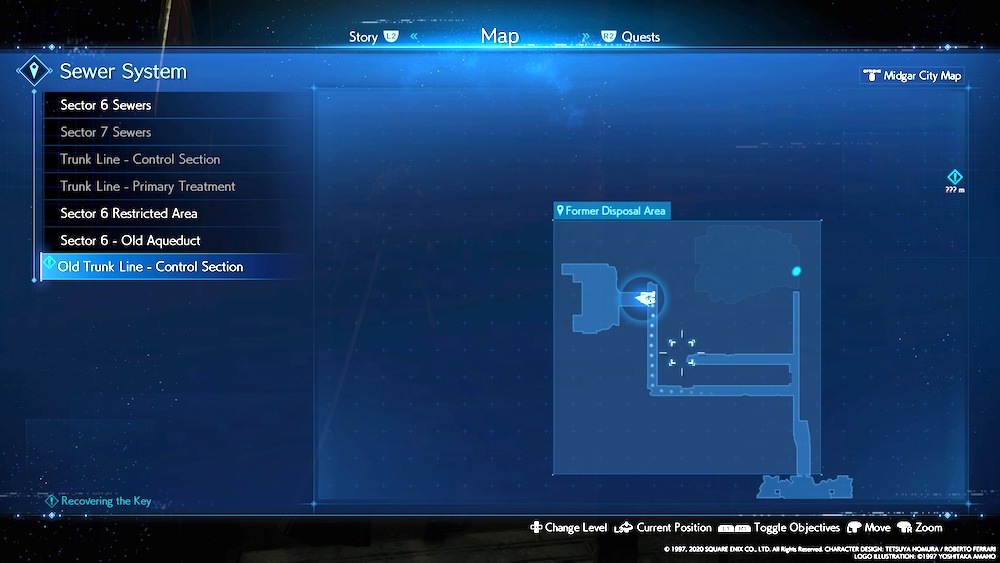
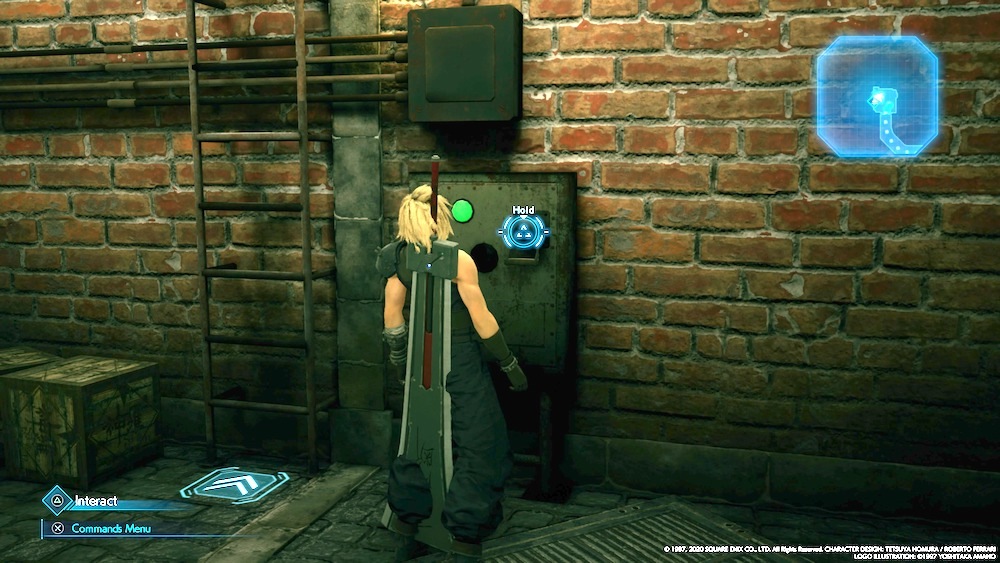
Work your way through the sewers until you defeat the Mischievous Shoat miniboss; after that, Leslie will lead you to a ladder with a switch beside it. Throw the switch, then return to the Former Disposal Area and enter the stash, which has now been drained.
Miniboss Fight: Sahagin Prince
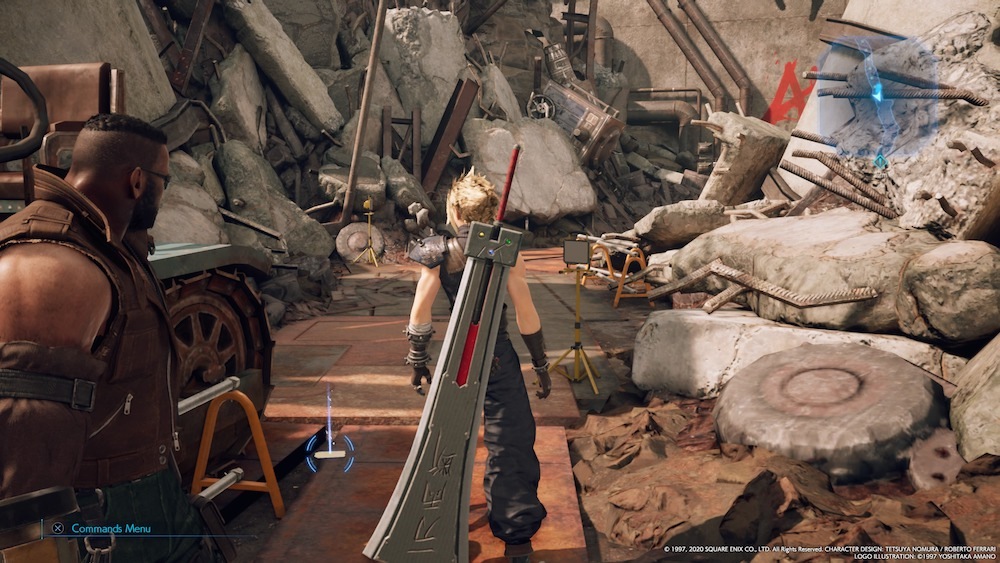
Inside the final stash, you'll fight the Sahagin Prince, along with two more Sahagins. The Prince is tougher than his buddies, using counter-attacks in addition to the Jump and Harpoon attacks of his friends, but he's got the same weakness: Fire. Use your most powerful Fire spells to quickly stagger and put down the two Sahagins backing up the Prince, then focus on it. Watch for him to go into his counterattack mode, then hit him with Fire to drive up his stagger gauge. The biggest threat in this fight is the Sahagins' ability to turn your team into frogs, but use maiden's kiss items if things get bad to bring them back. The key is to use Fire often and quickly to try to take out the Sahagins before they can zap you with too many status effects.
When you're done, finish the Sewers main quest with Leslie. Before you head topside, talk to Marle in Evergreen Park. You'll get the Art of Swordplay Vol. III Manuscript when you're done, which will give you extra skill points for Cloud. You should also find a letter on the ground in the Urban Development District near Don Corneo's mansion on your way to leave for the plate above, which will unlock the "Divine Gratitude" Trophy.
Got a news tip or want to contact us directly? Email news@gamespot.com
Join the conversation