Final Fantasy 7 Remake Chapter 3 Walkthrough: Home Sweet Slum (Spoiler-Free)
Complete every sidequest, find every collectible, and grab every item and weapon along the way with our FF7 walkthrough.
Final Fantasy 7 Remake expands on the original game's portion of the story that takes place in Midgar, increasing the scope and adding a whole lot more to FF7's opening hours. If you're going to stop the evil Shinra Corporation and save Midgar slums, you'll need the best weapons, armor, and materia you can get for your team along the way. That's why we've compiled a walkthrough that'll help you find every hidden chest, complete every sidequest, and win every boss fight.
But the core of the Final Fantasy experience is the story, which is why we've taken pains to keep this walkthrough spoiler-free. We've marked out where you can find everything you need to become as powerful as possible in FF7, while finding every collectible and unlocking every secret.
- Chapter 1
- Chapter 2
- Chapter 4
- Chapter 5
- Chapter 6
- Chapter 7
- Chapter 8
- Chapter 9
- Chapter 10
- Chapter 11
- Chapter 12
- Chapter 13
- Chapter 14
- Chapter 15
- Chapter 16
- Chapter 17
- Chapter 18
Chapter 3 Walkthrough: Home Sweet Slum
Things will be pretty straightforward in the early portion of this chapter. Make sure to interact with the jukebox in Seventh Heaven to get the Tifa's Theme Music Disc. Once you get an apartment, go outside and hang a left past Marco's, continuing around the corner. Take the ladder to the roof to find a chest with a phoenix down inside.
Later, when you stop by the Item Shop, you can purchase the Prelude Music Disc for the Seventh Heaven jukebox. Hold off on buying any materia, as you'll be getting some for free in a moment.
After meeting with the Neighborhood Watch, head out the door and around the corner to the east. There's a bottle of ether in the chest there. Then continue to Scrap Boulevard.
Scrap Boulevard
Find some Shinra crates in the far west corner of the map. There's also a chest here with two antidotes in it.
Head to the Goal marker on the map and kill the enemies there. You'll find Shinra crates by the cave entrance.
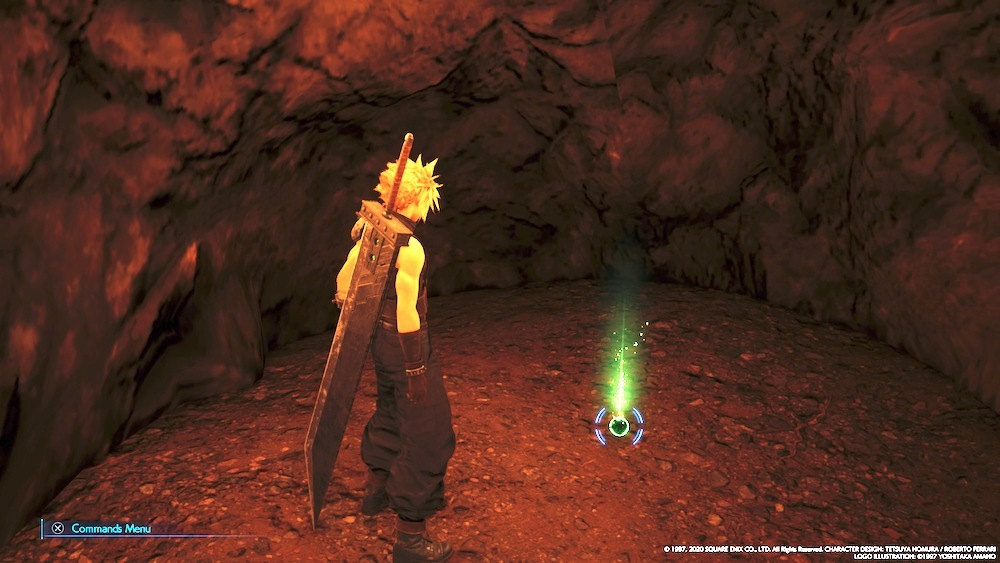
Go back through the cave. Look for an alcove in the middle on the north wall, where you'll find an Ice Materia on the ground.
Return to the Neighborhood Watch, and as you follow along with instructions, you'll receive Cloud's Iron Blade weapon. Go talk to Wymer to unlock a handful of sidequests.
Side-Quest: Chadley's Report
Chadley is the weird kid standing next to Wymer, who wants your help developing new materia. He'll give you the Assess Materia when you take on the quest; use it on any enemies you fight from here on out. It'll give you valuable tactical information, while completing this quest for Chadley. Later, he'll give you Battle Intel assignments with a variety of objectives to unlock additional materia. For this one, return when you've analyzed two different types of enemies to buy the Auto-Cure Materia.
Final Fantasy 7 Remake News
- Final Fantasy 7 Remake Intergrade Review - Materia Improvements
- Final Fantasy 7 Remake Dress Guide: How To Get Every Dress In Wall Market
- What Would Suit Tifa Choices: Final Fantasy 7 Remake Dress Guide
- + Show More Final Fantasy 7 Remake News Links (2)
- Final Fantasy 7 Remake Guide: Corneo's Secret Stash Locations
- Final Fantasy 7 Remake Materia Guide: Essential Materia You Might've Missed
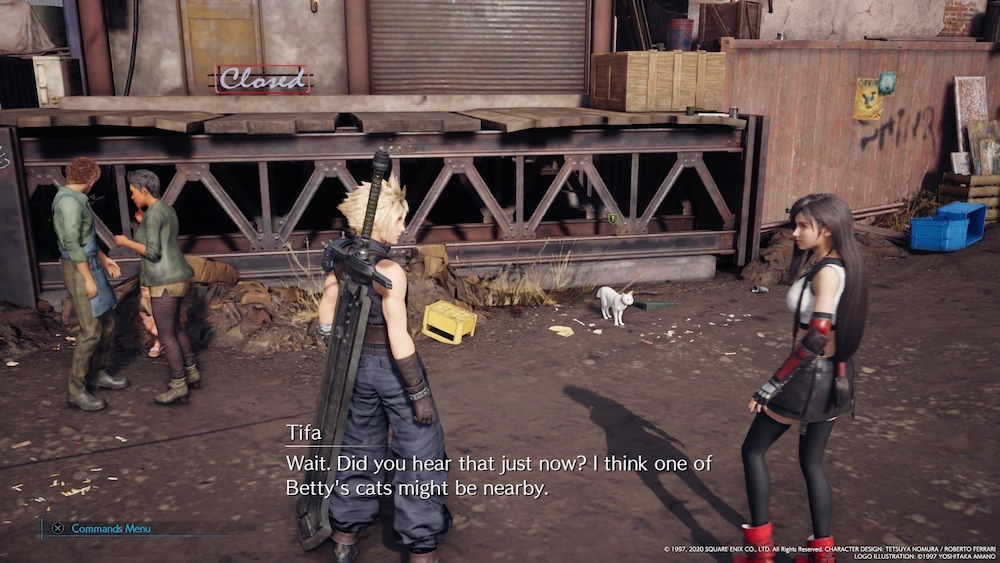
Side-Quest: Lost Friends
Visit the little girl playing west of the Beginner's Hall, who will dispatch you to find three missing cats. Keep talking to her and she'll provide some hits as to where to find them, as well.
The first cat is pretty easy to find, sitting on the porch of Seventh Heaven. From there, head east to find the second cat, sitting on the north side of the road at the next intersection.
The third and final cat is hidden among the houses north of the Beginner's Hall, just before you reach the Item Shop. You'll see a woman with a green marker over her head standing in front of a pipe. Talk to her, then slip into the pipe to find the last cat and finish the quest.

Side-Quest: Rat Problem
Talk to the Item Store owner, then take the path going north that's on the west side of Seventh Heaven. Duck through the pipe to enter a vacant lot full of rats. Take them out and open the chest on the east side of the area for three grenades.
Return to the lot and fight the Doom Rats. They're pretty quick, so try using Punisher mode to get counter-attacks and their melee strikes, and use magic to hit them at a distance. If you can do some sustained damage, you'll stagger the rats, which allows you to knock them out.
When you return to the Item Shop owner, you can buy a Cleanse Materia for a discounted price of 300 gil. It's a good idea to equip and use Cleanse when you can, since having the materia leveled up will help you with a minor sidequest story point later in the game.
Side-Quest: Nuisance in the Factory
Talk to the Junk Dealer in the area behind Seventh Heaven. You can access it from the pathway going north on the west side of the bar. Then take the road toward the train station to find the way into the factory.
As you enter the factory's first warehouse, destroy the Shinra crates against the northern wall, then turn left and head to the west to find a chest near a locked gate. It has two antidotes inside. Follow the path north to find another set of crates.
Continue to the next warehouse and kill the four Gorgers. Be careful about letting them get close to you--with their Feast attack, they'll jump onto your characters and lock them up so they can't move. When that happens, switch to another character and wail on the Gorger attacking your character until it lets go. Check the northwestern corner for Shinra crates before moving on.
Keep heading north and turn left to find your first Lesser Drake. These creatures will hit you with powerful Wind magic attacks if you're not careful. Hit it with magic to bring it to the ground so you can wail on it; if you can hit it with Wind attacks yourself, you can quickly stagger it.
Use the switch to the right of the door on the south wall of this warehouse to open the big door. Beyond it is a chest with two sedatives inside.
Return to the south and take the path to the west. The next building has more Gorgers inside. Check the northwest corner for Shinra crates. Before you leave this warehouse, use the switch to the right of the big gray door to open it and reach a Fire materia.

Keep moving into the last warehouse to fight two more Lesser Drakes and finish the quest. You'll be back here later, so keep the layout in mind.
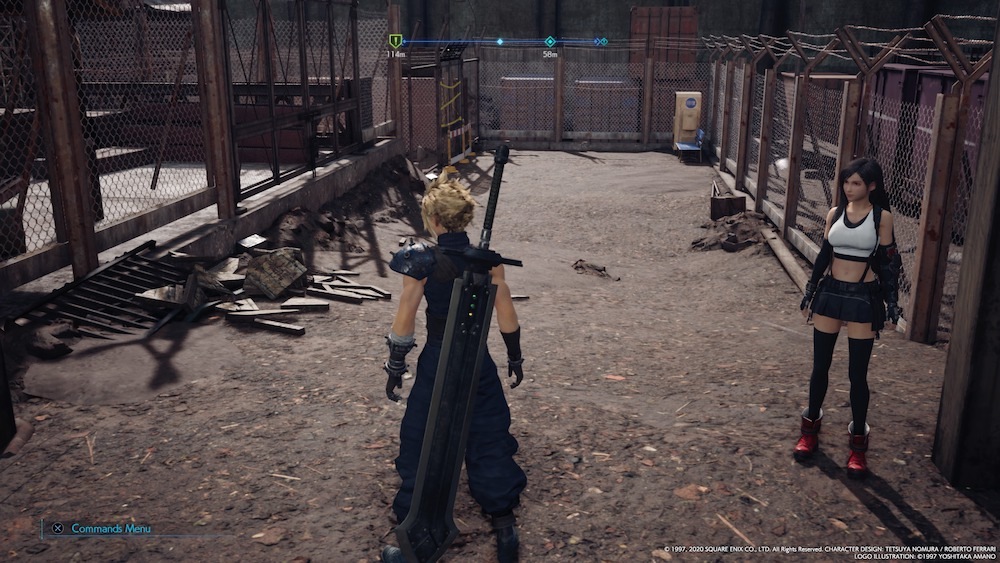
Side-Quest: On the Prowl
After you've cleared the first set of quests, return to Wymer, who will send you to Scrap Boulevard.
Find the Wrath Hound in the furthest west area of Rust Boulevard. Be careful of its attacks, as you can't interrupt them, and it'll hit hard and fast. Magic can build up the hound's stagger meter, so hit it with spells to try to push it over the line. Once you do enough damage, it'll flee. Head back to the entrance of Rust Boulevard to find Wymer, who opens the way to a new section of the area. You'll find the hound further in, but this time, you'll have to bring it down for good.
Side-Quest: Just Flew In From The Graveyard
After completing Nuisance in the Factory, the Junk Dealer will notify you of another pesky Drake that needs some killing. Head towards the train station again to find a woman named Gwen, who's arguing with some Shinra soldiers. Hear her spiel about getting a keycard from some boxes to get to the Drake, and then head back into the factory area.
In the factory, return to where you got the Fire materia earlier, and you should find a stack of boxes you can smash to the left of the gate doorway. Hit that and you'll get yourself the keycard you need to get face the Drake.
Continue through the tunnel to the last warehouse, where you'll find a locked door and a control beside it. Unlock it with the keycard to face the Cerulean Drake. This version of the enemy has ice attacks, so be sure to dodge them, as they'll hurt while also slowing down your attacks and movement. Hack away at the drake and hit it with Wind magic to stagger it if you can. Once you've killed it, return to Gwen to finish the sidequest.
Discovery: Alone at Last
If you complete all the side missions, you'll get the "Alone at Last" Discovery mission. Head back to the Stargazer to activate it. as the scene progresses, Tifa will ponder "what suits her," and your response will dictate a minor change in Chapter 9; check out our What Would Suit Tifa guide for the details. At the end of the scene, you'll earn a Crescent Moon Charm.
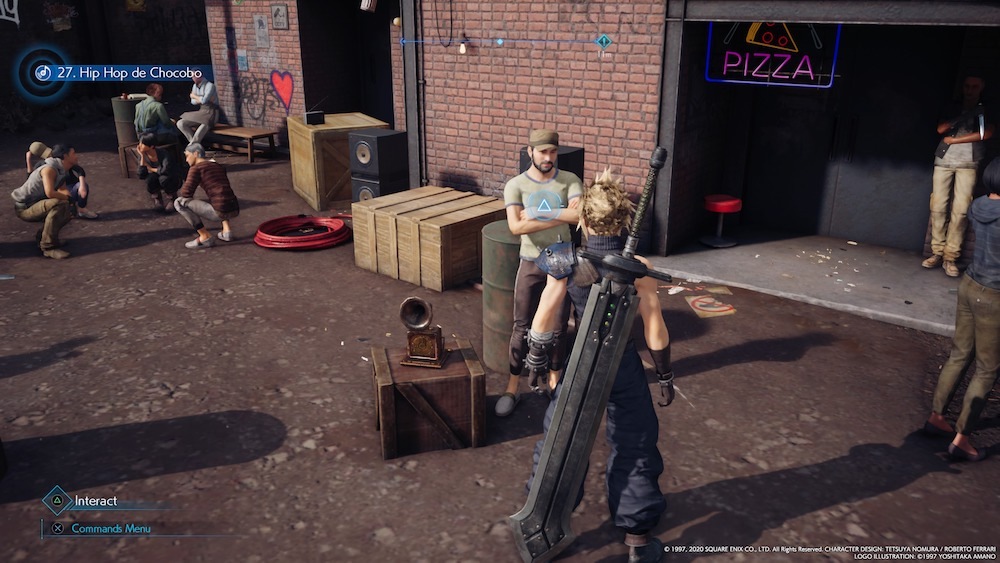
A Job Well Done
As you head out with Tifa, stop in front of the pizza sign and talk to the man there to get the Hip Hop de Chocobo Music Disc.
On your way back to the bar after dealing with Johnny, continue past the pizza sign to find stairs that lead onto Seventh Heaven's porch. Go around to the left to find a chest with two hi-potions inside.
Note that when you return to the bar, Tifa will ask you if you want to head back out. If there's anything you haven't finished or anywhere you want to visit, go out and do it now. We recommend checking in with Katie beside the Weapon Shop, who's keeping a running tally of the monster's you've killed. If you've killed enough monsters to meet the various tiers of criteria, you'll earn some rewards, which include five potions, revival earrings, and an MP Up Materia.
Ominous Shadows
Once you're done in Seventh Heaven, go with the Hoodlums. When you fight them, watch out for their guns. They're weak to Fire magic, but when their health gets pushed down to critical levels, they'll start drinking a potion that makes their attacks uninterruptible, so stay back.
Continue with our spoiler-free walkthrough in Chapter 4: Mad Dash.
Got a news tip or want to contact us directly? Email news@gamespot.com
Join the conversation