Elden Ring Leyndell, Royal Capital Guide - Secrets, Bosses, Important Locations, And More
This non-optional area is home to some of the most challenging (and easily missable) zones in all of the Lands Between.
From the moment you open the doors of the Stranded Graveyard and first step foot into the Lands Between, Elden Ring makes clear the significance of the Erdtree. Your eyes are instantly drawn to it, towering golden and majestic in the distance. Getting there and discovering its mysteries is, in a nutshell, the main objective of your adventure. But to do that, you'll need to first make your way through the city where the Erdtree lays its roots: Leyndell, Royal Capital.
Leyndell is at the center of Elden Ring's lore--and at the center of the map itself. Given its significance to the story, it's no surprise that it's teeming important items, immense challenges, and confounding secrets around every corner. We won't cover everything there is to do in Leyndell here; we'll leave some of the exploration and joy of discovery to you! However, with so many hidden (and we mean hidden) locations and items that can easily be missed, this framework should help aid you in your journey.
Getting to Leyndell
Unlike other zones you may have stumbled upon thus far in Elden Ring, Leyndell is both 1) required to beat the game, and 2) impossible to access early. You'll need to have collected--and activated--two Great Runes in order for the gates to the city to open. The easiest option is to kill Godrick and activate his Great Rune at the Limgrave Divine Tower, and then kill Rennala, whose Great Rune is activated automatically. You can also kill Radahn instead, activating his Great Rune at the Divine Tower of Caelid; trekking through Caelid can be a good way to level up and prepare for the tough enemies in Leyndell, as well.
With your two Great Runes activated, it's time to make your way to the Altus Plateau region where you'll find the Royal Capital. The fastest route is up the Grand Lift of Dectus. To use it, you'll need both halves of the Dectus Medallion. The left half is at the top of Fort Haight in Limgrave, and the right half is in Fort Faroth in Caelid.
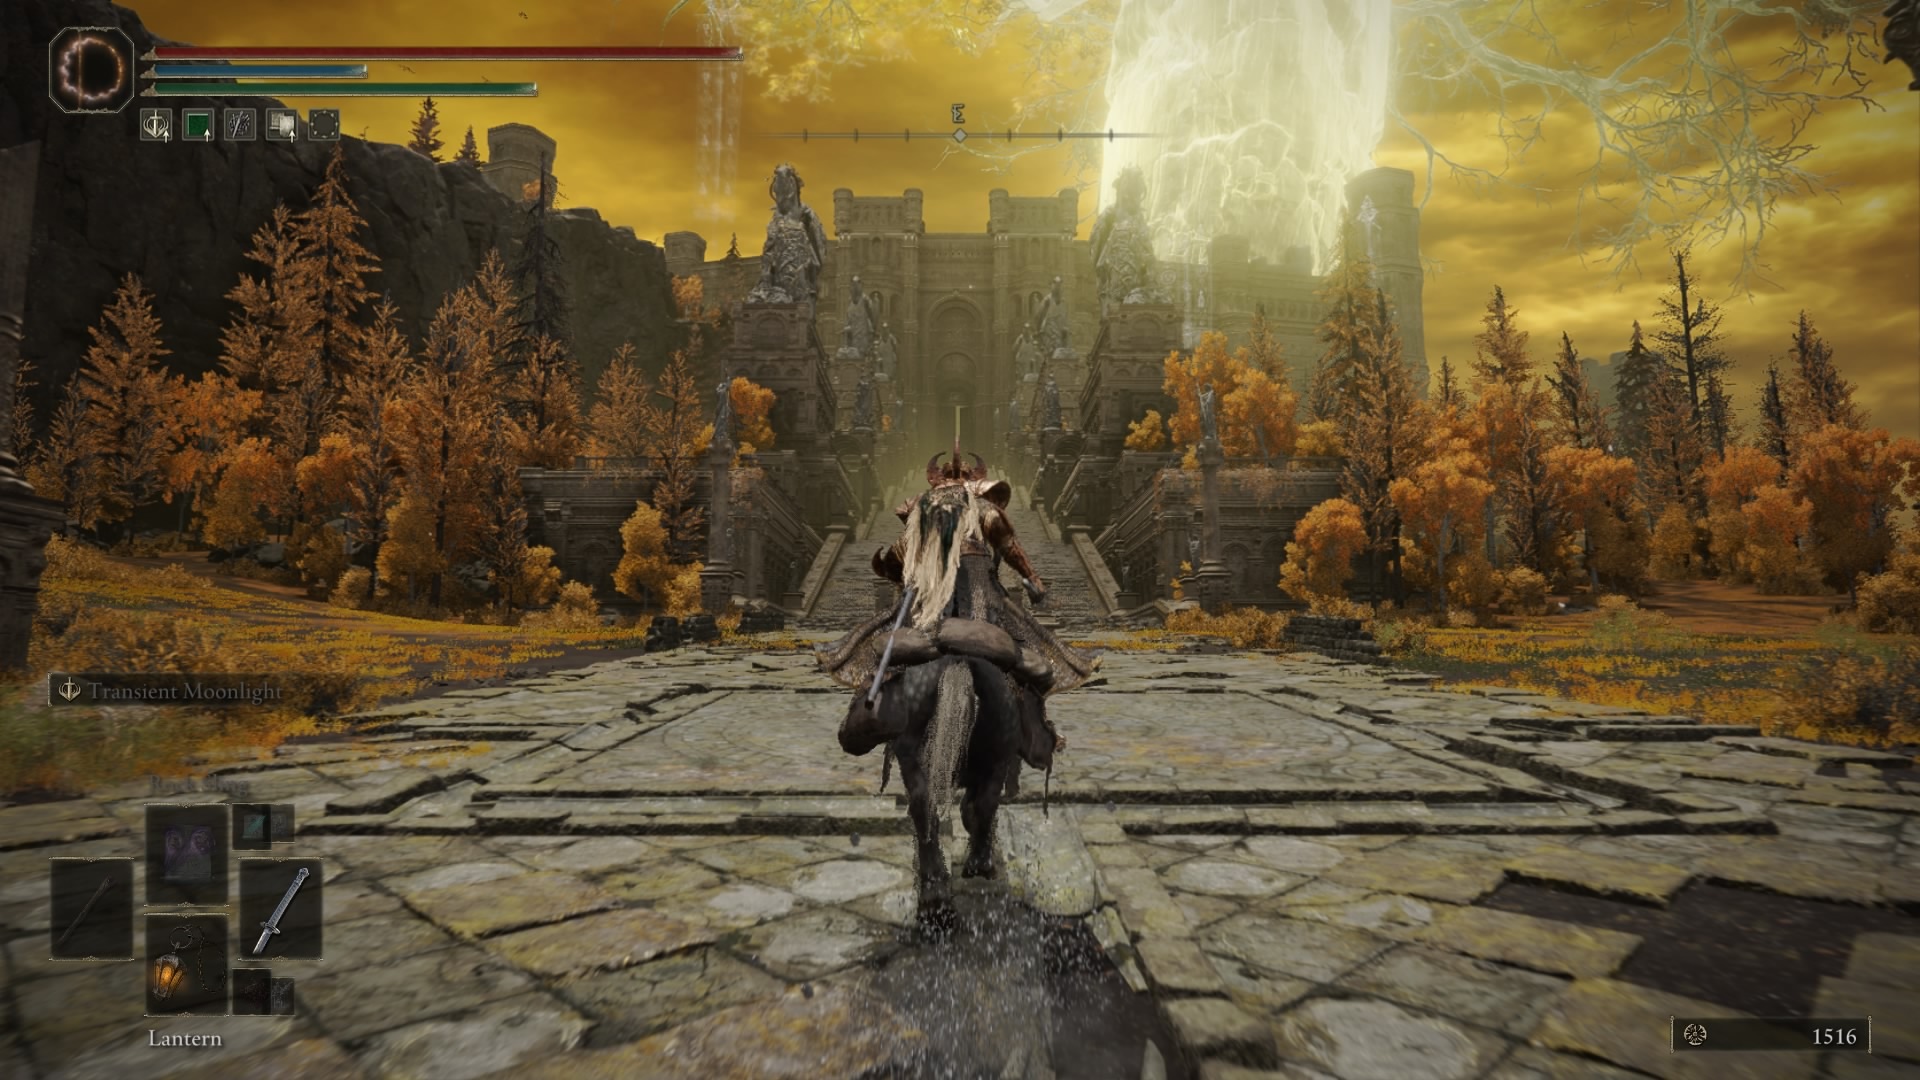
After riding the Grand Lift of Dectus, continue northeast on the path until you reach the Altus Highway Junction Site of Grace. From there, head east up the huge staircase. There will be a Tree Sentinel duo guarding the gate at the top. You can fight them, or simply run past them and rest at the Outer Wall Phantom Tree Site of Grace. Make sure to grab the two Golden Seeds, as well as the map fragment. Welcome to Leyndell!
Capital Outskirts
Before entering the heart of Leyndell, there is much to explore in the area between the outer wall you just entered through and the wall of the city proper. To start, head south on the path to find the Minor Erdtree Church. Here, you'll find the Golden Order Seal, as well as the Missionary Cookbook [4], which lets you craft Holy Grease, among other items. From there, head to the moat below to find the Sealed Tunnel dungeon. Make your way through the illusory walls and Onyx Lord boss, and you'll come out the other side at the Divine Tower of West Altus, where you can activate Rykard's Great Rune if you've already defeated the boss of Volcano Manor.
Continue north along the main path, and you will eventually stumble upon a familiar face near the northwest entrance to the Capital Outskirts: Margit, the Fell Omen, back for blood after his defeat at Stormveil Castle. Take him down to get the Viridian Amber Medallion +1, which raises Stamina by 13%.
Finally, make your way to the far east of the perimeter to find Auriza's Hero's Grave, which will likely be one of the tougher dungeons you've encountered thus far. After defeating the Crucible Knight duo boss, you'll walk away with the Crucible Axe armor set, Ordovis's Greatsword, and other goodies.

The last thing standing in your way before entering the Royal Capital is the Dragonic Tree Sentinel. This boss is similar to the regular Tree Sentinel you first encountered near the Church of Elleh, except with a wider range of attacks, capable of dealing both Fire and Lightning damage. Fighting on horseback can be a helpful strategy here. With him dead, you'll be rewarded with 50,000 Runes, the Dragonclaw Shield and Dragon Creatclaw, and, most importantly, access to the Leyndell, Royal Capital.
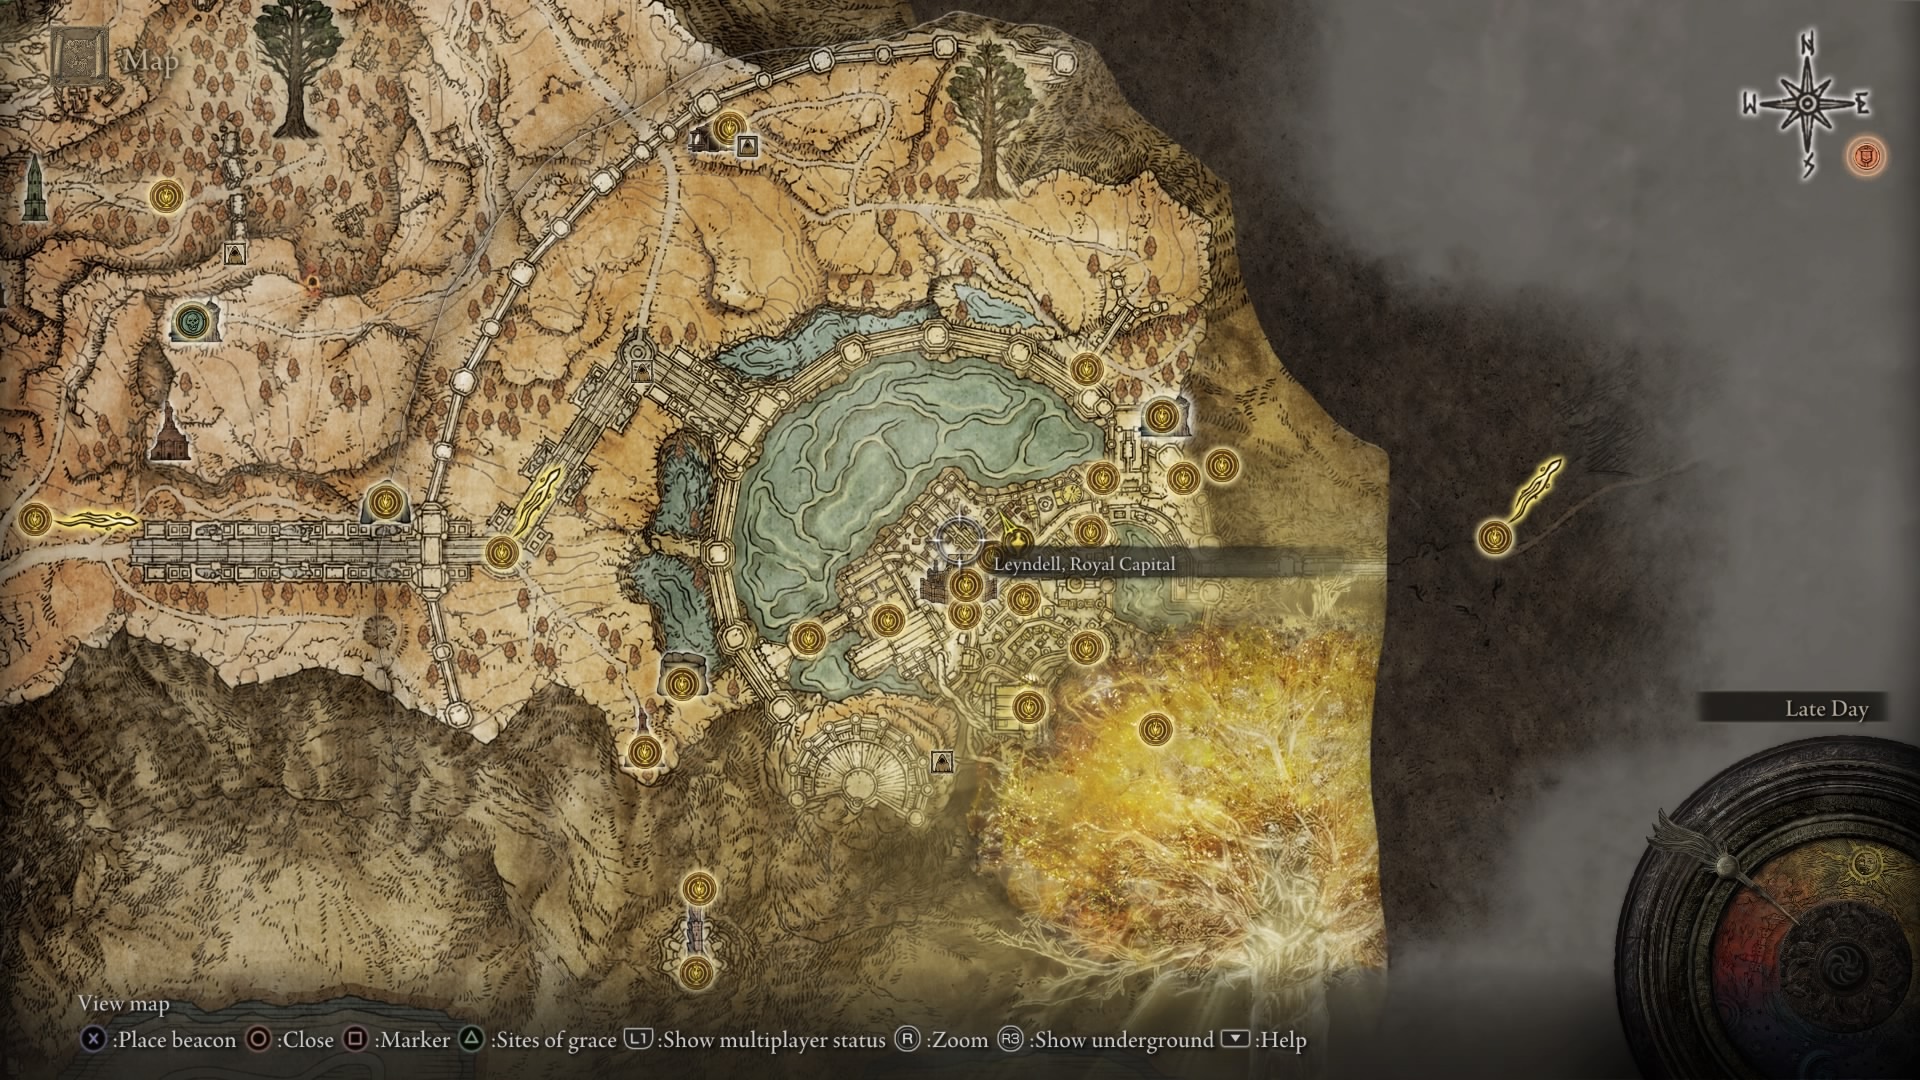
Leyndell, Royal Capital

The streets of Leyndell are crawling with enemies. You'll run into Oracle Envoys big and small, Imps, Foot Soldiers, and fearsome Leyndell Knights capable of taking you out with just a couple hits (or sniping you to death with Lightning Arrows from a distance). There will even be an Erdtree Avatar waiting to ambush you on the main road. Think on your feet, and avoid charging into groups without a plan. Be sure to scour every corner of the rooftops and side streets for loot, which is plentiful.
Fortified Manor

In the southwest corner of the city, you'll stumble upon a familiar sight: The Roundtable Hold, or an alternate version of it, at least. There won't be any of the normal NPCs standing standing around, but in their place you'll find plenty of good items to pick up. Make sure you interact with the Flightless Bird painting as well, then head to the chair apparition near the Windmill Heights Site of Grace in Windmill Village to get the Fire's Deadly Sin Incantation. Note: this spell is currently bugged, causing rapid Bleed buildup just by getting close enough to the enemy. Abuse this effect to your heart's content in PvE, but, for the sake of sportsmanship, keep it out of PvP until the glitch is patched out.
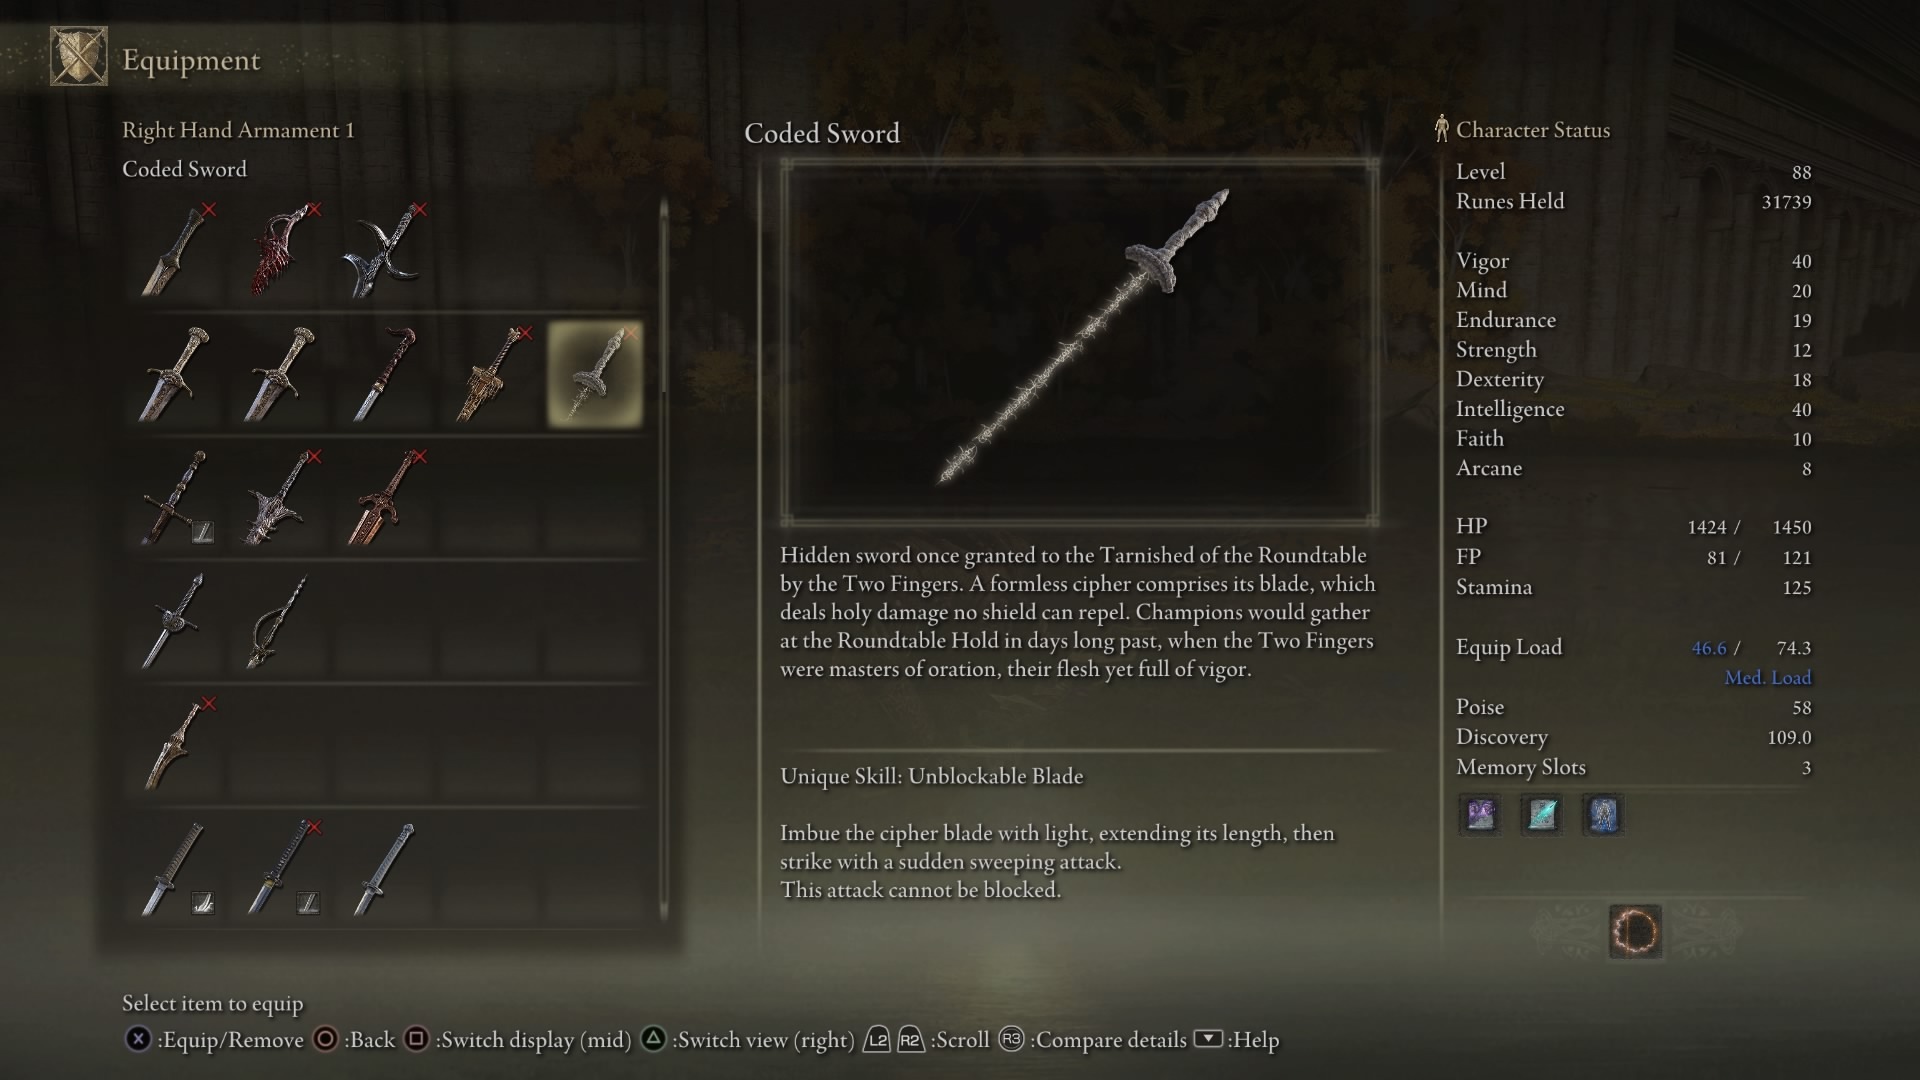
Before you leave, make sure to visit the Two Fingers room. Upon the throne, you'll find the Coded Sword, one of the stronger Faith weapons in the game. It has great range, and can absolutely wreck any enemy weak to Holy Damage with its unblockable special attack.
Godfrey, First Elden Lord (Golden Shade)

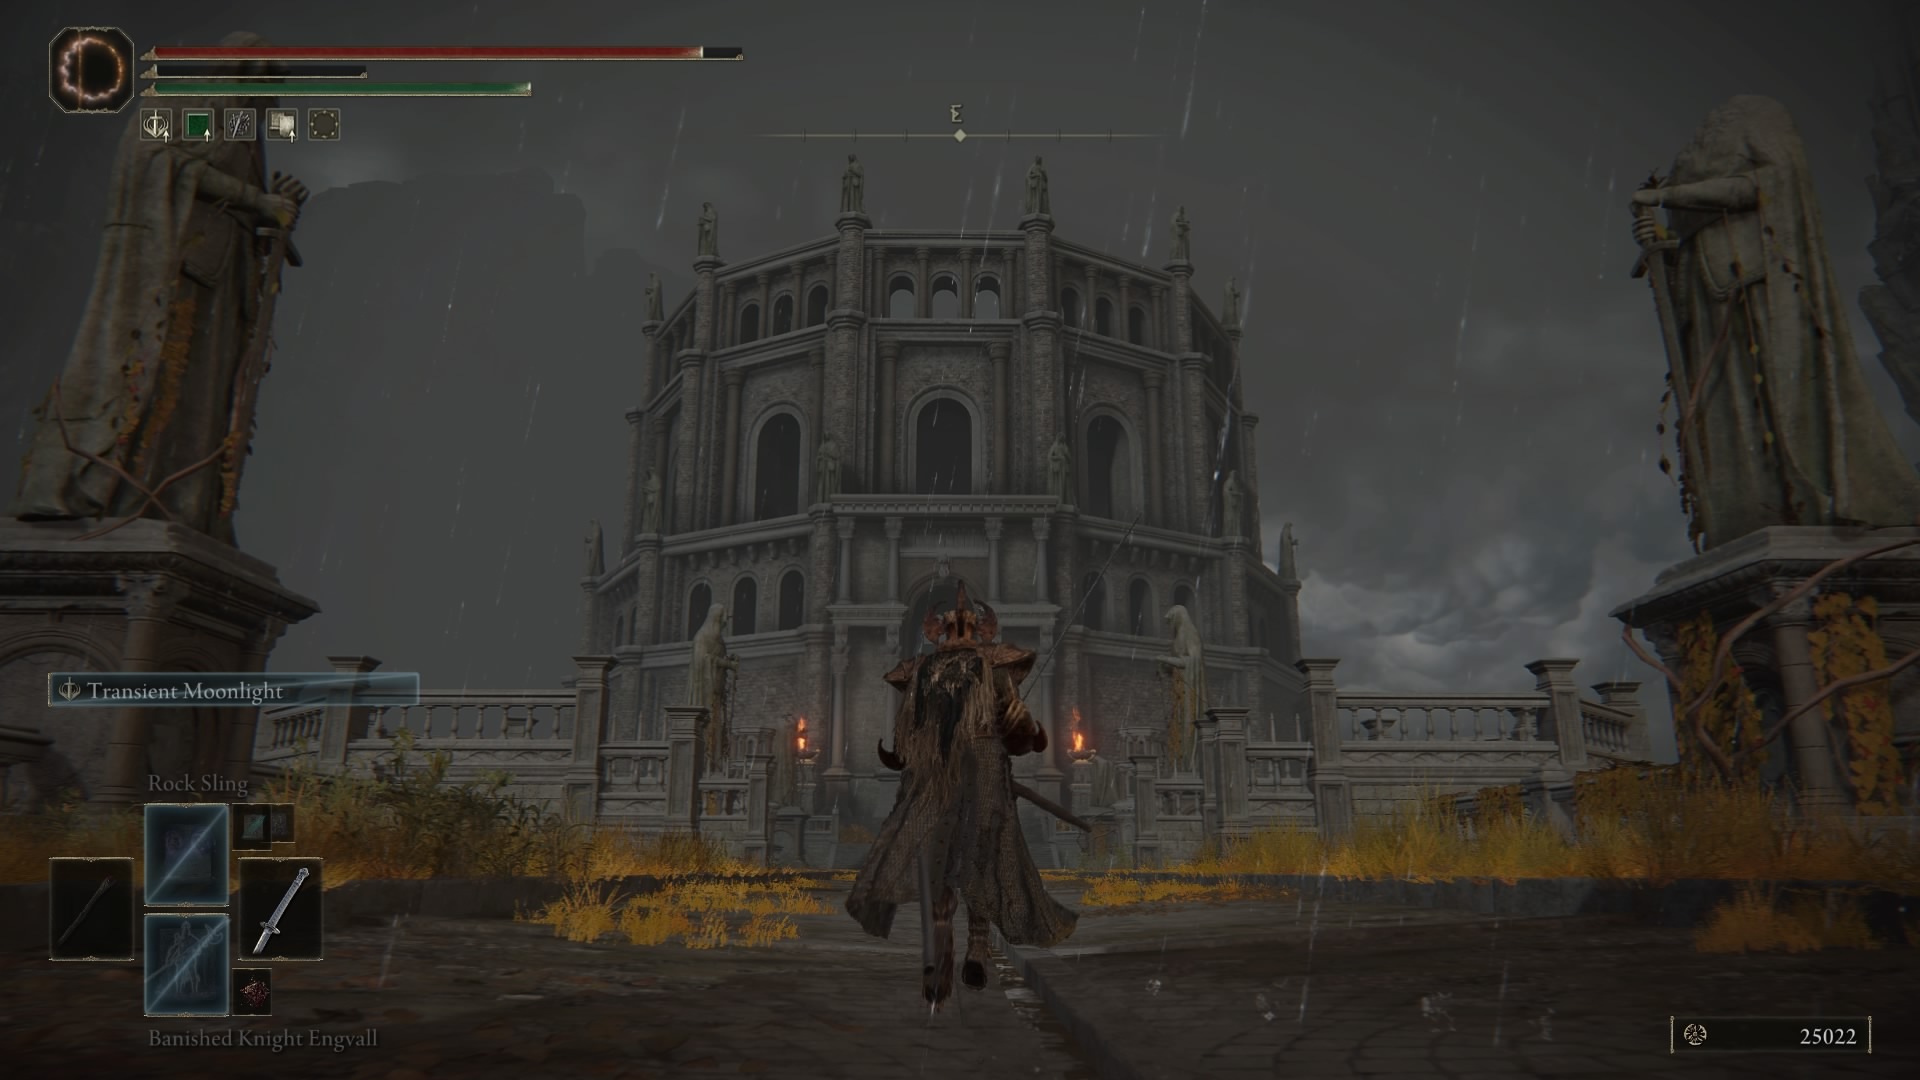
Climb up the tree branches in the southeast part of Leyndell to reach the Erdtree Sanctuary. Here, you'll be confronted by a golden apparition version of Godfrey, First Elden Lord. The fight is essentially just phase one of the final Godfrey fight, which you'll encounter near the end of the game. Dodge through his different Axe attacks, and jump over the shockwave whenever he stomps down.
Defeating Godfrey is necessary in order to reach the final boss of Leyndell. Doing so will net you 80,000 Runes and a Talisman Pouch. This should be your third or fourth Talisman slot by this point in the game, which opens the door to really dialing in your build. After this fight, make sure you head down the stairs to get the Bolt of Gransax weapon before continuing on.
Subterranean Shunning-Grounds

Beneath the streets of the Royal Capital lies an enormous, sprawling underground labyrinth known as the Subterranean Shunning-Grounds. It is home to some of the hardest-hitting, tankiest common enemies in the game--including the dreaded Giant Crayfish--as well as the meanest platforming challenges. You'll also want to be sure to track down Dung Eater and complete his quest while you're here.
Much like Blighttown in Dark Souls, the Subterranean Shunning-Grounds stands alone in its infamy, and is easily one of the most feared and loathed zones in Elden Ring. For such a huge, unforgiving zone, it is also remarkably easy to miss.
Making your way underground
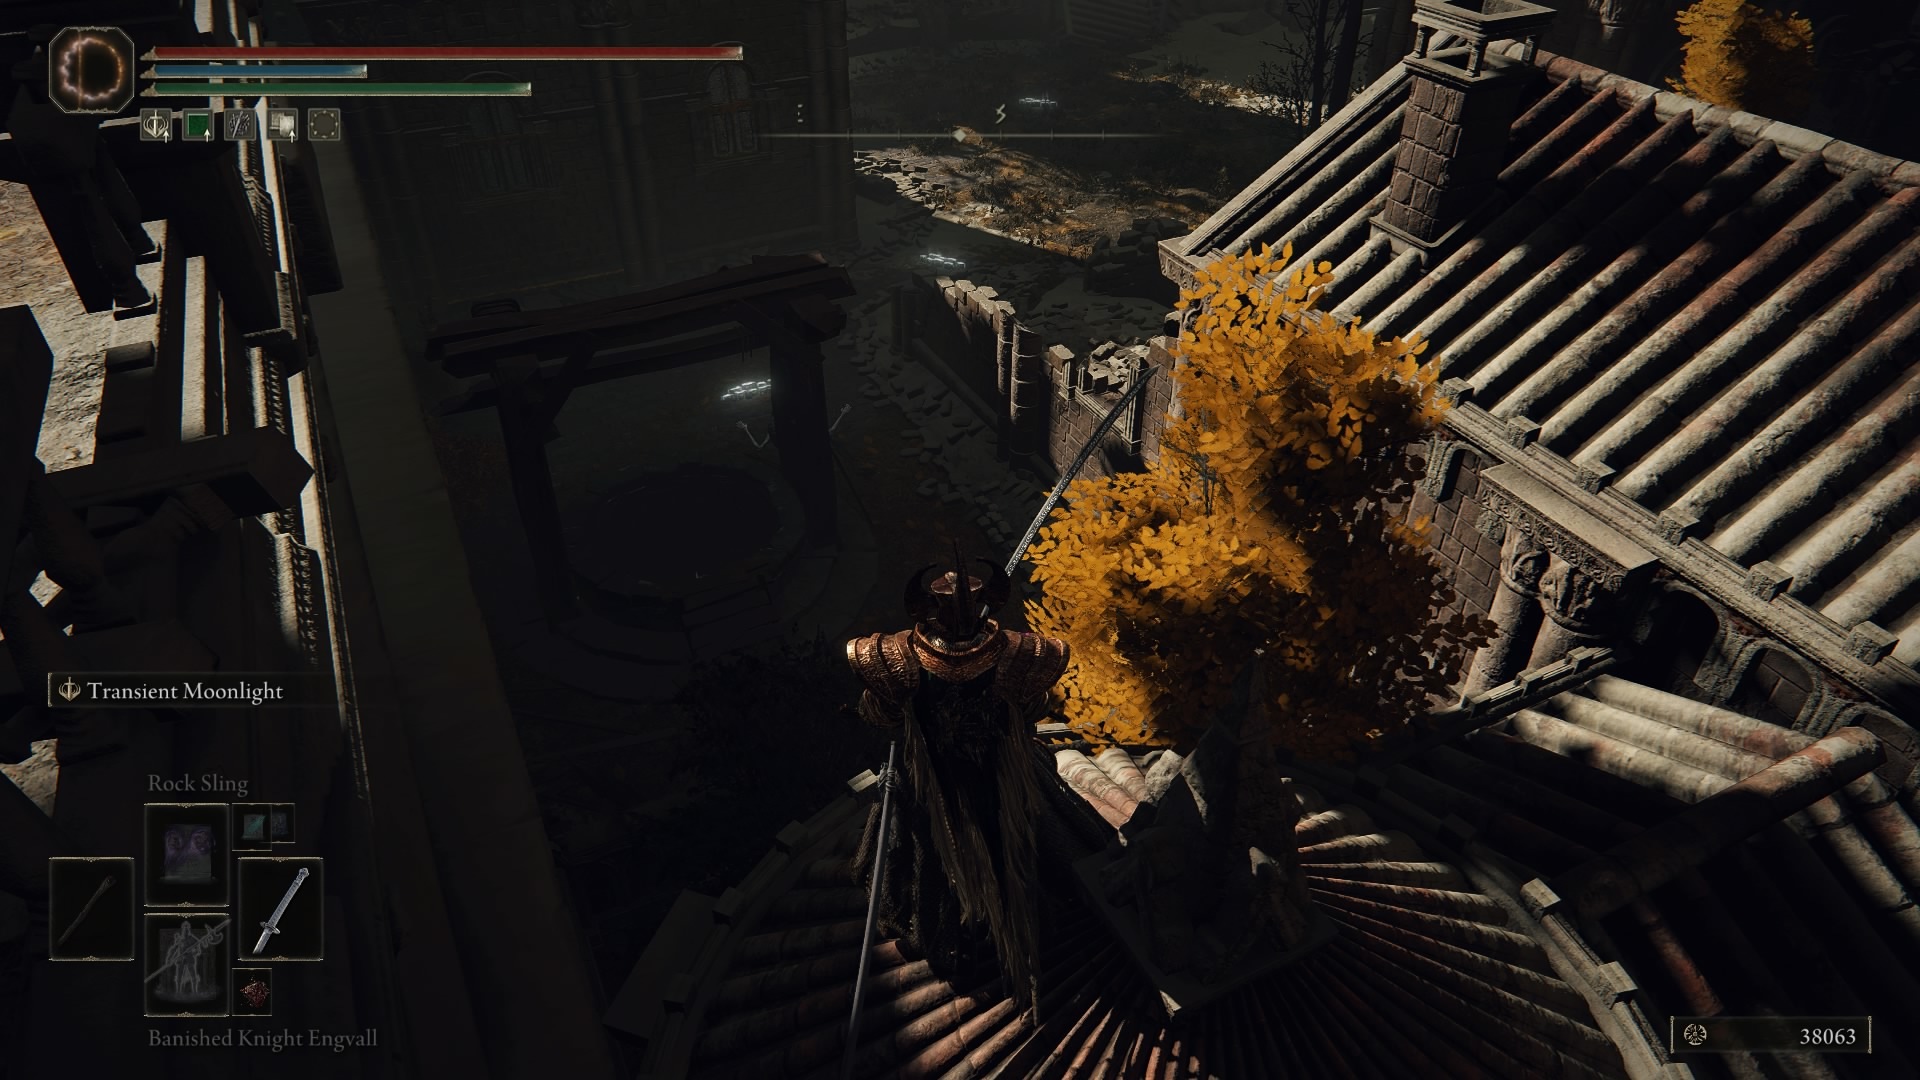
The quickest route to the Subterranean Shunning-Grounds is from the Avenue Balcony Site of Grace. Head down the stairs and out the door, being careful of the Knights roaming the area. Hug the railing to your left, and hop onto the rooftops. You will see a well next to a corpse on the ground below.

Drop into the well and open the gate, grabbing the Rune Arc on the way. Continue down until you find yourself in a hallway being patrolled by three huge Omen monsters. Rest up at the Underground Roadside Site of Grace, and prepare to suffer!
Leyndell Catacombs

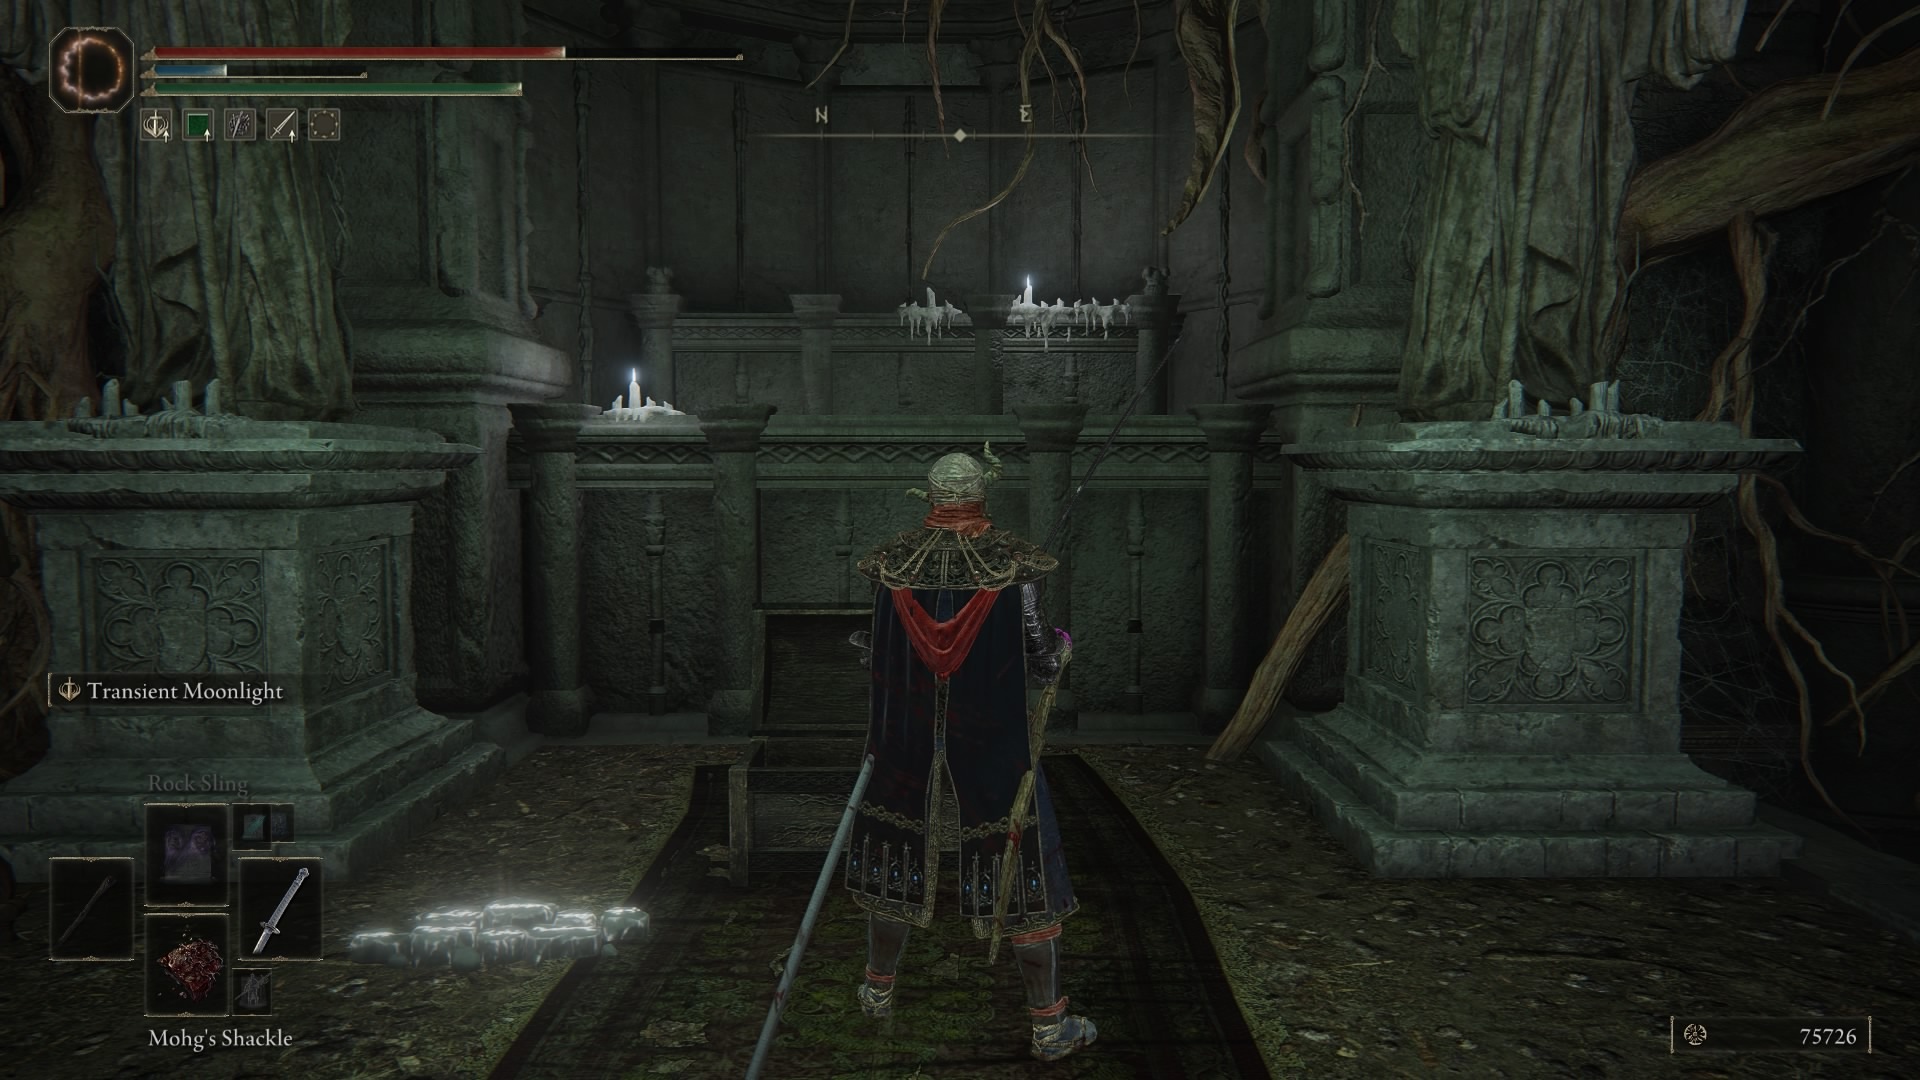
Make your way through the Imp-infested sewer pipes and drop down to the room with the two Crayfish. Be sure to grab Mohg's Shackle from the corpse on the wall; this will come in handy later on. Head through the door and rest at the Leyndell Catacombs Site of Grace.
These Catacombs are deliberately designed to confuse you. The area is comprised of three different levels, all of which are very hard to tell apart. Rainbow Stones are a good way to keep track of where you've already been here.
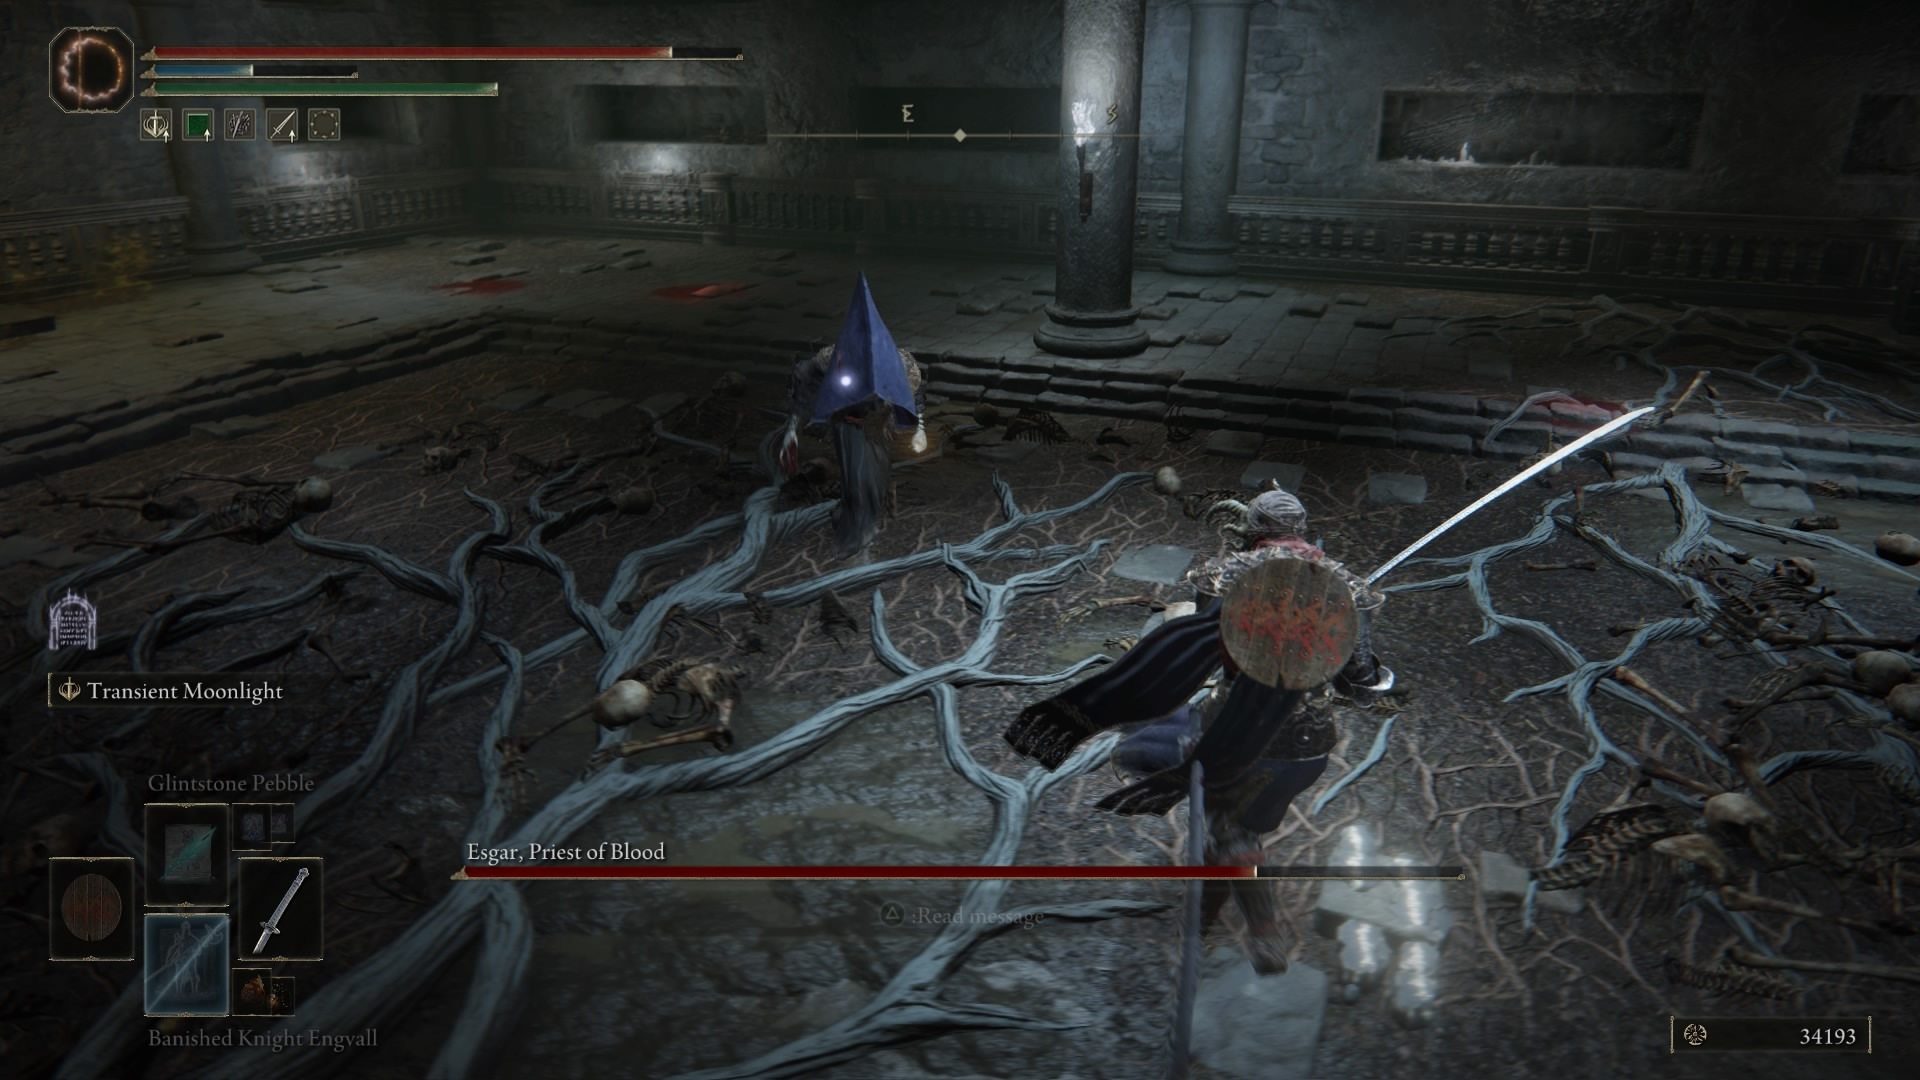
After making your way through to the lever, you'll open the door to the Esgar, Priest of Blood boss fight. He uses a variety of Bleed spells and attacks, and also has two Blood Dogs at his side. Take them down, and you'll be rewarded with the Lord of Blood's Exultation Talisman. This is one of the strongest items in the game for Bleed builds, granting you a 20% attack power increase whenever Blood Loss occurs in the vicinity.
Mohg, the Omen
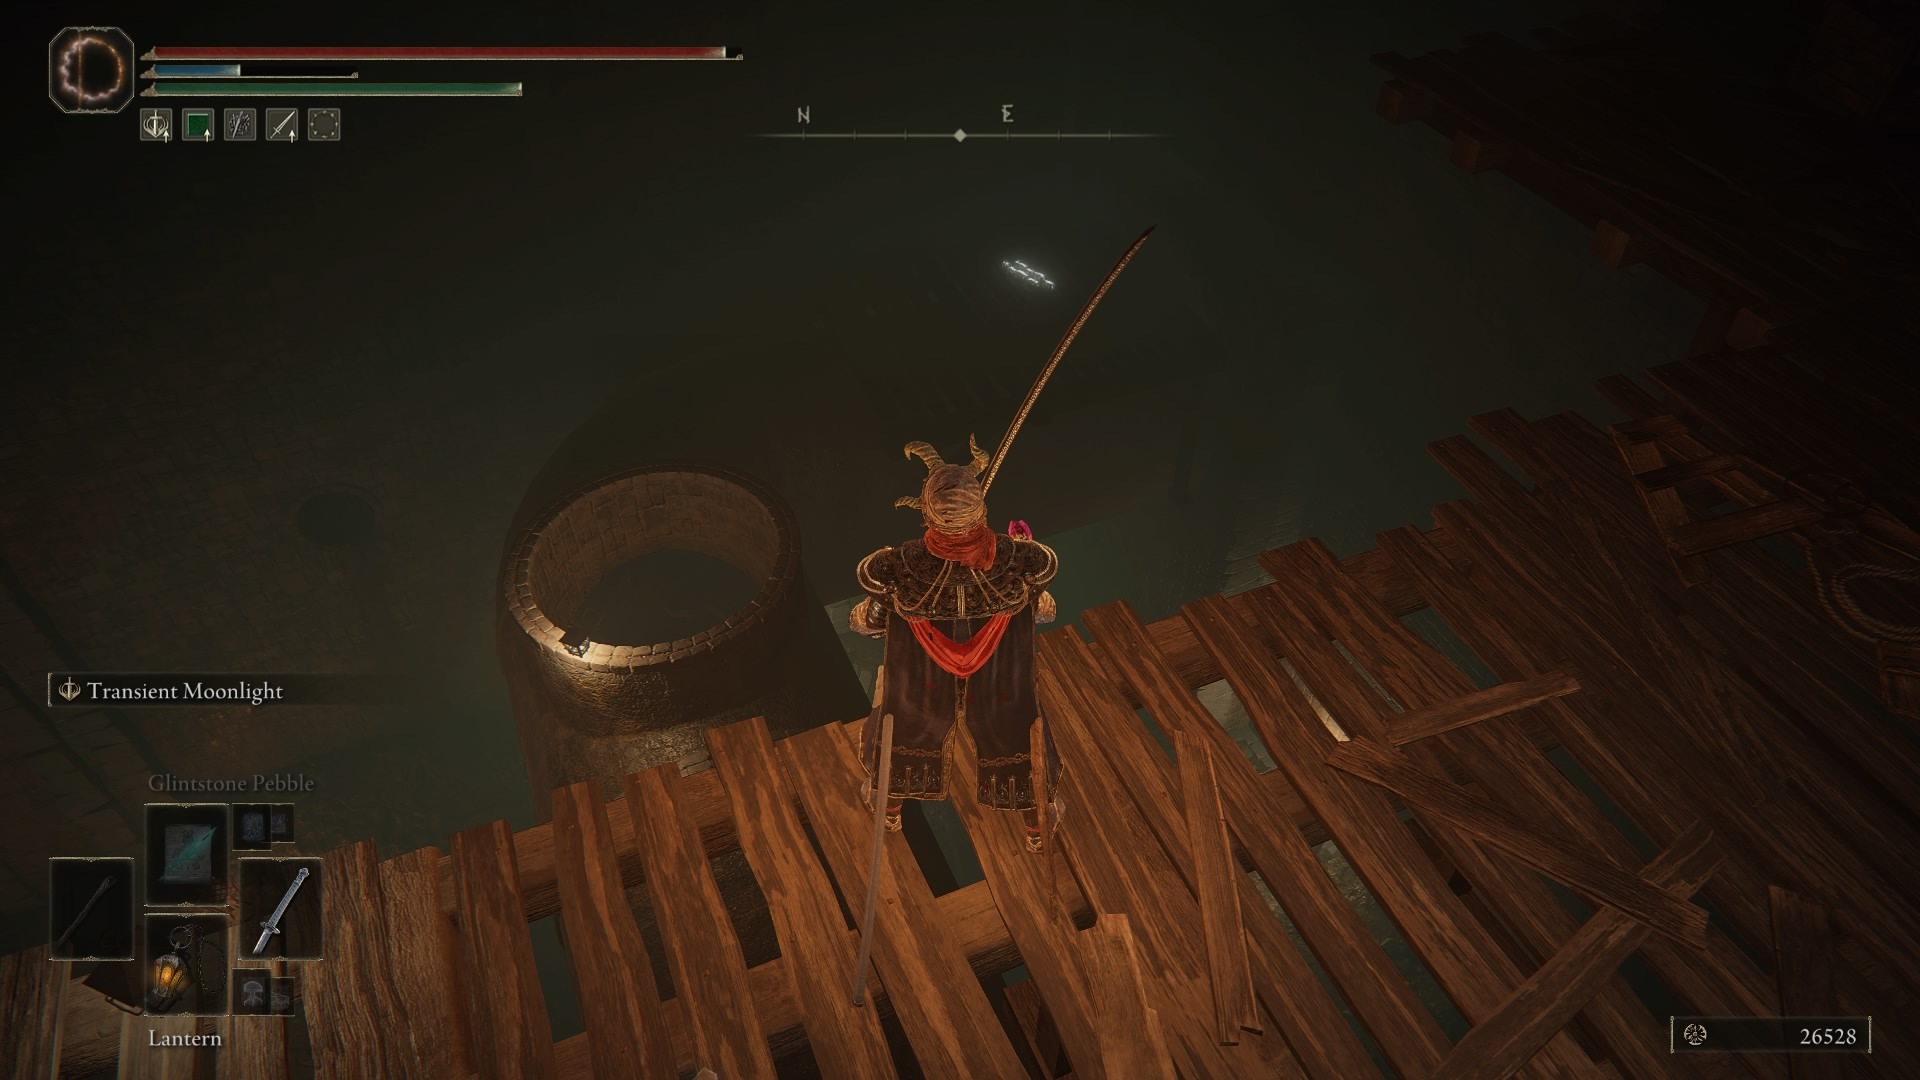
Getting to Mohg, the Omen requires traversing through the maze-like series of sewer pipes, accessed near the rats on your way to Dung Eater. You'll eventually come across a pipe with an opening at the top. Hop into the pipe and continue on until you reach the elevator by the jars, grabbing all the loot along the way.
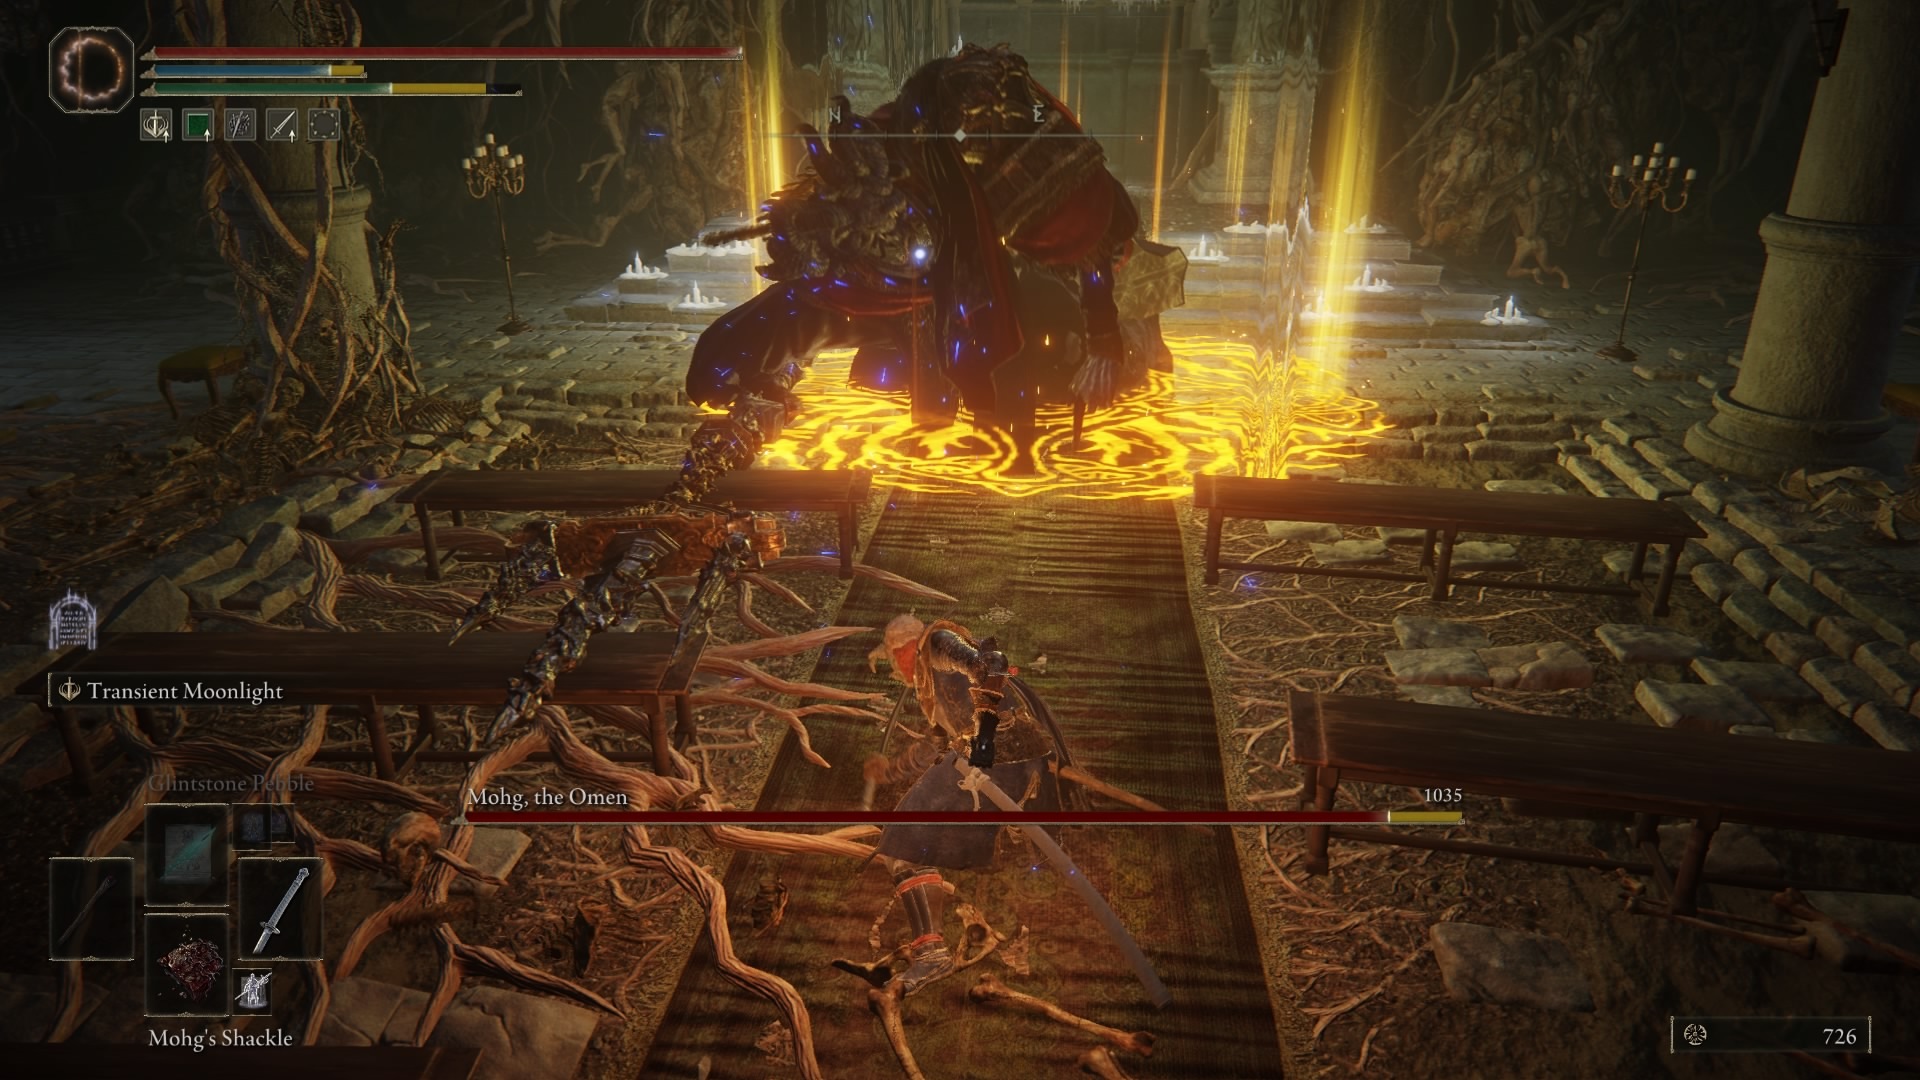
Much like the Godfrey fight earlier, Mohg, the Omen is basically just an easier version of the fight with Mohg, Lord of Blood that you'll encounter at Mohgwyn Palace later on. Equip Mohg's Shackle, which can pin him to the ground twice during the fight. You can summon Dung Eater to help as long as you've released him from his cell, as well. Look out for his various Bleed attacks and take him down. Doing so will grant you 100,000 Runes, as well as the Bloodflame Talons Incantation.
Frenzied Flame Proscription
Behind the chest in the Mohg fight room is an illusory wall. Head through it and deal with the enemies roaming the halls. (Tip: their Frenzied Flame spells can burn down the fabric huts throughout the area, revealing hidden loot. Stand near the fabric, lure them to you, and wait for them to attack).

Now it's time to take on what is certainly the toughest platforming challenge in the game. Make sure to spend your Runes before attempting, because you will likely die more than once attempting this. Carefully make your way down the beams and stone ledges, grabbing the Inescapable Frenzy Incantation from the corpse on your way. When you reach the ground level, the floor will break beneath you and reveal the Frenzied Flame Proscription Site of Grace.

This is where you can finish Hyetta's questline if you've been following it. It is also where you meet the Three Fingers. Find them by stripping off all your clothes and opening the red doors. They will inflict you with Frenzied Flame, and you will walk away badly burnt with glowing yellow eyes. Doing this will get you the Frenzied Flame ending, but locks you out of all other endings (unless you manage to reverse it) and has serious story implications for the remainder of your journey. Make sure you know what you're signing up for before engaging the encounter.
Wrapping up

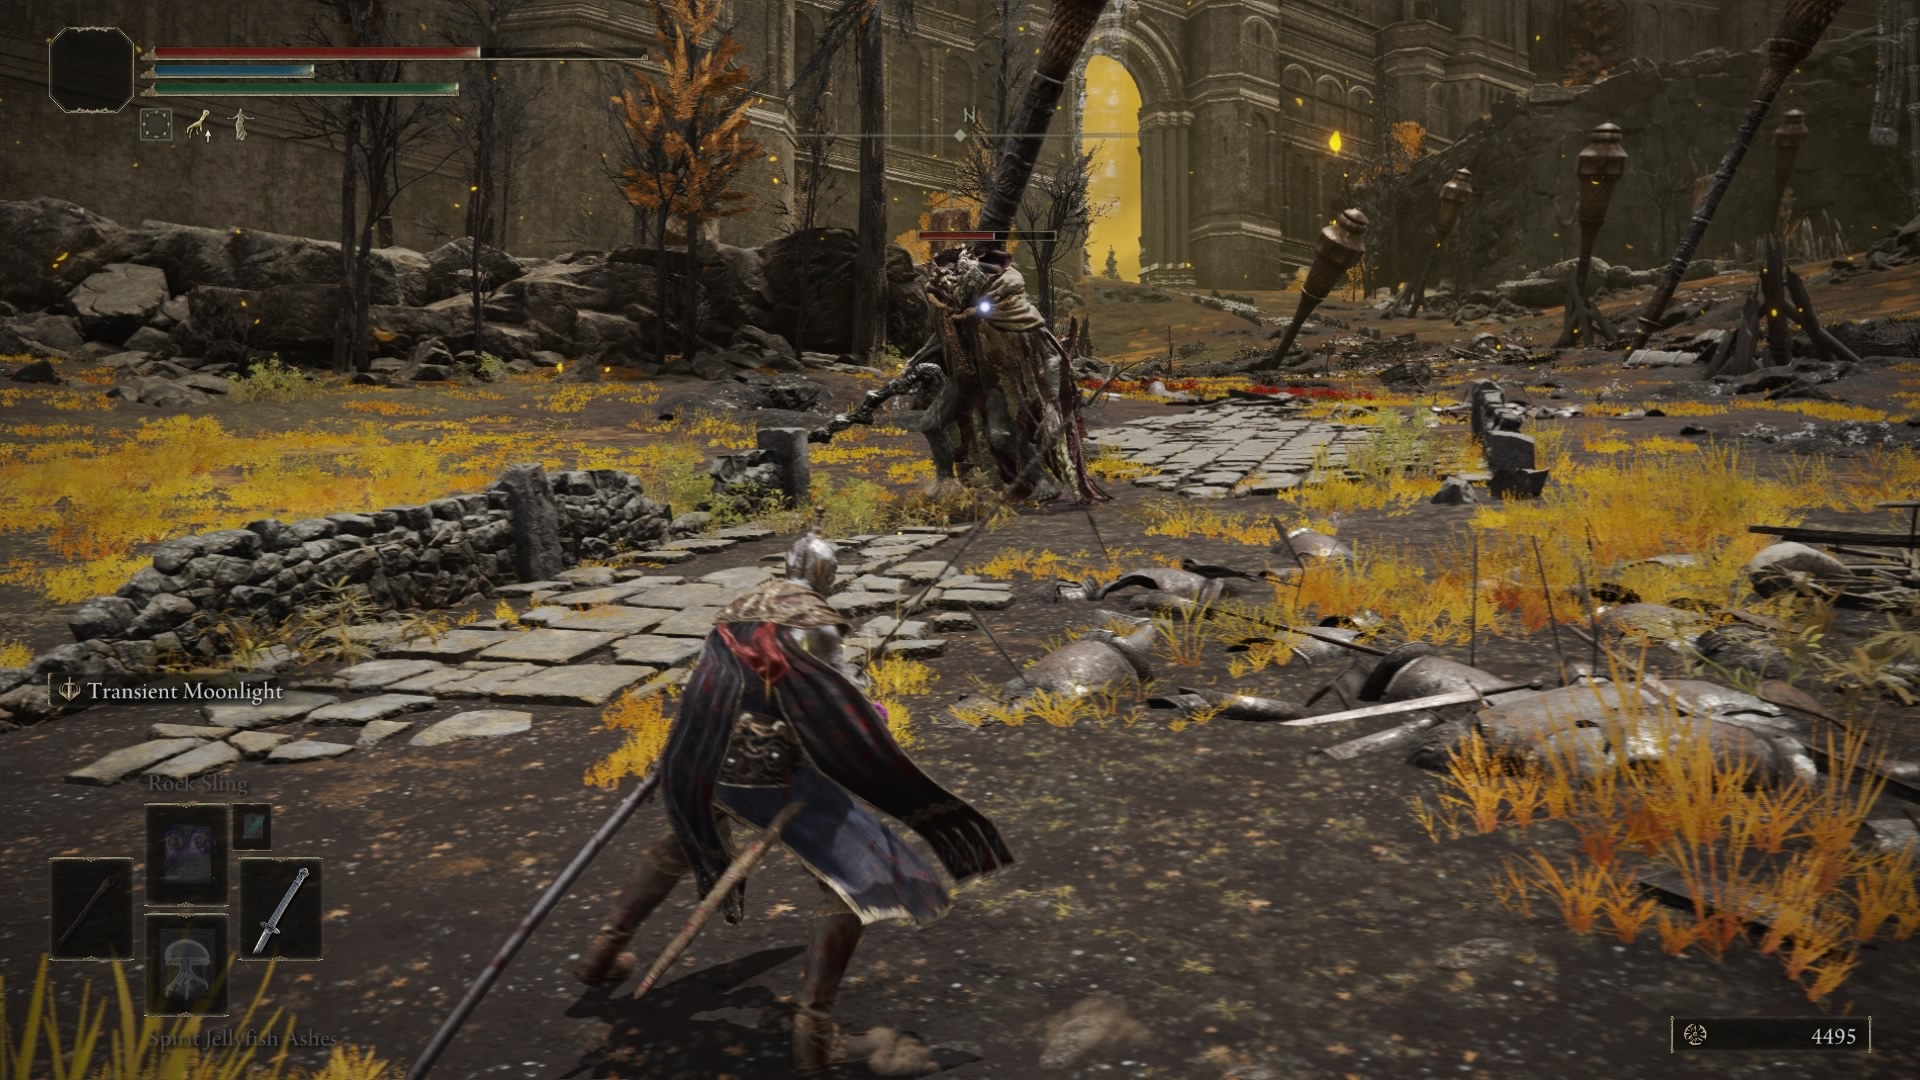
The final step to completing Leyndell is fighting the main area boss: Morgott, the Omen King. Get there by walking up the tree branch from the Erdtree Sanctuary Site of Grace and continuing along the path to the base of the Erdtree. Dung Eater is available as a summon for the fight, as is Melina (so long as you haven't met the Three Fingers).

Morgott leans on an arsenal of different Holy attacks, many of which can damage you from all the way across the arena. He is very aggressive and agile, so you'll definitely want to bring along Dung Eater and Melina, as well as your Spirit Summon of choice, to take some of the heat. Kill him for 120,000 Runes, the Remembrance of the Omen King, and Morgott's Great Rune.
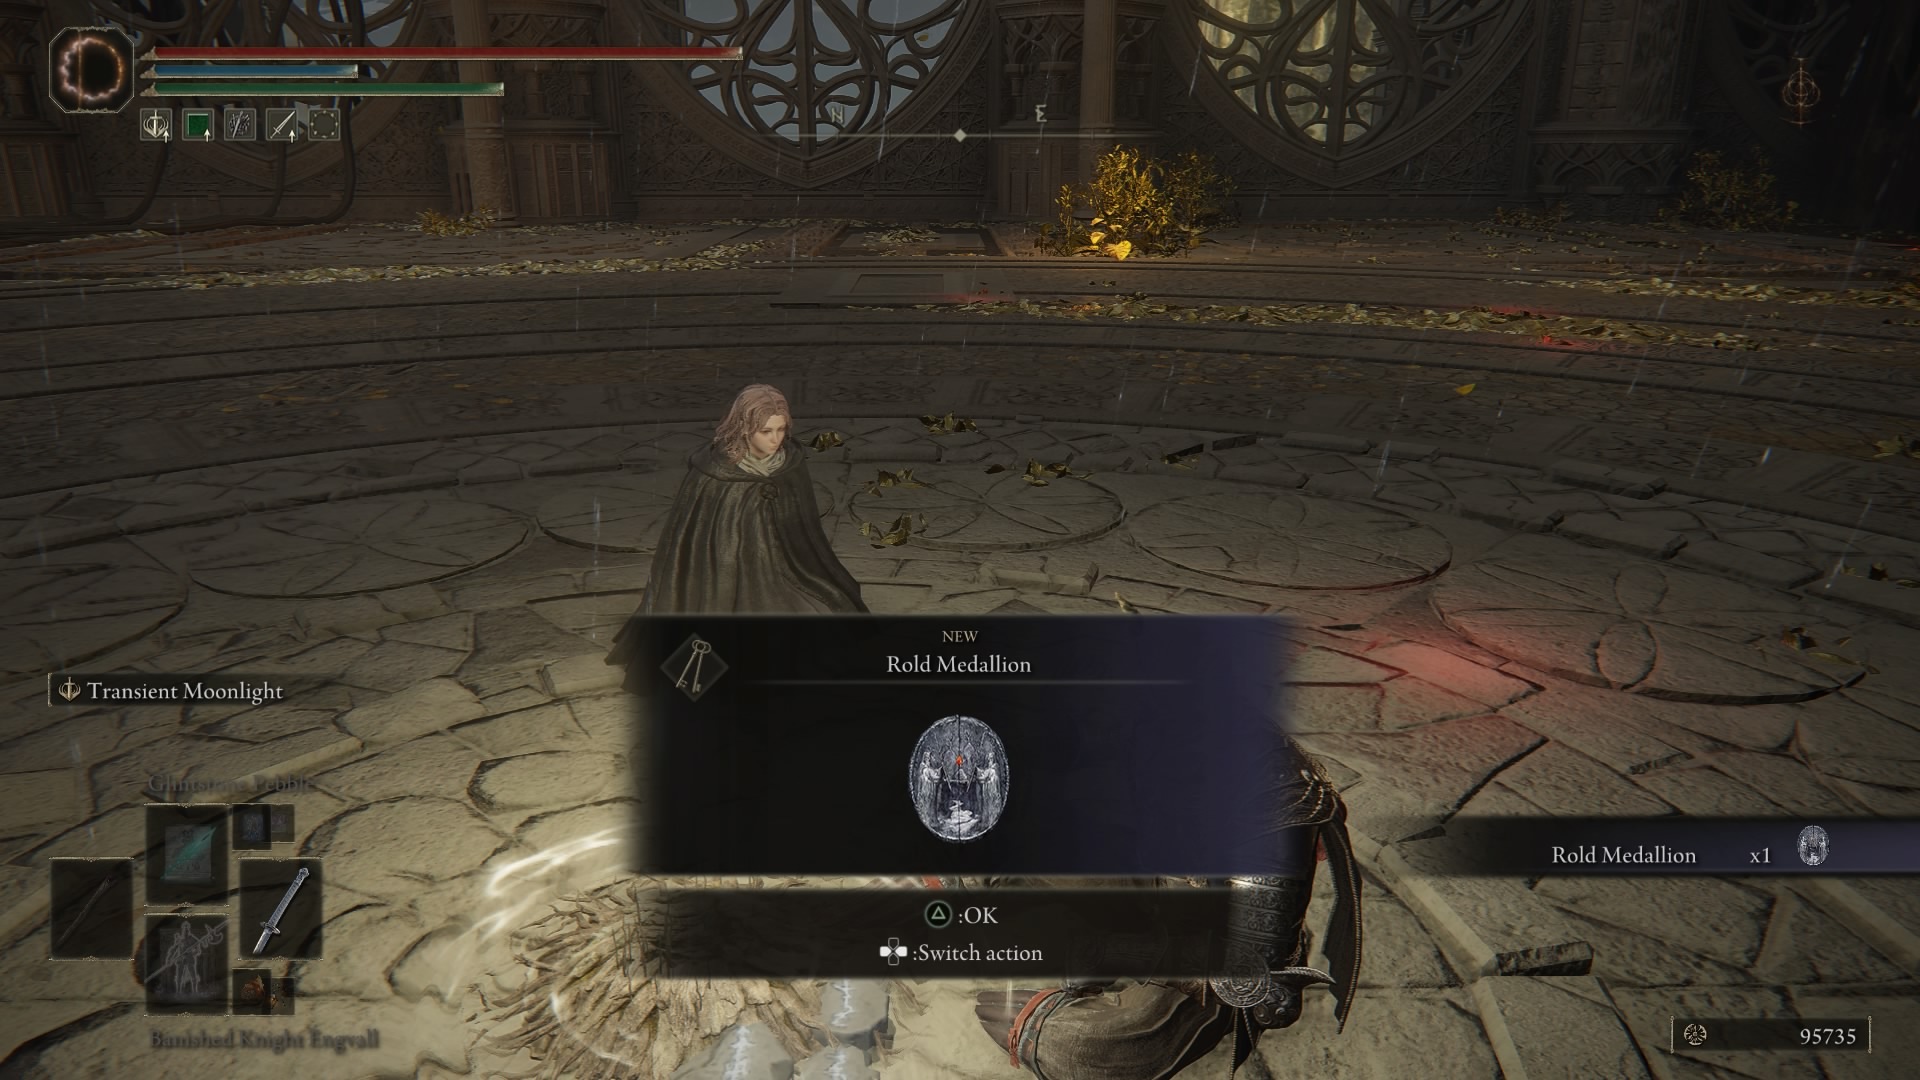
With him, dead, rest at the Elden Throne Site of Grace, and you'll be paid a visit by Melina. She'll explain that she must burn the Erdtree, and will give you the Rold Medallion, which grants you access to the Mountaintop of the Giants via the Grand Lift of Rold.
Finally, head through the large doors at the east end of Leyndell's main road. Take the two elevators to find yourself in the Forbidden Lands. Following the path from here will lead you to the Grand Lift of Rold, which is only the beginning of the rest of your journey.
Elden Ring Guides
- What Happens In Elden Ring? The Game's Story, Part 1: Limgrave
- Elden Ring Rune Farming: The Best Early Areas To Level Up Fast
- What To Do First In Elden Ring: Best Route, Weapons, And Important Map Locations
- + Show More Elden Ring Guides Links (7)
- Elden Ring: Best Weapons You Can Find Early In Limgrave
- Elden Ring Margit The Fell Omen Guide - Recommended Level And How To Beat The First Boss
- Elden Ring: How To Upgrade Weapons - Smithing Stones Explained
- Elden Ring Tips For Beginners: Learning The Ways Of The Lands Between
- How To Level Up In Elden Ring, Stats Explained
- Elden Ring: Best Keepsakes To Pick During Character Creation
- Elden Ring Map: Where To Find Your First Map Fragment
Got a news tip or want to contact us directly? Email news@gamespot.com
Join the conversation