Elden Ring - How To Beat Astel, Naturalborn Of The Void
The final boss in Ranni's questline is a huge challenge, but overcoming it will gain you access to the most iconic weapon in From Software history.
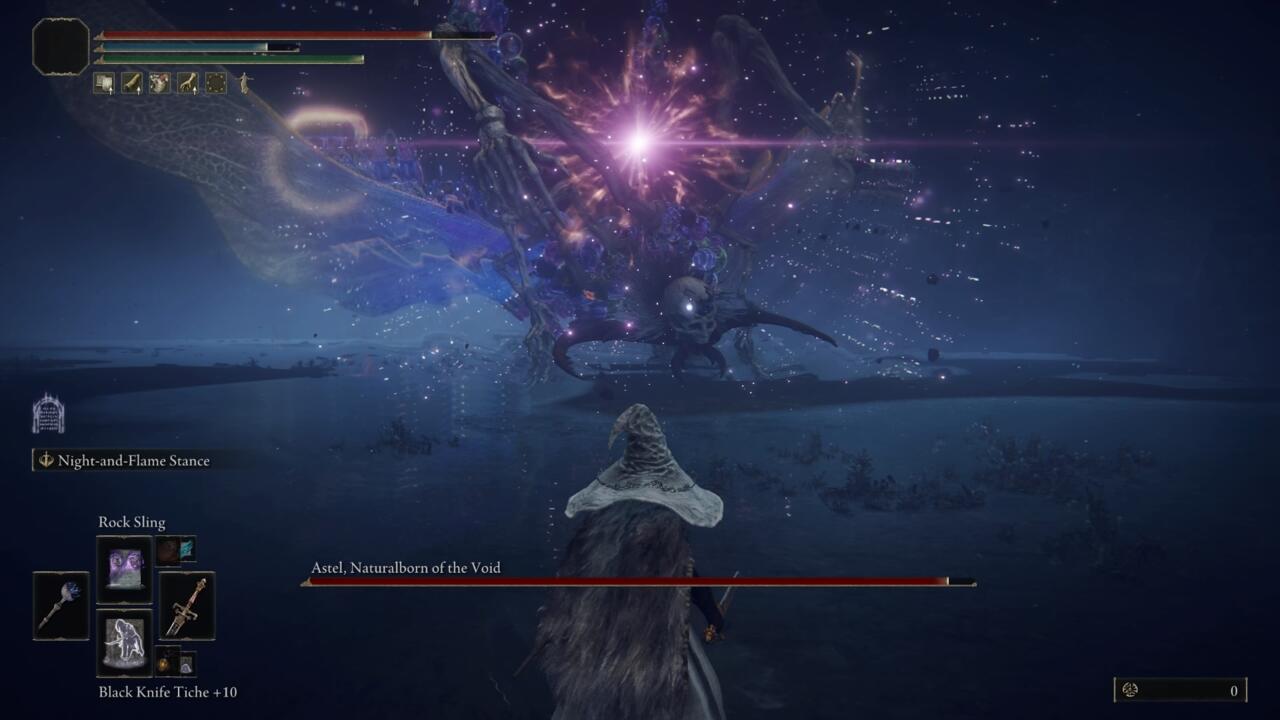
You've taken down Radahn, traversed the underground labyrinth of Nokron, and made your way through the Lake of Rot. After hopping in a coffin and taking a ride down a Scarlet Rot waterfall, you find yourself standing before a massive fog door. Behind it sits one of Elden Ring's most unique bosses: Astel, Naturalborn of the Void.
Defeating this gigantic cosmic horror is the last major step of the lengthy Ranni the Witch's questline, but surviving the showdown can prove to be a real challenge. With a varied moveset of unpredictable attacks--some of which can even one-shot you from across the large arena--coming out victorious requires some solid memorization and timing. Here's what you need to know to defeat Astel.
Before going in
Astel has fairly high absorption of non-physical damage, so go in armed with whatever weapon or spell in your arsenal is capable of dishing out the highest physical DPS possible. It is immune to most status effects, but still susceptible to Bleed, Poison, and Scarlet Rot--the latter of which being a particularly effective strategy.
Due to the nature of its attacks, you'll want to keep your distance at various points throughout the fight. Consider equipping a weapon or spell with good range so you can continue getting in damage from afar. You can also lean on a range-focused Spirit Summon to do the work for you (Latenna the Albinauric, for example), but you'll probably still be better served using the Mimic Tear.
Astel does deal Magic damage, so feel free to take a Spellproof Dried Liver or mix an Opaline Hardtear in your Flask of Wondrous Physick to prepare for the fight. However, its physical damage packs a huge punch on its own, so don't worry too much about this. Just put on the tankiest armor set you have available and you should be fine.
How to Beat Astel, Naturalborn of the Void

Astel is a huge boss in a huge arena. Just like in other fights of similar scale, always be prepared to close the gap when it retreats to the other side of the room, and don't hesitate to unlock your camera when the situation calls for it.
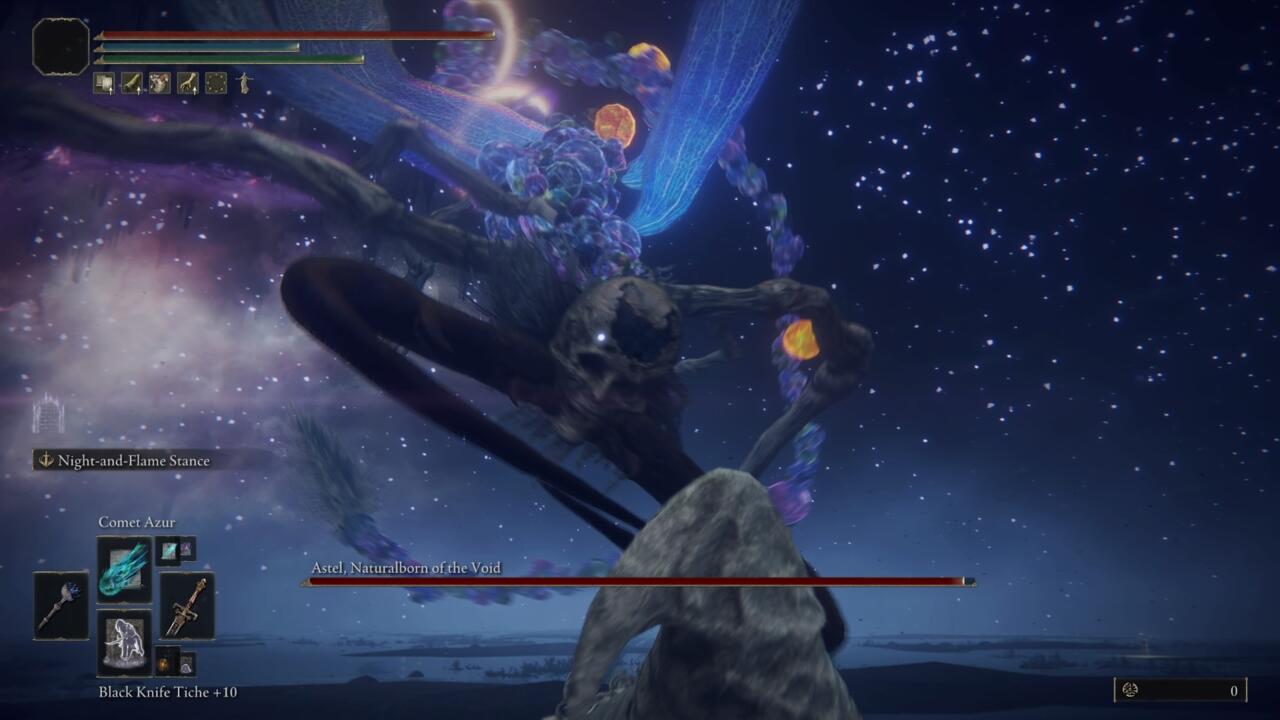
The crystal bubbles that make up Astel's torso and tail are heavily armored, so aim for its legs and head instead. The head is also where you can get off a Critical Attack if you manage to break its Poise. One of the most effective strategies in the fight is to lock onto its head and deal damage with projectiles from a medium distance away. For sorcerers, Rock Sling is your best bet here; Faith builds will find success with Stone of Gurranq. A highly leveled up bow and arrow can do the trick, too. Melee players can stick behind the boss and deal headshots up close when the coast is clear, but it's a risky route to victory.
As mentioned, Astel is susceptible to Scarlet Rot. The closest you can get to cheesing the fight is to run up, get off a Rotten Breath cast, and retreat. The Scarlet Rot will eventually do all the work, and you can focus all your energy on dodging its attacks from a distance.
Astel's moveset is deadly whether you're across the arena or face-to-face. These are the most important moves to lookout for during phase one:
First phase
- Laser beam. Astel will almost always begin the fight with this move. Its face will glow purple as it charges up the beam, before firing at you seconds later. This attack can span the entire arena, and is incredibly difficult to dodge. Practice getting the timing down, and roll left or right to avoid damage.
- Tail slam. This is often its follow-up attack after the initial laser beam. It will lift its tail in the air behind its back, before slamming down twice. This attack has deceptively long range, so be ready to dodge left or right through both slams no matter how far away you may be.
- Nebula. Its hand will glow purple before winding back and then swiping forward, leaving a trail of purple mist in its path which explodes seconds later. It will sometimes begin this attack by flying up in the air, and then coming down at you with the swipe. In either case, dodge through the swipe, and get out of the mist before taking damage from the AOE.
- Teleport. A small purple orb will glow above its head before it teleports away in a large AOE explosion. Get some distance to avoid the blast. It will either show back up across the arena, or directly above you. If the latter happens, it will proceed to fly down at you and attempt a grab attack, which will almost certainly one-shot you if it lands. Lock on and dodge away when it swoops down.
- Wave of Darkness. It will slam its hands into the ground, creating a series of circular shock waves all around it. Get some distance when you see it winding its arms back to avoid taking damage from the effect.
- Gravity attack. Purple lightning will strike the ground all around it, before lifting you (and anyone else in the vicinity) into the air and slamming you back into the ground. Run away to get out of range of the AOE.

If you get too close to Astel from the front, it will also attempt to poke you with its tail or grab you in its pincers. Both attacks are well telegraphed and easy to dodge. (You can also avoid them altogether by fighting from a distance).
There is only one attack added during phase two of the fight:
Phase two
- Meteorite of Astel. Purple mist will fill the sky all around and above Astel, before unleashing a barrage of meteorites at you from all directions. The damage is hard to avoid here, and if you get hit by more than one meteorite you will almost assuredly die. Locking on and dodging left repeatedly until the spell ends is the best strategy we've found.
The hardest part of the fight is getting down the timing on Astel's hardest-to-dodge attacks, but stay focused on damaging the dome and you'll take it down soon enough. When you do, you'll be rewarded with 80,000 Runes and the Remembrance of Astel, which grants you access to a powerful Flail and Ash of War.
Head out of the cave and past the Glintstone Dragon to find Ranni the Witch beneath the Cathedral of Manus Celes. There, she'll reward you with the Dark Moon Greatsword, a high-Intelligence weapon that's shown up in various forms in From Software games since Kings Field in 2006.
Elden Ring Guides
- What Happens In Elden Ring? The Game's Story, Part 1: Limgrave
- Elden Ring Rune Farming: The Best Early Areas To Level Up Fast
- What To Do First In Elden Ring: Best Route, Weapons, And Important Map Locations
- + Show More Elden Ring Guides Links (7)
- Elden Ring: Best Weapons You Can Find Early In Limgrave
- Elden Ring Margit The Fell Omen Guide - Recommended Level And How To Beat The First Boss
- Elden Ring: How To Upgrade Weapons - Smithing Stones Explained
- Elden Ring Tips For Beginners: Learning The Ways Of The Lands Between
- How To Level Up In Elden Ring, Stats Explained
- Elden Ring: Best Keepsakes To Pick During Character Creation
- Elden Ring Map: Where To Find Your First Map Fragment
Got a news tip or want to contact us directly? Email news@gamespot.com
Join the conversation