Elden Ring Commander Niall Boss: Use This Trick To Take Him Down Easily
Take this boss from overwhelming to manageable with one quick move.
Elden Ring never holds back when it comes to boss difficulty, and this is especially true with some of the duo or trio encounters you have to overcome in the back half of the game. There are a variety of incredibly challenging fights for you to tackle as you push towards the final confrontation of your adventure through the Lands Between, but one in particular ranks among the game's most frustrating and exhausting. Commander Niall waits for you atop Castle Sol, guarding one of the pieces of the Haligtree Medallion you'll have to have to access an important optional area. This makes him a top priority for completionists and those seeking a true test of skill.
Why Commander Niall is so hard
Much like his Caelid counterpart Commander O'Neil, Commander Niall summons additional enemies to fight you. However, Commander Niall's two knight summons are even more aggressive and take quite a few hits to take down. And because the fight takes place in a very cramped arena, you have limited space for getting away to heal, especially with Commander Niall also tracking you with large, sweeping attacks.
While Commander Niall can be beaten with enough patience, adept movement, and clever positioning, there's no denying that the fight can feel frustratingly RNG-based at times. If you're wanting to turn the odds in your favor, we have a trick that can help you give this boss a taste of his own medicine.
Use Bewitching Branches on Commander Niall's summons
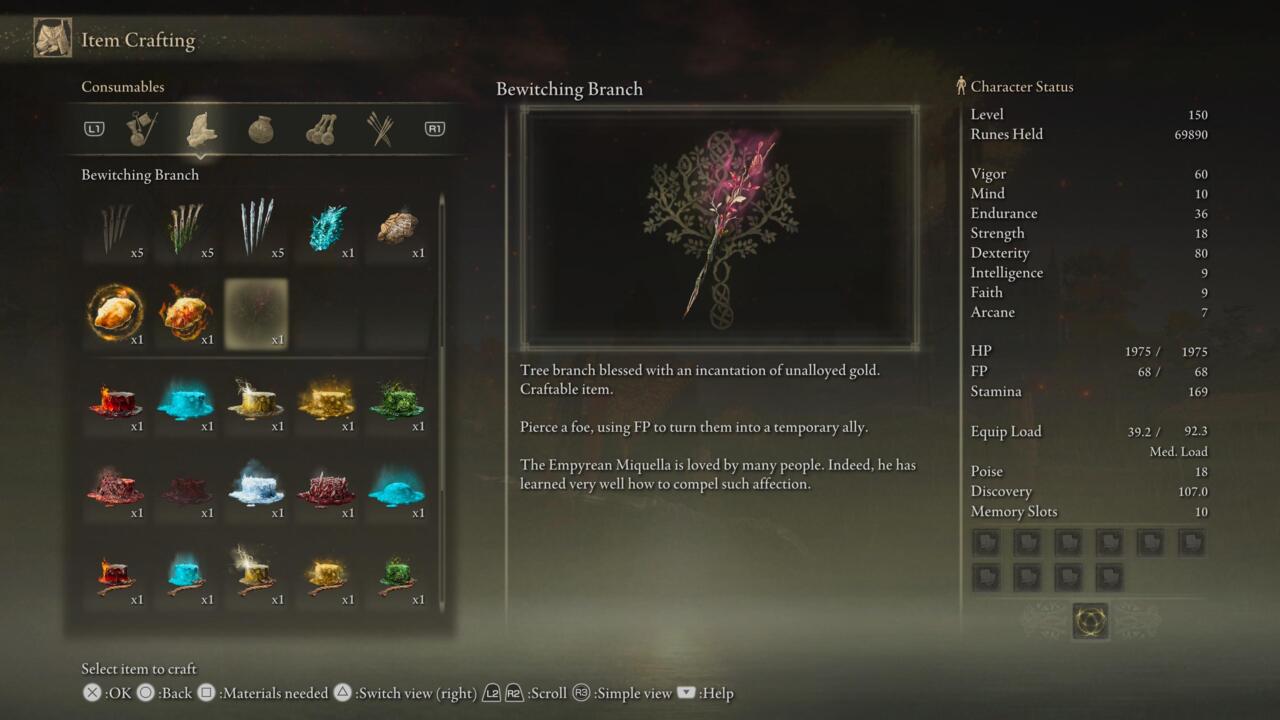
The consumable item Bewitching Branch can be used to charm Commander Niall's spectral knights, which will make them begin attacking their master. By doing this, you'll free up a lot of room for your own movement while also benefiting from their additional damage. Even better, having them fighting on your side doesn't negate your ability to summon Spirit Ashes--the Mimic Tear is an especially useful option.
With the knights now on your side and your Spirit Ash of choice wailing away, too, you'll be able to focus all of your attention on doing as much damage as possible to Commander Niall. Due to his wide-sweeping attacks, it's not a bad idea to hang back and use ranged attacks like sorcery, incantations, arrows, or throwing knives to help your allies drop his health. If you're staying back this way, you'll primarily just need to keep an eye out for his jumping lightning kick and roll at the right moment before backing away again.
How to get Bewitching Branches
There are a few methods of obtaining Bewitching Branches. For starters, five of them can be purchased for 1,600 runes each from the Nomadic Merchant near Bellum Church in Liurnia of the Lakes. But if those aren't enough or you're just looking to build up a collection for further use, you'll need to craft them.

To craft Bewitching Branches, you'll need the Fevor's Cookbook [3], which is given to you by Gideon Ofnir in Roundtable Hold after you've visited Mohgwyn's Dynasty Mausoleum for the first time. Once you've scored the cookbook, each Bewitching Branch you want to craft will require Sacramental Bud x1 and Miquella's Lily x1.
Sacramental Bud can be found in a variety of locations, but it's most notably scattered generously around the Church of the Plague in eastern Caelid. Sadly, it doesn't appear to respawn like most crafting materials, so don't expect an endless supply.
Miquella's Lily can be found hidden away in multiple areas throughout the Lands Between, but like Sacramental Bud, this crafting material doesn't respawn upon resting. Because of its extreme rarity and limited supply, your best bet is to farm Miquella's Lily from the regular Soldier enemies found in Leyndell, Capital City.
Elden Ring Guides
- What Happens In Elden Ring? The Game's Story, Part 1: Limgrave
- Elden Ring Rune Farming: The Best Early Areas To Level Up Fast
- What To Do First In Elden Ring: Best Route, Weapons, And Important Map Locations
- + Show More Elden Ring Guides Links (7)
- Elden Ring: Best Weapons You Can Find Early In Limgrave
- Elden Ring Margit The Fell Omen Guide - Recommended Level And How To Beat The First Boss
- Elden Ring: How To Upgrade Weapons - Smithing Stones Explained
- Elden Ring Tips For Beginners: Learning The Ways Of The Lands Between
- How To Level Up In Elden Ring, Stats Explained
- Elden Ring: Best Keepsakes To Pick During Character Creation
- Elden Ring Map: Where To Find Your First Map Fragment
Got a news tip or want to contact us directly? Email news@gamespot.com
Join the conversation