Doom Eternal Super Gore Nest: Mission 5 Walkthrough And Tips
A Trip Through The Super Gore Nest.
Come one, come all! Navigate the Super Gore Nest in Doom Eternal's fifth mission! This game really is something else with location names as wonderfully over-the-top as this. Regardless, after your first big boss fight against the Doom Hunter during the fourth mission, it should please you to know this mission is more navigation and battle arena heavy. So get ready!
Below you can find a walkthrough detailing how to get through the fifth mission. For walkthroughs of Doom Eternal's other chapters, check out our guide hub collecting what we have up so far. We'll be publishing more in subsequent days. But if you're looking for more basic Doom Eternal tips, be sure to read our guide detailing everything you should know before playing. Otherwise, you can read our Doom Eternal review.
Mission 5 Walkthrough -- Super Gore Nest
Go through the train carriage, hang a right, and jump on the train hanging over the ledge to reach the next platform. Enter the combat arena and take out the Zombies and Imps before testing out your newly acquired Ballista on the approaching Mancubus. The Ballista's powerful single shot is useful for taking out larger enemies.
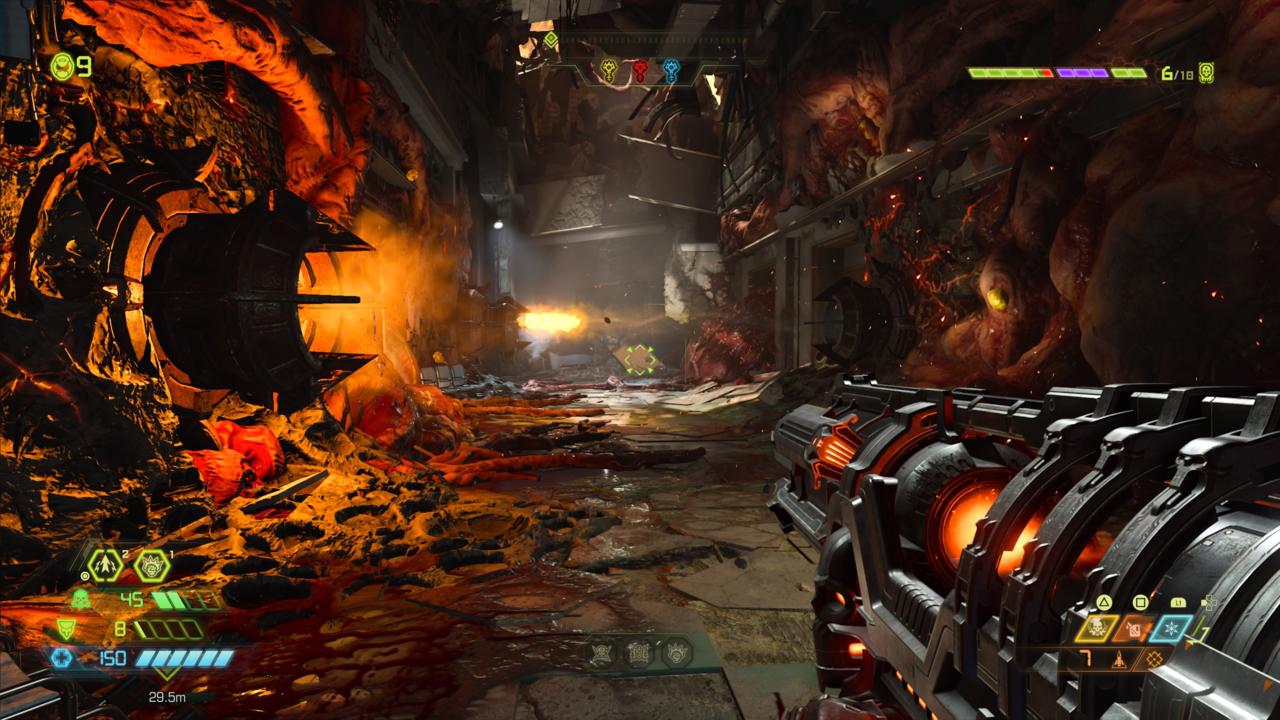
This area has multiple levels, so keep moving and utilise its verticality to take care of the rest of the enemies that show up. Once everything's dead, a door will open up with a Pinky behind it, so dispatch it and head inside. Drop down the gap in the path and use the walls on either side to climb up. Keep going and you'll eventually be met by a Dread Knight. This Demon is essentially a souped up version of the Hell Knight and comes equipped with two powerful Energy Blades. Your best bet is to keep moving and shooting at the same time, making sure to Dash out of harm's way when it performs its deadly leaping attack.

After you've defeated the rest of the enemies, use the poles in the center of the room to swing towards the upper platform. There's a Buff Totem in the next combat arena, so focus on killing enemies and staying alive until the green portals begin to appear at the center of the room. Keep travelling through each portal, killing enemies as you go, until you're eventually teleported to the Buff Totem and can destroy it. Now you just have to use the final portal to grab the Yellow Gore Key.
Go back into the previous room and open the yellow door to progress. You'll now be in a large combat arena filled with Mancubuses, Revenants, and so on. Use your full arsenal to damage their weak points, and make use of the large gap in the middle of the arena to jump across and create seperation. With everything dead, you're free to insert the Yellow Gore Key in front of the Super Gore Nest.

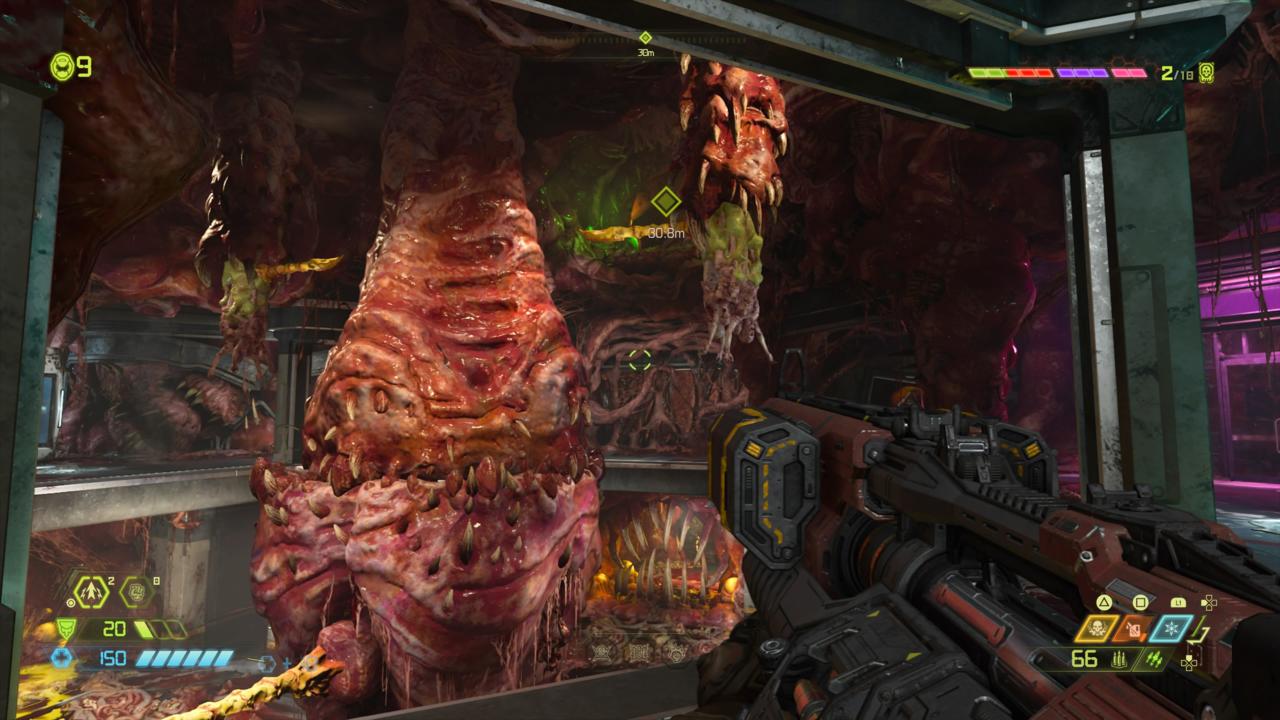
Head through the doors that have now opened up and drop down the elevator shaft. There are a few enemies to deal with as you navigate through the next few corridors, including a Spectre (which is just an invisible Pinky). The Spectre's growl and fiery breath give it away, so double jump over its head and blast away at its tail to finish it off. Keep going until you need to jump down another elevator shaft and come across the heart of the nest. Take a right and fight through to an area shrouded in radiated green goo. Grab the Rad Suit on the other side of the green river and quickly navigate through the radiation, using the spinning poles in the next room to reach and break through a weak wall.
Jump to the right in the next room and use the climbable walls to reach the top where you can grab the Red Gore Key. Go back the way you came and use the key to pick up the Chaingun. After falling through the floor, you can use your newly found weapon to rip the incoming Dread Knight to shreds. Keep going and use the green teleporter to return to the heart of the nest where you can now use the Red Gore Key to access the room. Follow the waypoint through the left hand door and pull the switch.

Exit the room and go left, using your Plasma Rifle to defeat the shielded Soldiers. Follow the corridor down and defeat the enemies in the next room before pressing the switch behind the closed mouth to reveal another green portal. Head through and quickly rush past the enemies in the next area. You'll want to destroy the Buff Totem before dealing with them, so run forward and jump to the broken road winding around to the left. Follow this and hop into the hole before Dashing across to the platform on the other side. Use the jump pad and you'll find the Buff Totem sitting on a slab of concrete in the middle of the lava.
With that destroyed, you can now clear out the rest of the enemies in this area. Look towards the waypoint and use one of the poles floating in mid-air to swing over to the climbable wall and onto the upper platform. Melee the block up here and use that to reach the next set of platforms surrounded by spinning chains. Dodge these, head inside the building, and fight your way through until you reach another radiated river of goo. Hit the switch in the goo to open the next door, then carry, using the climbable walls to navigate towards the waypoint.

Kill the enemies in the next corridor and hang a right to break through the wall and pick up the Blue Gore Key. Turn back around and open the next door, then dodge the fireball traps and drop into another irradiated river. Travel through here and you'll eventually find yourself back in the large combat arena from before. Defeat the new onslaught of Demons and pop the Red and Blue Gore Keys into the slots next to the yellow one you inserted earlier.
Keep going down until you reach another lever to pull. Use the main console to destroy the heart and then quickly follow the waypoint to escape the area before the timer runs out. You can kill enemies along the way or simply Dash past them to save time. And with that, the Super Gore Nest is no more.
Doom Eternal News
Got a news tip or want to contact us directly? Email news@gamespot.com
Join the conversation