Doom Eternal Nekravol Part 2: Mission 11 Walkthrough And Tips
Here's a walkthrough detailing how to get past Doom Eternal's eleventh mission.
You can find a walkthrough below detailing how to get past Doom Eternal's eleventh mission: Nekravol Part II. Finish this one, and you'll be on track to the final boss fights!
For walkthroughs of Doom Eternal's other chapters, check out our guide hub collecting what we have up so far. We'll be publishing more in subsequent days. But if you're looking for more basic Doom Eternal tips, be sure to read our guide detailing everything you should know before playing. Otherwise, you can read our Doom Eternal review.
Mission 11 Walkthrough -- Nekravol Part II
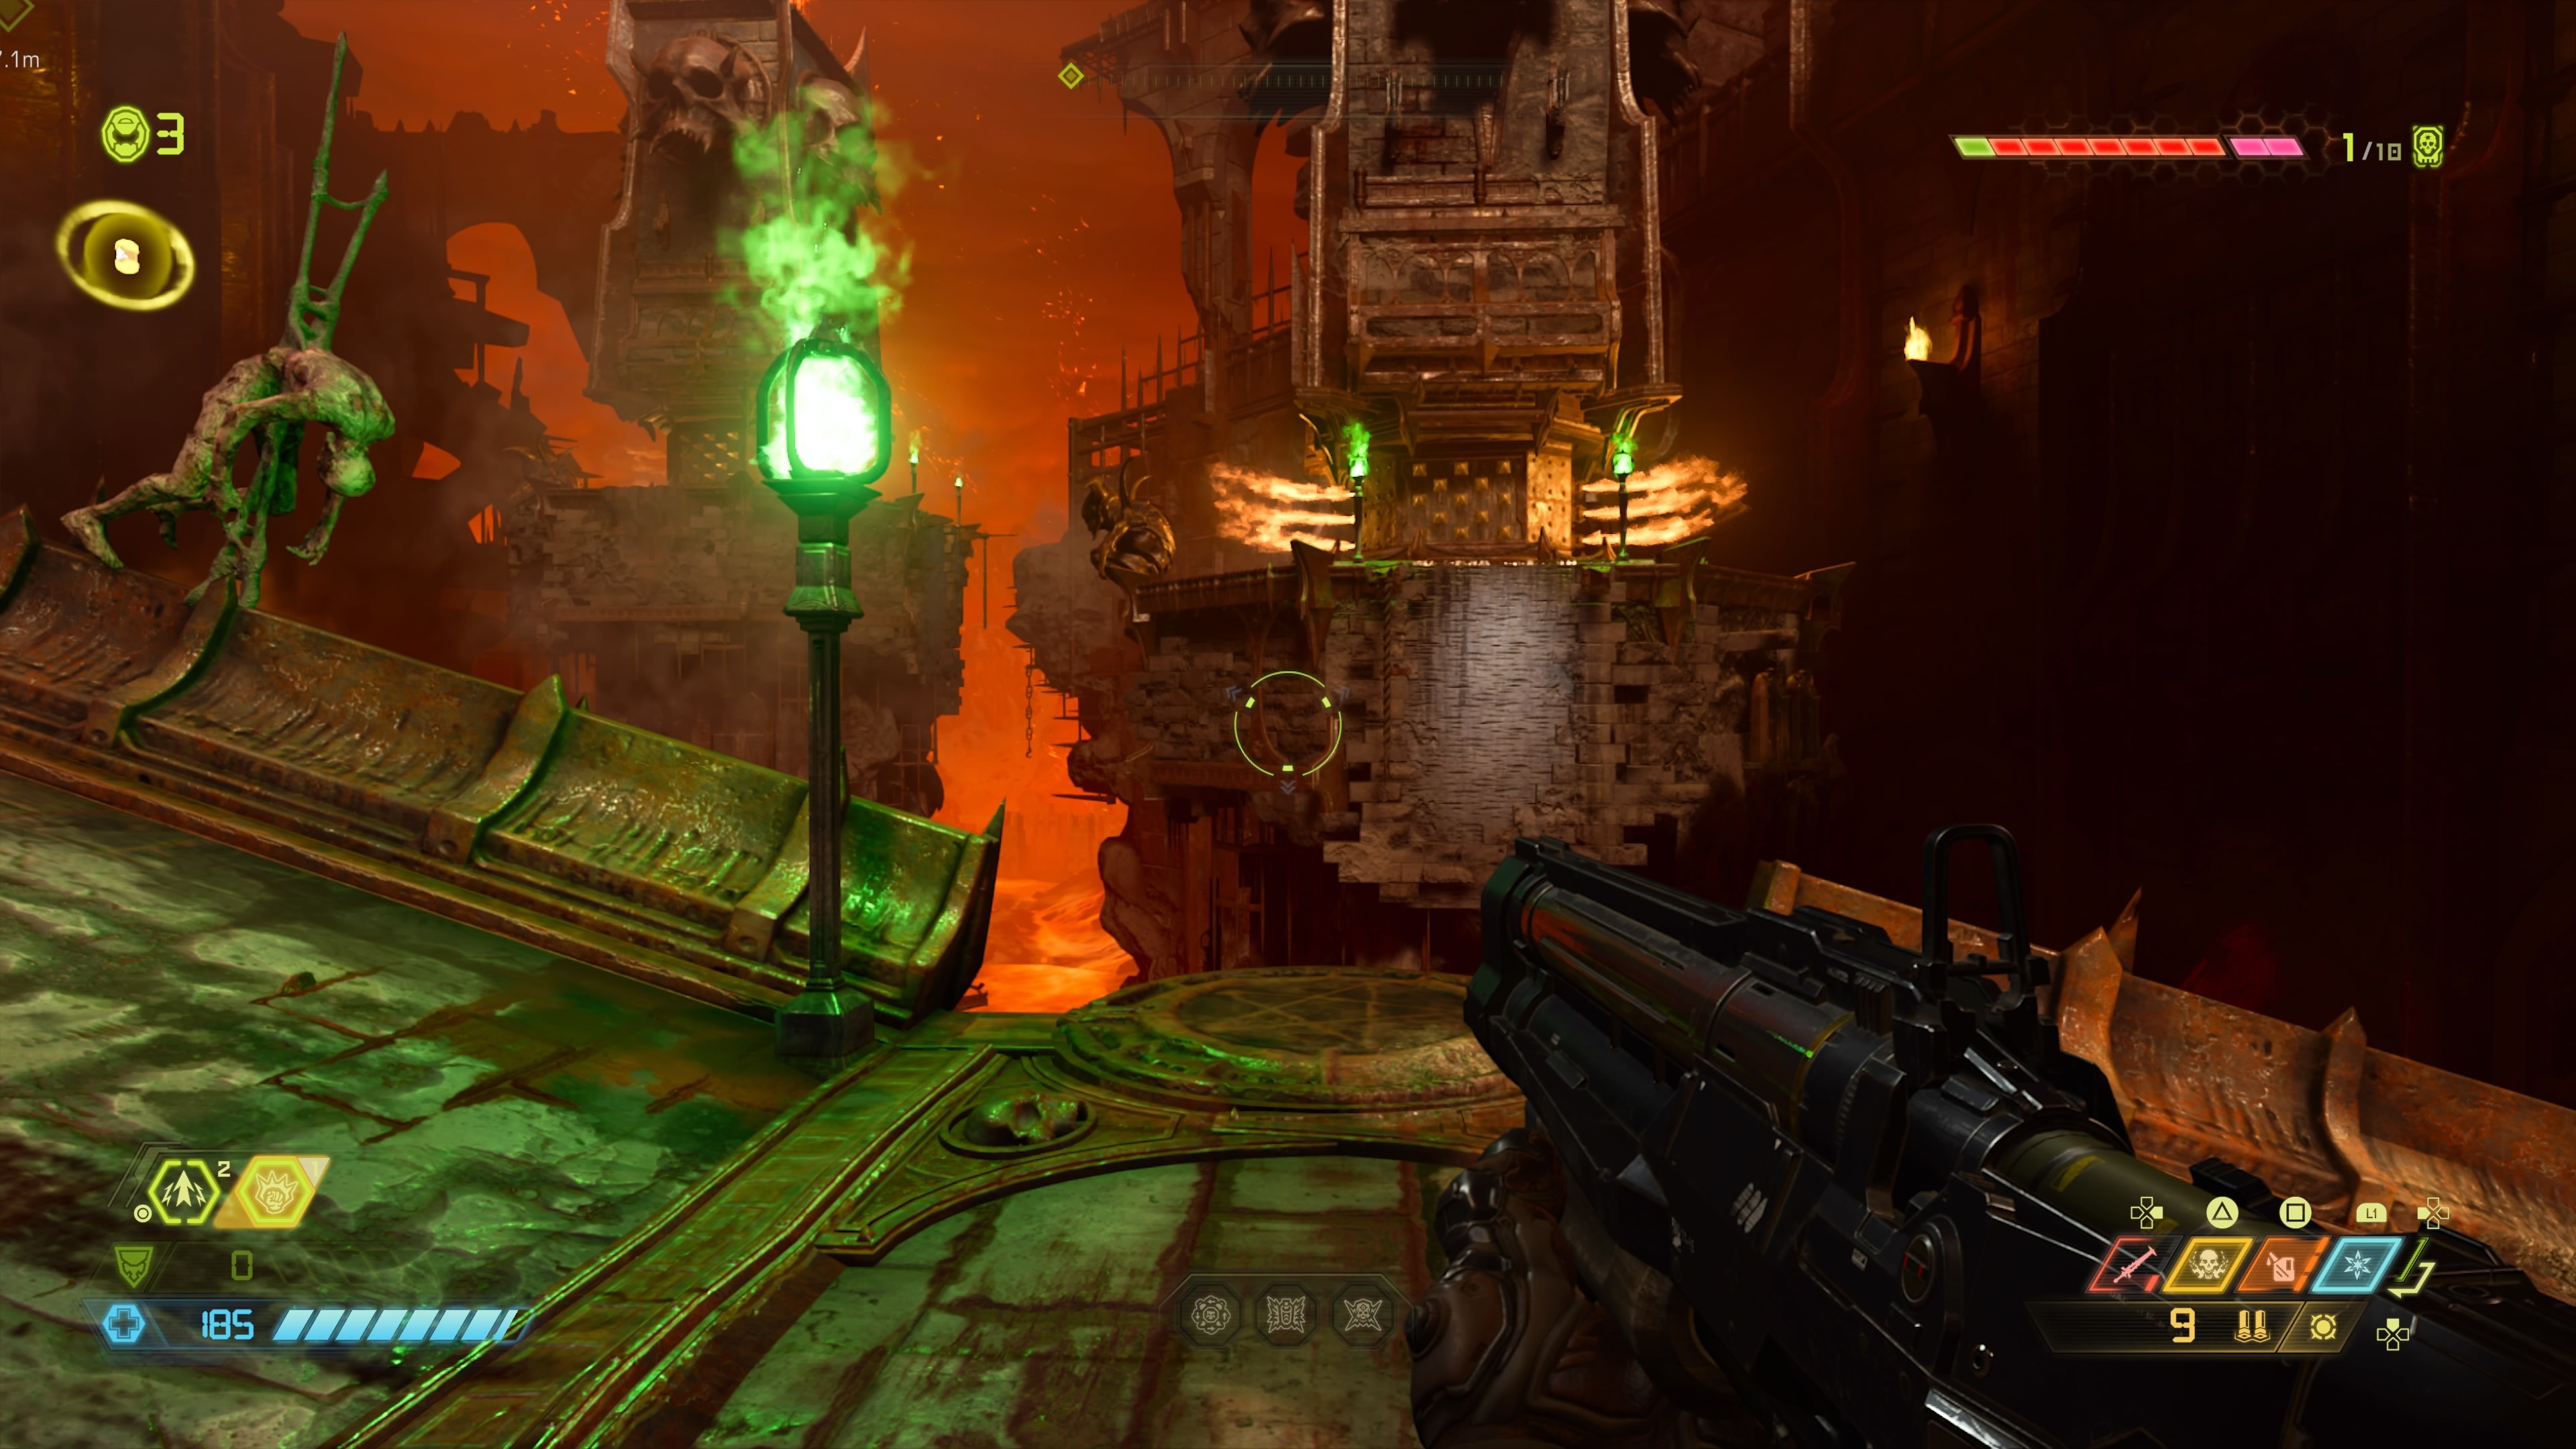
Follow the path forward and take care of the enemies on the bridge. With all of them defeated, find the lantern with a green flame. From here, you can jump to the climbable wall on the platform across from the bridge. Climb up, avoid the flames, and leap to the next platform to do the same. Then use the Dash Refill to reach an opening into the building.
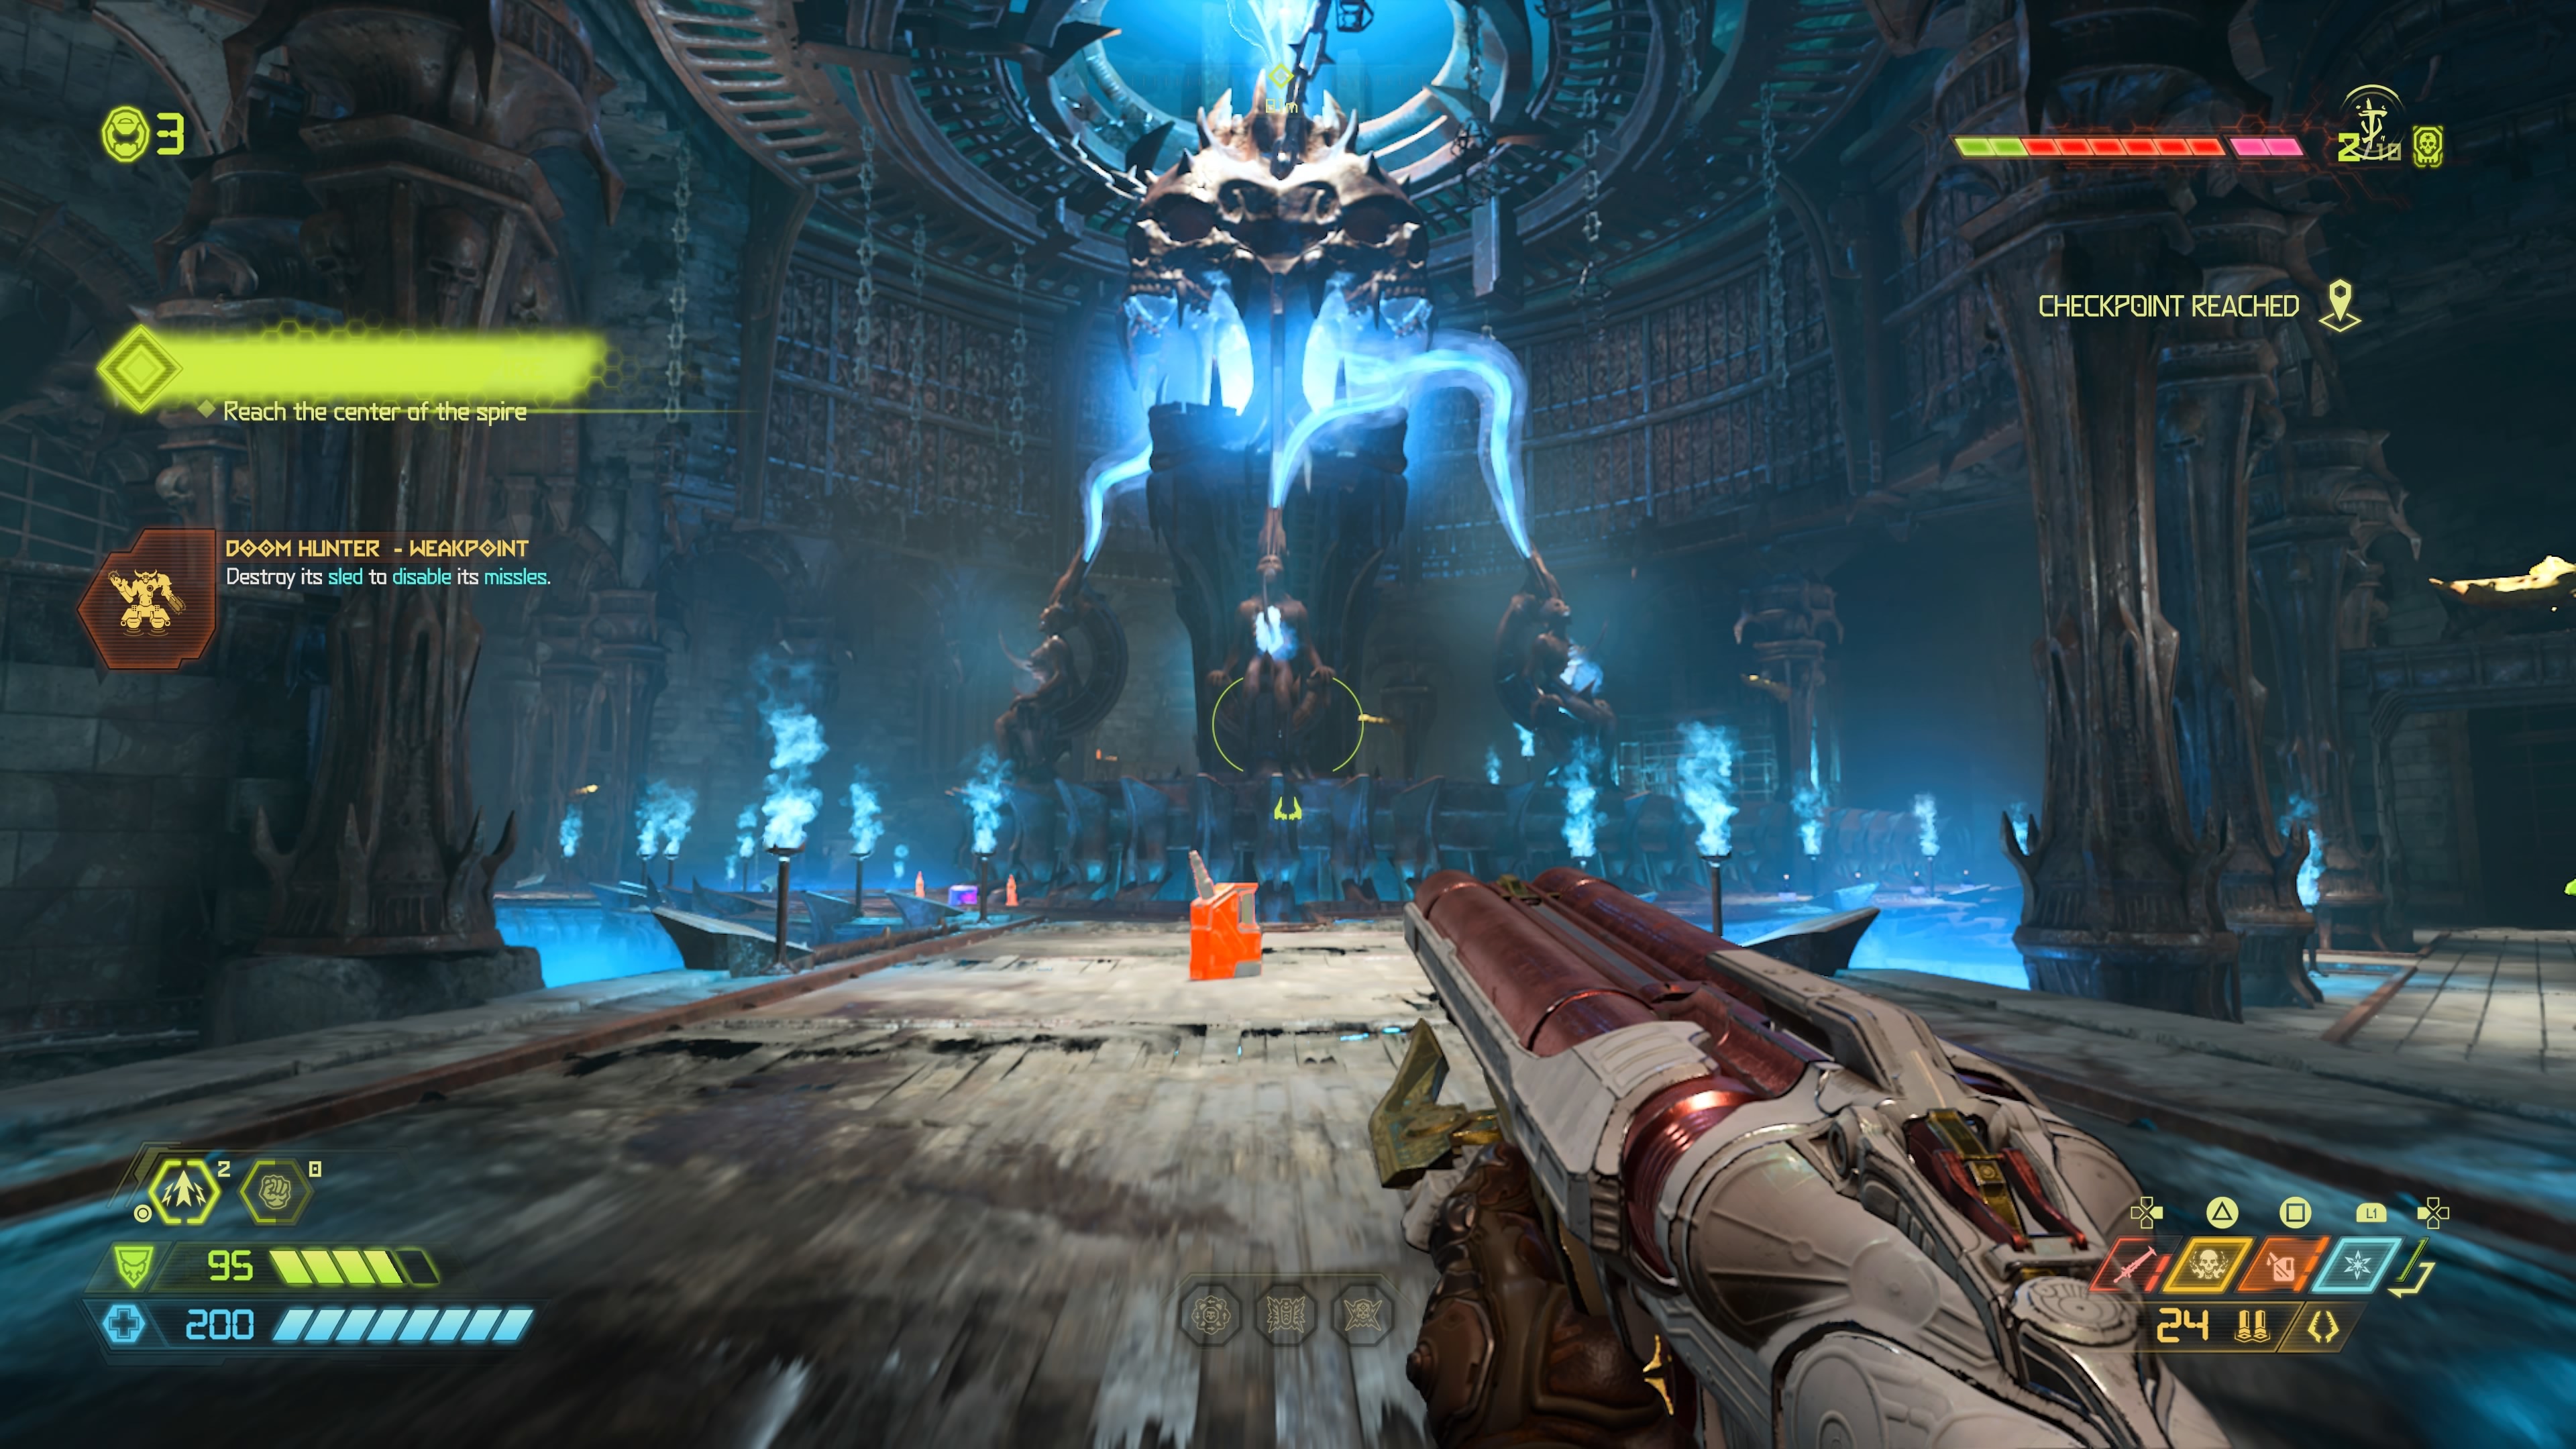
There are a few enemies in the next area, but nothing too threatening. Clear the area and continue following the waypoint until you reach a cutscene. Once it ends, a swarm of enemies will spawn in. You'll have to contend with a Baron of Hell and a Doom Hunter, among others, but there is a yellow Overdrive power-up you can grab on one of the upper platforms. This greatly enhances the speed with which you can move and shoot, letting you tear through enemies for a short while. After everything's dead, follow the waypoint through the exit and drop down the hole and into another cutscene.
Multiple enemies spawn into this combat arena, but there is some BFG-9000 ammo underneath the altar. You'll want to use this to damage the Archvile that eventually appears, making sure to get behind its shield. Focus all of your attack on the Archvile until it's dead, then get to work finishing off the stragglers. At this point, another Marauder will show up, so use the same tactic as before, using the Zombies that show up to replenish your health and ammo. With the Marauder killed, jump over to the waypoint and exit this room.
You now need to make your way up by jumping between some spinning platforms. Aim for the green lights to avoid the spikes, then take the elevator once you've reached the top. Jump over the large chasm at the top and climb up the wall to reach the next level. Go up with the jump pad, climb the wall, and leap over the chasm again. Now you need to get on top of the platform moving up and down in the next room and melee one of the breakable walls to get through. There's a decent amount of enemies in this small space, including a couple of Cyber Mancubus, so use the jump pads on either side of the corridor to create some space.
Once everything's dead, use a jump pad to reach one of the upper platforms and break through the wall to reveal some poles you can use to swing up higher. There are gold-plated walls you can latch onto here, so use them to reach the top. There are a few enemies to take care of, and you'll also need to destroy the eyes that open on the middle structure. Taking out two will open up the path forward, so head through and activate the elevator.
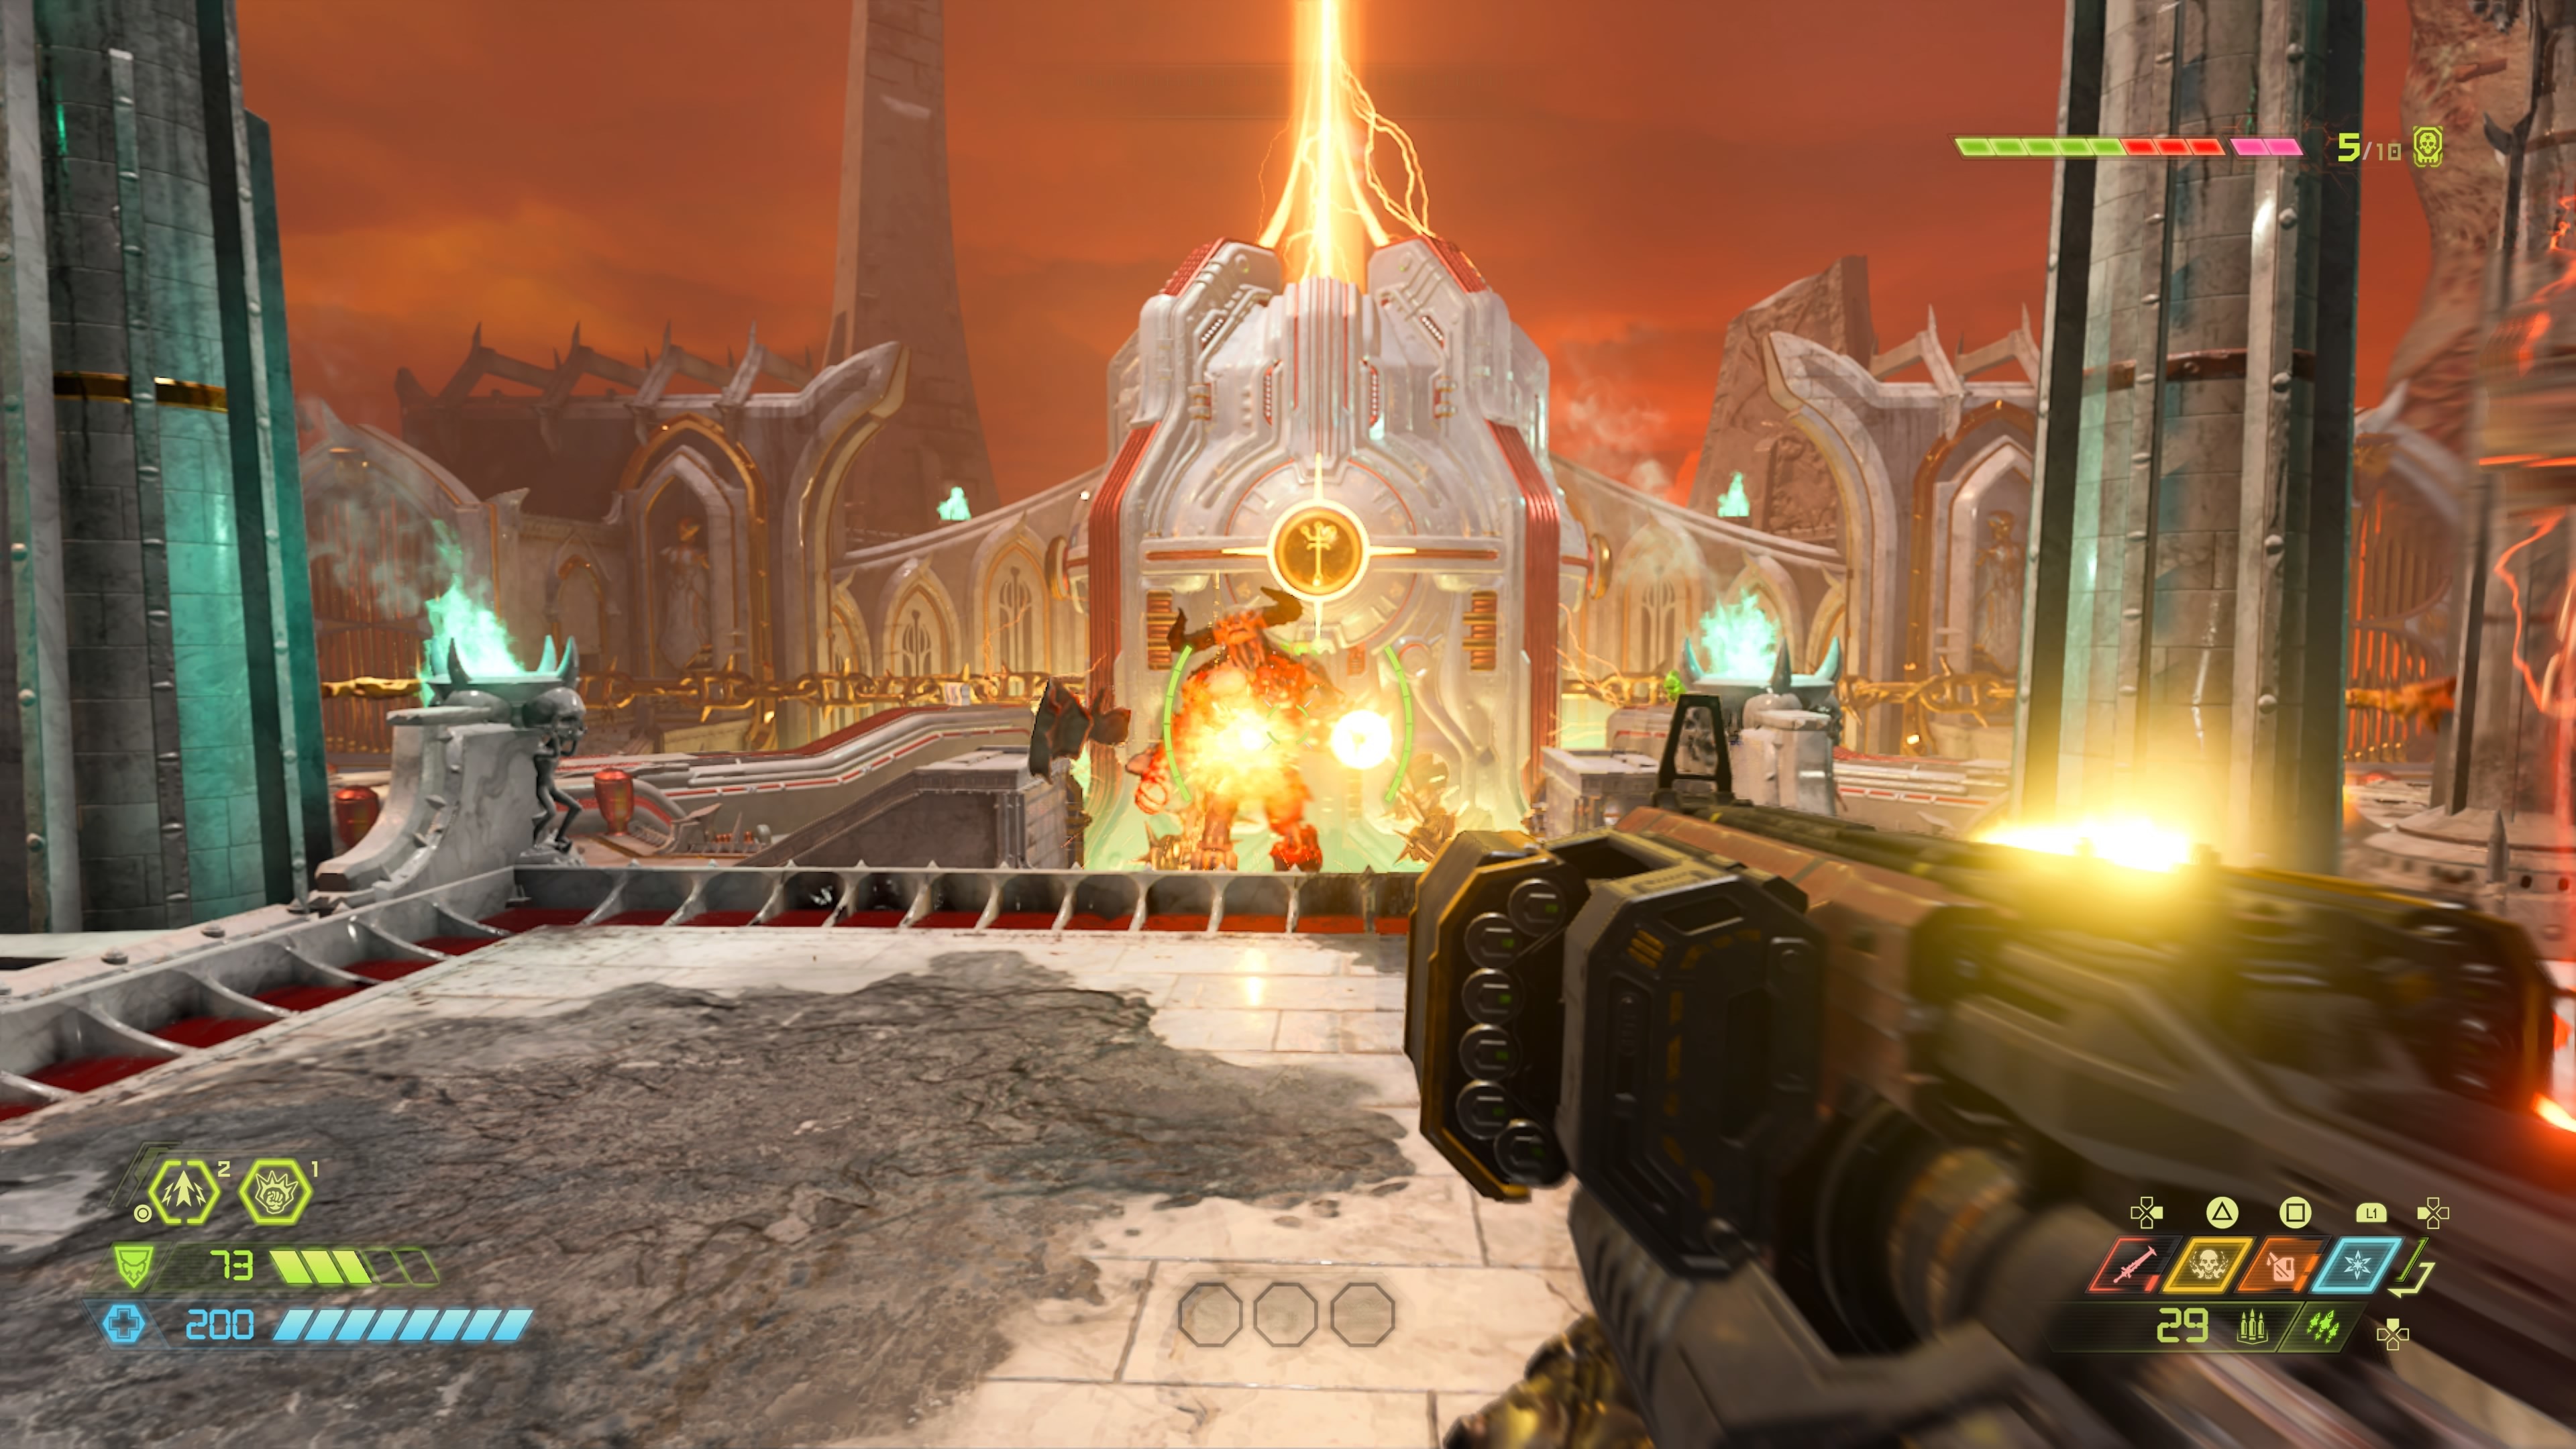
The final combat arena in this mission is relatively large. As soon as you emerge, you'll see a Tyrant standing right in front of you. The Tyrant may be big, but it's very slow as a result, so you can move to the left or right and deal with the other enemies without it bothering you. Shoot the Tyrant whenever you can, and it'll eventually fall after enough damage. Once this area is cleared out, stand on the pressure pad, and destroy the two chains. Then you need to jump into the Argent Stream to complete the mission.
Doom Eternal News
Got a news tip or want to contact us directly? Email news@gamespot.com
Join the conversation