Destiny 2 Vault Of Glass Guide: How To Beat Every Encounter And Find All Hidden Chests And Collectibles
The Vault of Glass is back in Destiny 2, and while it's mostly the same as its Destiny 1 counterpart, there are some key changes you need to know about.
Destiny's first-ever raid, the Vault of Glass, has finally returned in Destiny 2. While any memories you might have of developer Bungie's classic six-player activity will serve you well in returning to the Vault, not everything is as it was before. The raid has been revamped in this new version, adding new enemies like Champions and Harpies, and making slight tweaks to the puzzles, encounters, and secrets hidden along the way. We've scoured the raid to find everything it has to offer, and with the guide below, you can best every one of the Vault's challenges.
What you need to know most of all is that the Vault of Glass is filled with tough enemies and you'll spend a lot of time fighting wave after wave of the Vex. Make sure you have solid weapons for clearing lots of enemies quickly. With the launch of the Season of the Splicer, grenade launchers are in vogue--so spending a lot of time getting great ones, like Witherhoard, Anarchy, and Salvager's Salvo, can go a long way to making this battle easier.
Below, we'll detail everything you need to know to beat all of the encounters in the Vault of Glass, while leading you to all 12 collectibles to help you get the new Bitterpearl shader (a revival of the D1 classic Chatterwhite) and all four hidden chests.
Loadout Suggestions
For weapons, as noted, you'll get a lot of work out of grenade launchers in this raid, especially thanks to the Season of the Splicer's Breach and Clear mod; if you can unlock that, get it. Anarchy is a good bet in most encounters, as is Witherhoard--this raid is flooded with small but tanky enemies marching slowly toward you, so Witherhoard's area-of-effect grenades really help control the space and keep tough enemies from getting close. Overload mods are essential, as well as weapons to destroy the occasional Void shield. Some strategies include using slug shotguns and Divinity for boss damage, and a scout rifle or sniper for eliminating Oracles is very helpful.
Because there are so many enemies, Super abilities that let you control groups are usually pretty handy, although for the Templar and Atheon boss fights, high-damage nuke Supers are a must. In a lot of cases, it can pay to be flexible with your subclass if possible; a Warlock Well of Radiance is good in boss fights but not so much in earlier encounters, for instance, while Stasis can be phenomenal in every encounter except when fighting the Templar and Atheon bosses. If you can change your specialization from one encounter to another, it helps.
Otherwise, bring your usual boss DPS recommendations: bottom-tree Golden Gun Hunters with Celestial Nighthawk, a Warlock with Well of Radiance and Phoenix Protocol or using Nova Bomb with Nezarec's Sin, and Titans with Ward of Dawn and the Helm of Saint-14 or Thundercrash and Cuirass of Fallen Stars (this last one is great for quickly killing Champions and Wyverns, as well as dealing big boss damage).
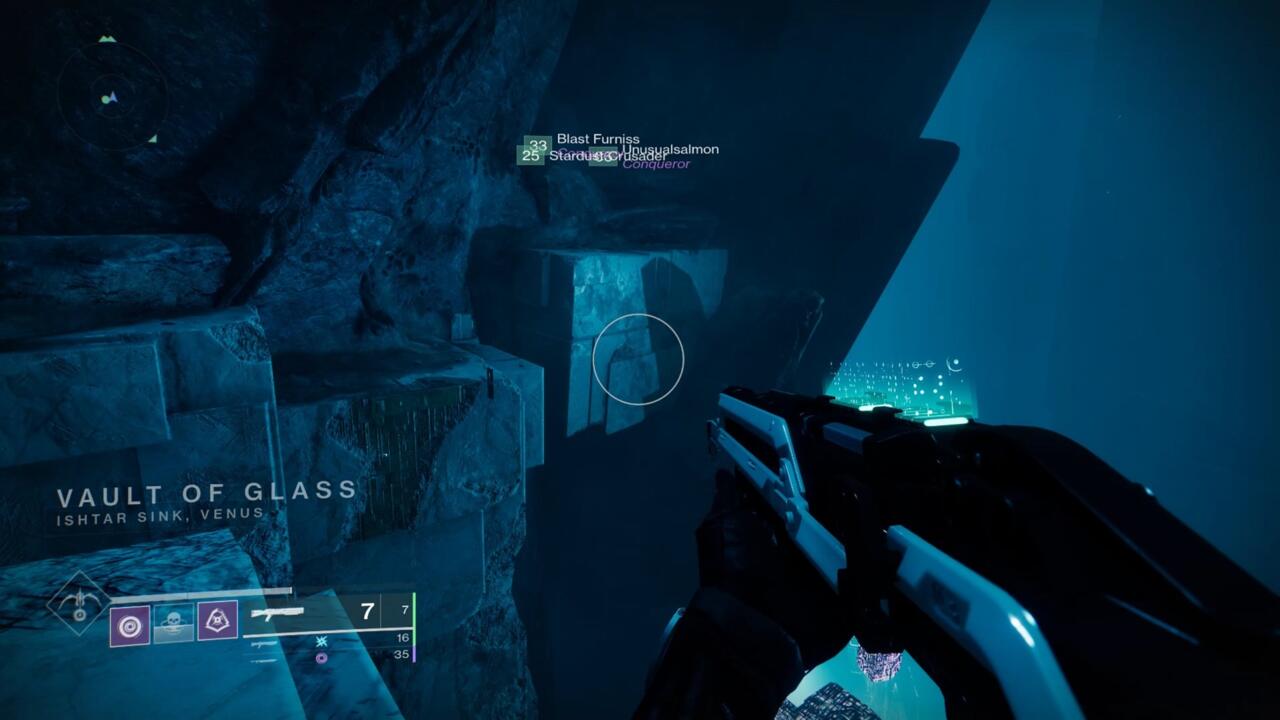
Waking Ruins: Opening The Vault's Front Door

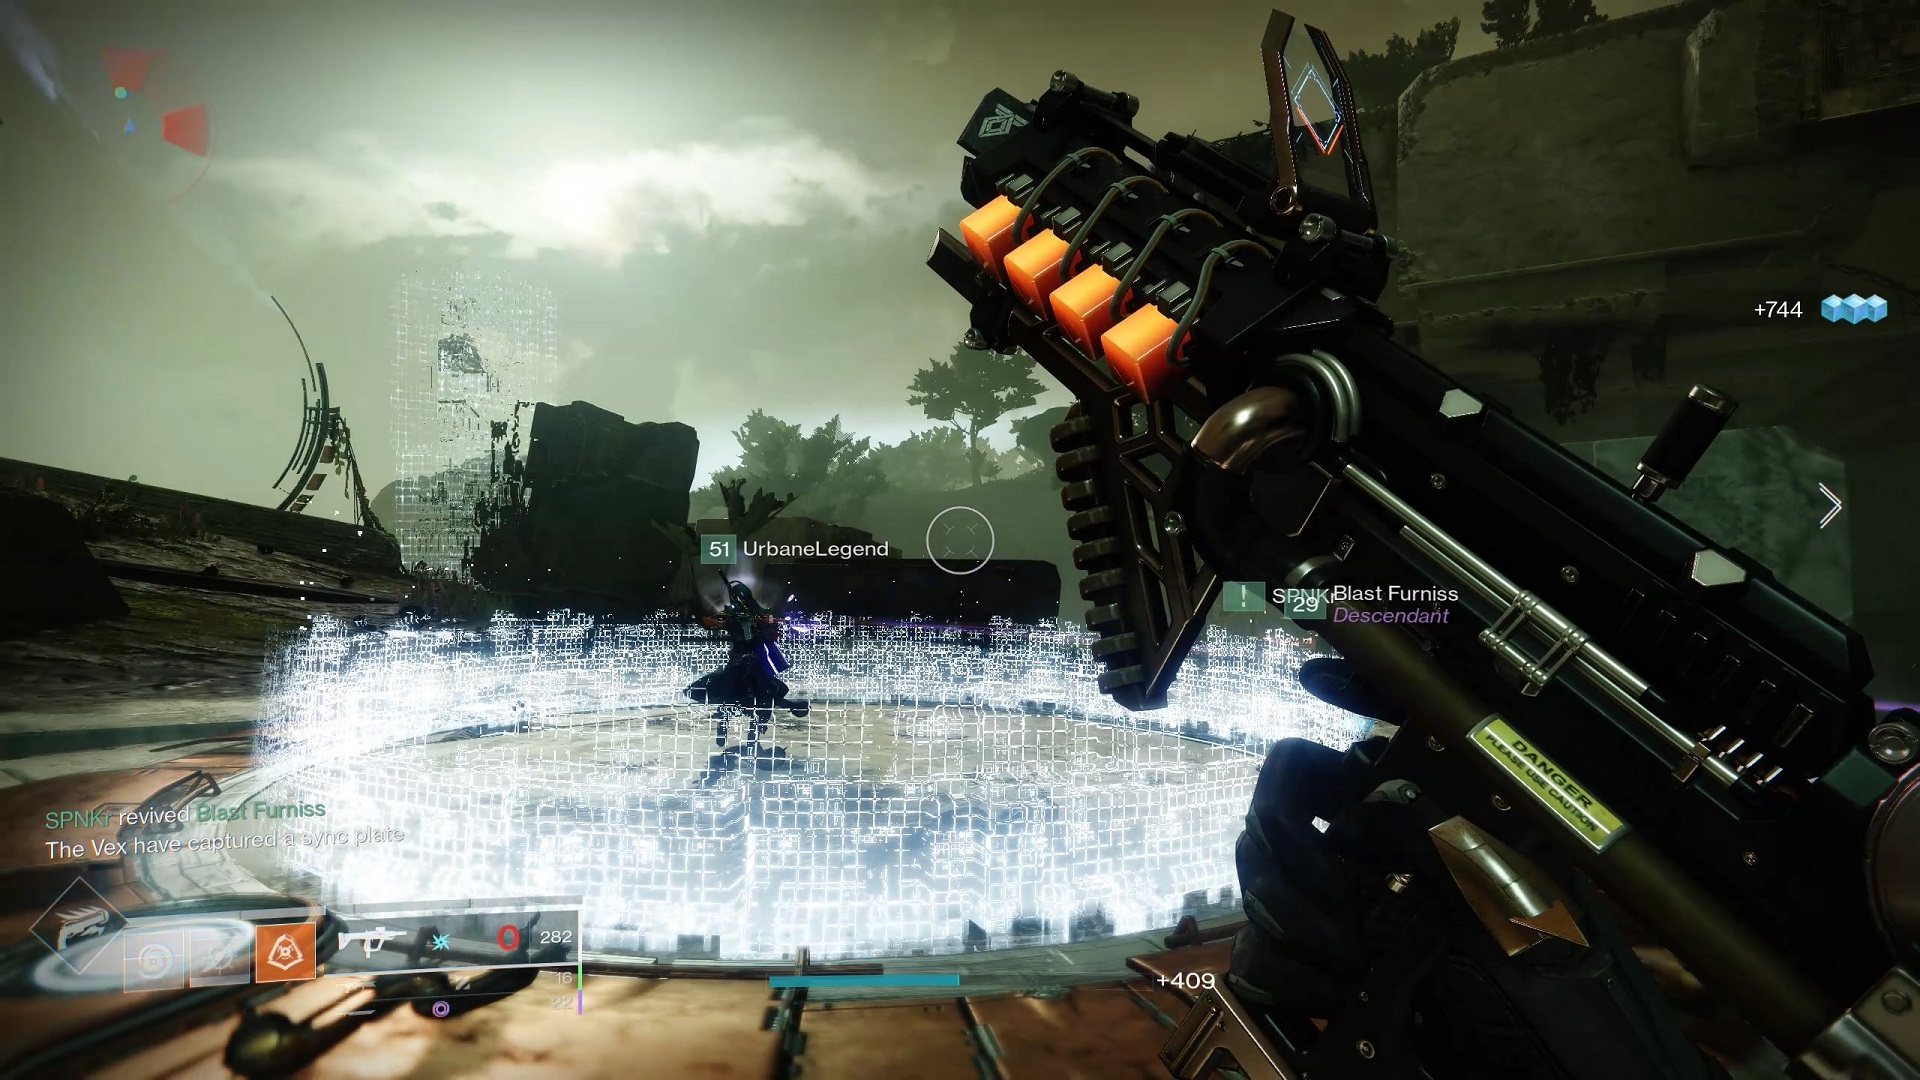
Your first task in Vault of Glass is just getting into the raid itself. That requires you to force open the door in the Waking Ruins on Venus, where you need to stand on three Vex plates long enough to construct a spire that grants access to the Vault itself. On paper, that's pretty easy--the tough part is what you'll face while trying to do it.
First, split up into three teams of two and divide yourself among the plates. You'll find them on the left and right sides of the door (on the hill on the left when facing it, and on the rocky outcropping on the right), as well as directly in front of it. Each team's job is to protect the plate while standing on it until it fully charges. You'll need to charge all three plates at the same time to open the door.
This is an encounter where you just need to defend your position long enough to charge the plates, but it has a couple of caveats. First and foremost, keep an eye out for minotaurs called Praetorians. These are your top priority during this fight--kill the Praetorians before they reach your Vex plate. If they touch it, it'll reset, and you'll have to hold out even longer to charge all three. The Praetorians are also probably the most deadly threat you'll face during this whole thing, so zero them quickly.
You'll mostly face Vex Goblins and Hobgoblins during the fight, who will stream toward your plate from two sides, requiring you to pay close attention to where you're being attacked from. Periodically, three Cyclops will spawn in, one close to each plate, to hassle you with powerful blasts. When you see them, take them down quickly, because the one nearest your plate won't just hassle you--it might try to snipe at the other teams, which can make the Cyclops extra dangerous.
Bring close-range weapons you like for clearing small enemies here, with something to pop Void shields on the Paetorians. Our team liked Witherhoard (a gun that will come up a lot during this guide) for area control, a sword such as Fallen Guillotine to quickly dispatch Praetorians, and a decent sniper rifle to take down the Cyclops, while also helping out other teams if they should need it. In general, you can leave one member of each two-Guardian team on the Vex plate, while the other runs around killing enemies. There's no reason for you both to be on the plate at the same time, and that configuration makes it easier for Praetorians or Cyclops to blow you up, so spread out a bit.
Hidden Chest 1: Opening The Vault Door
Open the door and you'll receive your first hidden chest of the Vault of Glass, which will only dish out Vault-specific mods and new rolls on weapons or armor you've already earned from other encounters. Though it's not exactly hidden, this one does count toward the count of four we'll be marking along the way.
Before you enter the Vault proper, take a second to grab some collectibles in the Waking Ruins.
Collectible 1: Beneath The Ridge

The first of 12 collectibles in the raid is located inside a cave set into the rock wall beneath the middle Vex plate. From where you first entered the raid, walk forward toward the big cliff ahead and bare left until you find a small opening. Follow the tunnel you find there to the end and look to the left to find the blue collectible crystal where the cave ends.
Collectible 2: On The Path Out Of The Ruins

Again starting from where you spawned into the raid, walk under the rocky outcropping where the right Vex plate is located. Keep moving up to the right, toward the back corner of the area. If you remember Destiny 1, this would be the path away from this area on Venus. Look for the Exotic secreted behind a tree near the wall, close to where you hit an invisible wall that blocks you from advancing any farther.
Collectible 3: The Trial Of Kabr
Enter the Vault and before long, you'll hit a huge drop. Stop right here and pull a 180. There's a tunnel to your right, and just past it, a little up the way you just came, is a small alcove set in the right wall. It's tough to spot but the crystal is waiting for you right there.
Collectible 4: The Big Drop
You'll see a cave to your left that'll let you proceed, but ignore it for a second. Instead, look down over the ledge. In the face of the cliff you're standing on is a tough-to-spot hole. Drop off the ledge and jump into the hole to find the collectible crystal.
Hidden Chest 2: The Path To The Templar

If you enter the hole in the cliff wall to find the collectible, you'll be able to exit that spot into some plant-filled corridors, through which you'll have to platform. The path is pretty straightforward, although you'll have to drop down. When you hit a lush green room with a big column in the center, surrounded by platforms, hop onto it and go around the side to the left. The chest is waiting there.
Collectible 5: The Templar Well
Continuing from the hidden chest, you'll keep going down until you see the room for the first encounter; a big, square, arena-looking place called the Templar Well. You should be approaching it from its right side, but before you head down there, cross over near the spot where you can drop a Raid Banner and instead climb up the cliff wall on the Templar Well's left side. This is the path you'd take if you hadn't dropped down to get Collectible 4.

Climb up until you hit a flat cement-colored platform, which is as far in this direction as you can go from the Templar Well and the Raid Banner spot. Look over the edge at the back corner to your right as you approach and you should see a ledge you can reach by dropping down, which holds the collectible.
Encounter 1: Confluxes

After heading into the Vault, you'll climb down to your first major battle arena. Get to know this location, as you'll be here for a long time. In the center of the room is a staircase leading down: we'll refer to this spot as the Cleanse Well, as it's necessary to head down there to deal with this room's major wipe mechanic. Your job throughout this first fight is to protect Vex Confluxes from enemies who will try to sacrifice at them. Too many sacrifices and your team will wipe. What's more, you'll have a huge, shielded Vex Hydra called the Templar sitting in the center of the room, whipping explosives at you.
Altogether, though, this fight isn't too tough if you're coordinated and deal with major threats quickly. First and foremost, split again into two teams of three and position yourselves around the room: you want two Guardians to the left, two to the right, and two more or less in the center, near where you first dropped into the room. Enemies spawn in the far back right and left corners, as well as around the center of the room near where the Templar hangs out, so these three locations will give you vantage points on everything.
Your first Conflux will appear in the center of the room near where you first entered; after you defend it long enough, two more will appear on the left and right sides of the room, with the center one disappearing; and finally, all three Confluxes will appear, requiring you to guard them all.
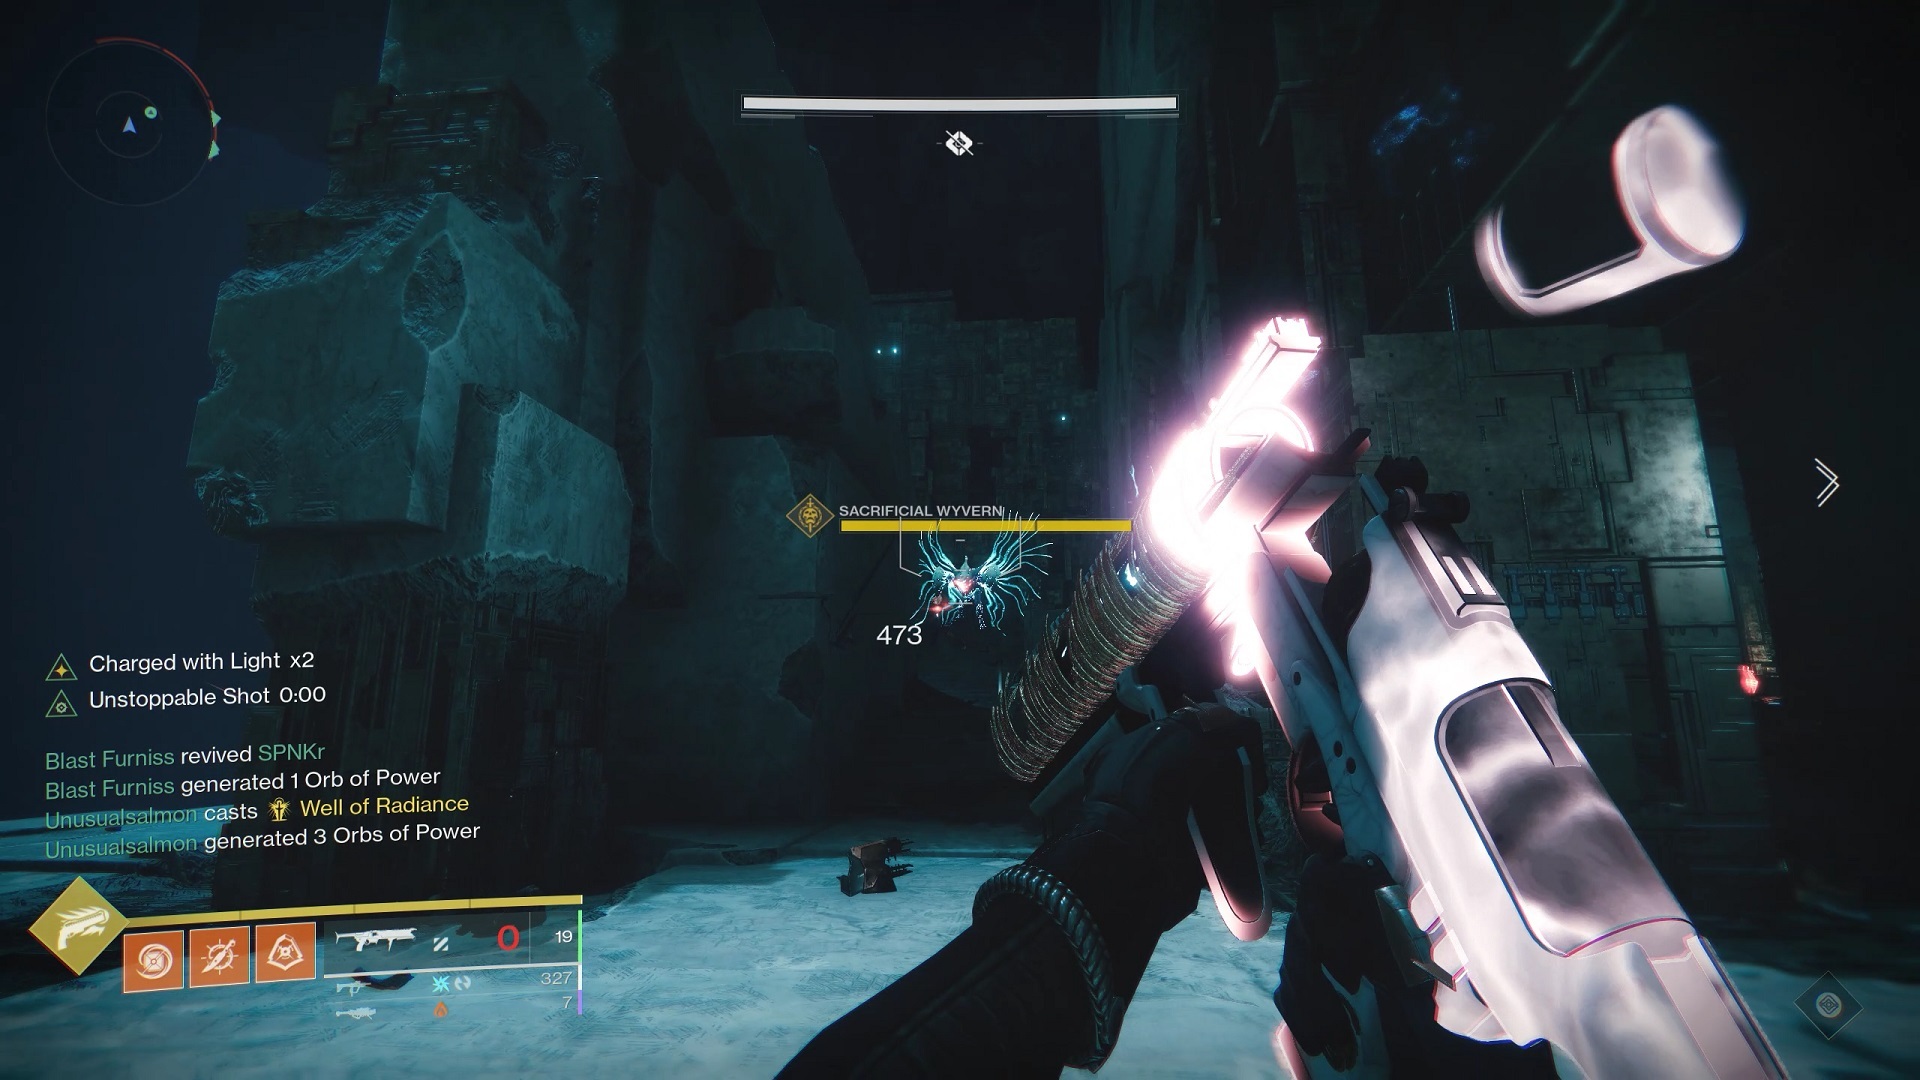
You need to be aware of three particular enemies in this fight. First, Minotaur Overload Champions will show up periodically, which can be very dangerous. Next, Vex Wyverns are in the mix, and their powerful dive-bomb attack can send you flying off the edges of the area. Finally, explosive Fanatics will leave behind blue pools of energy on the ground when they die--avoid those pools at all costs.
Every so often, the Templar will being a process called the Ritual of Negation, before sending out a wave of energy through the arena. Anyone who touches the blue stuff dropped by the Fanatics will be Marked for Negation, a debuff that appears in the left corner of your screen. If you're Marked when the Templar does its Ritual, you'll die. To get rid of the Marked for Negation debuff, you can run through the Cleanse Well at the bottom of the stairs, which is also a glowing blue energy pool. Note, however, that once you use the pool, it'll disappear until the next phase of the encounter (namely, when the number of Confluxes changes), so if you're going to use the Cleanse Well, make sure to coordinate with other teammates and jump into it at the same time. Keep this approach in mind because this will come up again later.
Holding down the Confluxes isn't especially difficult, especially if you divide your team up to control each section of the room. The Wyverns and Overload Champions are by far the most dangerous element, and you'll want your team to stay as agile as possible to help each other out if anyone falls in battle. Witherhoard is great here for keeping Fanatics as far away from the Confluxes as possible, and you can use it to easily control a lot of the battlefield. Roaming Supers also can help in cleaning up the battlefield. Keep weapons to do lots of damage quickly to keep Wyverns and Champions from disrupting you too much and this encounter should pass relatively quickly.
Encounter 2: The Oracles
Next, the Vault of Glass adds a wrinkle you'll be dealing with for most of the remainder of the raid: the Oracles. These are weird, blue Vex cubes that appear in certain locations and emit a specific musical note, which is specific to each Oracle. Your goal in the second encounter is to find and eliminate the Oracles as they show up in the room, in the order that they appear. Shooting the Oracles out of order or taking too long to destroy them will result in a team wipe--although, once you're marked by the Oracles, you can use the Cleanse Well to remove the wipe debuff if your team is quick and coordinated.
Oracles can appear in seven locations around this room. There are three on the left side: one on the small staircase on the left side of the platform where you enter; one just ahead of that near the column close to the left edge; and one just up a small staircase on the left side, tucked into a cubby hole overlooking the drop to the Cleanse Well. On the right side, one will spawn at the lowest section near the edge; another will spawn up the stairs at the far right side of the platform; and the last will spawn on the edge of the drop to reach the Cleanse Well. Finally, an Oracle can appear dead-center in the back of the room at the bottom of the large staircase near where you first enter (and near where you can place the rally flag).
Again, split yourselves into teams and spread out around the room. Ideally, you want to commit a Guardian to each Oracle spot, with someone who's roughly in the center to cover the seventh spot as well. During the encounter, Oracles will appear in sequence in some of those locations--the first time, three Oracles will pop up, one at a time, in random spots, before fading away. They'll repeat that sequence twice to give you a chance to learn their order, before finally appearing all at once and becoming solid.

Your job is to shoot the Oracles and destroy them in the order they appeared, to match the series of notes they played. Thus, you want your teammates each watching their spot so they know the order. Our team handled this by counting off: if someone saw the Oracle near them appear first, they called "one," followed by the next player who saw an Oracle counting "two," and then "three." This way, each person acknowledged that they knew the order to destroy the Oracle and made clear they were standing ready. Anyone who wasn't responsible for an Oracle in the sequence was left to clear out enemies.
The Oracle sequence continues this way, adding an additional Oracle each time. So you'll start with three to kill in sequence, then four, then five, then six, and finally seven. Oracles do not repeat in a single sequence, so you won't have to shoot the middle one as the third and sixth in the same go, for instance. Thus, having each person responsible for just one or two Oracles is a pretty sound strategy, since it makes it a little easier to keep track of when they need to act.
What makes this encounter tough is the flood of enemies coming at you the whole time, so you'll need to scramble to clear them out quickly between Oracle sequences. Everything you fought during the Conflux sequence shows up again, so controlling Fanatics is an important part of this. Champions and Wyverns can make the whole thing problematic as well--if they bunch up on you, things get dangerous, and it's easy to focus your attention too much on the Oracles and not enough on clearing enemies. Finally, Hobgoblin sniper spawn in on the big platforms floating around the edges of the arena, and because of their angles, it can be very hard to find cover from them.
Your main goal here is to keep the arena as clear of enemies as possible. Anyone not currently worried about an Oracle should be taking down as many enemies as they can, as fast as they can, with an emphasis on the Hobgoblins. These guys spawn in with each new group of Oracles and they can get nasty, while the big enemies can chase Oracle readers away from their spots which also gets dangerous. It's possible for people deep on the left and right sides to see multiple Oracle spawns at once, so try to spot all that you can as you move around and help each other out. If you miss an Oracle or shoot the wrong one, you have only a couple seconds to use the Cleanse Well to save yourselves, so watch for that debuff.
Coordination and adaptation are the name of the game here. Survive through all seven Oracle sequences to clear the encounter.
Encounter 3: Templar Boss Fight
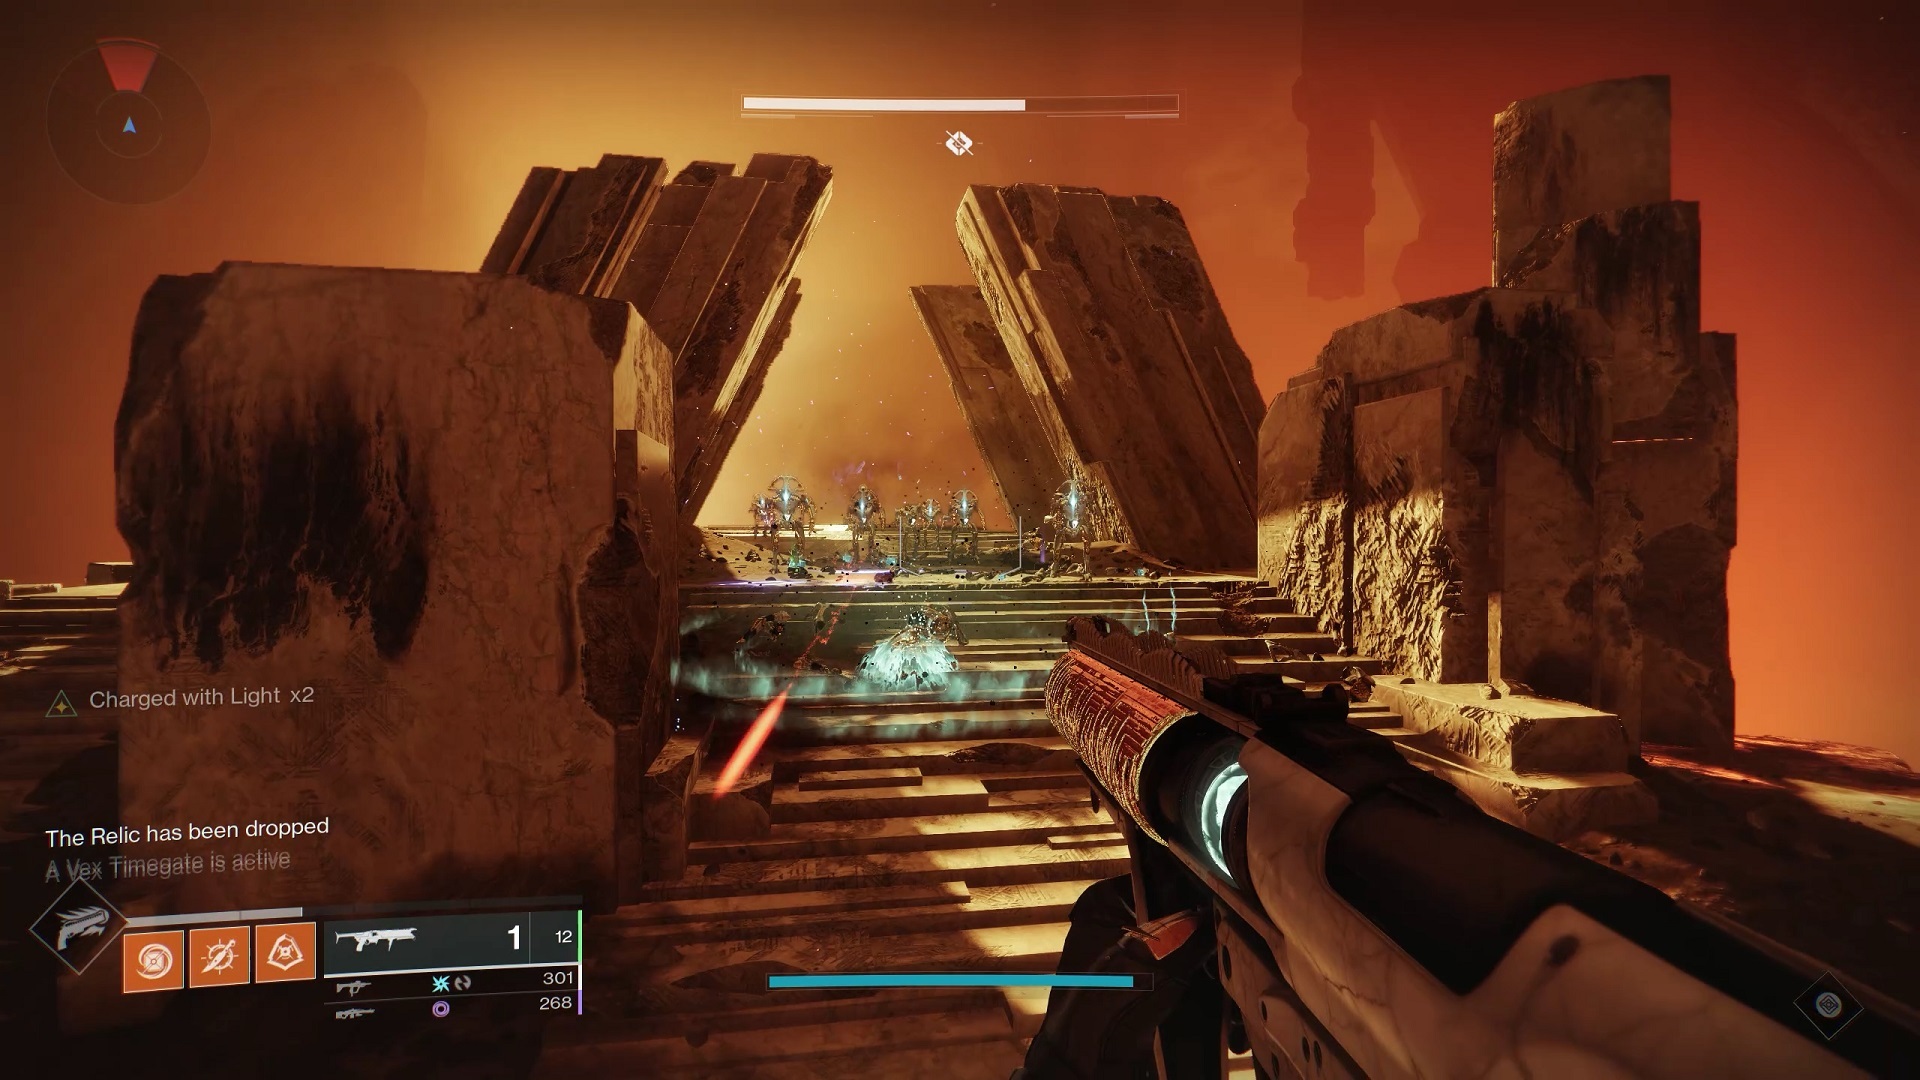
We're on to the last thing you'll do in this room, which combines almost all the elements you've been dealing with and adds a new one. Now you'll find a shield in the center of the room called the Relic; if you pick it up, the encounter starts, so leave it until you're ready.
The Relic is key to this whole fight--once you pick it up, if you drop it for more than five seconds, your team will wipe. Designate one person to be the Relic carrier, ideally the person who is most agile and skilled or who will at least do the lowest damage to the boss. The Relic is key to being able to damage the boss, so you need someone who can survive well, move quickly, and adapt to dangerous situations.
Once you pick up the Relic, it begins to charge all your abilities very quickly. Hold your Sword Block button and the Relic will emit a sphere around it that can cleanse your teammates, removing the Marked for Negation debuff. The Cleanse Well is still in place should you need it, but this is a much more effective way to deal with the situation. Holding the grenade button creates a shield around you that you can use to protect your teammates from the Templar's attacks--although in the first few days of Vault of Glass, that shield has not been as effective as it was in Destiny 1. Finally, when holding the Relic, your Super charges very quickly. Use it with the Relic in-hand to fire a straight blast out of it, which you can use to knock out the Templar's immune shield, allowing the rest of your team to damage it. The rest of the time, use the Relic to clear enemies with melee attacks, as it's super-powerful against Vex. You can do an area-of-effect ground-pound move if you leap into the air and hit your ADS button, which is very useful.

The battle goes like this: Once you pick up the Relic, the Templar appears and attacks you, moving around to several designated spots in the room. Enemies will flood in from the usual places, including Fanatics, although you won't face Champions. From the start, three Oracles will appear in sequence, requiring you to eliminate them or face being Marked for Negation--you can cleanse that debuff, but it's much better to eliminate all Oracles as quickly as possible. You'll only ever deal with sequences of three, but an invisible timer is always ticking down to the next Oracle sequence, so after you damage the boss, return to your spots to prepare for the next sequence.
After clearing Oracles, your Relic holder should have charged their Super. Get everyone to a designated location (the center staircase near the rally flag for the first attack is usually best), and have the Relic holder use their Super to knock out the Templar's shield. From there, everyone should dump as much damage as they can, using powerful Supers such as Golden Gun, Thundercrash, Nova Bomb, and Chaos Reach. A Well of Radiance is good for this because you'll be under constant threat from the Templar as well as other enemies that are cruising around.
During the damage phase, the boss will attempt to teleport around the room to one of five designated locations: to the left and right of the staircase near the rally flag; right in front of the staircase; and up on the two platforms to the left and right of the stairs leading down to the Cleanse Well. Look for a horizontal white ring on the ground, which shows where the boss will try to teleport. If you can get a Guardian to stand in that spot, you'll cancel the boss's teleport, extending the DPS phase--otherwise, once the Templar teleports, its shield will come back up and you'll have to repeat the process.
At least on your first few runs, we recommend preventing one teleport but likely no more than two. First, each time you stop the boss from teleporting, it'll summon several powerful Minotaurs that are extremely tanky. Second, you'll be running up against the next Oracle sequence, so two teleports is really pushing it when you need to get back into position to destroy the Oracles. Plus, trying to scramble back to your Oracle positions is tough with both lots of Minotaurs and the boss harassing you--it's likely at least one Guardian will die on their way back to their spot, and that can lead to a wipe from Marked for Negation. So keep conservative and do all the damage you can after preventing one teleport, then split up and return to your locations to clear enemies and wait for the next Oracle sequence.
Note also that the boss will have moved on its second teleport and may well be in position to wail on players as they return to the left or right sides to wait for their Oracles to respawn. If that's the case, do not run in front of the boss to get to your spot. It will probably kill you. Instead, if the boss is on the left, go to the right side for cover and cross along the back wall, above the Cleanse Well. It's much safer and only takes a little extra time.
Keep up this sequence until you take down the boss altogether. We found success with weapons like Anarchy and sniper rifles for critical damage when paired with Divinity. Other strategies include slug shotguns such as First In, Last Out and Heritage, but note you'll have to get even closer to the boss to use those effectively. Wail on the Templar with your most powerful Supers and weapons and after a few rounds, you should best it.
Collectible 6: Leaving The Templar Room
Once the battle is over, you can depart either through the big door at the center back of the room, or through a hidden hole on the left side of the room that'll lead you to this collectible. Look for it just past the hole where you could pass through to the Cleanse Well. Sneak through and hop up on the ledge above to find the blue crystal collectible.
Collectible 7: Hidden Path To The Gorgon Labyrinth
The hole you entered to find Collectible 6 actually leads you to a dark, twisting, hidden path to your next encounter. It's a long way and a long descent. Keep following the path and dropping down. You'll start to see blue crystals lining the walls in great numbers. Keep going until you hit a larger cave with a low ceiling--ahead, you should see what looks like a small hole with water in it that you could sneak under, with a squared-off concrete ceiling. Facing that wall, turn right and look for a small, roundish hole in the rocks. Duck to get inside and keep moving until you see a defunct Vex gate, which hides the collectible just beside it.
Encounter 4: The Gorgon Labyrinth

(There are a few collectibles and a hidden chest here, but because you have to be sneaky to get past the Gorgons and it's tough to do everything at once, we'll explain how to clear this encounter first, then how to find the collectibles after. If you want to find the collectibles and hidden chest before leaving, skip down to that section below, then come back here.)
Either exit from the Templar room will eventually carry you way down to the bottom of a long drop, where you'll emerge into a cave that has a thin creek running through it. Here, you'll face the Gorgons, several Vex Harpies that tool around the area searching for intruders. There are lots of Gorgons here, and if they see you, they'll flip out, causing a team wipe after a short duration. It's possible to kill a Gorgon after it sees you, but it's very difficult because they have a huge amount of health. Thus, it's better to slip past the Gorgons and make your way to the exit of the area, if possible--but you'll want to hang around for a second and find the hidden chest detailed below.
The Gorgons are extremely sensitive to sound, but they're not especially bright. For one to see you, you'll need to be fairly close to it. You're much more likely to set them off by sprinting or double-jumping, because they're pretty acutely attuned to the sounds. Thus, going slowly and taking it easy can be helpful to get through here. There are a lot of high, flat rocks you can climb with relative ease along the way that can give you a chance to wait for Gorgons to patrol out of your way and give you a second to breathe. It also seems that the vertical limit to where Gorgons can hear you isn't too high, so especially on high rocks, you'll have an easier using your jump abilities to get around.
If you want to fight a Gorgon, you're going to need your whole team at the ready with high-damage implements to take them down. Recommendations include swords such as The Lament or Fallen Guillotine, as well as an Anarchy and potentially even a Divinity, depending on what you bring. If all six members of your team descend on a Gorgon quickly enough, you're likely to kill it, provided you've got the right gear and powerful Supers.
The entire Gorgon Cave map is generally oval-shaped, with one end of the oval being the start and the edges of the area curving out to another extreme at the far end. However, the exit from the area isn't at the other end of the oval, but rather, dead in the center of the area. The easiest way to get there is to head through the initial cave with the water and hang a left, keeping between the rocks and the wall to hide from the first Gorgon you see.


Watch out for the ones ahead of you--there are two--and climb the big rock just past the first Gorgon.
From here, you can hop across to the wall (staying as high as possible if you have to use your double-jump; smash your head into that ceiling), then jump to the next big rock ahead.


You'll see two Gorgons below. Your destination is not to hug the wall to your left, but to head down and to your right just ahead, near a smaller rock. Immediately beside that rock is a hole in the wall you can sneak through to leave.

Don't try to stand on the smaller rock to hide from Gorgons, as it's not tall enough. Wait for your moment, hop down from your hiding place, and walk quickly (without sprinting) through the hole to make your way out.
Collectible 8: In The Gorgon Cave
From where you start in the Gorgon room, you can sneak along the right wall until you reach a small area with a white light, with a circular Vex door set in the wall. That's where you'll find the hidden chest, and we'll explain how to get it below.
A collectible is secreted along the way, up on a jagged rock you pass before you hit the lit area. Look for it up on a rock to your left; the blue glow should give it away.
Hidden Chest 3: Praedyth's Room
Destiny 1 players will remember that behind this door is a hidden chest, as well as the skeletal remains of Praedyth, a Guardian who was lost in the Vault of Glass years earlier and is now trapped in time. In Destiny 1, the door sealed if you were spotted by a Gorgon, but in the updated Destiny 2 version, it's locked by three Vex cubes you'll need to destroy. The good news is that once you've found and destroyed all three cubes in a single run, the door stays open, even if you're killed by the Gorgons.
To find the first cube, start in the big cave where you first enter, with the water running through it. Jump up on the craggy wall to the left and then turn right, looking in the direction of the door you're trying to open. Through a gap in the rocks you should see the cube high above where the Gorgons patrol. If you've got a sniper rifle or a primary weapon with decent range, you can knock the cube out from right here.
The second cube is along the path ahead of you, where the river flows--technically, the way out of the cave. Move forward, avoiding the Gorgons, to climb the big angled rock ahead. Hop across to the wall and then the next rock and look down to your left; the cube is there, easy to shoot, but hidden by being tucked under the lip of the ledge running along the wall.
To find the third cube, you need to make your way to the other end of the map, the far end of the oval we mentioned before. Do that by mimicking your path out of the cave, but instead of leaving by way of the exit, continue to move along the left wall of the cave toward the back of the area. You'll have to do a little sneaking past some Gorgons to find the cube, but it's pretty much in plain sight as you get way to the back of the area; look for a red-tinted light, and the cube up in the air just in front of it.

With all three cubes destroyed, the hidden chest door will open. If you're not worried about dying here, you can just let a Gorgon see you to reset your team back to the start of the area. The cubes you destroy will stay gone and the door will stay open once you've unlocked it, regardless of whether you die along the way.
Also worth noting is that there's a Raid Banner drop location here, so if you're hunting Gorgons for various Vault of Glass Triumphs, you might want to unlock this door to provide yourself a place to refresh your ammo.
Collectible 9: Near The Labyrinth Exit
If you follow the path to the third cube, you can find this collectible fairly easily. Follow the same path with the river, past the Gorgons, and up onto the large angled rock that lets you avoid them. Continue across to the next rock, then hop down and follow the wall on your left. Watch out for the Gorgon and keep an eye out for a squared corner jutting out from the wall ahead of you. The collectible crystal is right behind it--you'll have just passed the exit.
The Jumping Puzzle
Collectible 10: The Jumping Puzzle Hidden Path
As you leave the Gorgons' Labyrinth, you'll soon come to another chasm, this time with Vex platforms appearing periodically to help you cross it. Hold tight here; instead, look at the wall to your left for an opening and jump over to that instead. Follow the tunnel until you reach its end and look over the edge. Way at the bottom and a bit to your right, you should see a rectangular platform you can drop down to--it's a long fall. When you're there, follow the path into an alcove with the crystal waiting at the end.

From here, you can go back out to the platform and climb the spire to which the platform is attached--just look for ledges going around the outside, with some of them on the back of the pillar. Climb high enough and you'll be able to hop onto some Vex platforms that let you cross to the distant, uncharged Vex gate, and then cross to the other side of the room, where the exit door is. (Don't leave yet, as there's more to find.)
If you didn't drop down to get the collectible, hang around at the edge of the chasm for a second and you'll see some Vex platforms beginning to appear that allow you to cross to the far wall. This isn't much of a puzzle, but there are a few things along the way for you to grab.
Collectible 11: Hidden On The Ledge
When you hit the far side, hug the wall and look for an alcove that makes a bit of a narrow hallway. Head inside and jump up to the right to find a collectible crystal. If you're coming from the other side, walk past the large opening with the exit door to find this alcove on the ledge just beyond.
Hidden Chest 4: Above The Jump Puzzle Exit
Keep going along the wall until it opens up on your right to make a square area near the exit door. You can climb up onto the wall here, left of the exit, to find a hidden chest up on a ledge.
Collectible 12: Before The Throne Room
Finally, after leaving through the door exiting the Jumping Puzzle, stop just before entering the big triangular door into the final room. From the base of the small staircase, look high up to the left for a darkened ledge, where the crystal is waiting. Use the thin ledges to the right of the door to get the height you need to leap up there--you can grab the crystal while in the air if you have to.
Collecting the last crystal will net you the Pearl of Glass Triumph, which also unlocks the Bitterpearl shader. Destiny 1 fans will note that it looks a whole lot like fan-favorite shader Chatterwhite from that game.
Encounter 5: The Gatekeepers
Ahead, you'll enter the last room of the Vault of Glass--Atheon's throne. Before you can fight the big boss, however, you'll have to summon him with another encounter, in which you fight several Vex hydras called Gatekeepers. These guys aren't too tough to knock out, but this whole encounter requires some quick timing and coordination.
First, get the lay of the land. On the left and right sides of the room are two portals. Just below each one is a Vex plate with a column inside; standing on those plates (and on the column, which is important) will activate the portals and hold them open. The portals lead to two different versions of the same room you're in; on the left, you'll find a barren, reddish version of the room (which, based on other similar Vex areas, is likely the post-Vex future), while on the right is a greenish, lush version of the location--the pre-Vex past. Regardless of what you call them, come up with some easily identifiable names, or even just "left" and "right," as your team will need to quickly identify what's on the other side of each portal.
You'll want to divide into two groups of three. In your first group are your time travelers, whose job it'll be to head through the portals. Designate one person to go through the left side and one to go through the right, with the third person on the team the designated Relic-holder. That's right, the Relic is back from the Templar room, and having someone who can handle it well here is essential.
The other three people are going to stay in the present version of this room, and it'll be their job to hold open the two portals by preventing Minotaur Overload Champions from reaching the plates, and destroying Hydras called Gatekeepers. Other enemies, including Goblins and Hobgoblins with some powerful explosive guns, will stream into the room from the sides, but the Minotaurs are the ones you have to worry about. As with opening the door to the Vault of Glass back at the beginning, it's only the Minotaurs that can disrupt your Vex plates.
If you venture too far into the room, the encounter starts. The idea at first is for everyone to clear out all the enemies before finally destroying the Gatekeeper Hydra in the center back of the room. That Hydra will teleport around a bit in the back there, sometimes making it hard to kill, but wait a second and it'll always come back for an easier shot. When it dies, the Relic will appear where the Hydra was waiting for you when you first entered. One person should grab it while the portal team starts opening the portals by capturing the Vex plates.
Once the portals are open, the two time travelers should each go through their designated portals and announce what they see. Through both past and future portals are Vex Confluxes, which you'll need to defend. One portal will have a Vex Harpy to destroy, but the other will have a Vex with a white immune shield--if you've played the Garden of Salvation raid, you'll recognize this. Communicate which portal has the shielded Vex; the Relic holder should immediately run through that portal and use the Relic's attacks to knock out the shield to kill the Vex. Both sides must prevent Vex from sacrificing themselves at the Conflux, but only one will have the immune Vex at a time. If you're on defense alone on the other side of the portal, Stasis can be very helpful here.
Meanwhile, back in the present room, the portal defenders need to quickly kill the Overload Champions to keep them away from the Vex plates, while also watching for another Gatekeeper to appear on the small island in the center of the room, between the plates. When the Gatekeeper appears, kill it as quickly as possible--nobody can travel through any portals until the Gatekeeper is dead, and it'll respawn periodically, so make sure to knock it out fast.
The outside job isn't particularly mechanically heavy, but it can be difficult to knock out all those enemies, so keep one person on each Vex plate and your last team member floating back and forth to support in killing Champions and Gatekeepers.
Back inside the portals, the time travel team will have an issue. Every time the Relic holder travels through a portal in either direction, they receive a debuff that forces them to wait 40 seconds before they can pass through a portal again. However, just as there was a shielded Vex through one portal, another shielded Vex will eventually appear on the other side. Thus, this fight becomes a relay race, in which your team has to pass the Relic back and forth in order to carry it through the portals and protect the Confluxes.
After killing the first shielded Vex, the Relic holder should drop the Relic (do so by switching guns), and the person who was defending the Conflux can pick it up. That new Relic holder travels back through the portal into the present version of the arena--but now they, too, are debuffed and can't travel for 40 seconds. The Relic holder should take a second to help with killing any enemies, specifically the Gatekeeper, and then head to the other portal. That person now swaps with the portal defender on that side, taking their place to guard the Vex plate while the defender takes the Relic through the portal to kill the shielded Vex.
From there, the process repeats. The Relic holder hands off the shield to the defender, who travels back through the portal and trades it with the person guarding the other Vex plate. That person travels through the first portal, kills the Vex there, and hands off the Relic. Eventually, the Confluxes inside the portals will disappear and a new one in the present room will show up in the center, near the glassy triangular throne.
All players should come back to the main room and kill the Gatekeeper they find there to get a new Relic. Snag it and get ready--waves of Vex will now attack the Conflux from the left, right, and center, up the stairs. You'll find Harpies coming from all directions, but with each wave, one of the three directions will also have Vex Minotaurs who are immune to damage until you destroy their shields with the Relic. Use Supers like Well of Radiance and Ward of Dawn to give your team protection from all the incoming fire, while using the Relic to stomp the Vex shields. After you've killed shielded Vex from all three directions, mop up the last wave and its Harpies to clear the encounter.
Encounter 6: Atheon, Time's Conflux

Now it's time for the final showdown. The Atheon fight brings together everything you've been doing with the Relic and the Oracles, while adding a new wrinkle: a new debuff when you travel through time. Gone is the requirement that you wait 40 seconds after using the portals to travel to the past and future, but instead, anyone who winds up traveling through time will acquire a debuff that slowly covers their screen in inky blackness, blinding them. You'll need to use the Relic to clear it.
Start the encounter by clearing out the Harpies that spawn in with Atheon, while avoiding his incoming blaster fire. Atheon hits hard and can hit you from many angles in this room, so keep moving and find cover so he doesn't stealthily knock you out. Knock out all the harpies on the ground, but as for the ones in the air, try to leave one of each group still alive. The flying harpies won't respawn if you leave one of their number alone, which can help with keeping the skies clear as you go through this fight.
After a few seconds, Atheon will summon Supplicants--fast-moving harpies who will zero in on your team, chase them down, and explode. These harpies cannot fly, so you can find safety by climbing any object that gets you off the ground, including the columns in the center of the Vex plates. Use these spots to kill them safely, while still capturing the plates to open one of the portals (more on that in a second). The Vex can't recapture the plates, so once you've powered one up fully, it should stay captured.
When he summons Supplicants, Atheon will also send three random players through time to either the past or future rooms you've seen before. When this happens, one player must grab the Relic near where they spawn. These three should quickly work together to kill the Gatekeeper and other enemies, then quickly move to either the center island, or all the way to the back of the room. Go fast--run for it as soon as you arrive. You'll need to be in position in a second. At the same time, identify whether you're in the future or past (left portal for future, right portal for past) and notify the rest of the squad of your location.

The Relic-holder's job is to occasionally hold the Block button to create their cleansing bubble, which clears the debuff on the time travelers so blackness doesn't overwhelm their screens. You must clear this debuff repeatedly throughout this whole section of the encounter; if you don't, players will be blinded until they're cleansed or killed. The Relic holder's should be sure to keep that debuff cleared over and over; you can drop the Relic for a couple of seconds if necessary, but make sure to pick it up before the five-second timer elapses, or else the whole team will wipe.
Back in the present, three players are left, and their jobs are to clear enemies (Supplicants most importantly), identify which portal the other team has traveled through and open it, and watch for Oracles. In the center of the room, three Oracles will appear in six possible locations. Like in the Templar room, you'll have two opportunities to see the sequence the Oracles pop up in. Relay that information to the time traveler team, because after two sequences, Oracles will appear inside their portal, and they'll have to kill them in the order they appear. Again, failure to do so will result in a wipe.
The best way to handle Oracle reading is to get to the back of the room, near the rally flag, standing on a high ledge to avoid Supplicants. Inside the portal, the other team should be in roughly the same position, either in the back of the room or on the central island, so both teams are looking at the same layout of Oracles. From there, the present team's Oracle reader calls out what they're seeing. There are a few ways to designate these callouts. The Oracles make a ring around the center of the room, with three positions in the back near Atheon's triangular throne, and three in the middle, over where Atheon stands and the two portals. Thus, you can number your Oracles like their appearing on the face of a clock, to look like this excellent map from Destiny Raider:

Conversely, as you can see, there are two Oracle spawns on the left side of the room, two on the right, and two in the middle. In our first few runs, rather than bothering with numbers, we called out Oracles' positions, like "back middle," "front middle," "back right," "front left," and so on. Since both the Oracle reader and the time traveler team should be in the same position, this can cut down on confusion. Any approach will do so long as your team has a common understanding of all the possible Oracle spots.
The time travel team will clear three sets of Oracles before they can return through the portal. During that time, more Vex will spawn inside the portal, including shielded Vex. Deal with these using the Relic Super but only if you feel you really need to. Especially if the time travel team positions themselves at the back of the room near where the Raid Banner goes, these Vex shouldn't be able to do much to you at all, so you can all but ignore them.
As the time travel team clears the last of the third Oracles, they should make their way to the portal and go through. On the far side, the Relic holder should immediately cleanse the time travel team one last time to remove their debuff so they don't get blinded. The present team should also be sure to clear out any Supplicants near the portal; a wayward Supplicant can easily catch the time travel team just as they arrive back in the present and instantly kill one or all of them, which can be a massive problem. Do your best to keep Supplicants clear so the other group isn't caught by surprise.
Killing the last Oracle triggers a notification that says "Guardians make their own fate," which immediately makes Atheon vulnerable to damage. The team in the present should immediately start damaging the boss. Most teams like to group up on the small center island to do this, but the damage window is very small, so start firing your weapons even before you're in position to maximize damage. High-damage Supers are great here, but be aware that Atheon moves around a lot and landing critical hits can be tough. Anarchy, especially with Breach and Clear, is a very good idea here for that reason.
If everyone stacks up on the central island, one of your team's Warlocks should absolutely drop a Well of Radiance there, as Harpies and Atheon will bombard your team with damage the entire time. In Destiny 1, you could use your Relic's cleanse power to buff your team for more damage and create a shield that would absorb incoming fire, but as of right now, the shield doesn't quite work that way. Another possibility, then, is for the Relic holder to drop the shield, take a few shots, then pick it up to avoid the timer running out and the team wiping.
With about 15 seconds left on your damage buff, Atheon will raise his hand and one player on the team will receive a notification and a countdown timer that says "Imminent Detainment." You absolutely must watch for this notification and identify it quickly, so continually remind your teammates about it. When a player receives Imminent Detainment, they should jump off the front of the central island and stand to the left of the platform just head, behind cover. When Imminent Detainment runs out, that player will be caught in a bubble, stopping them from moving or firing their weapons. The Relic holder's job is then to either punch that player with the Relic or shoot them with the Relic Super to destroy the cage.
When you're about to be detained in the bubble, jumping off the island, or otherwise getting away from your teammates, is essential. If you're too close to a teammate when the bubble appears, they also will get trapped in their own bubble. The cascade effect means if the bubble appears on the center island where everyone is bunched up, your entire team can get trapped. Each player trapped in a bubble gets a debuff and timer called Detained, and when it runs out, they're killed. If you don't get away from your buddies before you're caught in the bubble, you can wipe the whole team--so watching for and identifying who's got Imminent Detainment is extremely important. You can identify who's about to be detained by their blue glow, in case someone forgets to check their notifications.
After you hammer away at Atheon for a short period--maybe 30 seconds--the buff gained from killing the Oracles will end and he'll become immune to fire again. Clear out the rest of the enemies in the room, being careful of Supplicants in particular, and get back into your starting positions. The whole process will repeat, with Atheon sending three more random players through time and the other three players needing to open their portal, read the Oracles, and kill enemies.
You've got four potential rounds of damage before Atheon reaches "Enraged" status and kills your whole team, so make those damage phases count. With good Supers and strong coordination, especially by the Relic holders, you should take him down without too much issue, defeating the Vault of Glass.

Defeating Atheon comes with a chance for a random drop of Vex Mythoclast, a phenomenal Exotic revived from Destiny 1. Congratulations on beating the raid!
Got a news tip or want to contact us directly? Email news@gamespot.com
Join the conversation